Browsing Tag

DIY

Celebrate

Daniel Tiger Birthday Party

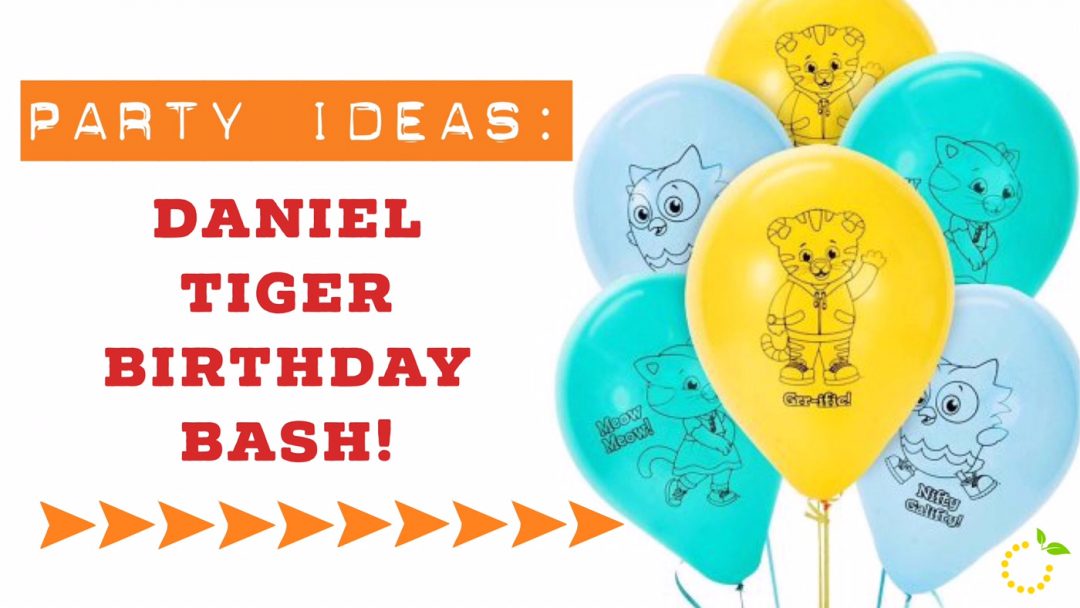
My little one is obsessed with Daniel Tiger, the children’s show on PBS, so I wasn’t surprised when she said she wanted a Daniel Tiger birthday party. Unfortunately, while party shopping, I learned there are not a lot of Daniel Tiger party items in stores or online. I had to get a little creative and come up with a few ideas myself. Take a look below to see how I pulled off a Daniel Tiger worthy party!

Invitations:
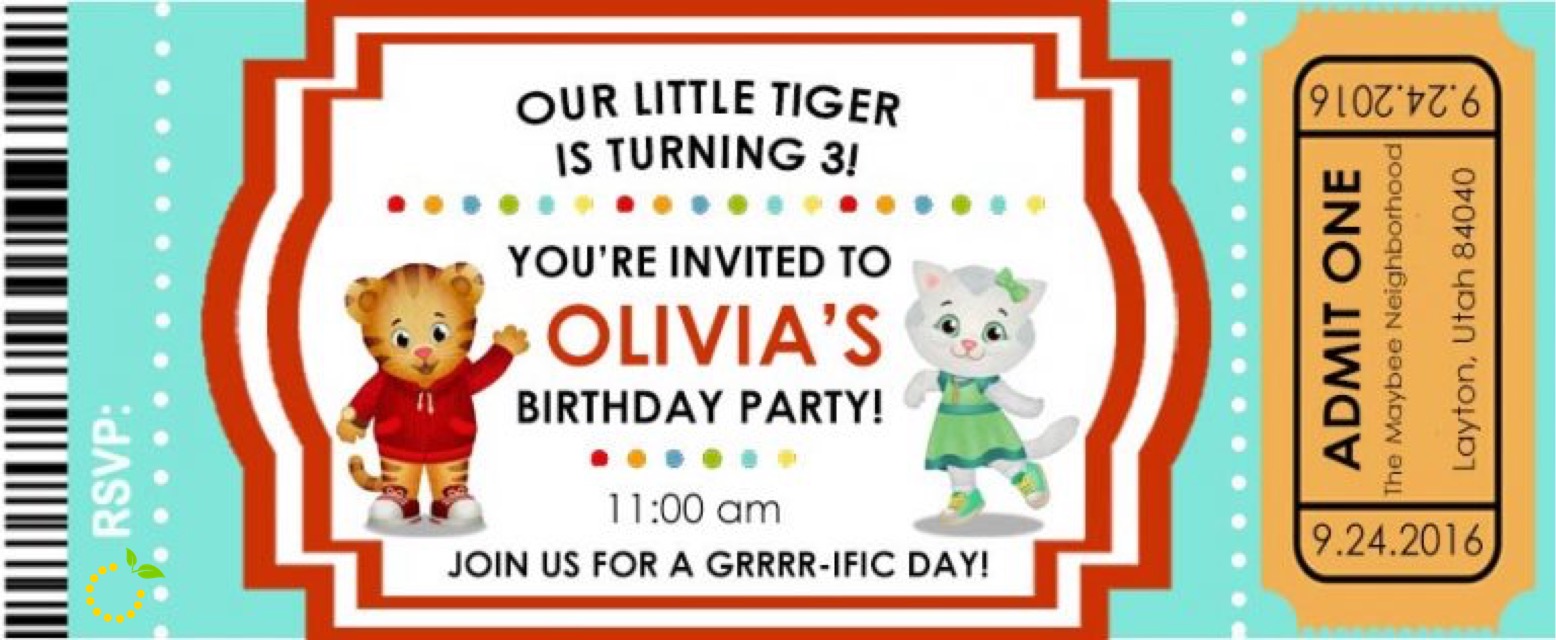
While scrolling through Pinterest, I saw the cutest invitations that looked like a trolley ticket from the show. I was so excited that I could buy the download and make these invitations in no time. Wrong. The link didn’t work and I couldn’t find this style of invitation anywhere. Of course it was stuck in my head so I had to have these invitations. I pulled out my computer and used some good old fashioned photoshop and made my own. They aren’t perfect but I think they turned out pretty cute! 

Daniel Tiger Invitation sweetlemonmade.com


Decorations
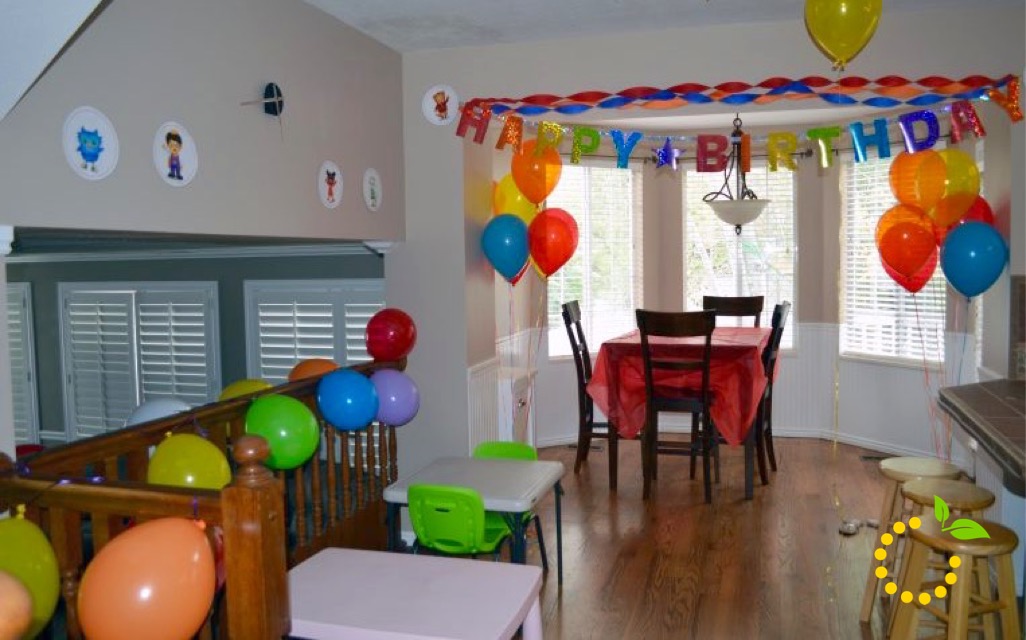
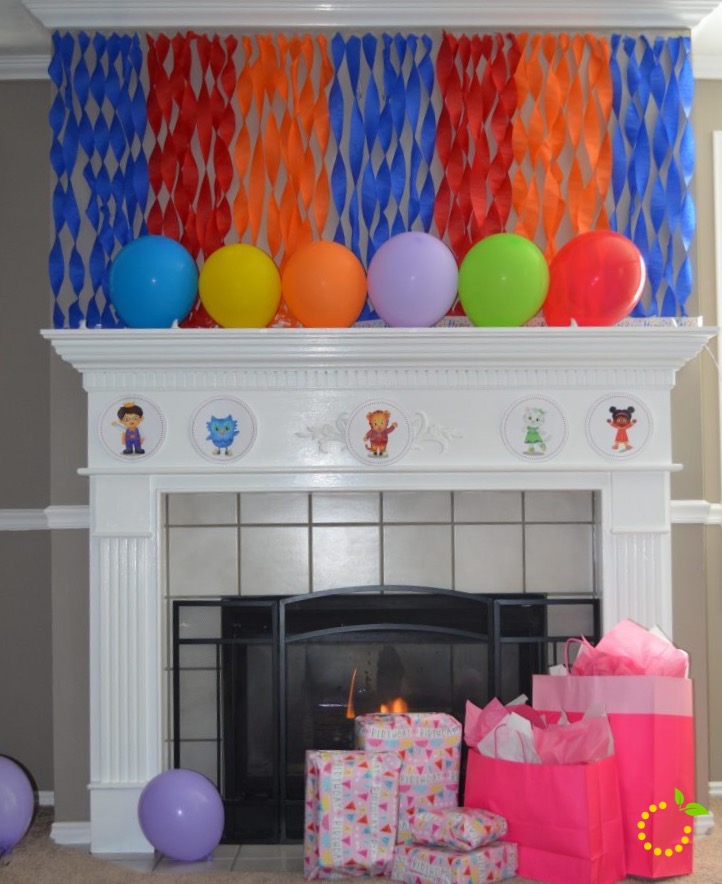
Since I couldn’t find decorations in the store, I decided to go to the PBS website and found a page dedicated to throwing a Daniel Tiger birthday party. They have some really cute DIY ideas and lots of printables. I used some of the printablse and put them around the house and on the front door. I also used balloons (lots and lots of balloons) to make the house look more festive.


Daniel Tiger Decorations Kitchen sweetlemonmade.com

Daniel Tiger Decorations Fireplace sweetlemonmade.com

Bounce House
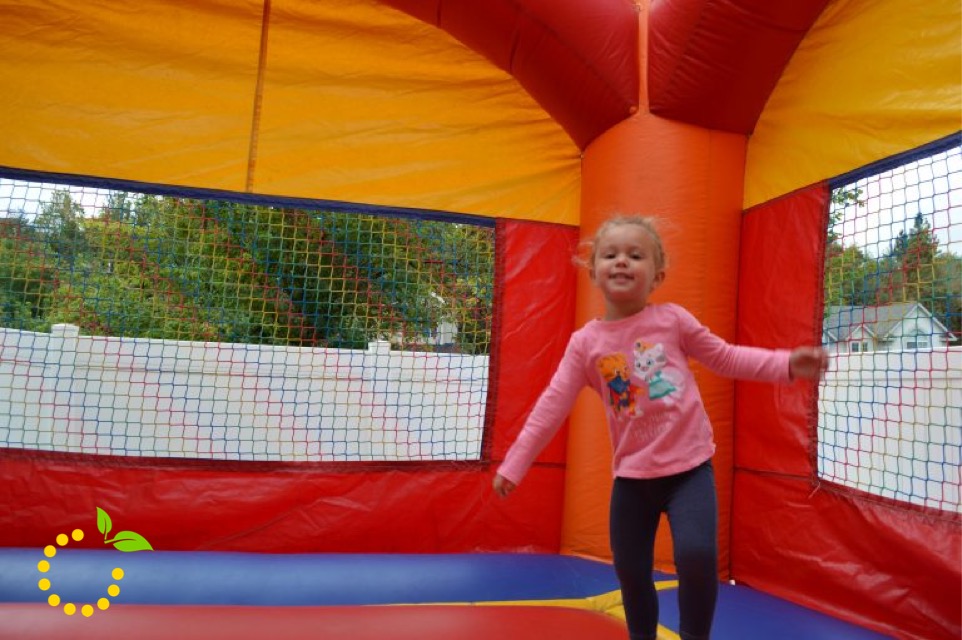
Since the kids attending the party were different ages, ranging from one to seven, I decided the best way to keep everyone entertained and happy was to have a bounce house. I’ve never rented one before so I started looking online to see what options were available. Most places will deliver and set-up, but after looking at some bids, it started to become a little pricey. I decided to go with Supersonic in Bountiful and they were great to work with. We picked up the bounce house in the morning and brought it back that evening, giving Olivia more time to bounce to her hearts content after the party ended. By doing it ourselves, we saved around $100. I think we can count that as a win!

Bounce House sweetlemonmade.com


Piñata
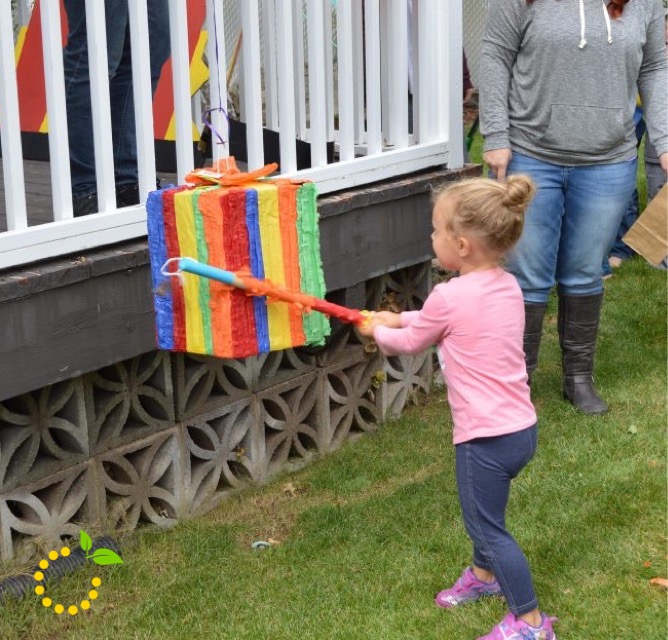
Another fun way to include kids of all ages is to have a piñata. Everyone got a turn since we let the youngest kids go first and worked our way up to the oldest. I made sure to have paper bags for all of the kids to collect their loot and everyone ended up with some extra sugar to take home! Since I couldn’t find a Daniel Tiger themed Piñata, I decided to go with a colorful one that looked like a present. It was perfect.
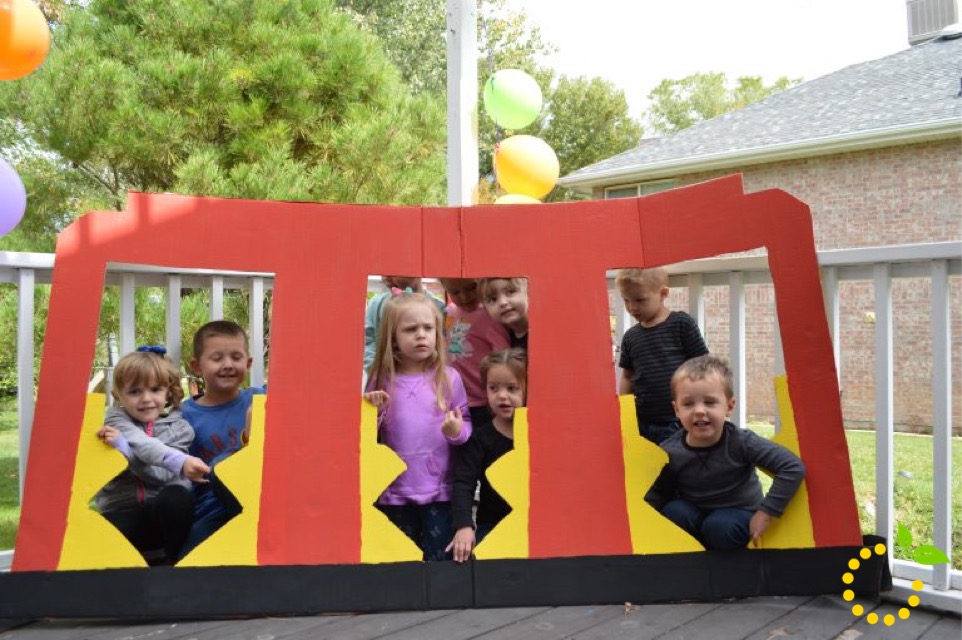
Pinata sweetlemonmade.com 

Trolley
One way to incorporate more of Danielle Tiger into the party, I decided to build a trolley to use as a photo prop. I saw a couple ideas online and just happened to have an oversized cardboard box on hand. Using a knife and some paint, my husband and I were able to create our masterpiece. It was a perfect way to get the kids to take some pictures and looked super cute with the rest of the party decorations.
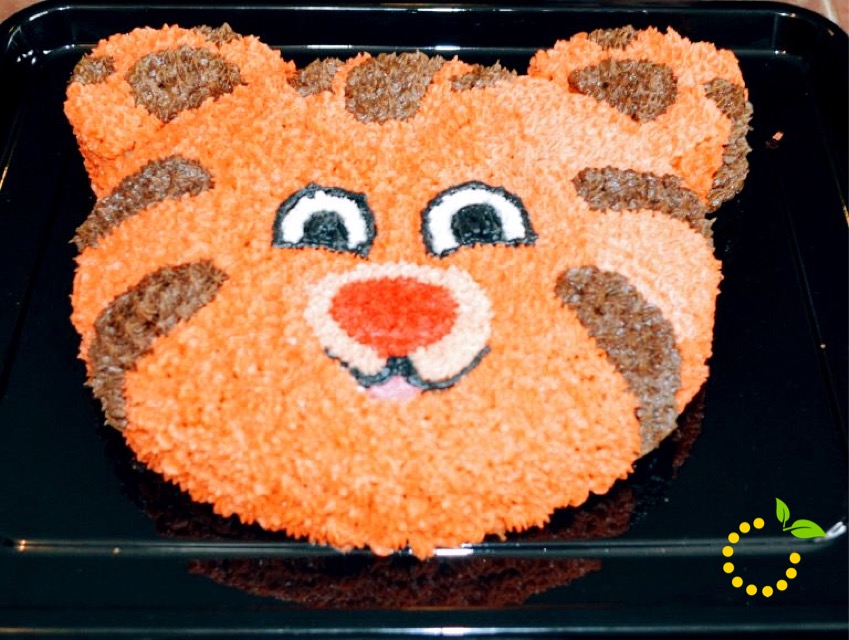
Daniel Tiger Decorations Trolley sweetlemonmade.com


Cake
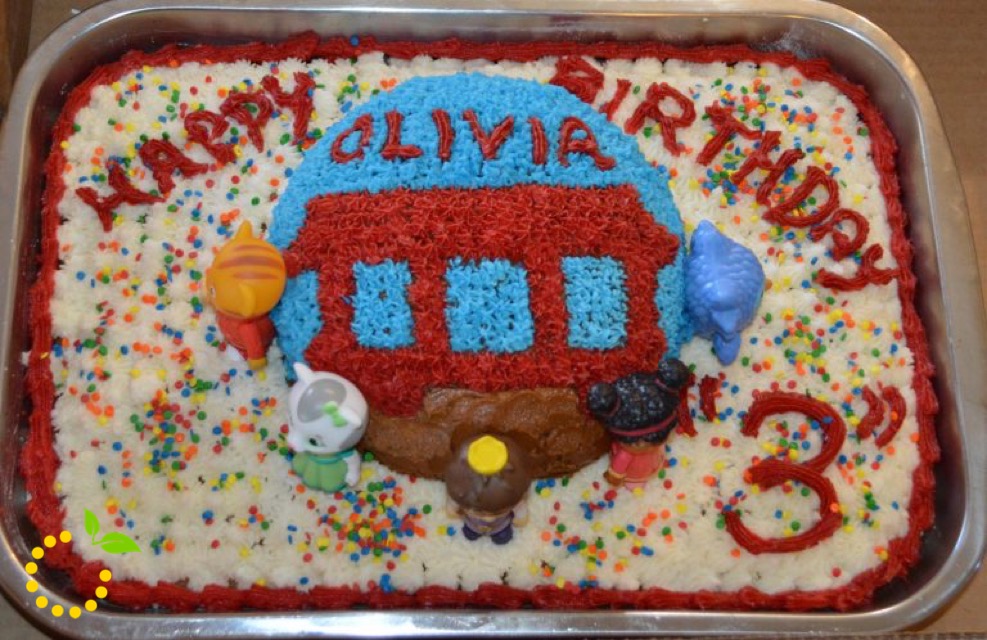
My mom loves to make birthday cakes and does a really good job! She used to make all of mine growing up and I loved them. The one thing Olivia wanted more than anything at her party was a Danielle Tiger cake. Since we couldn’t find a Danielle Tiger cake pan, she made a couple round cakes and started decorating. She did such a good job and Olivia loved it. For her family party, my mom made another cake and incorporated Danielle Tiger figurines that stood around a trolley. It was really clever.
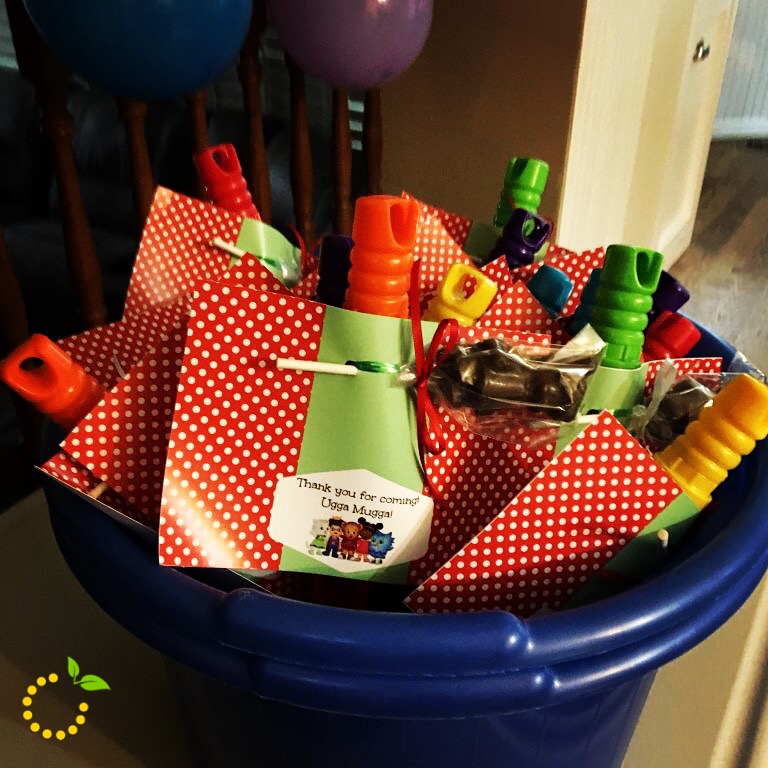
Daniel Tiger Cake sweetlemonmade.com

Daniel Tiger Trolley Cake sweetlemonmade.com

Favors
My mom is known for making chocolate suckers, I don’t think I’ve had a birthday party without them. I found these adorable Daniel Tiger sucker molds online for under $5. I printed out a cute card from the PBS website and attached everything to colorful bubble sticks. 

Daniel Tiger Favors sweetlemonmade.com

Create

DIY Disneyland T-Shirts

Disneyland T-Shirts sweetlemonmade.com

My daughter recently turned two and to celebrate we planned a family trip to the Happiest Place on Earth…Disneyland! It had been 10 years since my last visit (way too long) and would be Olivia’s first time, so I wanted to make it as fun and magical as possible.

The first thing that popped into my head was to make our own t-shirts to wear on the trip. Sure, I could easily go to the store and find something cute, but there was something special about making my own. I wasn’t sure where to start since it was my first time making anything with vinyl, so I called up my crafty sidekick Ashley for some help! I was surprised with how fast and easy it was to make the shirts, so I will definitely be making more in the future.

STEP 1.
Visit a local craft shop and retail store to pick up your supplies. My shopping list included: 

  • Adult Plain White T-Shirt: $5 each at H&M.
  • Child Plain White T-Shirt: $1.50 each at Old Navy (Yay for clearance deals).
  • Iron-On Heat Transfer Vinyl: $12 for one roll of black and $16 for one roll of red glitter. The vinyl is the most expensive part of the project, but the red glitter was totally worth the price.

Disneyland DIY T-Shirt Supplies sweetlemonmade.com

STEP 2.
Grab a vinyl cutter and prepare the images you want to use on your shirt. Ashley owns a Silhouette Cameo, which was super easy to use, but because my designs weren’t on a template, we had to look online and upload them to the Cameo. Every system is different, but here is a Silhouette tutorial by Sew Dang Cute Crafts for reference. Just remember, make sure your designs are printed backwards since you are ironing onto a shirt! (That might have slipped our minds…a couple of times)

STEP 3.
Drape your shirt over an ironing board and get your vinyl in place. Grab a towel to cover your shirt and start ironing. Run the iron back and forth multiple times. Lift the towel slowly to see if the vinyl is sticking or if it needs more heat. Once it sticks, you’re done! 

DIY Disneyland T-Shirts sweetlemonmade.com


Create

Basket Liner Tutorial

Easter Basket Liner Tutorial sweetlemonmade.com

Every year I swoon over the cute fabric lined baskets while shopping for Easter goodies. So this year I decided to get crafty and make my own. Sewing is not my specialty, so I’m pretty excited about how it turned out. With Easter right around the corner, this simple and easy basket liner tutorial can help you personalize any basket that you already have on hand.

Project Supplies:
Basket
Fabric – 1 Yard
Ribbon
Thread
Pins
Fabric Scissors
Sewing Machine

Easter Basket Liner sweetlemonmade.com


Step 1:
Turn your basket upside down over an ironing board. You will then drape and center your fabric over the outside of your basket and pin the fabric tight around the corners and down the sides of the basket. This is a lot easier than trying to cut and sew multiple pieces together.

Step 2:
Take the fabric off of the basket and with a ruler, extend the pin line to the edge of the fabric. Repeat this step for all four sides. Next, you will sew a seam along the pin lines, leaving a triangular flap. Cut off the flap on each side, leaving a 1/2 inch seam. If you find the fabric doesn’t fit snug in the basket, make your seam a little closer from the original.

Step 3:
Next you need to determine how much fabric you want showing on the outside of your basket. I have three inches showing on my basket. Measure your fabric accordingly and add an additional length for a ribbon casing. The length of your casing will depend on the width of your ribbon. You will then trim off  the excess fabric. 

Step 4:
With the fabric in the basket, make a cut from the edge of the fabric to the handle at the top edge of the basket. The width of the cut will depend on the width of the basket handles. Fold the fabric under and stitch around the edge to get a nice finish. 

Step 5:
Next you will need to make the casing for your ribbon. Thread the ribbon through the casing and pull tight to make sure the liner fits snug around the outside of the basket and tie a bow at each end. 

Fabric Lined Basket sweetlemonmade.com

Create

DIY Valentine’s Day Wreath

DIY Valentine's Wreath - sweetlemonmade.com

It’s February and that means Valentine’s Day is coming up! Want to add some Valentine’s décor to your home that you can make yourself? We’ve got a DIY wreath project to share. This wreath is easy to make and can even be done while you catch up on your favorite shows on Netflix! That is what I did!

Supplies needed:

  • Felt (in one color or a variety of colors) – amount will vary depending on the size of wreath you want to make but, 2 yards should be plenty.
  • Styrofoam wreath
  • Fabric glue
  • Wood pencil or wooden dowel
  • Scissors/rotary cutter
  • Cutting mat if using a rotary cutter
  • Ribbon – optional, to hang wreath

Valentine's DIY Wreath - sweetlemonmade.com


Directions:

Start by cutting the felt into 3 ½ inch squares—lots and lots of them!

Get your wreath form, squares of felt, glue (I squeezed out a little bit onto a plastic plate to easily dip), and pencil/wooden dowel ready.

Using your pencil/dowel poke it in the middle of the felt square and scrunch it up around the pencil. While holding it, dip the tip into a little bit of glue and poke into the Styrofoam and continuing the process until the wreath is covered and no Styrofoam is showing.


Wreath Valentine's DIY - sweetlemonmade.com