All Posts By

Ashley

Create

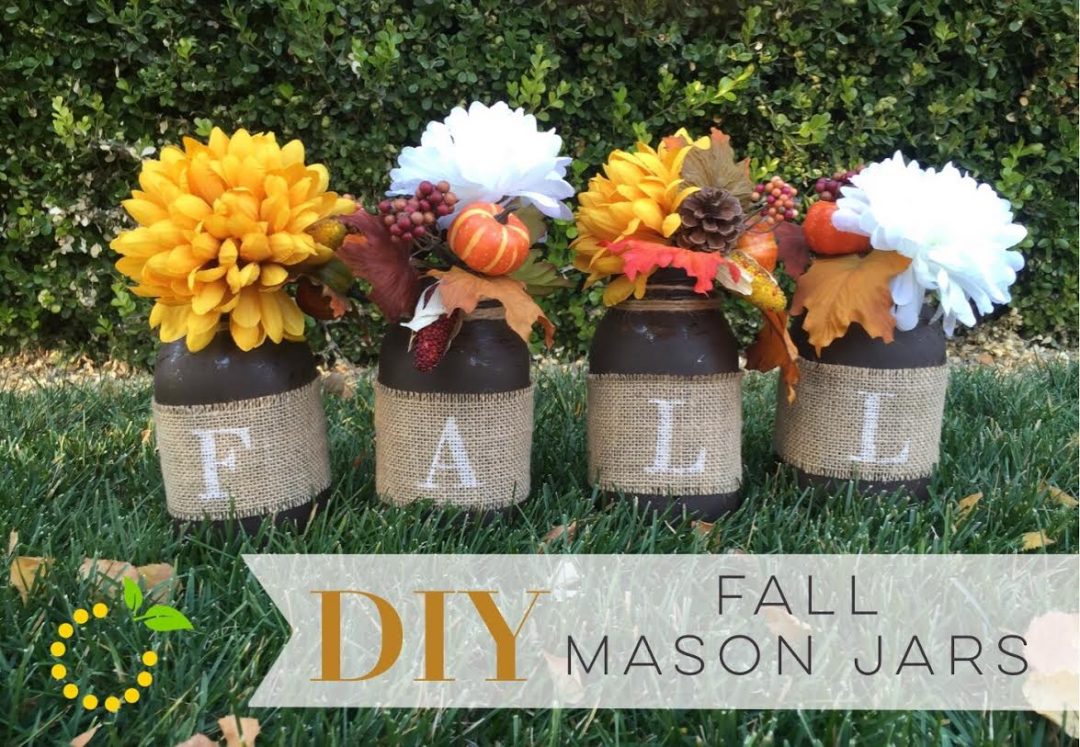
DIY Fall Mason Jars

All I have to say is—I LOVE MASON JARS!! Who else loves them too? I practically use them for everything! I use them for drinks, storage, serving dishes, canning, and of course decor! These DIY fall mason jars make a great statement decor piece. The great thing about these jars is you can spell out any fall word you would like to incorporate into your decor. The possibilities are endless! So gather up your supplies and get crafting. This DIY project is easy and can be done before your guests show up for Thanksgiving festivities!

Supplies

  • Mason jars-wide mouth quart 
  • Paint–for both the jars and the letters
  • Sponge brush
  • Burlap
  • Scissors
  • Letter stencils–I made my own with my Silhouette or you can free hand paint your letters
  • Glue gun
  • Coarse sandpaper
  • Letter stencils or a Silhouette cutting machine and vinyl

Directions

  1. Wipe down all mason jars to remove any dirt or oil.
  2. Paint mason jars. Tip: for a distressed look, paint thin coats of paint. Too thick of coats will take longer to dry and harder to sand.
  3. Let paint dry for a couple of hours or until paint is not tacky to the touch. Tip: if you start to paint your second coat too soon, the paint will start to peel and ball up. If you can, letting it dry overnight is best.
  4. Repeat another thin layer of paint and let dry. I chose to just paint 2 layers since I planned to distress and sand them. Don’t worry if some of the glass is peeking through your paint—it just makes the sanding process faster.
  5. Repeat steps 3 & 4 if a more solid look is desired.
  6. While you wait for your paint to dry, cut your stencils if you are making your own.
  7. Cut your burlap down to size.
  8. Wrap burlap around your jars and hot glue ends to secure.
  9. Place stencil onto the burlap and apply paint, repeat, and let dry.
  10. And embellish!

Eats

Chocolate Chip Pumpkin Mini Loaves

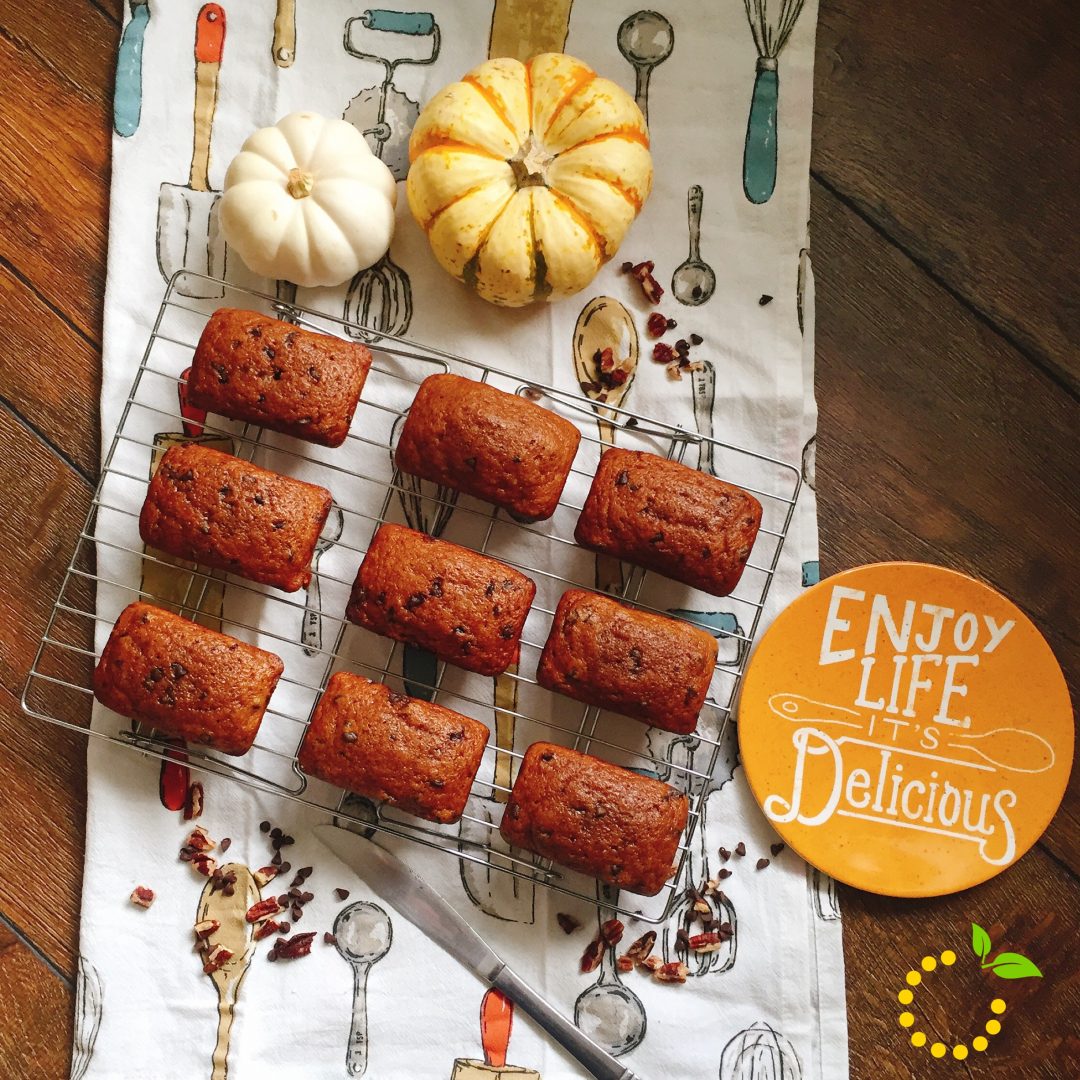
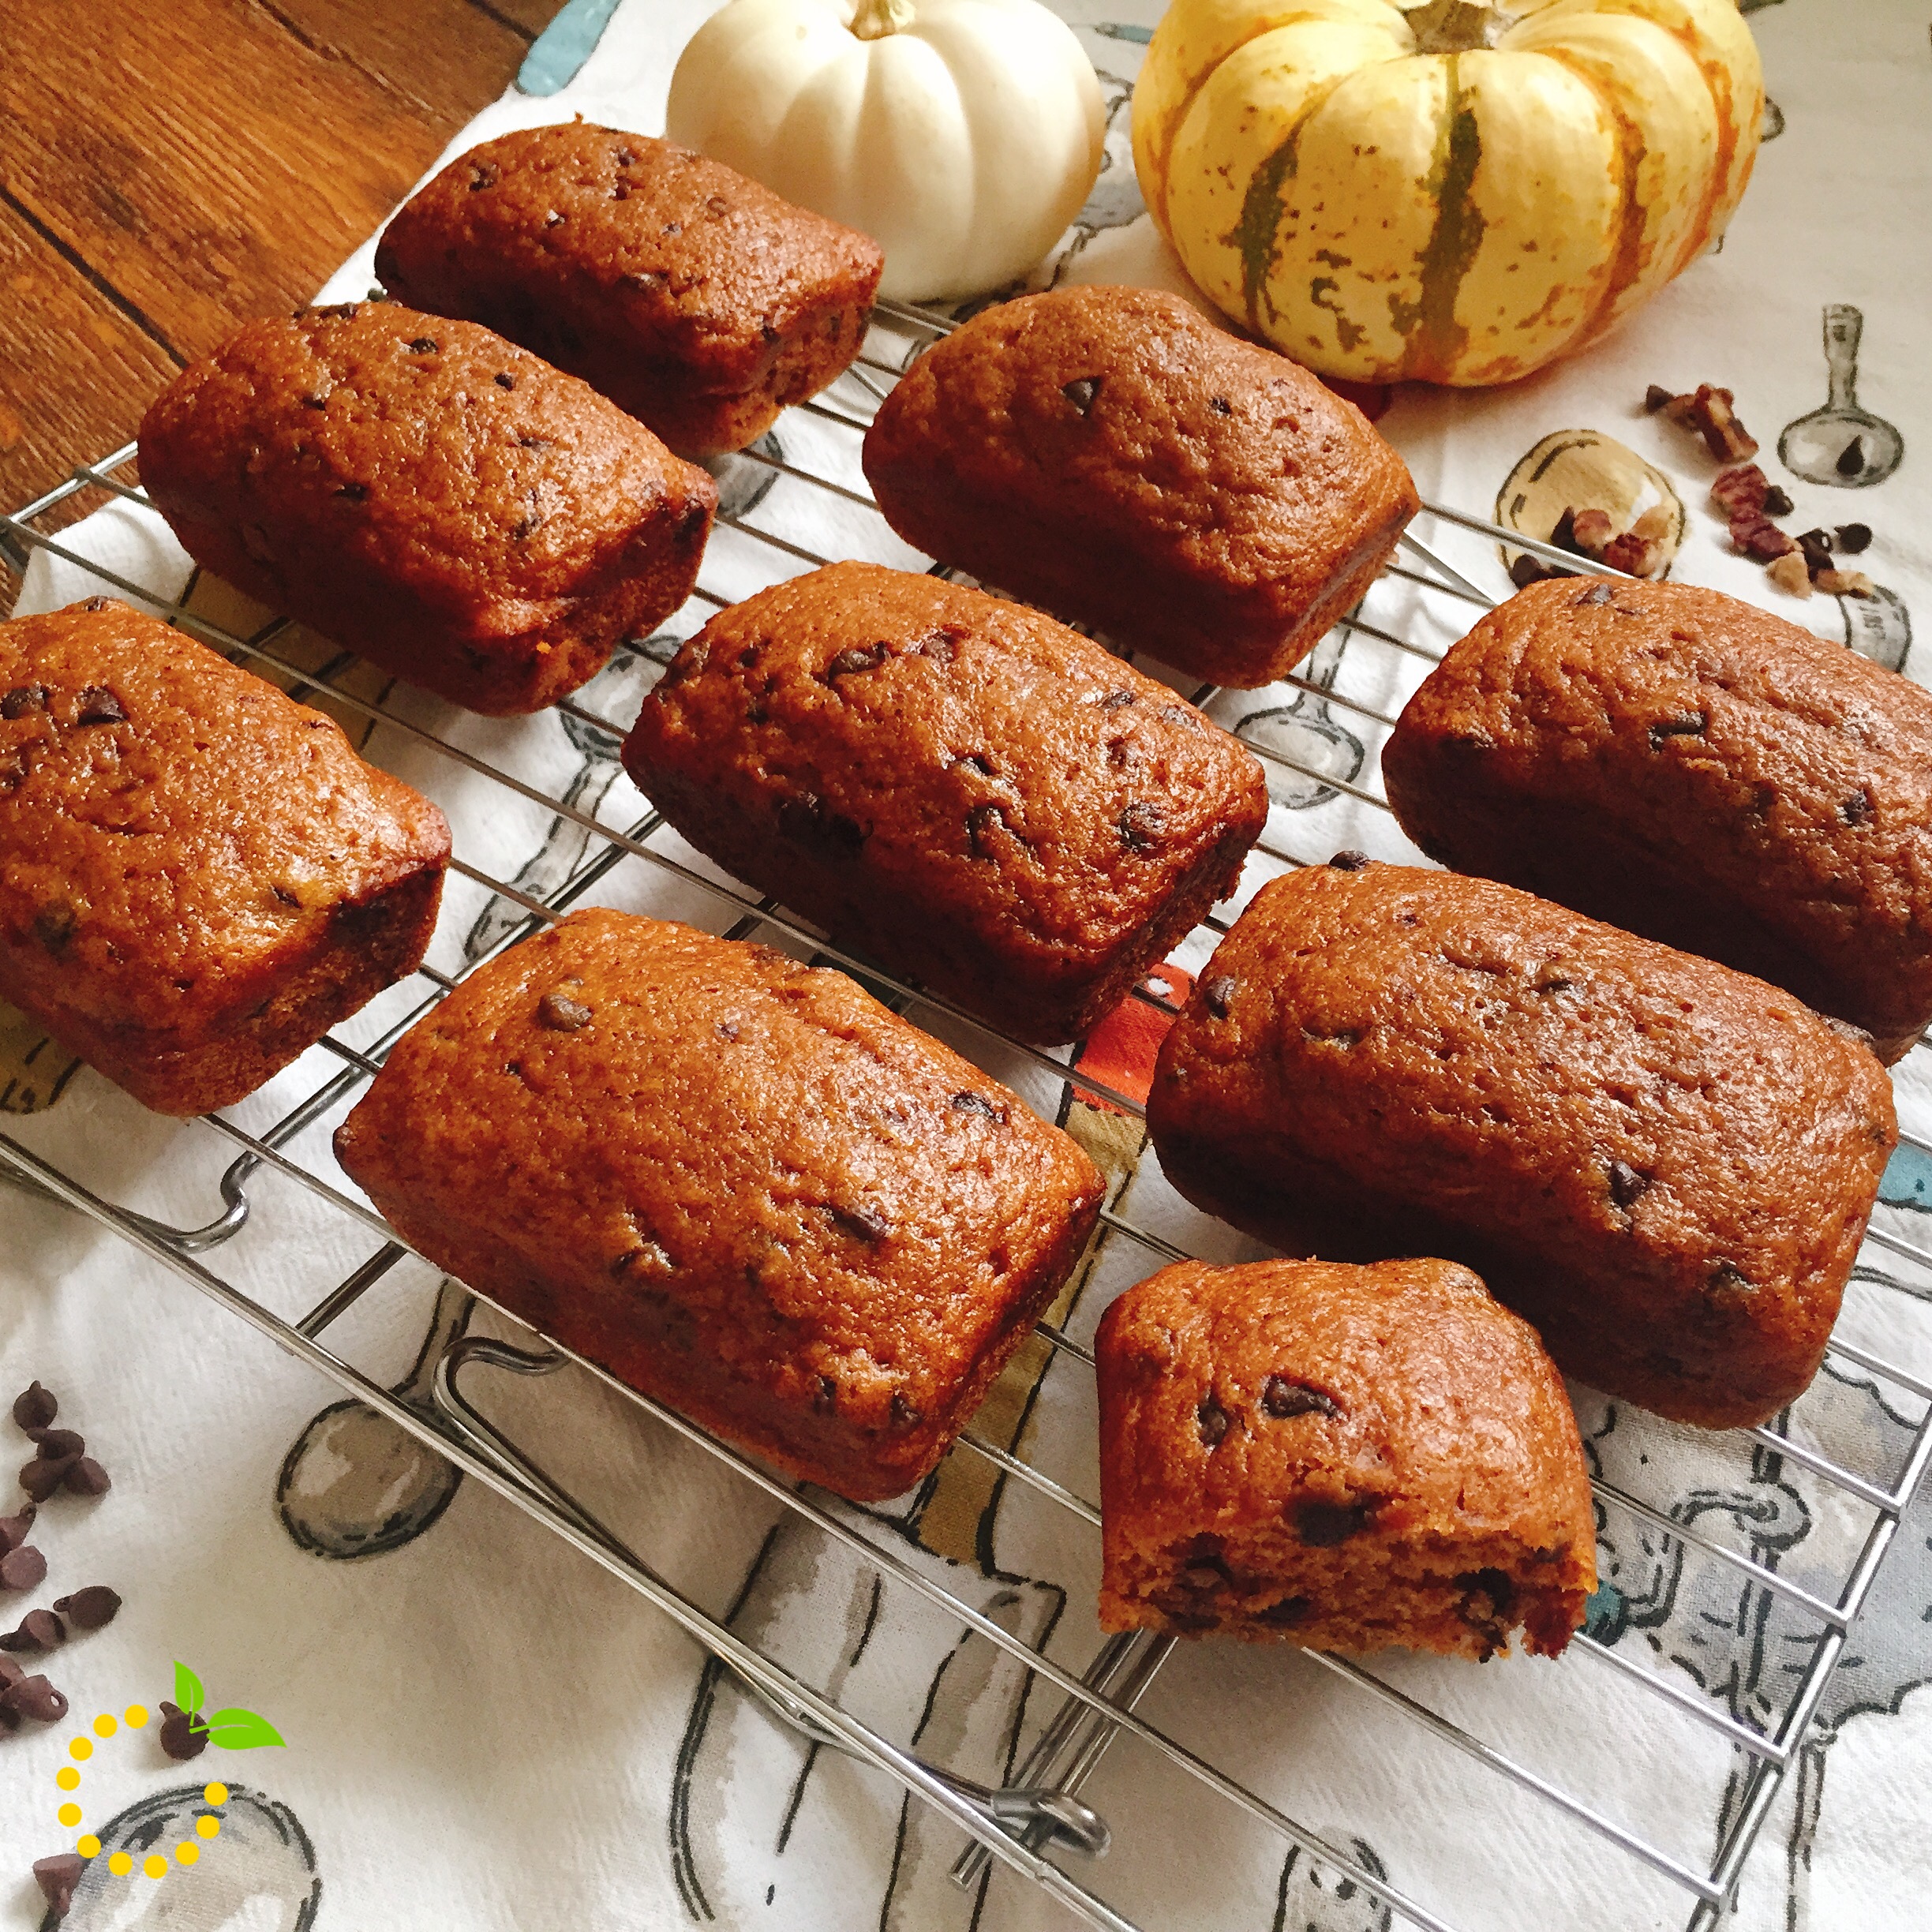
Let the fall baking commence! You can’t celebrate fall without some pumpkin in your life! Am I right? These chocolate chip pumpkin mini loaves have all the flavors you love about fall combined into each little mini loaf—pumpkin, mini chocolate chips, pecans, and bursts of cinnamon and nutmeg. And with the addition of applesauce in this recipe these little loaves are super moist.

img_8498


As I thought about making pumpkin bread, I remember that I had bought this mini loaf pan and couldn’t resist not using it. I love anything mini so, naturally I knew I had to use this new pan of mine! Because mini foods = happiness! 🙂 Does mini food make anyone else’s heart flutter with happiness? I love how these mini loaves are easily shareable with family, friends, and coworkers. And they also make great holiday treats to pack up individually.

img_8336-1

The best part of this recipe is that it is easy and simple. All you need is 2 bowls, a hand mixer, a mini loaf pan, and an oven. I hope I just made your holiday baking one step easier with this simple and delicious recipe.

Chocolate Chip Pumpkin Mini Loaves
Yields 18
Write a review
Print
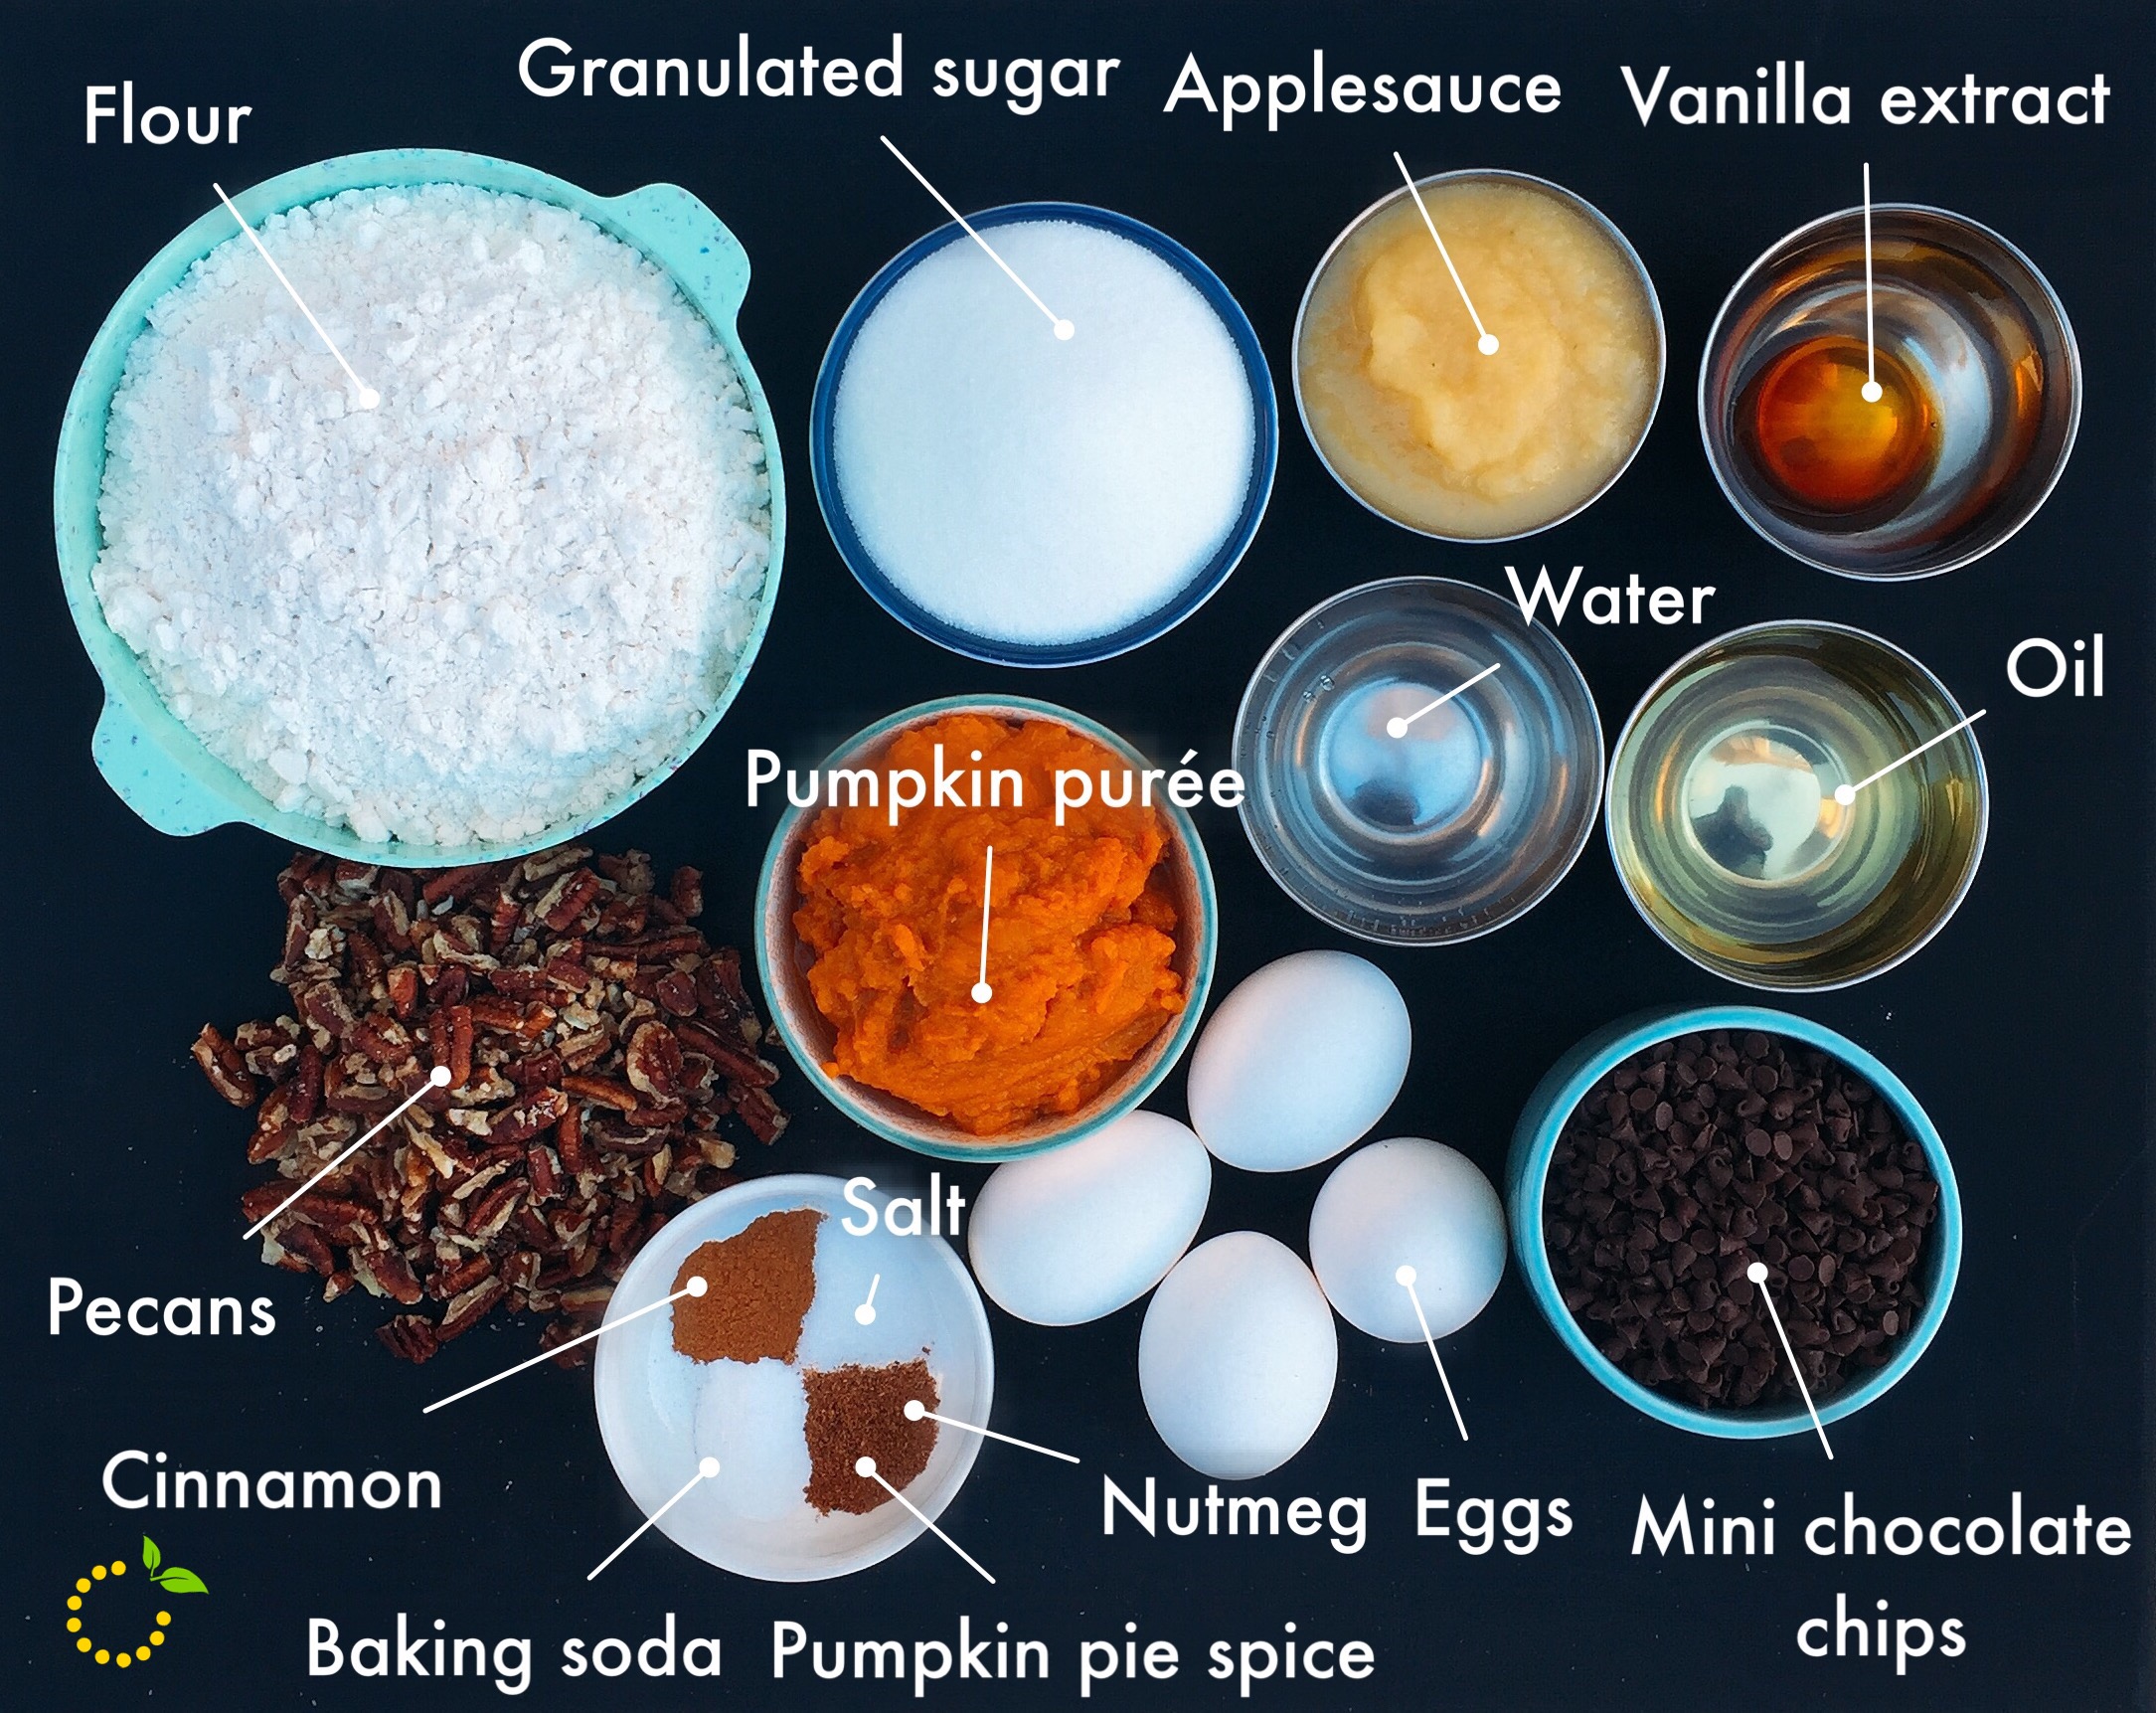
Ingredients
  1. 3 1/2 cups all-purpose flour
  2. 2 teaspoon baking soda
  3. 1 tablespoon cinnamon
  4. 1/4 teaspoon nutmeg
  5. 1 tsp pumpkin spice
  6. 1 teaspoon salt
  7. 2 cups Libby's pure pumpkin (NOT pumpkin pie filling)
  8. 2 cups granulated sugar
  9. 1/2 cup oil
  10. 1/2 cup applesauce
  11. 4 eggs
  12. 1 teaspoon vanilla extract
  13. 1/2 cup water
  14. 1 cup mini chocolate chips
  15. 1 cup chopped pecans or nut of choice (optional)
Instructions
  1. Preheat oven to 350 degrees F.
  2. Grease your mini loaf pan and set aside.
  3. In a large bowl combine pumpkin, oil, applesauce, sugar, eggs, vanilla, and water. Using a hand mixer, mix until combined.
  4. In a separate bowl combine and whisk together the flour, baking soda, cinnamon, nutmeg, pumpkin spice and salt.
  5. Add dry ingredients to wet ingredients and mix until combined.
  6. Add mini chocolate chips and nuts and mix by hand with a spatula.
  7. Scoop batter into pan and fill each just under 3/4 of the way full.
  8. Bake for 20 minutes or until toothpick comes out clean when inserted into middle.
  9. Let cool in pan for 5-7 minutes before transferring to cooling rack.
  10. ENJOY!
Sweet Lemon Made https://sweetlemonmade.com/

 fullsizerender-1

Fashion

Fall Fashion: Birthday Outfit Edition

It’s my birthday today and I’ve put together an outfit to celebrate in!

A chambray shirt is versatile and an essential piece in my wardrobe. It transitions from spring to fall easily!

My Michael Kors watch is my go to staple accessory!

This floral cardigan (insert heart eyes emoji)!

Olive colored jeans have become my new denim. They pair so well with so many things!

Brown pointed toe ankle booties.

I love this Saddlebag cross body purse! I want one in every color they have!

Create

Simple DIY Halloween Box

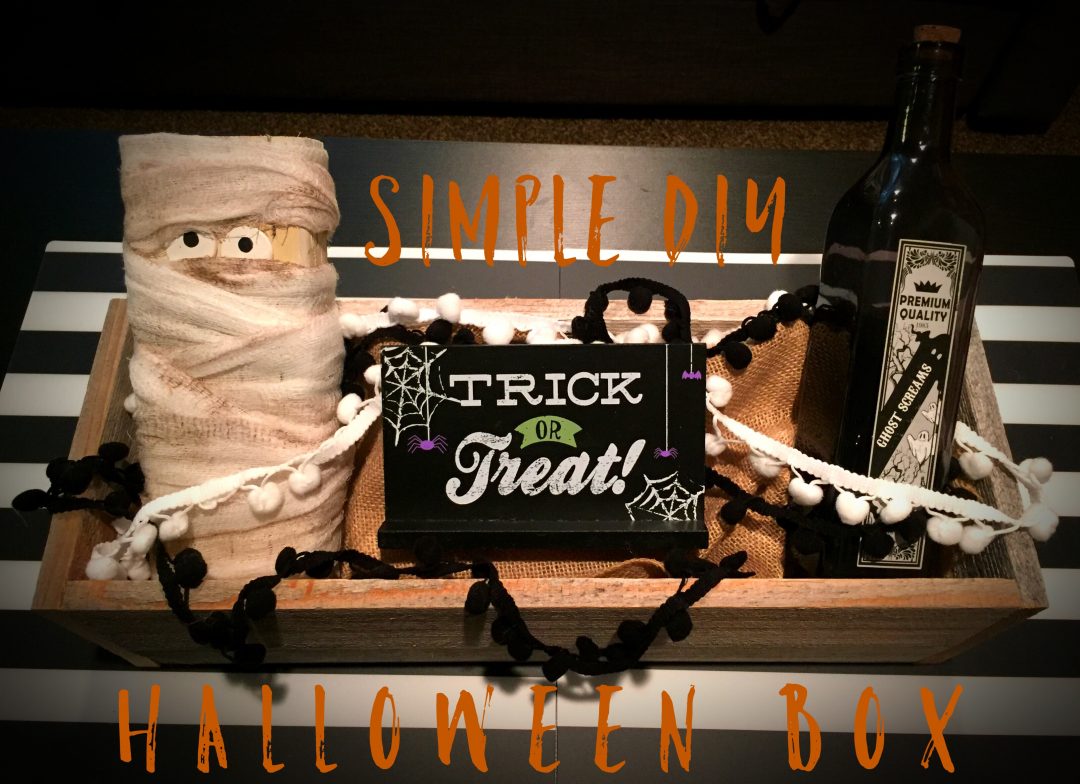
If your short on time or just want something simple to make, this project is for you! And the best part is that the box can be used in so many different ways. It’s the perfect statement piece for my coffee table. I love that I can use the box over and over! It’s nice because each holiday or season I can easily change out the decor to match. For this Halloween box, I found a couple pre-made, store bought pieces at Target in the infamous Dollar Spot section (that spot gets me in trouble every time 🙂 Who else can resist that section?) to make decorating a little bit easier when you have limited time to craft. The mummy is also super easy to make too!


Wood Box Supplies:

  • 3 – 1 x 6 Pieces of reclaimed wood or store bought wood boards cut down to 17″
  • 2 – 1 x 6 pieces of reclaimed wood or store bought wood boards cut down to 7″
  • Nail gun
  • Wood stain/paint (optional if using store bought boards)

Directions:

  1. First cut all of your 1 x 6 boards down to size.
  2. Using your nail gun nail each of the long pieces to the bottom piece and then nail small end pieces to the outside of the bottom and long side pieces.


Wood Mummy Supplies:

  • 2×4 piece of wood cut down to 9″ tall
  • Cream/off white spray paint
  • Cheese cloth
  • Wood circles 
  • White and black paint
  • Paint brush
  • New No. 2 pencil with eraser
  • Wood glue
  • Wood stain
  • Latex gloves
  • Hand staple gun 

Directions:

  1. Cut 2×4 down to 9″ tall.
  2. Spray paint and let dry.
  3. Paint wood circles with white paint and using the eraser, dip it into some black paint and dot your eyes. Set aside to dry.
  4. Cut cheese cloth into strips of varying widths.
  5. Put on your latex gloves and dip a couple of fingertips into your wood stain and brush it onto your cheese cloth to give it a spooky look.
  6. Glue eyes on with wood glue.
  7. Wrap strips around your wood piece alternating angles and directions to give it a more mummified look stapling the end pieces to the back of the mummy with a hand staple gun.

Other supplies:

  • Trick or treat sign–found in the Dollar Spot section at Target (last seasons Halloween decor)
  • Apothecary bottle–found in the Dollar Spot section at Target (current find)
  • White and black Pom Pom garlands–found in the Dollar Spot section at Target (current find)
  • Burlap

Assembly:

  1. I stuffed the bottom of my box with a couple packing bubbles and tissue paper and covered it with some burlap to hide it to prop up the mummy, sign, and bottle.
  2. Place your items into the box and then string the garlands around.

Eats

S’mores Stuffed Peanut Butter Blondies

S'mores Stuffed Peanut Butter Blondie sweetlemonmade.com

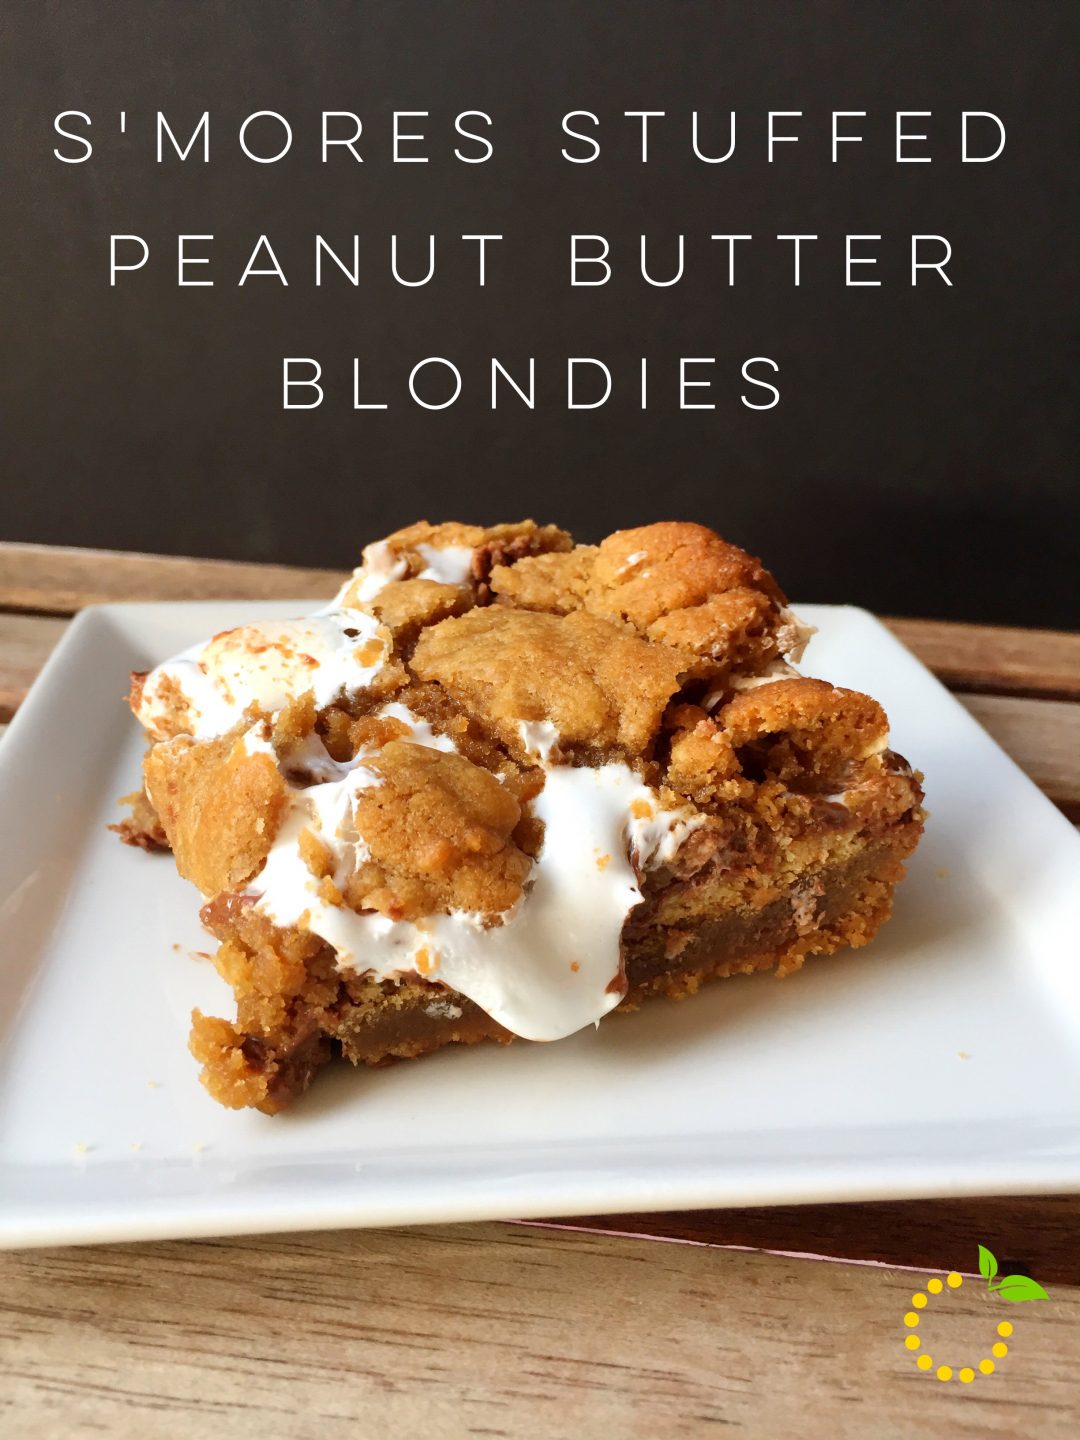
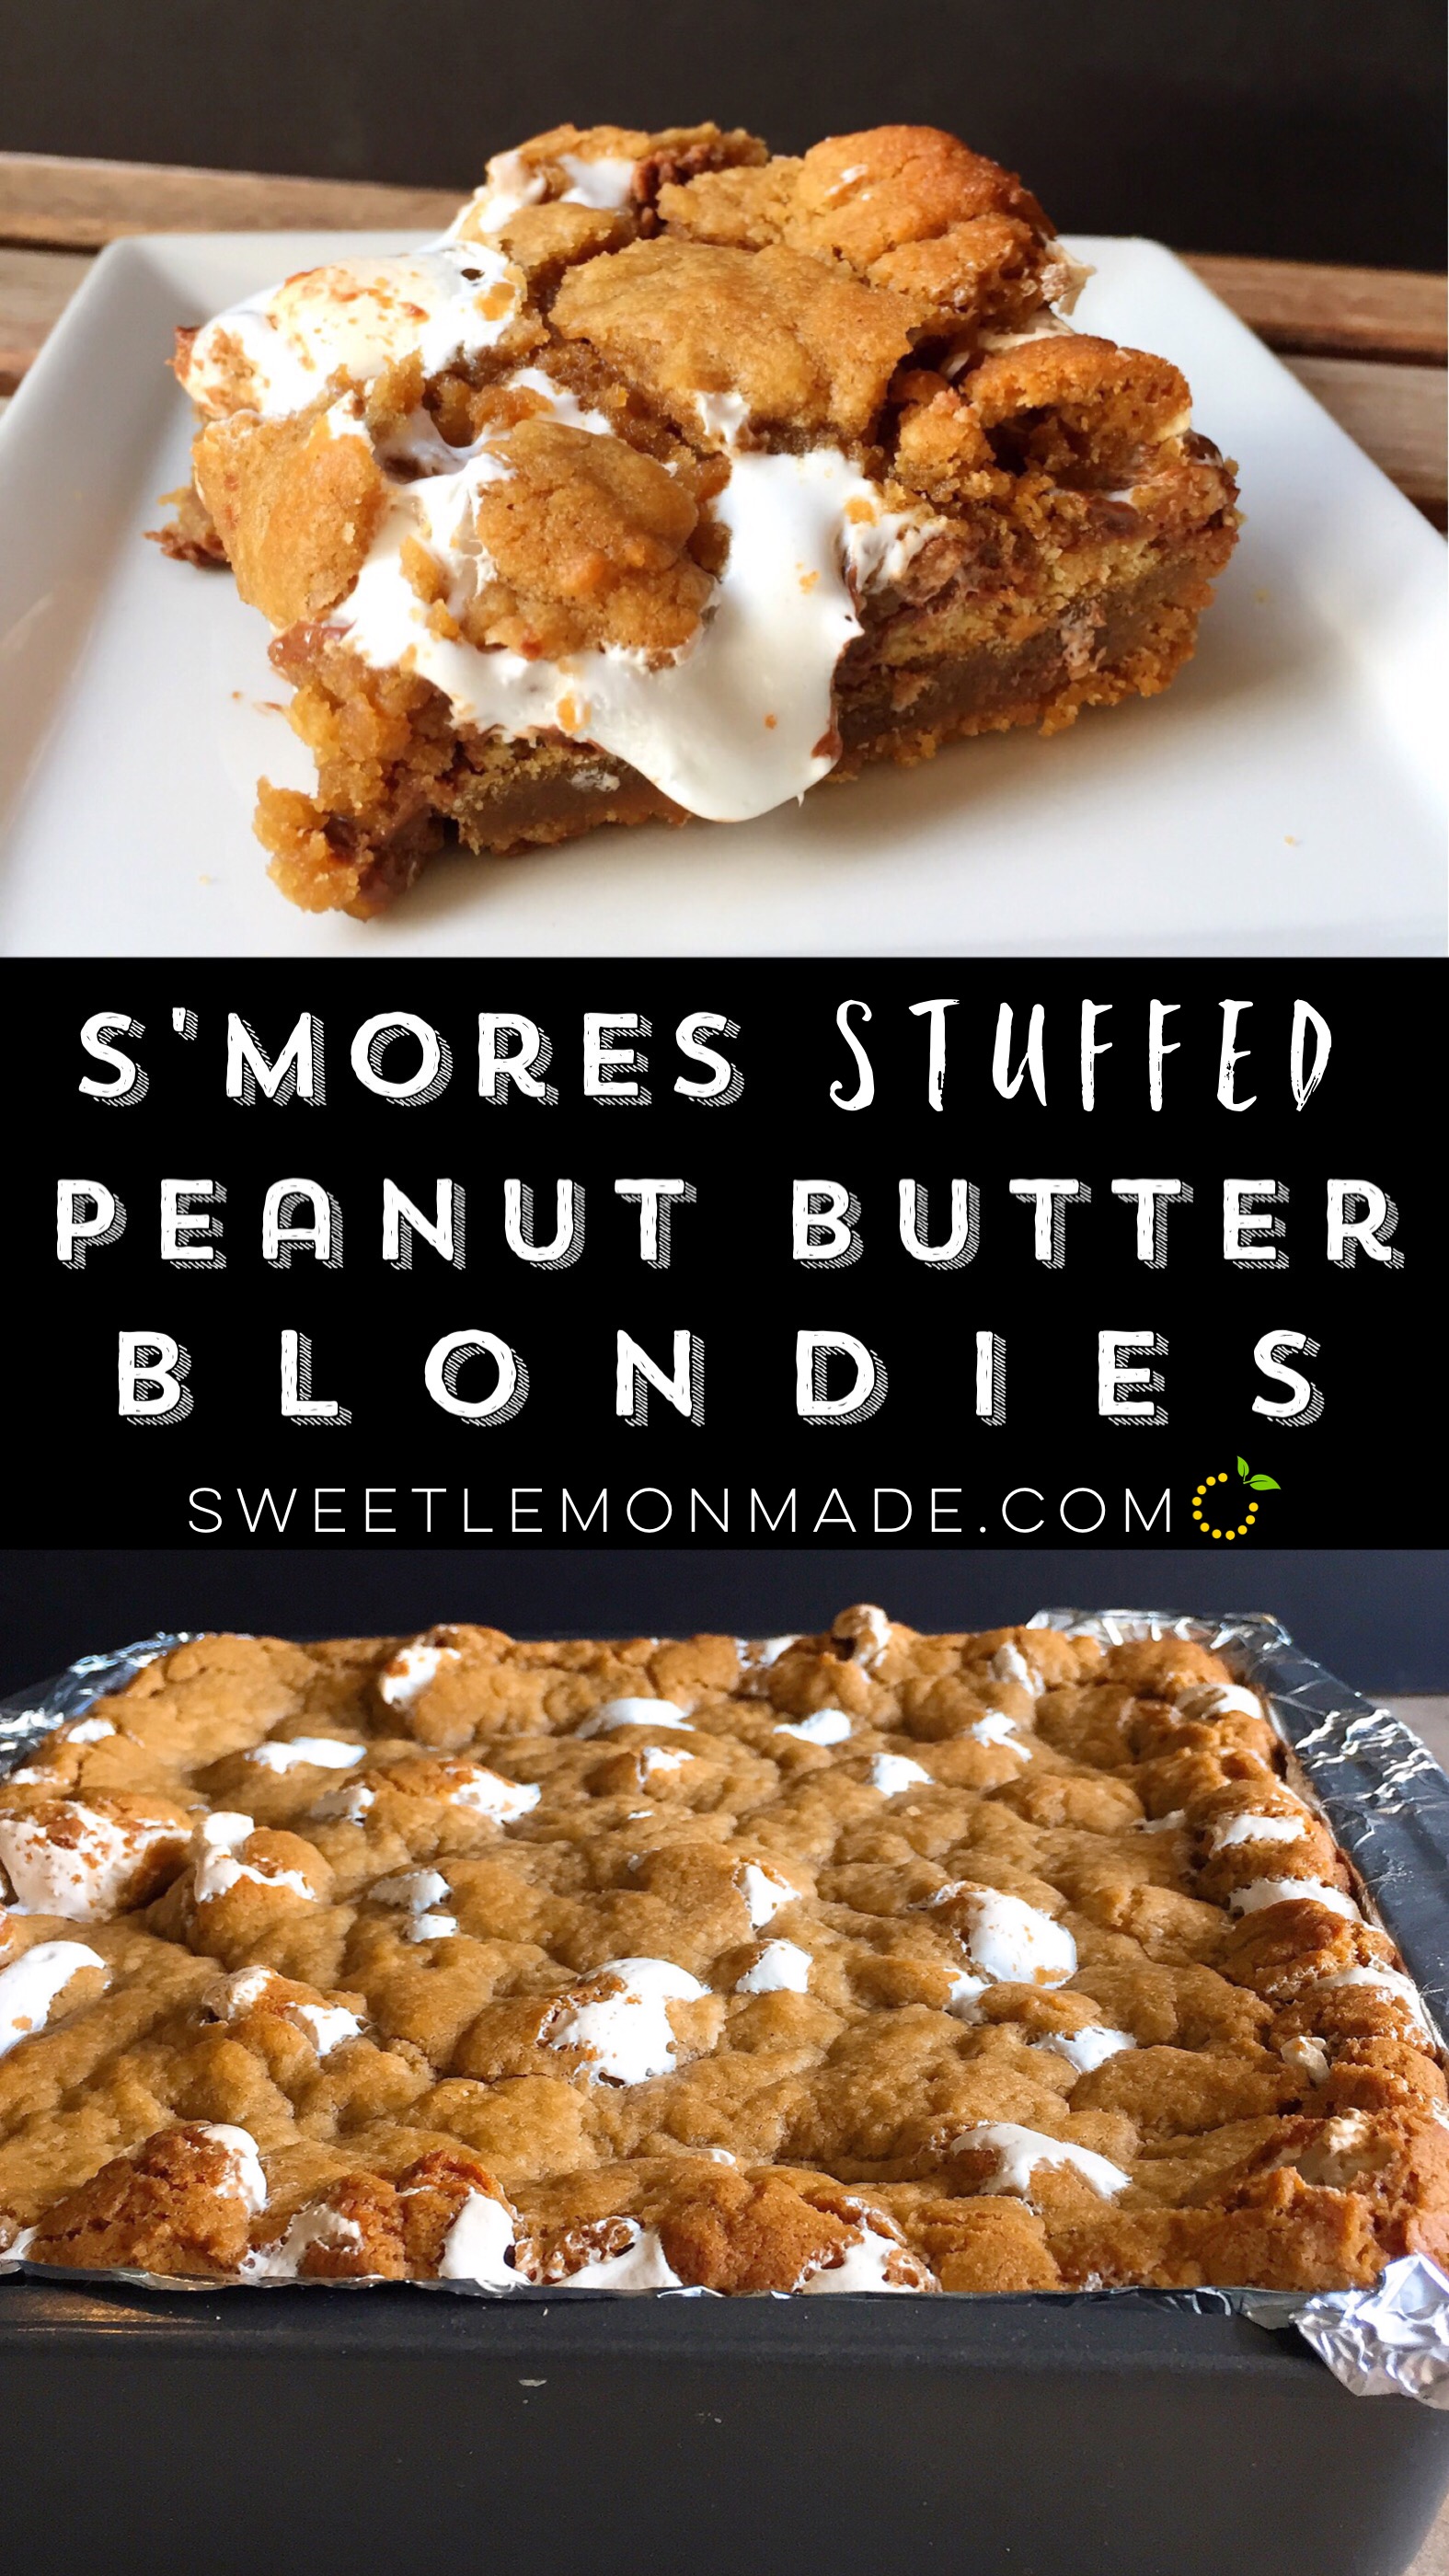
Summer is about to come to an end but, eating our favorite summertime treat doesn’t have too! If you are as obsessed about s’mores as we are, check out all of our yummy non campfire s’mores treats you can make. Continuing s’mores week on the blog, we have another recipe to share. These s’mores stuffed peanut blondies are layered with peanut butter blondie dough, graham crackers, Hershey chocolate bars, marshmallow creme, and topped with more peanut butter blondie dough all baked to perfection!

When you bite into this blondie it’s soft and chewy and a bit messy but, so worth eating! If you happen to not finish the whole pan (very unlikely–haha!) you can store them in the fridge. Enjoying them straight out of the fridge is just as good and is a less messier version. You can always pop them into the microwave for 5-10 seconds to get the marshmallow cream a little ooey gooey and the chocolate a bit melty! And those of you out there that aren’t obsessed with s’mores or may not even like s’mores shouldn’t count this dessert out! I gave some of these to my friend not knowing she didn’t really like s’mores and when I asked her how she liked them she said that she loved them even though she doesn’t really like s’mores normally. Have we turned you into a s’mores lover with all of our s’mores desserts? 

S'mores Stuffed Peanut Butter Blondie ingredients sweetlemonmade.com

S'mores Stuffed Peanut Butter Blondies
Write a review
Print
Ingredients
  1. 1/2 cup unsalted butter
  2. 2 cups dark brown sugar
  3. 1/2 cup peanut butter
  4. 2 large eggs
  5. 1 teaspoon vanilla extract
  6. 2 1/2 cups all purpose flour
  7. 1 teaspoon baking powder
  8. 1/4 teaspoon baking soda
  9. 1/2 teaspoon salt
  10. 2 giant sized Hershey’s milk chocolate bars
  11. 7 oz. jar marshmallow creme
  12. 4-5 whole graham crackers
Instructions
  1. Preheat the oven to 350°F. Line an 8×8-inch pan with foil, leaving an overhang on all sides, then spray with nonstick baking spray.
  2. In a saucepan over medium heat, melt the butter and brown sugar, stirring constantly until smooth. Remove from the heat, and stir in the peanut butter and allow to cool.
  3. Combine the flour, baking powder, baking soda and salt in a large mixing bowl.
  4. Add the eggs to the cooled peanut butter mixture, one at a time, mixing well after each addition. Add the vanilla extract and stir to combine. Pour the mixture into the prepared dry ingredients, and stir to create a thick, smooth batter.
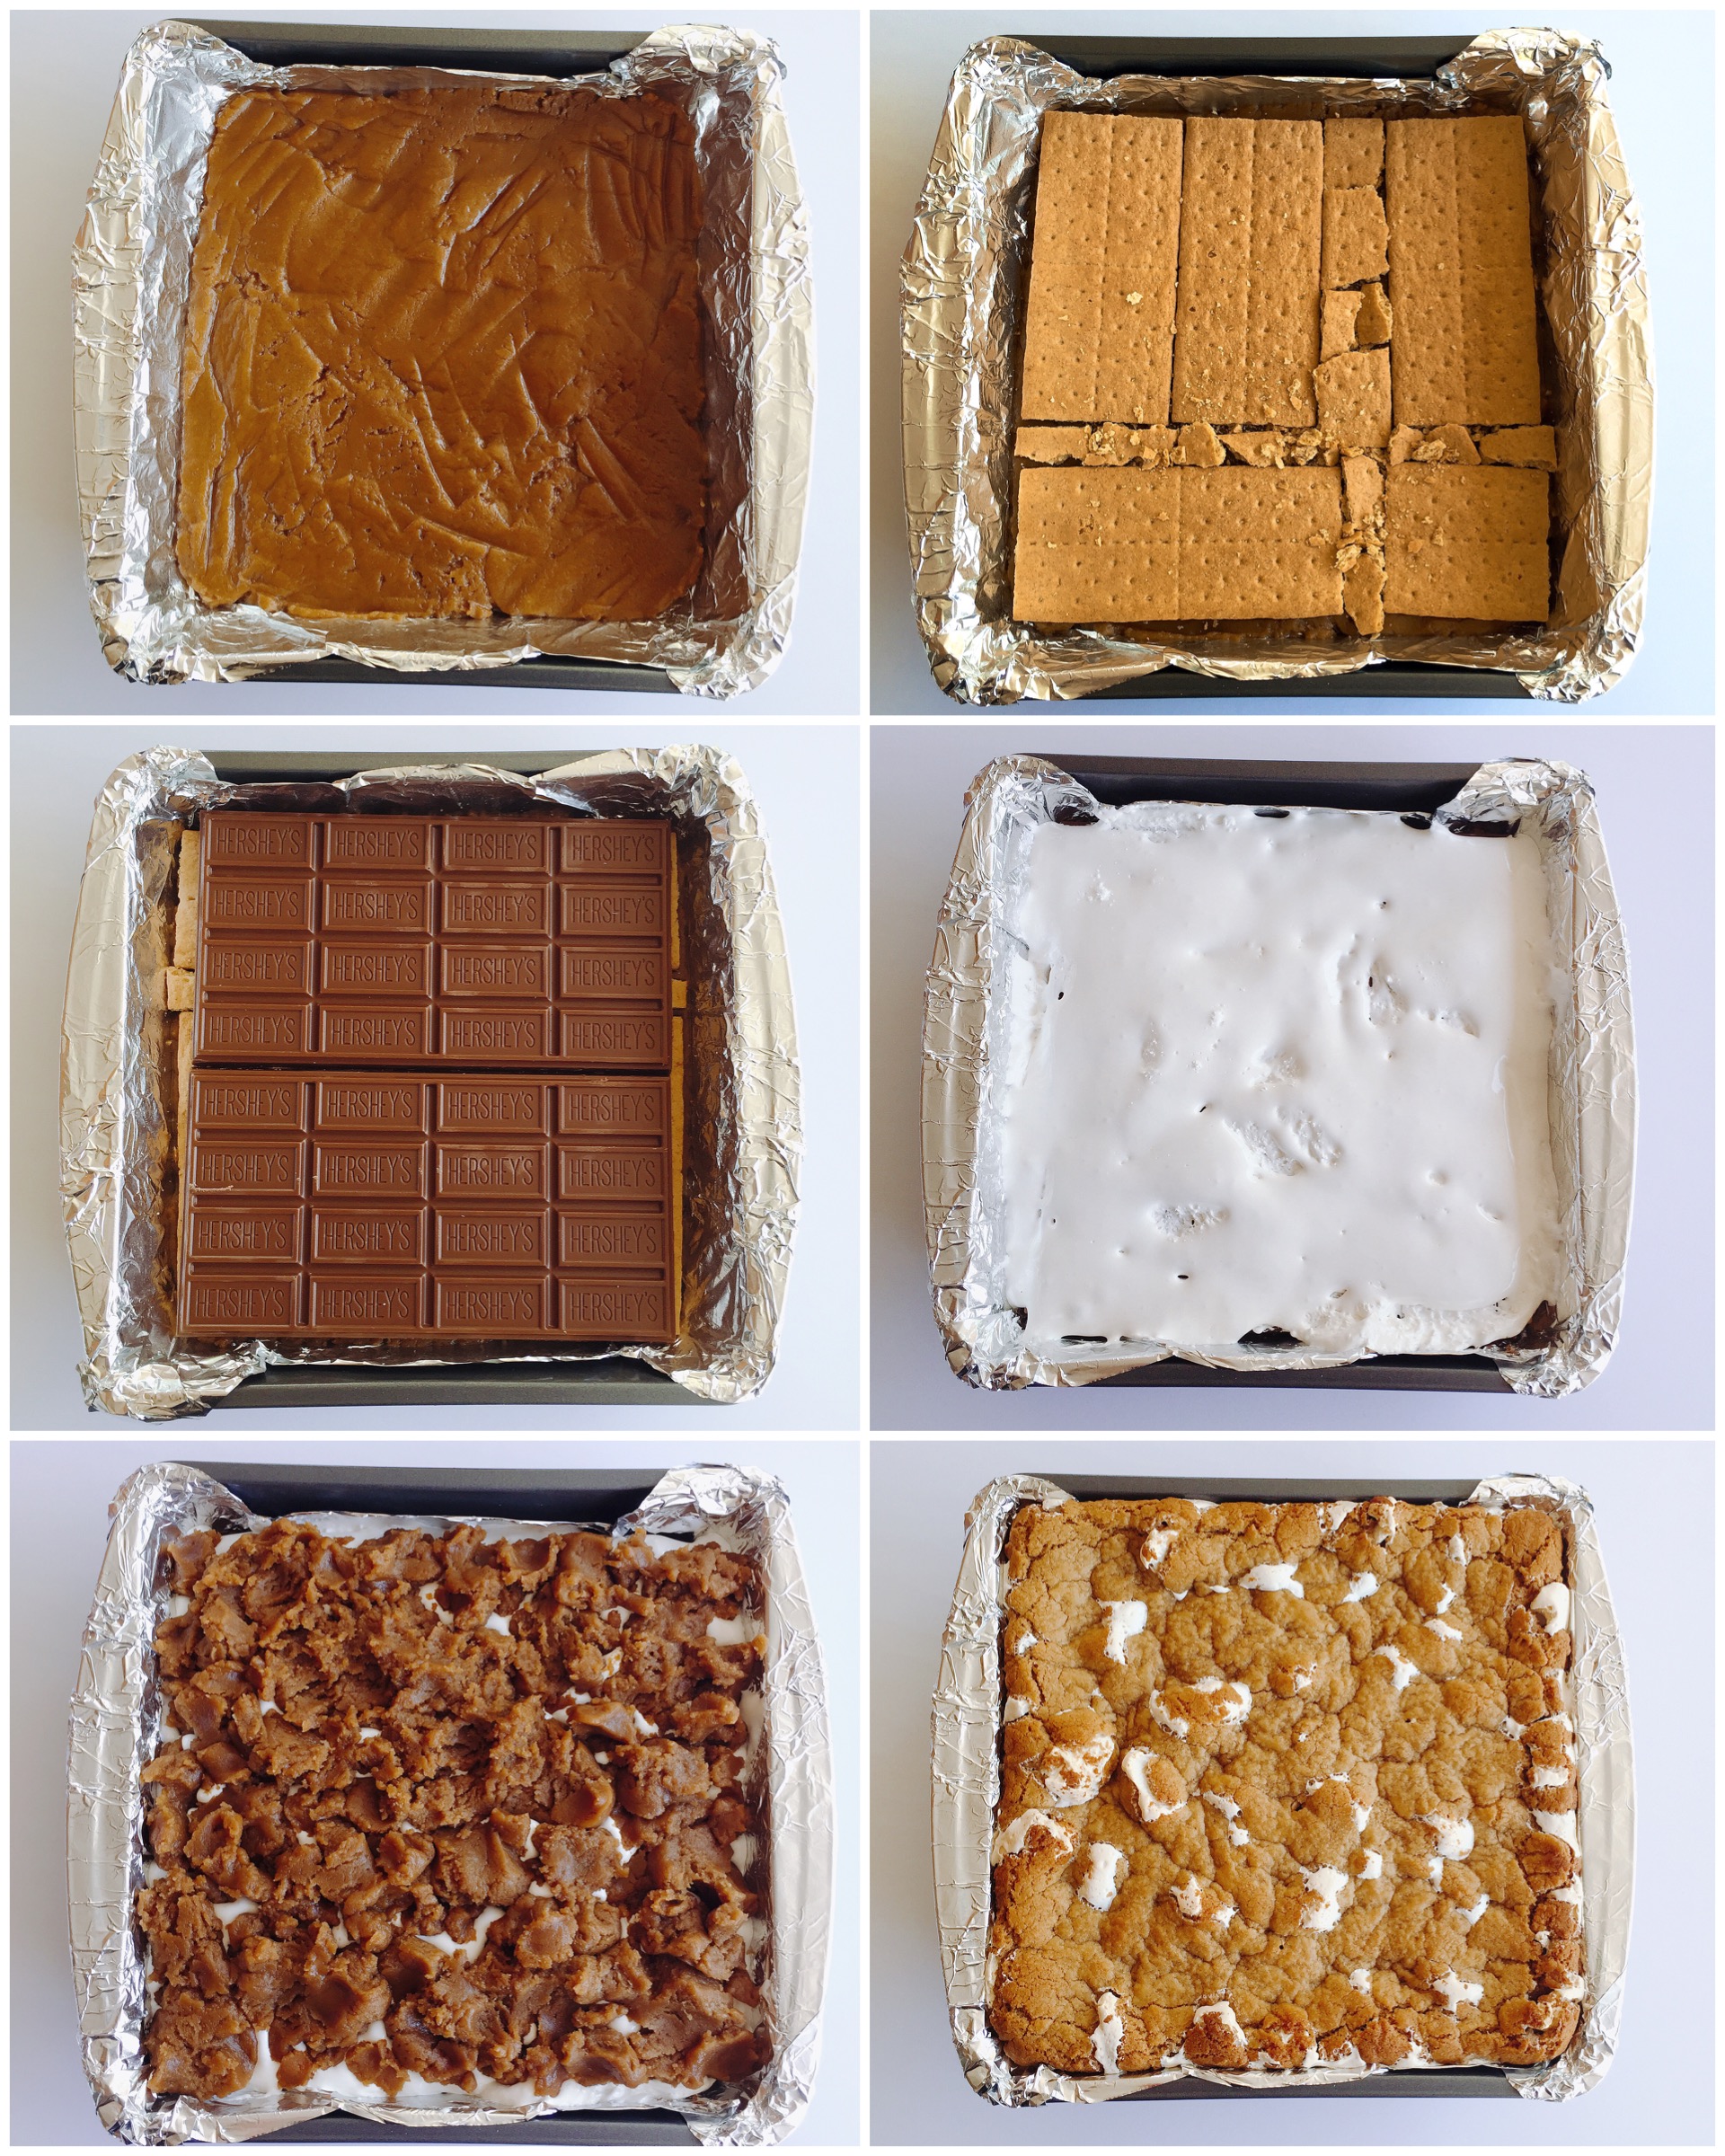
  5. Divide the dough in half and press half into the prepared pan, spreading evenly to the edges of the pan. Place the graham crackers on top of the dough then the chocolate bars over the graham crackers. Spread the marshmallow creme evenly over the chocolate.
  6. Dollop scoops of the remaining dough on top of the marshmallow creme and flatten completely to cover.
  7. Bake for 20-25 minutes until the top is golden and the edges are slightly browned. Allow to cool in the pan. Cut into 1-2 inch squares and serve. TIP: placing them in the fridge will make it easier to cut.
Sweet Lemon Made https://sweetlemonmade.com/
Recipe adapted from Handle the Heat

Smores Blondies sweetlemonmade.com