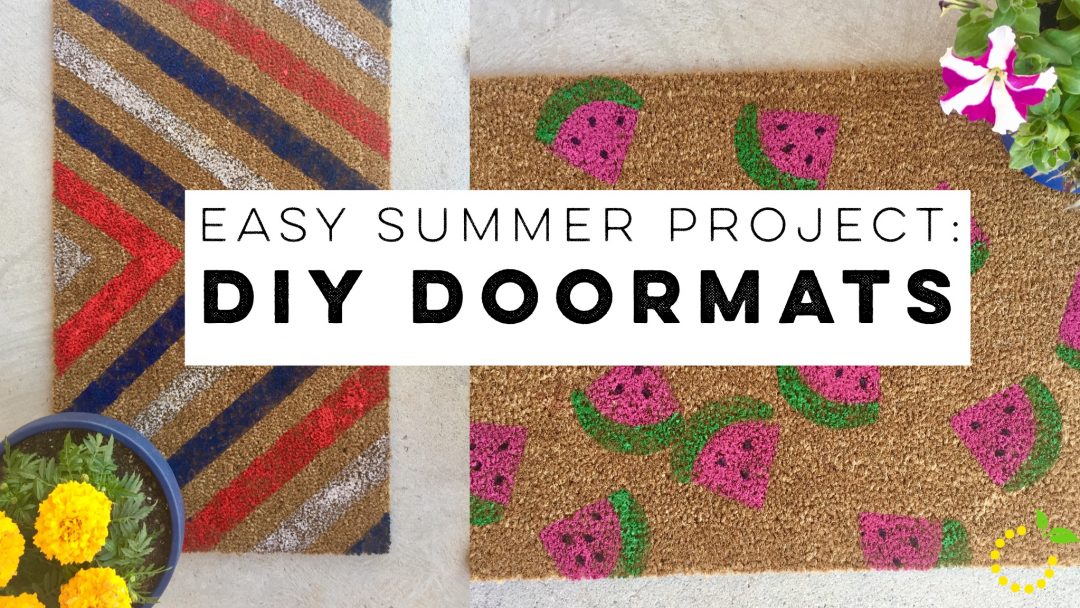
I’m the kind of person that thinks in seasons. On Pinterest I literally have my food boards split into seasons (summer food, fall food, etc). Eating a watermelon basil salad in November just feels wrong, almost as weird as eating cozy chicken pot pie in May. Am I right?? This seasonal framework carries over into my decor, especially on my porch! You guys know what I mean…you have the winter wreath, the spring wreath, the summer wreath,etc. Now I’m kind of obsessed with having seasonal doormats as well. I’m in the process of helping my mom do a “porch makeover” (stay tuned for the big reveal next week) and we needed some fun, summery doormats! My fellow blogger and Target partner-in-crime, Ashley, found some good options, but my parent’s house is tricky and it has three front doors (yeah, three?!?) and we couldn’t find three of the same mat! But sitting next to the picked-over piles of cute mats, was a pile of plain, natural doormats and that’s when the idea struck! Let’s just paint our own! So we did some googling and figured out what we needed, thought about some designs, and went at it. We decided to do a fun watermelon theme on one set and a patriotic theme on the other set (perfect for the upcoming 4th of July holiday).
Some projects we get ourselves into seem super easy, but end up being more complicated and time consuming than we ever thought possible. This project was the opposite! It was super simple and worked out just as easy as had hoped it would. It would even be a fun project to do with kids. It also makes a great gift idea for a new home-owner or anyone that appreciates a little pizazz on their porch! Check out all the details below.

Supplies:
- Plain, natural doormat (you can buy them for $10 at Target, Home Depot, or Ikea)
- Large all purpose sponge (with curved edge)
- Painter’s tape (you know, the green or blue stuff)
- Outdoor acrylic craft paint (2 oz bottle of each color)
- Waterproof clearcoat/sealer (for extra protection)
- Large all-purpose scissors (for cutting sponge)
- Small sponge paint brush (for touch ups)
- Fine bristle paint brush (for accents/details)
- Paper plate (for paint)
- Sharpie marker (to make sponge stencil)
- Tarp or sheet (to protect floor from paint)
Directions for Watermelon Doormat:
- Lay down the tarp to cover your floor.
- Shake or wipe off doormat with a towel to get any dirt or dust off.
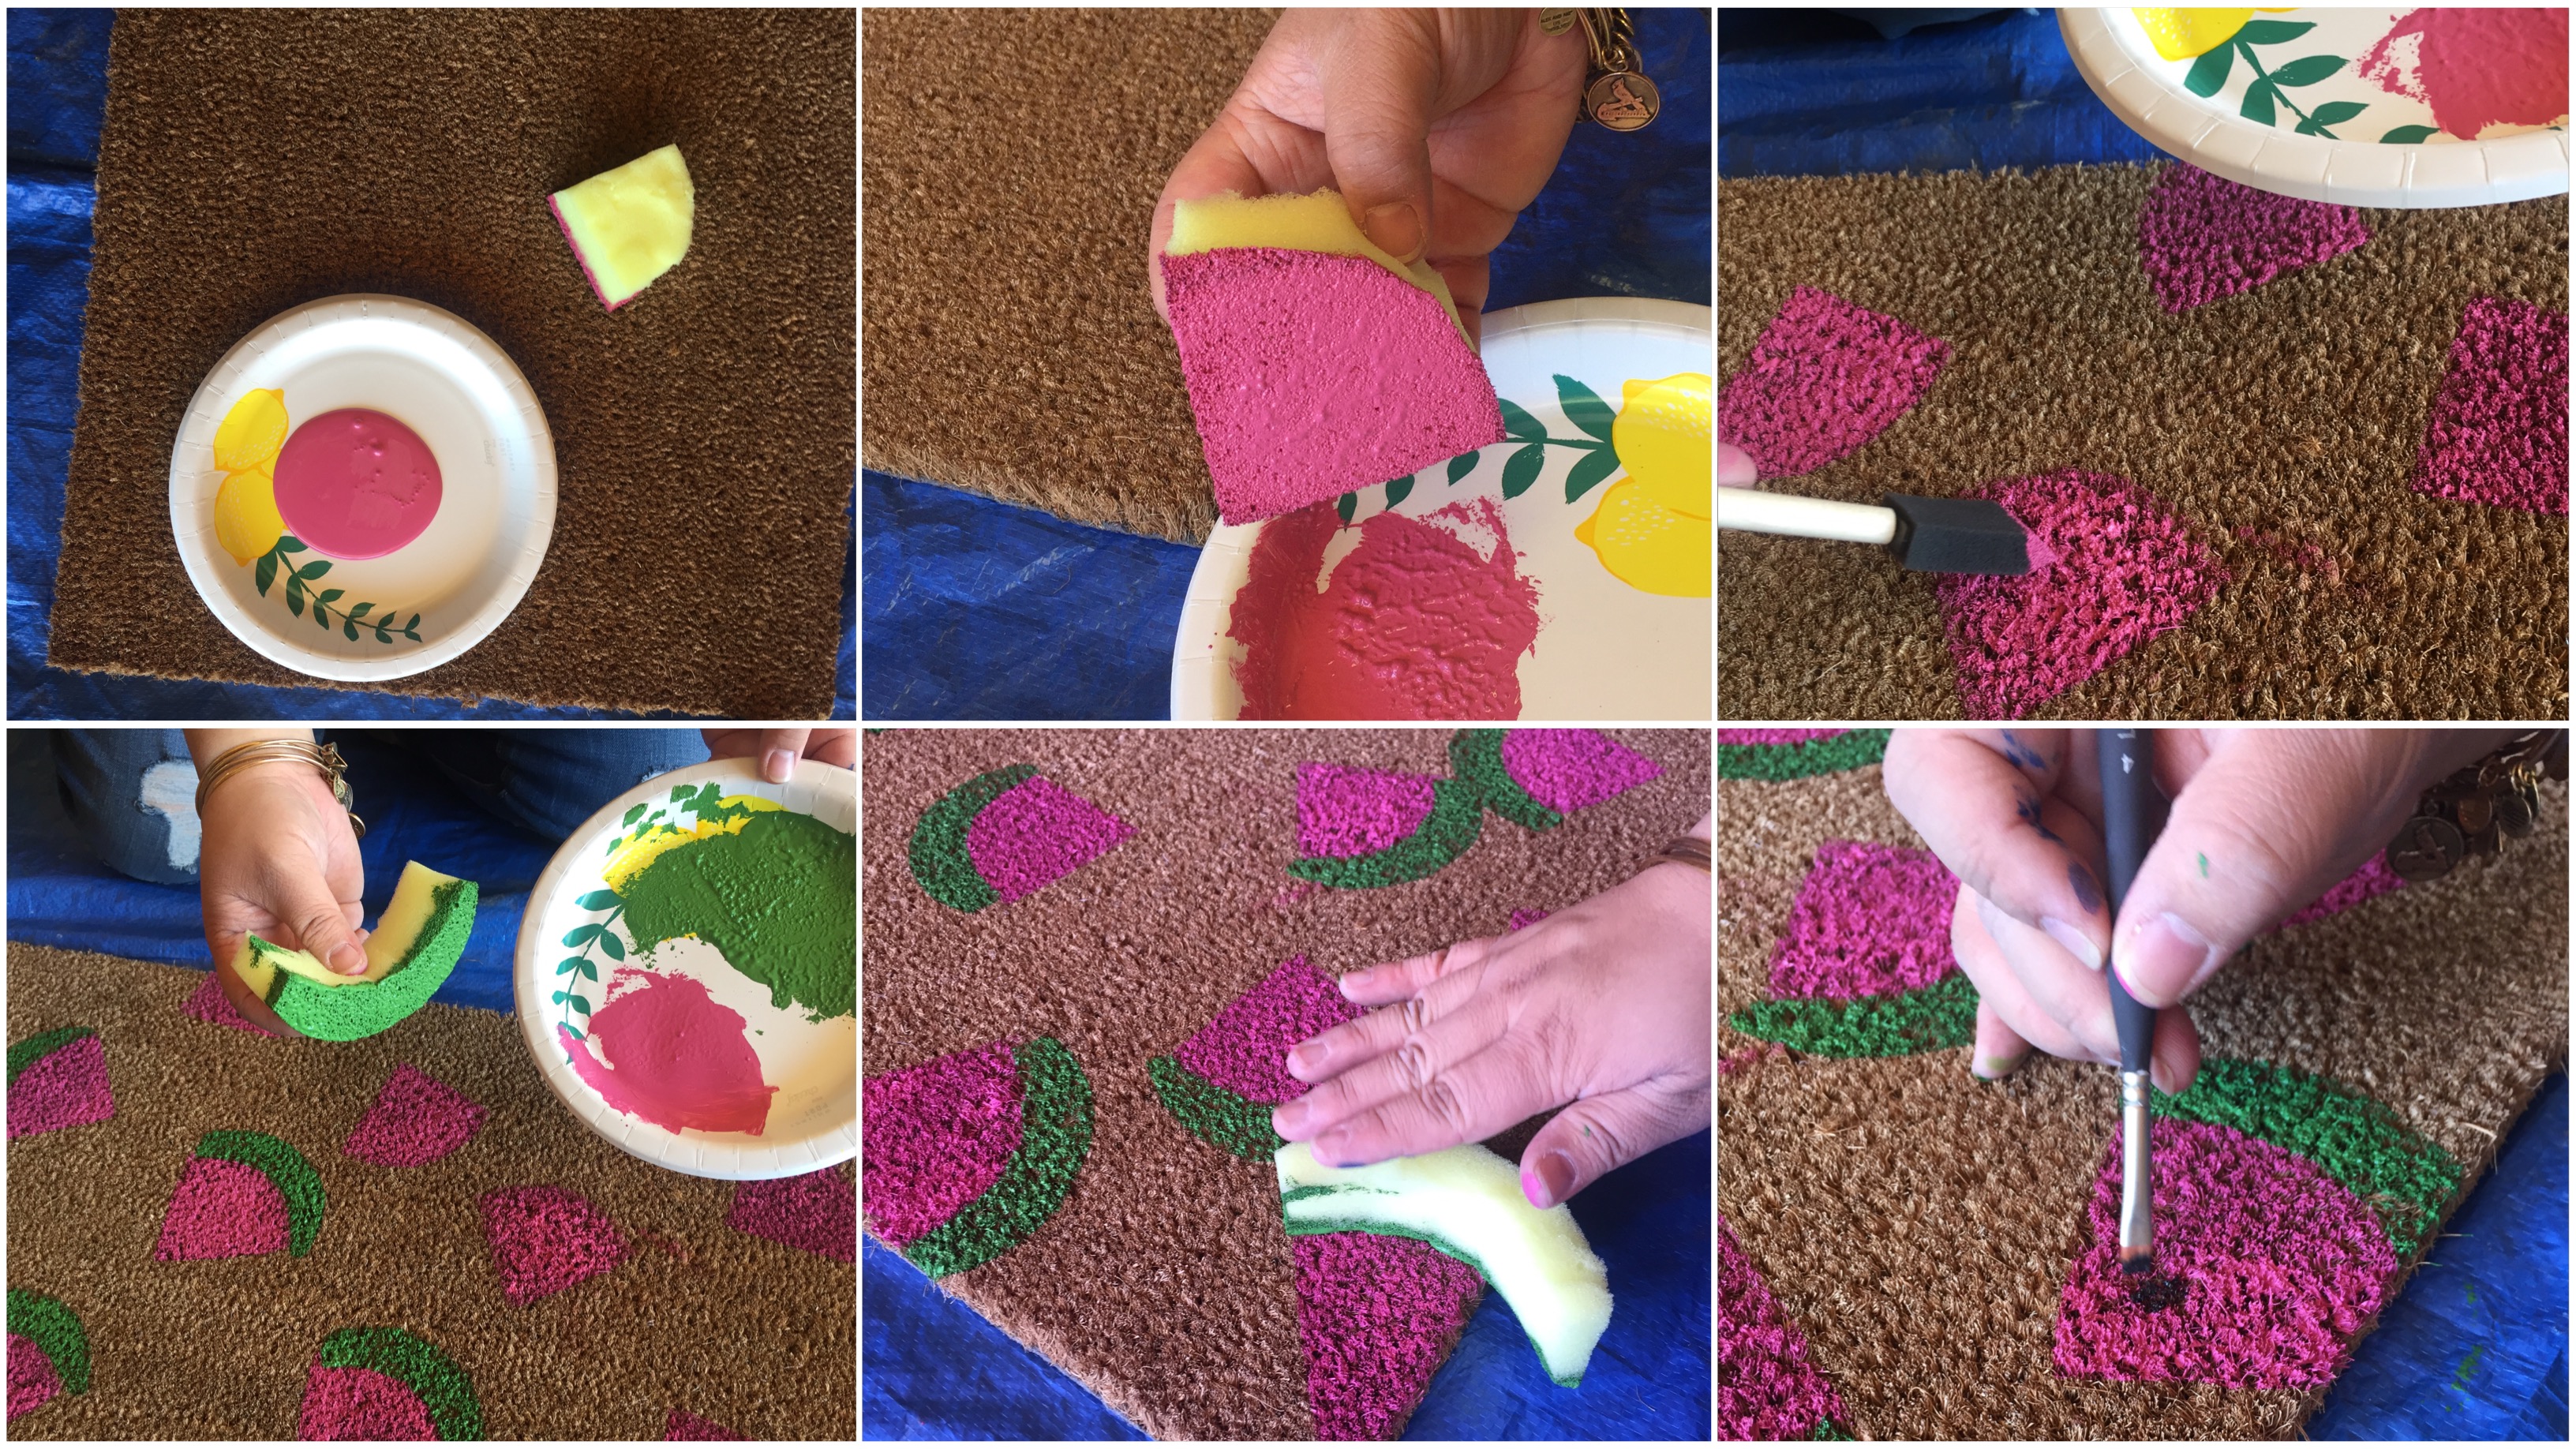
- Using a stencil or freehand, take the curved end of the sponge and draw a triangle coming to a point in the middle of the sponge, making the shape of a watermelon slice. Then draw the curved line about ½ inch to ¾ inch from the curved edge to make the watermelon rind.
- Cut out the watermelon shape using scissors. Our sponge was really thick, so we also cut the shape in half so it was easier to work with. You should have one piece cut for the watermelon slice and one piece for the rind.
- Pour entire 2 oz bottle of pink paint onto paper plate (don’t pour the green paint yet–it will dry out) and dip watermelon slice into the paint. Make sure there is a thick coating of paint on the sponge.
- Stamp the watermelon slice onto the mat and press firmly around the entire shape to ensure the paint transfers from the sponge to the mat. Repeat this process until the mat is covered with a random pattern of watermelon slices.
- Allow pink slices to dry about 15 to 20 minutes before stamping the green rind.
- Once the slices are dry, pour green paint onto a new paper plate and begin stamping the rinds on each watermelon slice. Allow to dry.
- Next, taking the fine bristle paintbrush and black paint, begin painting small oval-shaped seeds on each slice of watermelon. Allow to dry.
- Finally, spray the mat with two coats of craft clear coat/sealer (waiting 15 minutes between coats). If you use outdoor paint this isn’t necessary, but will help protect the mat even more.

Directions for Patriotic Design:
- Shake or wipe off doormat with a towel to get any dirt or dust off.
- Find center of the doormat by folding in half and marking subtly with Sharpie.
- Starting in the center, take the painter’s tape and make a line from the center of the mat to the bottom left-hand corner. Repeat and make a similar line from the center to the right-hand corner.
- Press the tape firmly into the mat (I rubbed the closed paint bottle over and over the tape until it was fully adhered). This is key to ensure that you have crisp lines and your paint won’t bleed through!
- Continue applying the tape in the same fashion to complete the pattern shown.
- Gather the paint, you will need a full 2 ounce bottle for each of the three colors, red, blue, silver.
- Determine which sections will be which color, I did an alternating pattern of red, blue, silver, blue, red, silver.
- Starting with the red, pour paint onto paper plate and paint ALL the red sections. Next, pour the blue paint onto a new paper plate and paint ALL the blue sections. Lastly, pour the silver paint onto a new paper plate and paint ALL the silver sections.
- Allow the paint to dry for 15 to 20 min (faster if you put it in the sun) before removing the tape! It’s worth the wait…you’ll mess up your crisp lines if you don’t wait.
- Finally, spray the mat with two coats of craft clear coat/sealer (waiting 15 minutes between coats). If you use outdoor paint this isn’t necessary, but will help protect the mat even more.

Tip: we tried it using both the sponge paint brush and a cut square of the large sponge used for the watermelon and FYI the piece of the big sponge worked way better and had better pain coverage than the sponge paintbrush.