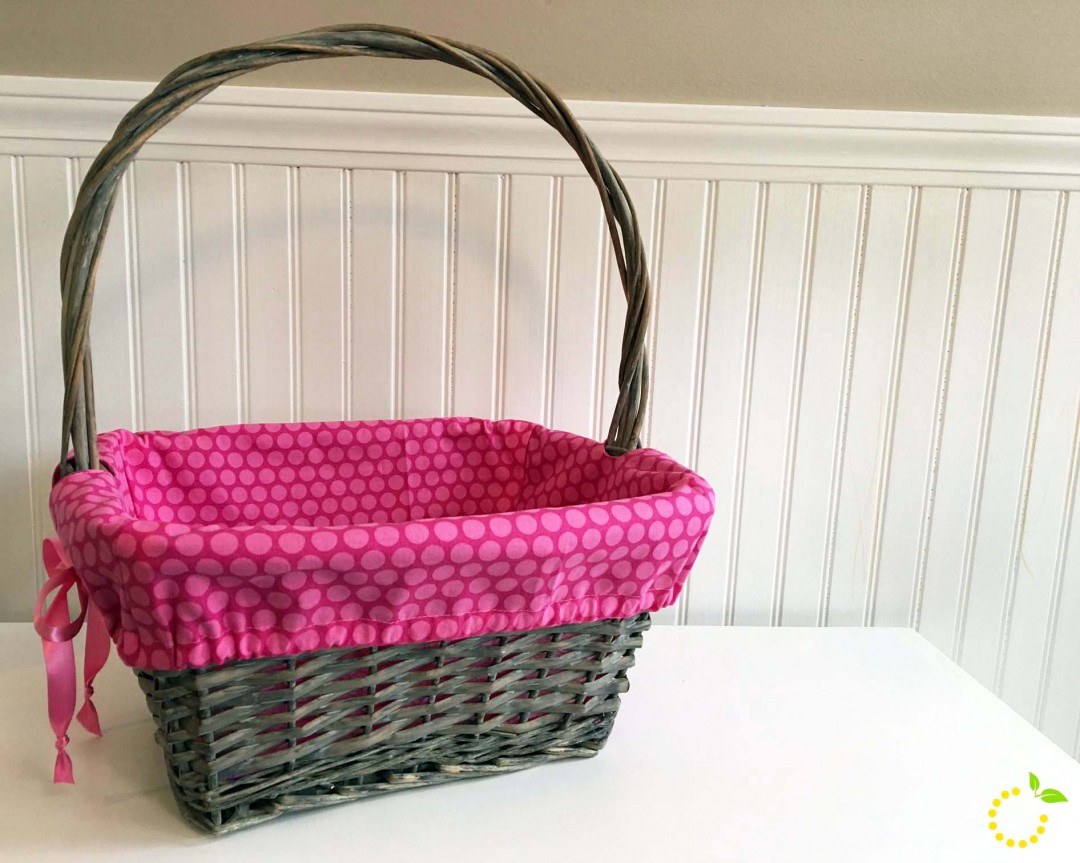
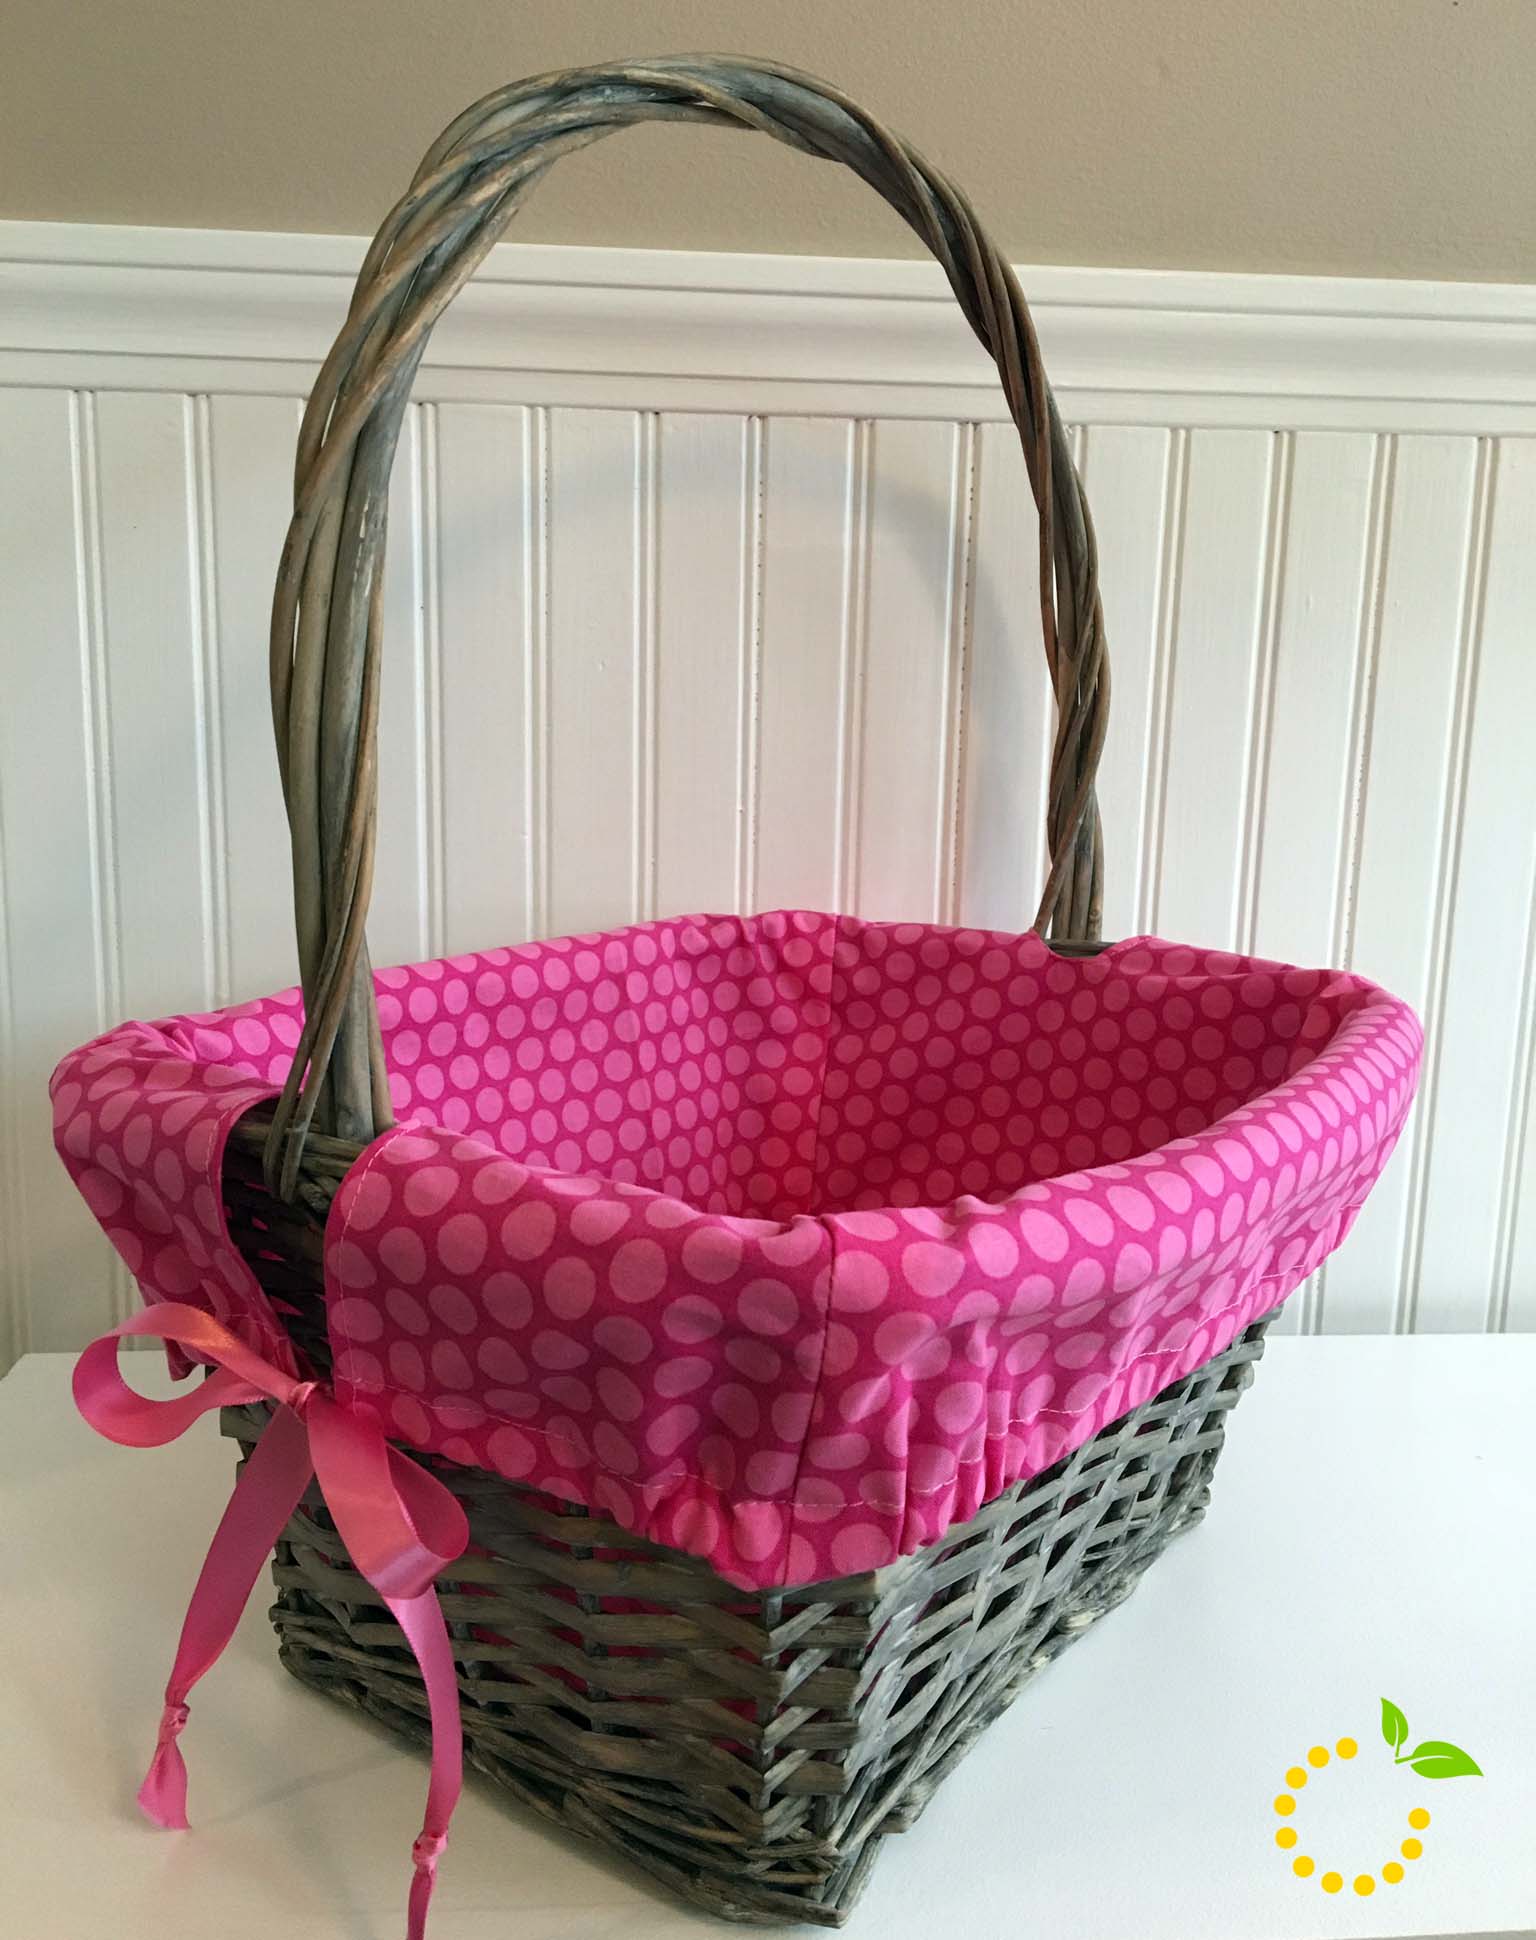
Every year I swoon over the cute fabric lined baskets while shopping for Easter goodies. So this year I decided to get crafty and make my own. Sewing is not my specialty, so I’m pretty excited about how it turned out. With Easter right around the corner, this simple and easy basket liner tutorial can help you personalize any basket that you already have on hand.
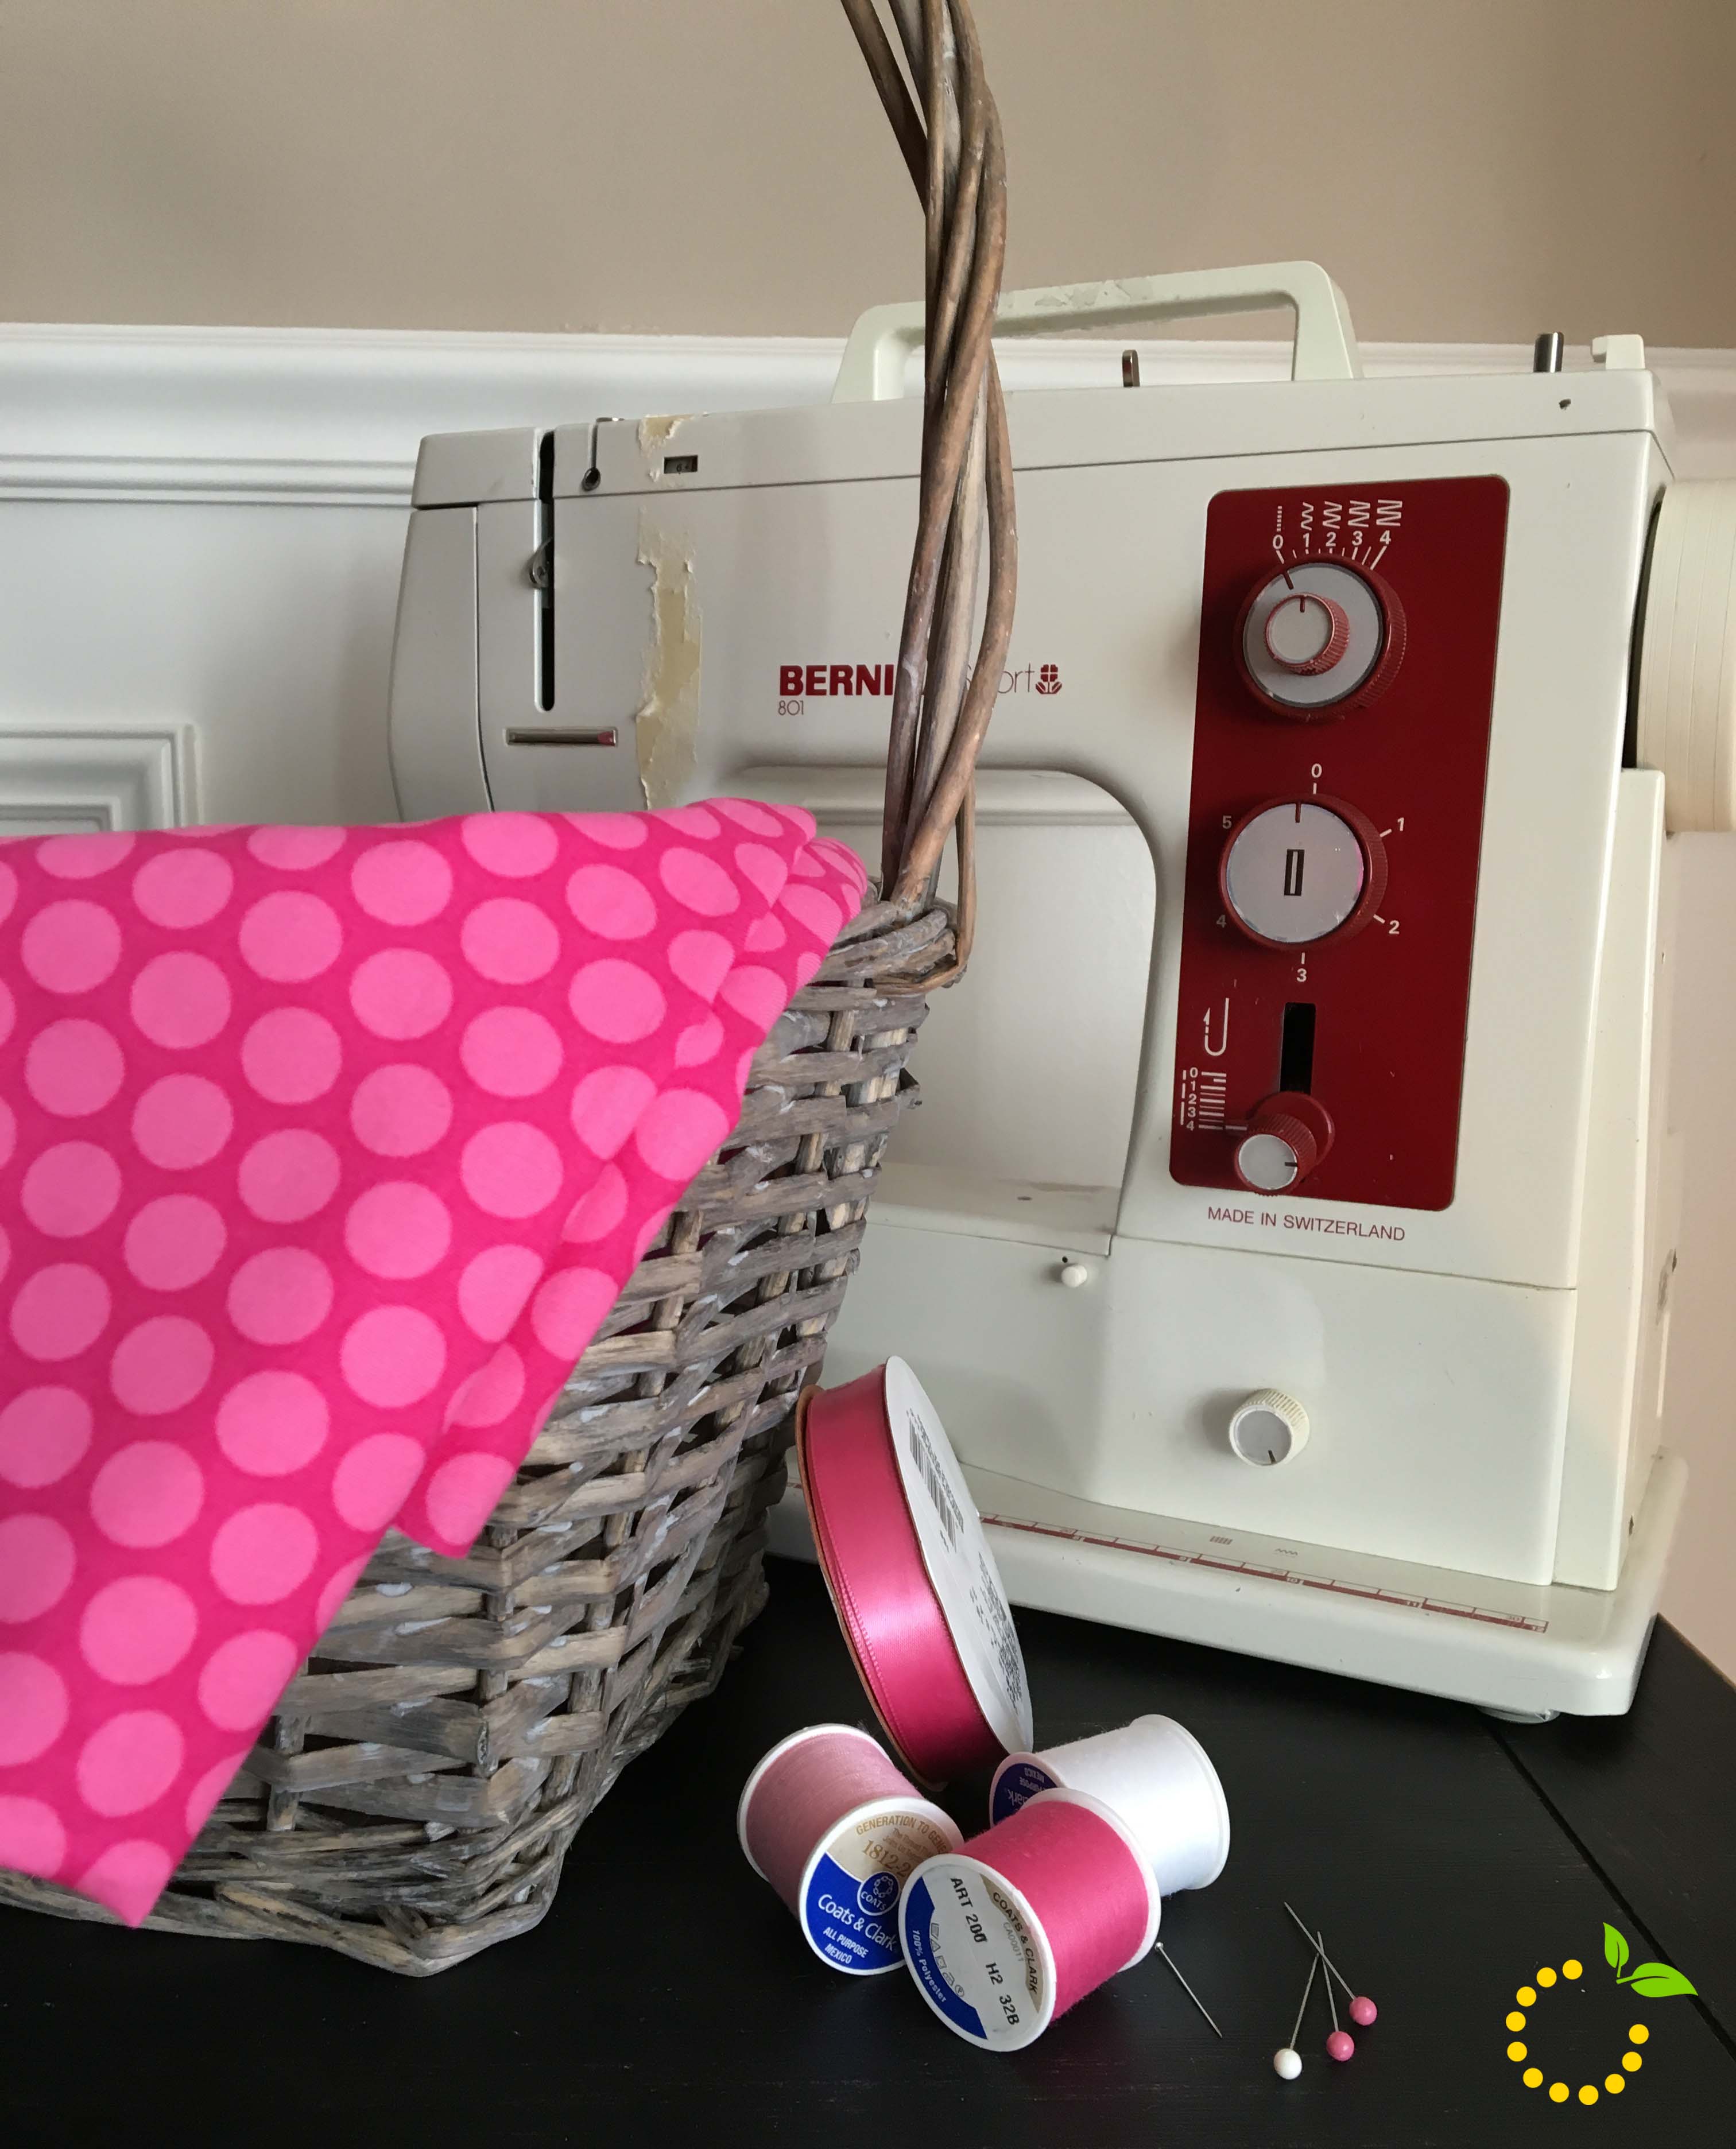
Project Supplies:
Basket
Fabric – 1 Yard
Ribbon
Thread
Pins
Fabric Scissors
Sewing Machine
Step 1:
Turn your basket upside down over an ironing board. You will then drape and center your fabric over the outside of your basket and pin the fabric tight around the corners and down the sides of the basket. This is a lot easier than trying to cut and sew multiple pieces together.
Step 2:
Take the fabric off of the basket and with a ruler, extend the pin line to the edge of the fabric. Repeat this step for all four sides. Next, you will sew a seam along the pin lines, leaving a triangular flap. Cut off the flap on each side, leaving a 1/2 inch seam. If you find the fabric doesn’t fit snug in the basket, make your seam a little closer from the original.
Step 3:
Next you need to determine how much fabric you want showing on the outside of your basket. I have three inches showing on my basket. Measure your fabric accordingly and add an additional length for a ribbon casing. The length of your casing will depend on the width of your ribbon. You will then trim off the excess fabric.
Step 4:
With the fabric in the basket, make a cut from the edge of the fabric to the handle at the top edge of the basket. The width of the cut will depend on the width of the basket handles. Fold the fabric under and stitch around the edge to get a nice finish.
Step 5:
Next you will need to make the casing for your ribbon. Thread the ribbon through the casing and pull tight to make sure the liner fits snug around the outside of the basket and tie a bow at each end.


