Browsing Tag

dessert

Eats

Cream Cheese Chocolate Chip Cookies

Happy National Chocolate Chip Day!! If you were looking for an excuse to make some chocolate chip cookies today, today is the day to have that cheat day because c’mon it’s a national holiday!  And any reason to make these soft cream cheese chocolate cookies is a good day in my book! These cream cheese chocolate chip cookies are so soft and moist with the addition of a little bit of cream cheese.

Would you believe me if I told you that the secret ingredients to these soft cookies is cream cheese and cornstarch?!? If you don’t believe me, give this recipe a try and tell us what you think. The other secret to thick soft cookies is to refrigerate the dough for up to 2 hours or overnight. I know some people hate recipes that require you to refrigerate your dough, but if your dough is warm your cookies will spread while baking and turn out thin.

I love how these cookies are thick without being cakey and the texture of these cookies are a bit chewy around the edges while the interior is soft, tender, and moist.

Cream Cheese Chocolate Chip Cookies
Write a review
Print
Ingredients
  1. 1/2 cup unsalted butter, softened
  2. 1/4 cup cream cheese, softened (don't use fat-free, light or whipped)
  3. 3/4 cup light brown sugar, packed
  4. 1/4 cup granulated sugar
  5. 1 large egg
  6. 2 teaspoons vanilla extract
  7. 2 1/4 cups all-purpose flour
  8. 2 teaspoons cornstarch
  9. 1 teaspoon baking soda
  10. 1/4 teaspoon salt
  11. 2 1/4 cups semi-sweet chocolate chips or chunks (I like to use 1 cup chips and 1 1/4 cups chunks)
Instructions
  1. To the bowl of a stand mixer fitted with the paddle attachment, combine the butter, cream cheese (to get an accurate measurement, put it into a 1/4-cup measure cup rather than using the marks on the outside package), sugars, egg, vanilla, and beat on medium-high speed until well-creamed, light and fluffy, about 5 minutes.
  2. Scrape down the sides of the bowl, and add the flour, cornstarch, baking soda, salt, and mix until just combined, about 1 minute.
  3. Add chocolate chips and chunks, and beat for just a minute to incorporate, or fold in by hand.
  4. Using a medium cookie scoop, form heaping mounds. Place on a large plate and flatten mounds slightly with your palm.
  5. Cover with plasticwrap, and refrigerate for at least 2 hours, or up to 5 days, before baking. Baking with warm dough causes cookies to spread and bake thinner and flatter.
  6. Preheat oven to 350F and line a baking sheet with parchment paper or a Silpat Non-Stick Baking Mat and place dough on baking sheet, spaced at least 2 inches apart. Bake for 8 to 9 minutes, or until edges have set and tops are just beginning to set. They will look slightly under cooked, pale and glossy in the center. Rotate pans after 4 minutes and do not bake longer than 10 minutes as cookies will firm up as they cool. (If dough is refrigerated overnight, allow dough to come to room temp for 15 minutes before baking).
  7. Allow cookies to cool on the baking sheet for 5 minutes before removing and transferring to a rack to finish cooling.
Sweet Lemon Made https://sweetlemonmade.com/

IMG_2280

Eats

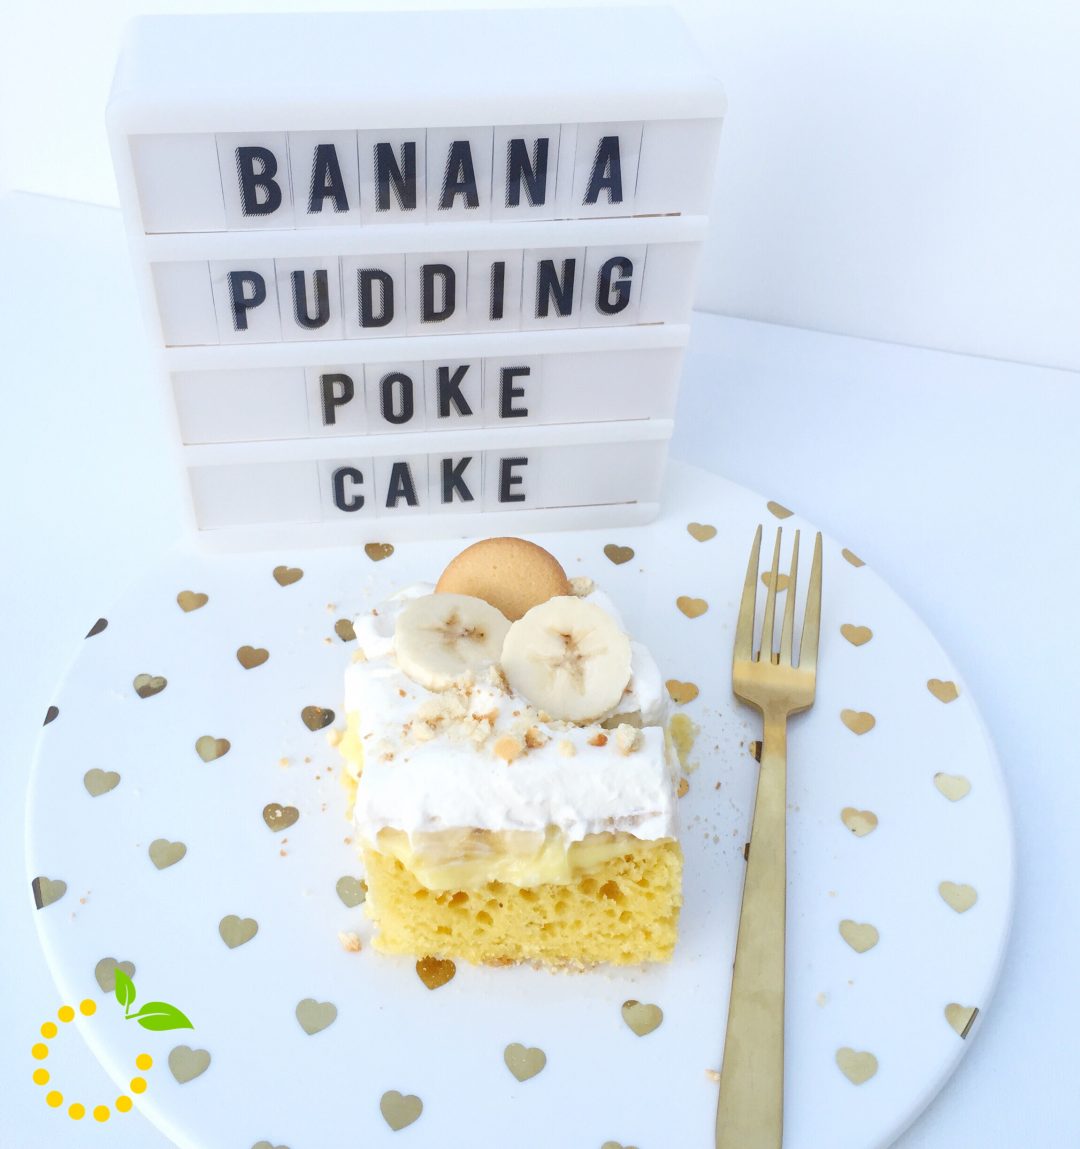
Banana Pudding Poke Cake

Grab yourself a cake mix and once it’s done and cooled down, grab your wooden spoon and start poking those holes!
IMG_0786

Next, whip up your banana pudding and pour it all over the cake and spread evenly making sure to get it into all of the holes.

IMG_0788

Then slice your bananas and layer them on top of the pudding in a single layer.

IMG_0790

Then, top the cake with cool whip.

IMG_0792

Refrigerate for 1-2 hours or overnight if possible. It taste so much better the next day! Right before serving sprinkle crushed Nilla Wafers on top. Garnish with banana slices and a whole Nilla Wafer and ENJOY!

IMG_0800

Banana Pudding Poke Cake
Write a review
Print
Ingredients
  1. 1 box yellow cake mix
  2. ingredients to make the cake: eggs, oil, water
  3. 2 (3.4 oz) packages of instant banana pudding
  4. 4 cups milk
  5. 1 (8 oz) tub of Cool Whip
  6. 20 Nilla Wafers, crushed
  7. 3-4 bananas
Instructions
  1. Prepare cake mix according to package for 9x13 pan.
  2. Once cake is done and comes out of the oven, allow it to cool for about 10-15 minutes.
  3. Then, with a wooden spoon poke holes in the cake making sure the holes are big enough for the pudding to get down into the cake.
  4. In a bowl, whisk together the pudding and the milk until smooth and begins to thicken.
  5. Pour pudding all over the cake and getting it into the holes. Using the back of a spoon or an off set spatula, spread the pudding out and gently pressing pudding into the holes.
  6. Slice bananas and top cake with a single layer of bananas.
  7. Top with cool whip and place in fridge for at least 1-2 hours before serving.
  8. Crush Nilla Wafers and sprinkle on top before serving.
  9. Garnish with banana slices and whole Nilla Wafers.
Sweet Lemon Made https://sweetlemonmade.com/
Do you know a banana lover? Or maybe it’s you? Either way, you or the banana lover in your life are going to go bananas over this banana pudding poke cake! Not only is it yummy, it’s super easy and simple to make, and you can make it ahead of time. And when I say super easy, I mean it. All you need is a box cake, pudding, bananas, Cool Whip, and Nilla Wafers!

Eats

Grasshopper Mint Cookies

Grasshopper Mint Cookies sweetlemonmade.com

These grasshopper mint cookies are chocolatey, minty, soft and chewy, and taste just like a Girl Scout thin mint. Have I caught your attention yet?!? I hear thin mint and I’m sold! ? And the other great thing about these cookies are that they are cake cookies which means they are super soft.

It’s Girl Scout season now but, once it ends and you get a craving for those thin mints, you won’t have to wait until the next year! Just whip up a batch of these in the meantime to satisfy your craving.

The one thing that is a bit tedious with this recipe is having to unwrap each mint. If they sold them in bulk without wrappers. It would make things so much easier but it’s worth it for the flavor it adds to the cookies and the presentation. I’m all about presentation!

Thin Mints sweetlemonmade.com

Be sure to pin this recipe to your Pinterest board to have on hand. Your family, friends, and coworkers will love you if you make them a batch when they are craving or can’t get their hands on some Girl Scout cookies!

Grasshopper Mint Cookies
Write a review
Print
Ingredients
  1. COOKIES
  2. 1 box Devil's Food Cake
  3. 2 eggs
  4. 1/2 cup unsalted butter, melted
  5. 1 teaspoon vanilla extract
  6. 2 tablespoons light brown sugar
  7. FROSTING
  8. 3/4 cup unsalted butter, softened
  9. 1 1/2 teaspoons peppermint extract
  10. 2-3 cups powdered sugar
  11. green food dye
  12. Milk, if needed
  13. CHOCOLATE GLAZE
  14. 1 1/2 cups chocolate chips
  15. 4 tablespoons butter
  16. Andes Mints, roughly chopped for garnish
Instructions
  1. Chill dough for 30 minutes (I prefer to but not a must).
  2. Preheat oven to 350 degrees and line cookie sheets with parchment paper.
  3. Melt butter and let cool so that you don't cook your eggs when mixing together.
  4. Combine cake mix, eggs, cooled melted butter, vanilla and sugar. *Note: the batter will be stiff, so don't be worried.
  5. Make dough balls a little larger than a tablespoon and place on cookie sheets to bake.
  6. Bake for 8-9 minutes and let cool on cooling racks.
  7. While the cookies are baking, unwrap Andes mints and roughly chop them.
  8. TO MAKE THE MINT FROSTING: Beat butter for 2 minutes. Add peppermint extract and slowly add in the powdered sugar until you reach your desired consistency. Add 1-2 tablespoons milk if it gets too thick. Add green dye for color (I used about 8-9 drops).
  9. FOR THE CHOCOLATE GLAZE: Melt chocolate chips and butter together in a microwave proof bowl. Microwave for about 30 seconds, then stir, then microwave in 10 second increments and stir until smooth.
  10. Pipe on frosting, flatten frosting and make a slight indent in the middle with a knife or off set spatula if needed for the chocolate glaze, spoon on your glaze, and top with Andes mints.
Sweet Lemon Made https://sweetlemonmade.com/
Grasshopper Cookies sweetlemonmade.com

Eats

Glazed Lemon Poppy Seed Mini Bundt Cakes

Lemon Bundt Cakes sweetlemonmade.com

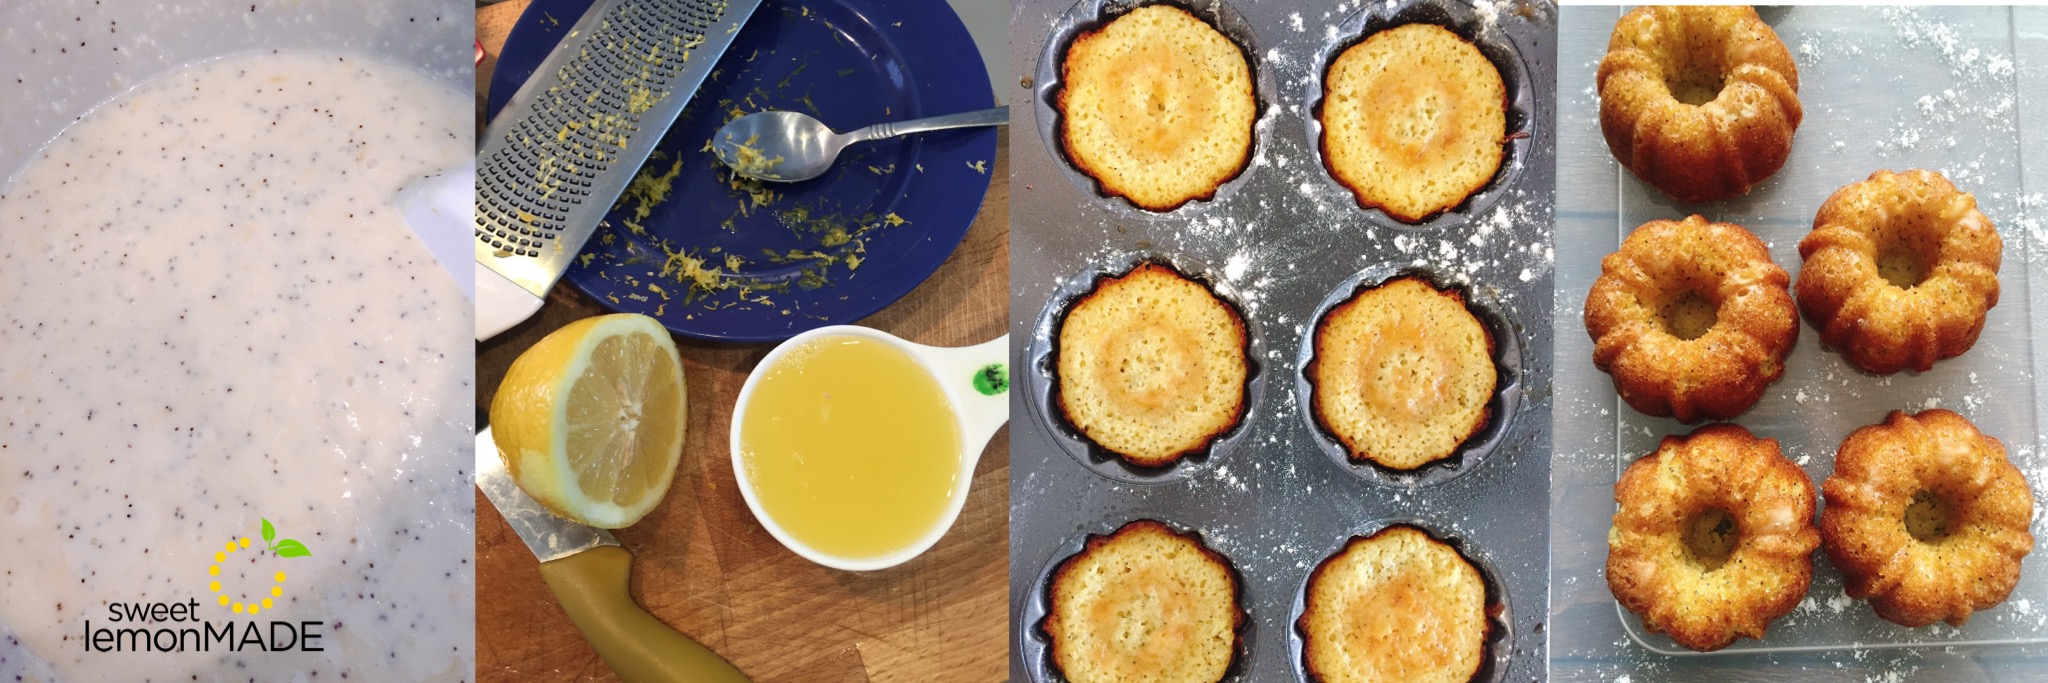
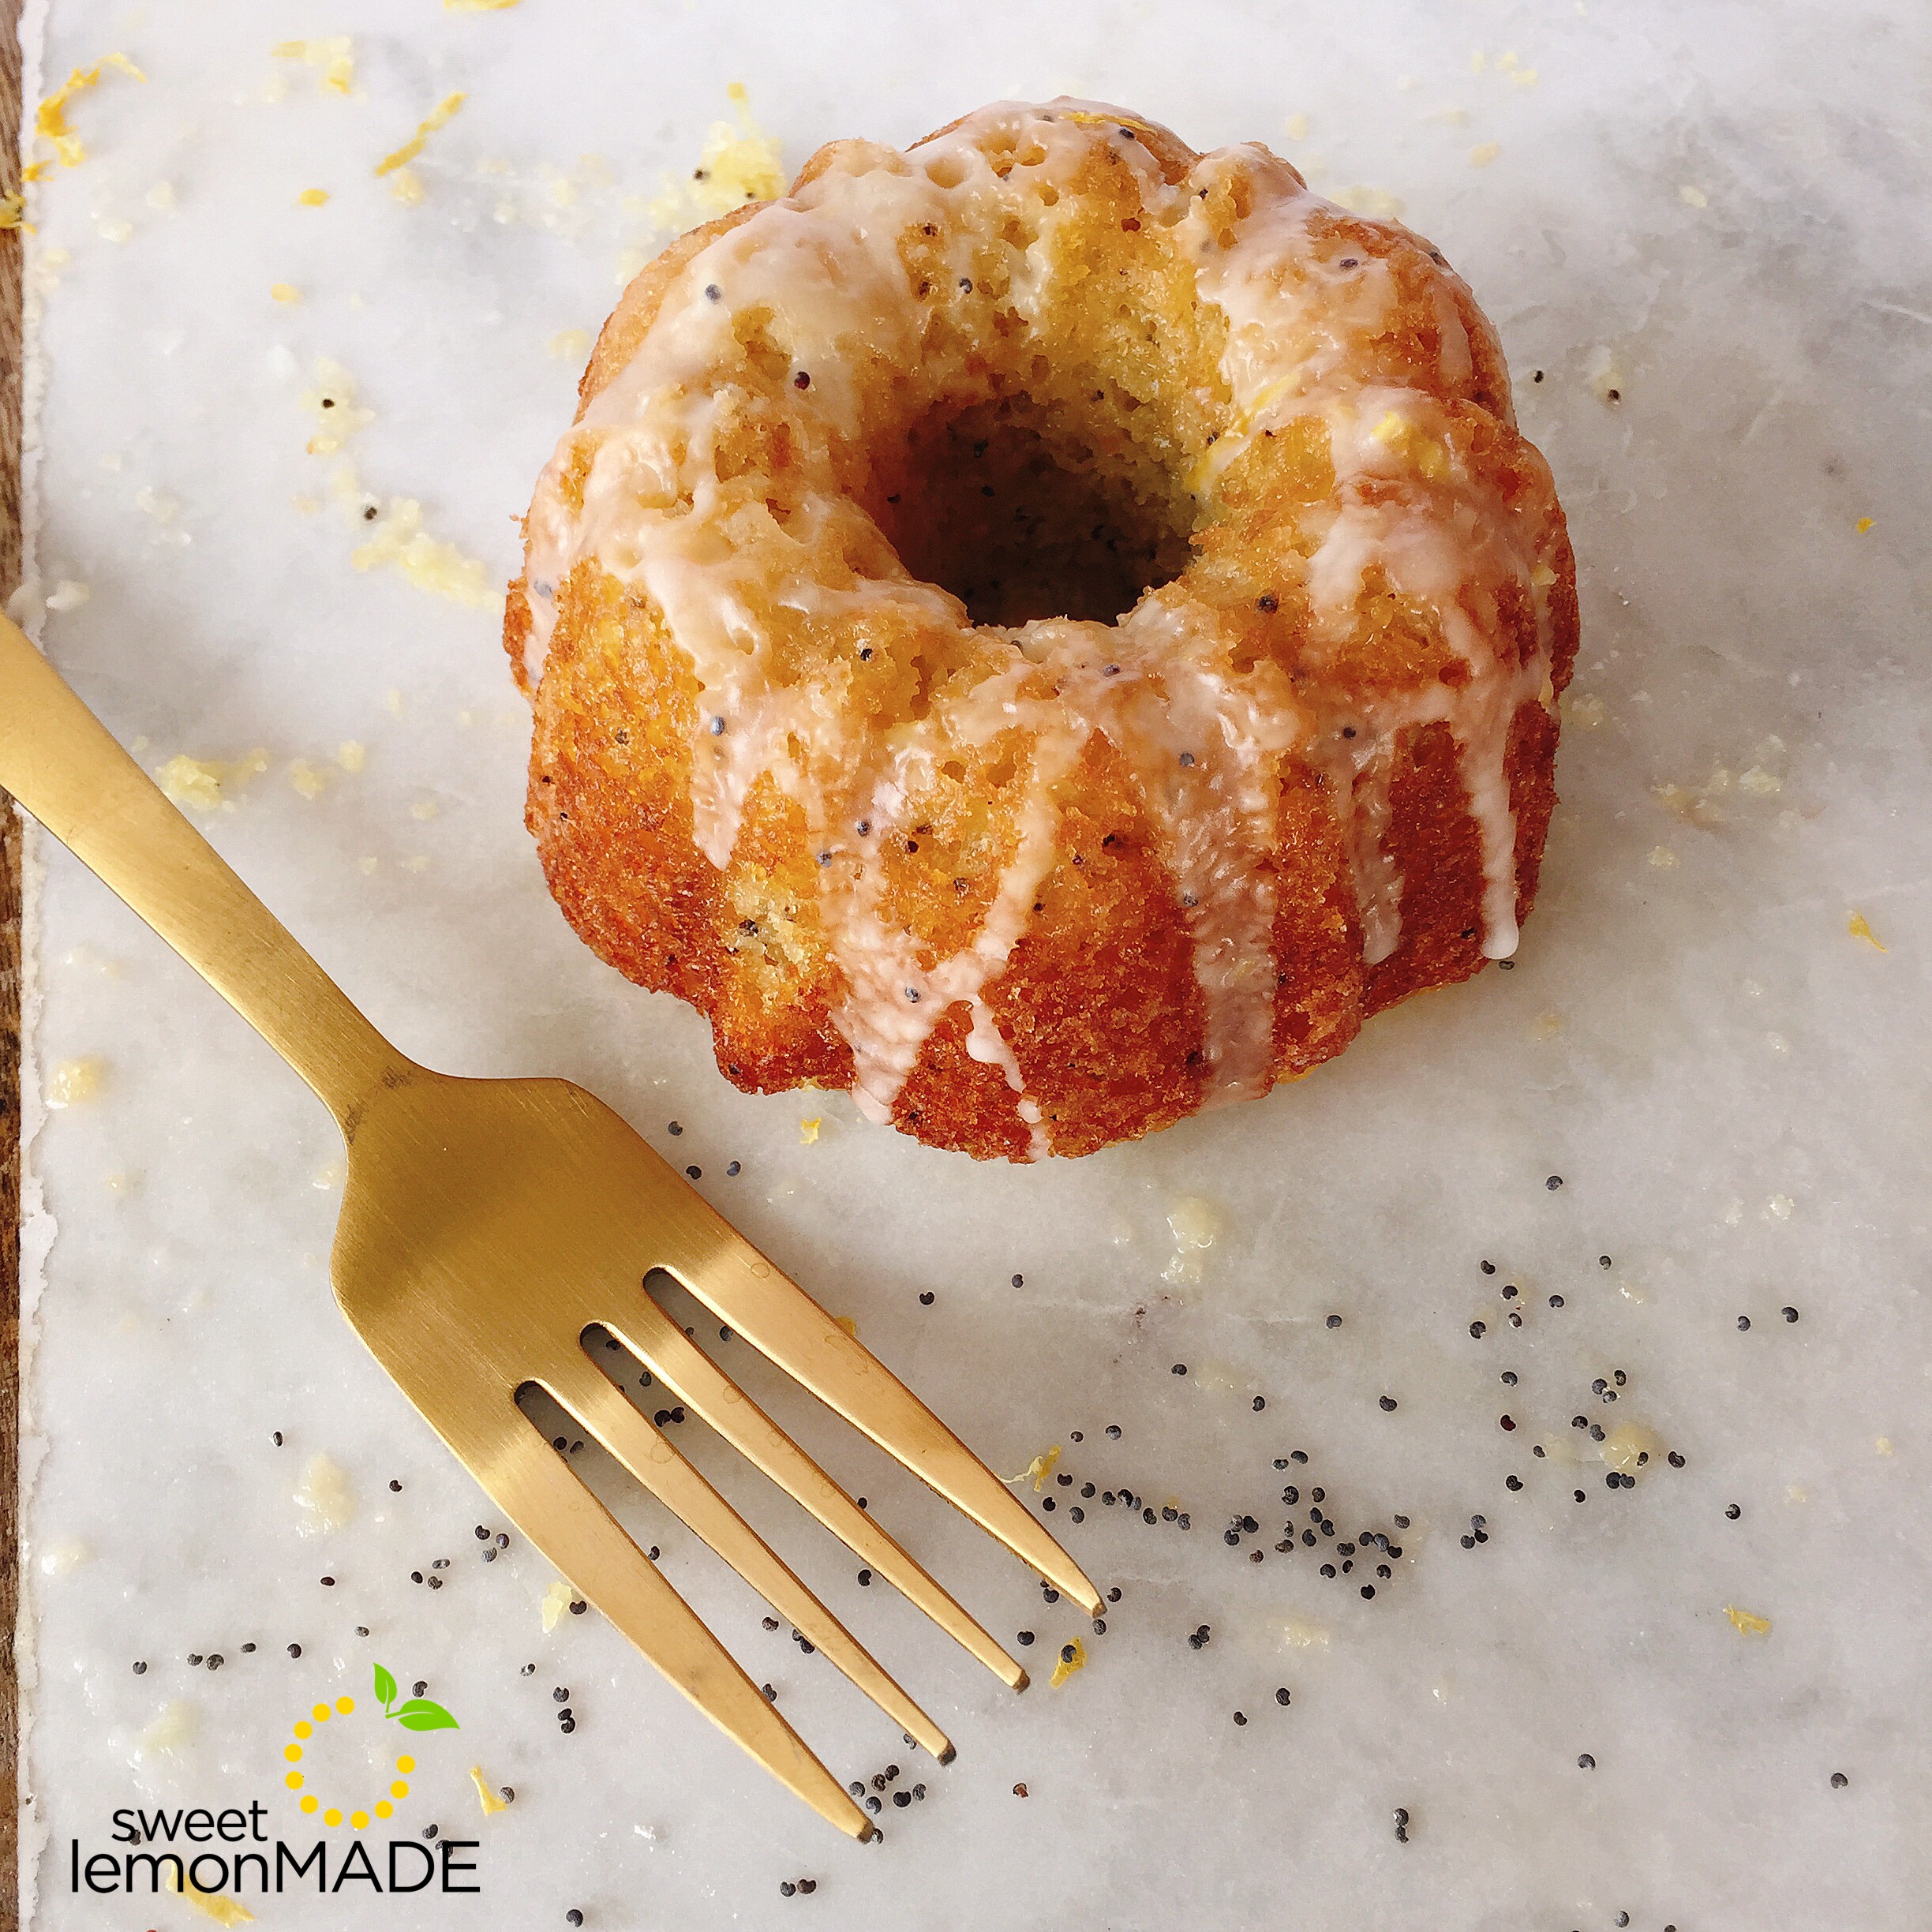
These glazed lemon poppy seed mini bundt cakes are not only cute, they are moist and packed full of tangy lemon flavor. The cakes are topped with a generous drizzle of lemon syrup and lemon glaze, adding more moisture and lemon flavor.

Lemon Bundt Cake Ingredients sweetlemonmade.com

I was inspired to make these mini lemon poppy seed bundt cakes to celebrate our one-year blogiversary! And by the way, where has the time gone?!? I can’t believe we’ve been doing this for a whole year! It’s been an adventure! To celebrate this momentous milestone, I knew I wanted to make something lemon-y to celebrate with all of my supportive friends, family and coworkers! Lemon was only fitting to go with our blog name and the fact that I’m itching for warmer weather. 

IMG_9878

You may find it weird to add yogurt into the recipe but, it adds a little more tang to the flavor of the cake and it also replaces the oil you would normally use in a cake recipe. Tip: I used Tillamook vanilla yogurt but, if you normally eat plain yogurt and have that on hand you can use that in substitution.

IMG_9879

After playing around with differ amounts of lemon flavor, the amount in this recipe seems to be the perfect amount according to my helpful and trusty taste testers (aka my friends and family). I personally really love lemon-y lemon poppy seed cake too. And I knew these were a hit when a few of my friends ended up eating all of the cakes they were suppose to share with their family or on the other hand when a few of my other friends wanted to share these delicious cakes with their own friends! These cakes taste even better once they’ve had time to sit and the lemon syrup and lemon glaze have had a chance to soak into the cake.

IMG_9880

Your friends and family will love you if you make these delicious cakes for them!

Glazed Lemon Poppy Seed Mini Bundt Cakes
Write a review
Print
Ingredients
  1. CAKE
  2. 1 cup unsalted butter, softened
  3. 2 and 1/2 cups granulated sugar
  4. 4 eggs
  5. 2 teaspoons vanilla extract
  6. 1/4 cup fresh squeezed lemon juice
  7. 1/4 cup lemon zest, packed
  8. 4 cups cake flour
  9. 2 teaspoons baking soda
  10. 1 teaspoon salt
  11. 1 cup vanilla yogurt (I used Tillamook brand)
  12. 1 cup buttermilk
  13. 4 teaspoons poppy seeds
  14. LEMON SYRUP
  15. 1/3 cup granulated sugar
  16. 1/3 cup fresh squeezed lemon juice
  17. GLAZE
  18. 2 cups powdered sugar, sifted
  19. 4 tablespoons fresh squeezed lemon juice
  20. 1/2 teaspoon poppy seeds
  21. 1/2 tablespoon lemon zest
Instructions
  1. Preheat oven to 350 degrees F. Prepare mini bundt cake pan with nonstick spray and flour.
  2. Using an electric mixer, cream together butter and sugar on medium speed for 2 minutes or until smooth and fully incorporated.
  3. Add in vanilla, eggs, lemon juice, and lemon zest until incorporated.
  4. Add in flour, baking soda, salt, yogurt, buttermilk, and poppy seeds. Mix on low for 1 minute and then on medium for 2 minutes or until well blended.
  5. Fill each cavity 2/3 full and bake 15-20 minutes or until a toothpick inserted into cake comes out clean.
  6. Let cakes cool in pan for 10 minutes.
  7. Invert pan onto cooling rack and let cool for 15 minutes.
  8. While cakes are cooling, prepare lemon syrup by combining sugar and lemon juice in a small saucepan over medium heat until sugar dissolves. Once dissolved, remove from heat and let cool.
  9. While waiting for lemon syrup to cool, prepare glaze by combining sifted powdered sugar, lemon juice, poppy seeds, and lemon zest in a medium sized bowl.
  10. Once cakes and lemon syrup have cooled, place cakes on a baking sheet and drizzle each cake with lemon syrup and then a generous drizzle of glaze over the top.
  11. And ENJOY!
Sweet Lemon Made https://sweetlemonmade.com/
IMG_9871

Eats

Strawberries and Cream Muddy Buddies

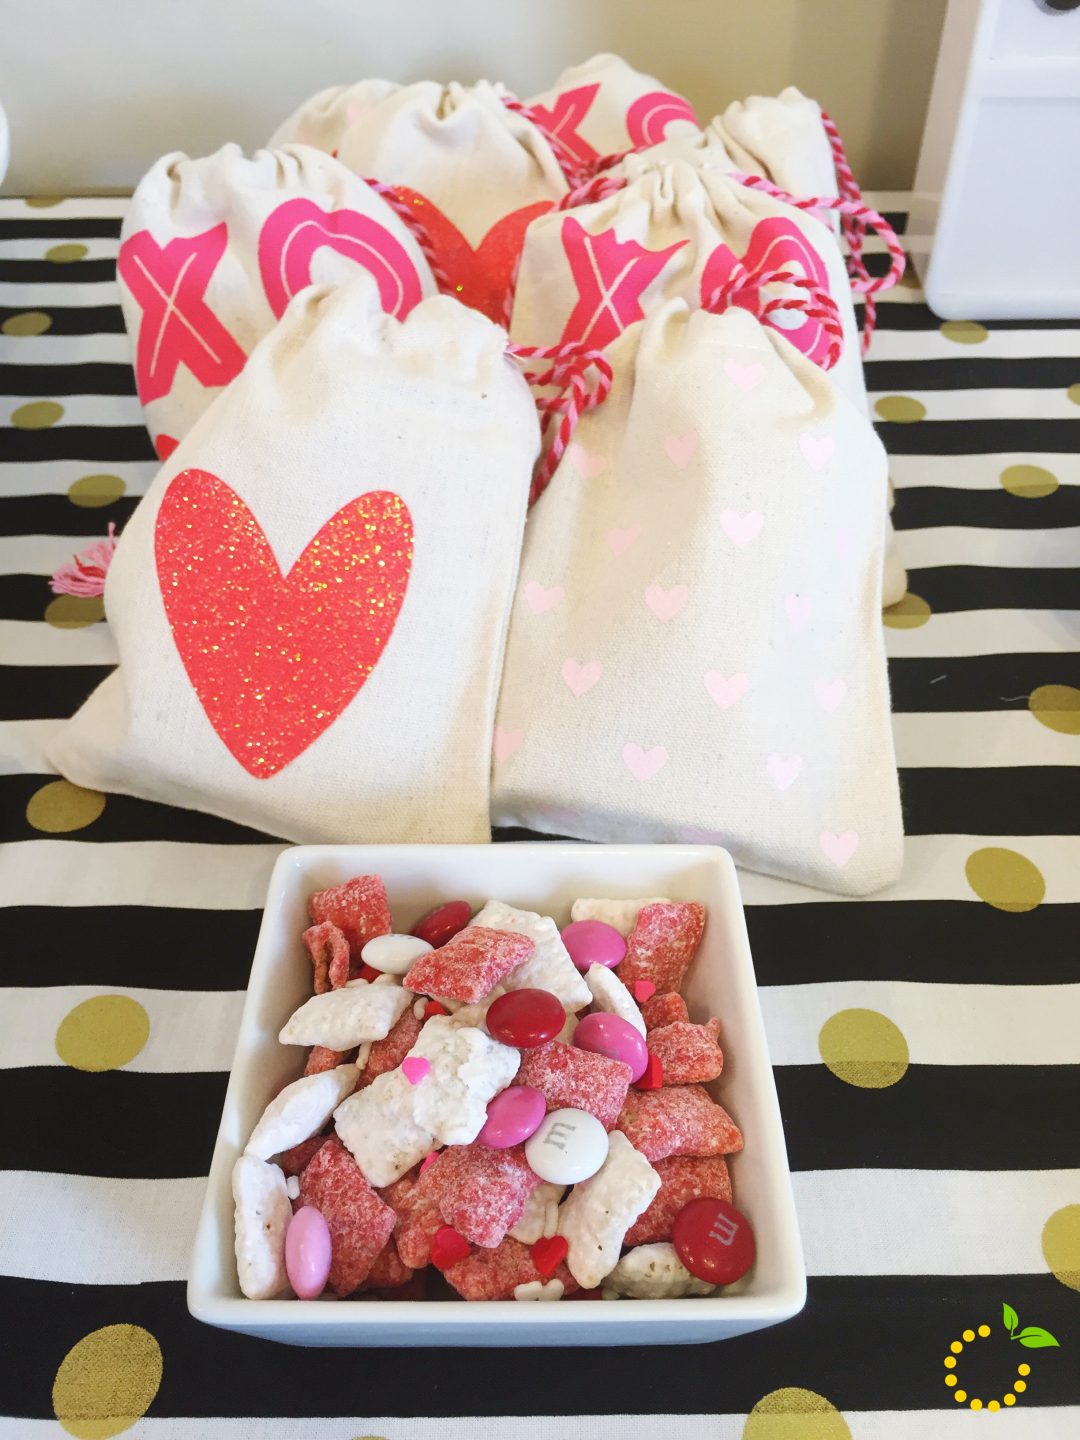
Need a sweet treat for Valentine’s Day? We’ve got you covered. We made these Strawberries and Cream Muddy Buddies for our Galentine’s Day Brunch. They are easy to make and taste delicious!


Strawberries and Cream Muddy Buddies
Write a review
Print
Ingredients
  1. 6 oz white chocolate or white vanilla candy melts
  2. 6 oz red or pink candy melts
  3. 5 cups rice chex cereal, divided in 2 parts
  4. 1/2 cup strawberry cake mix
  5. 1/2 cup powdered sugar
  6. M&Ms
Instructions
  1. Put 2 1/2 cups rice chex cereal into a medium sized bowl or ziploc bag.
  2. Slowly melt white chocolate in the microwave in 30 seconds intervals.
  3. Add melted white chocolate to chex cereal and lightly stir or shake to coat evenly. Be careful to not break the chex cereal too much.
  4. Add the powdered sugar to the white chocolate covered chex cereal and lightly stir or shake to coat evenly with powdered sugar.
  5. Repeat the same process with the red candy melts and strawberry cake mix (instead of the powdered sugar).
  6. Allow to dry completely and then combine the two kinds of chex together and add Valentine's M&Ms and sprinkles.
Sweet Lemon Made https://sweetlemonmade.com/