Okay, so I’m a chronic recipe hoarder thanks to Pinterest and Instagram, but when I saw this “Salted Brown Butter Crispy Treats” posted by Smitten Kitchen it was enough to motivate me to action. I love Smitten Kitchen and have absolute trust in all of her recipes. So when I needed a quick treat for a Halloween party last night I made a quick adaptation to turn these amazing little guys into a festive party treat!
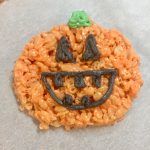
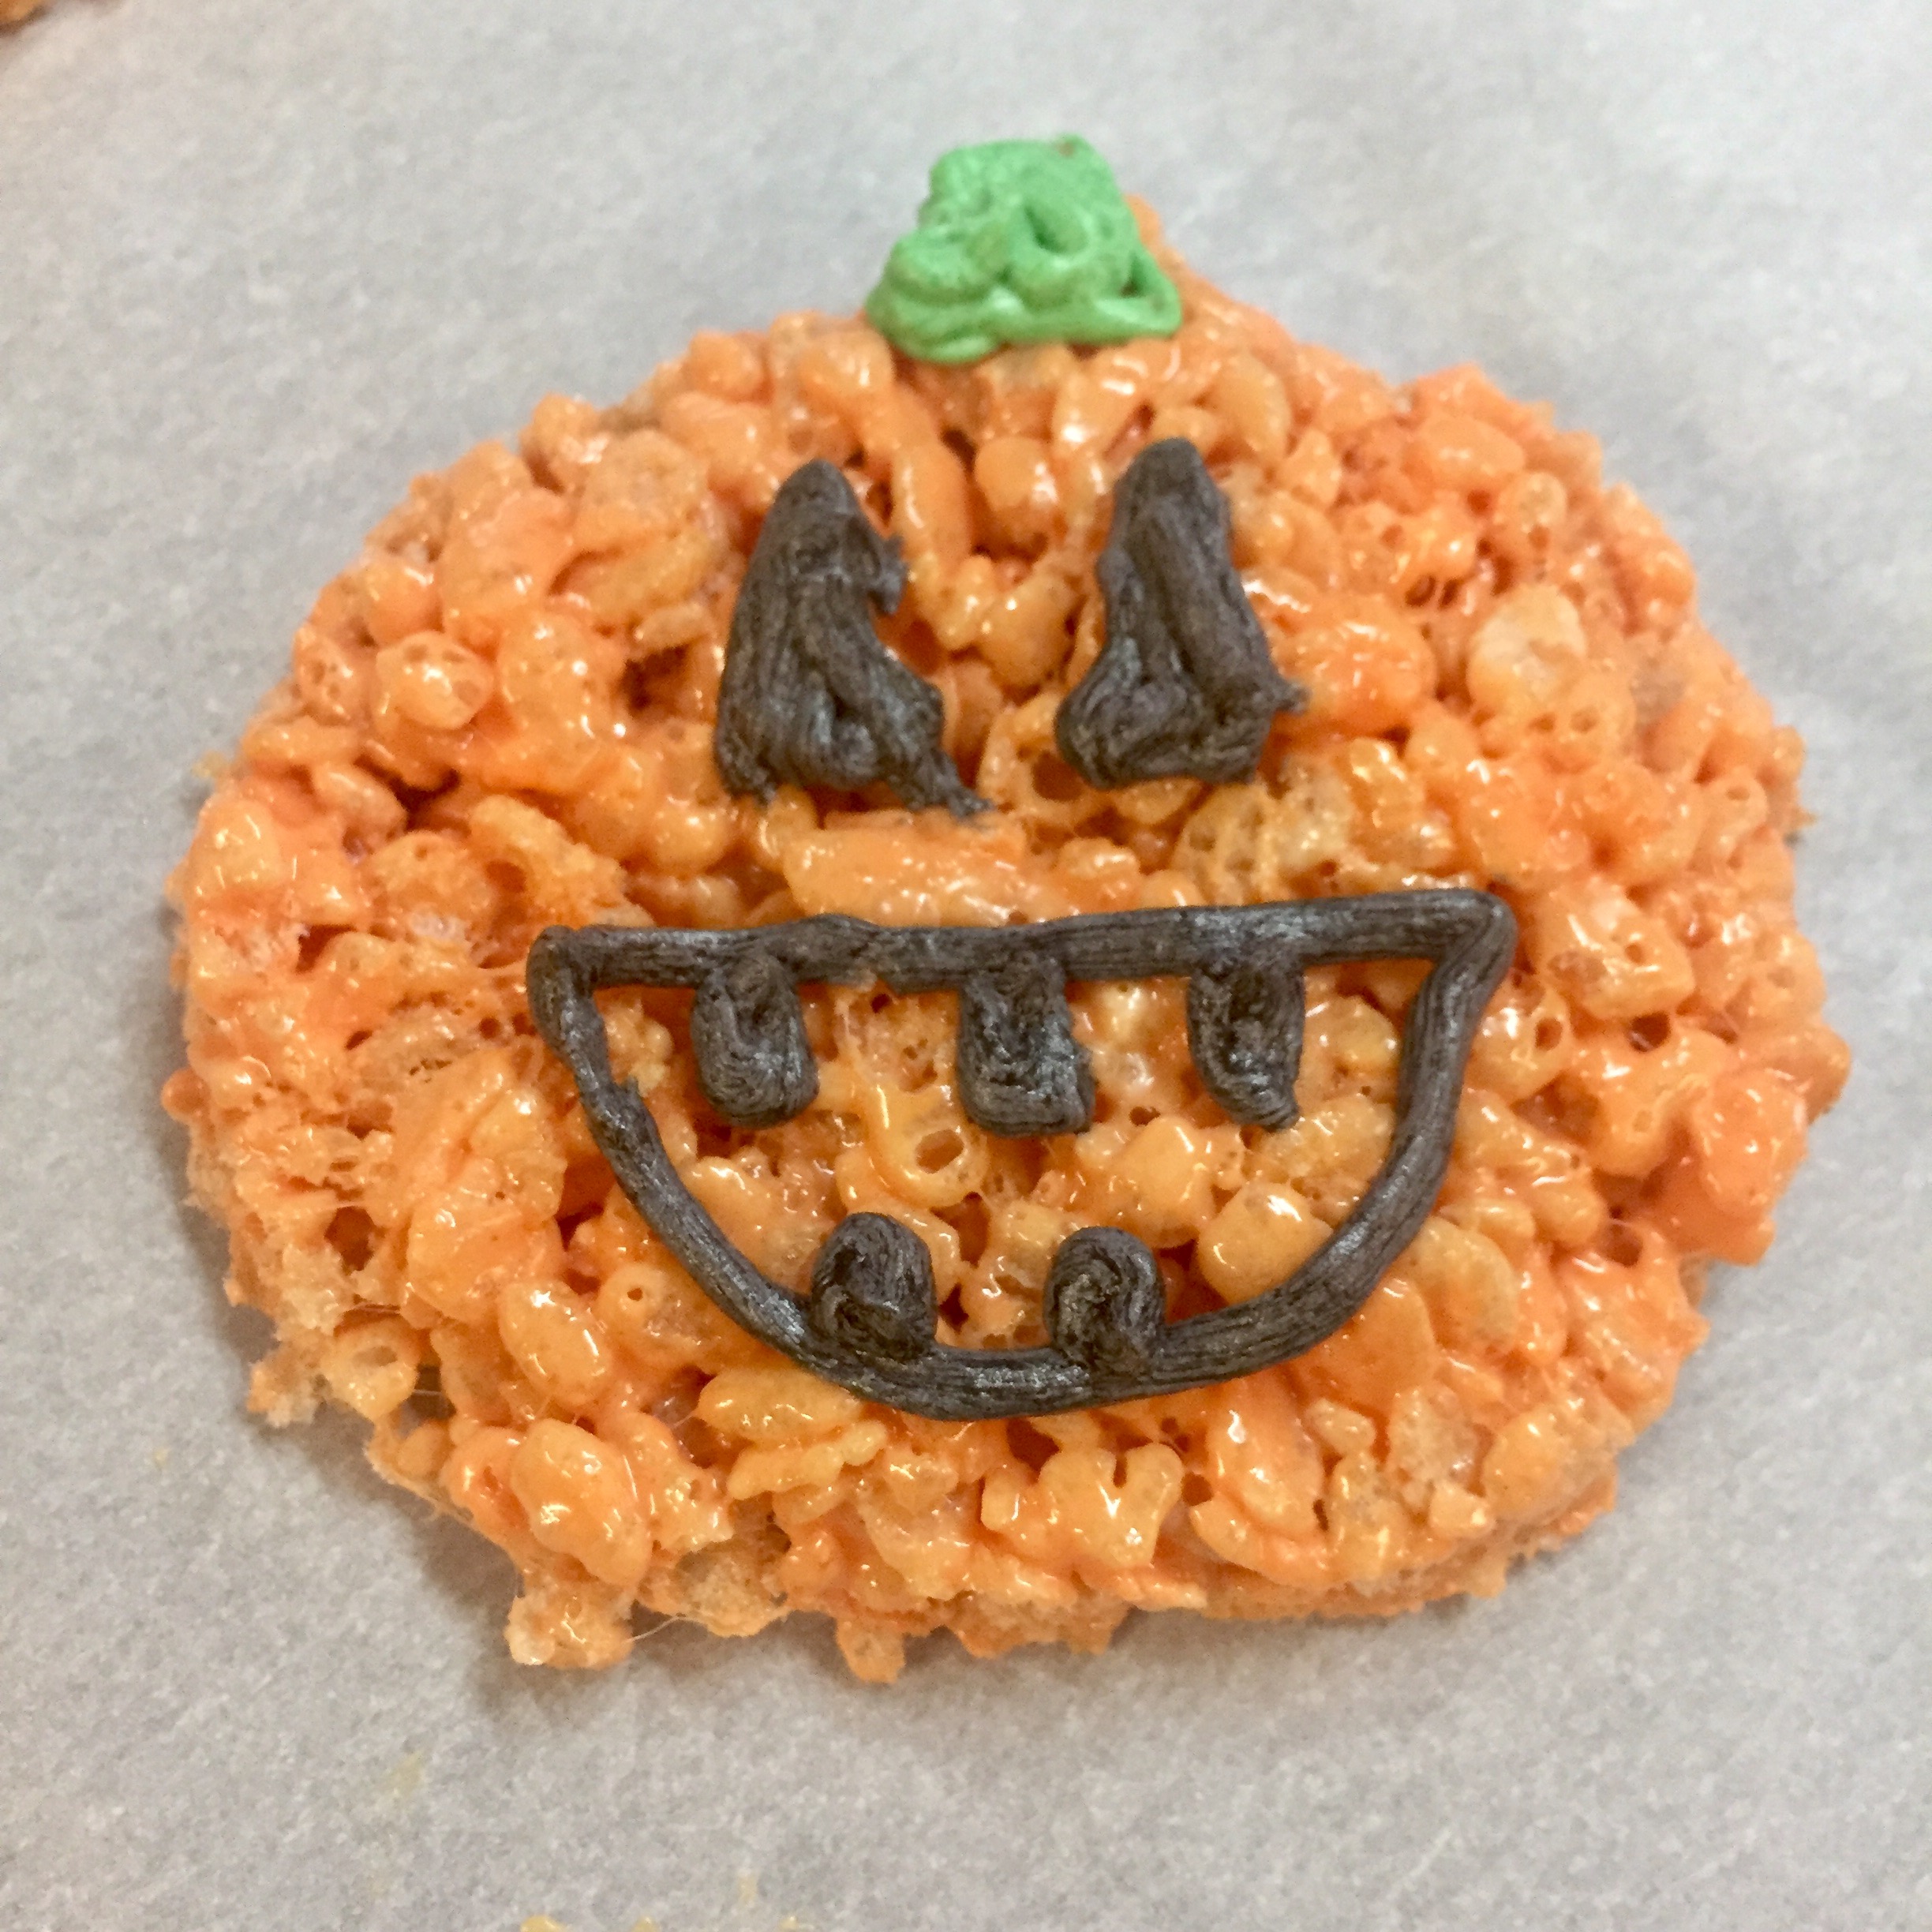
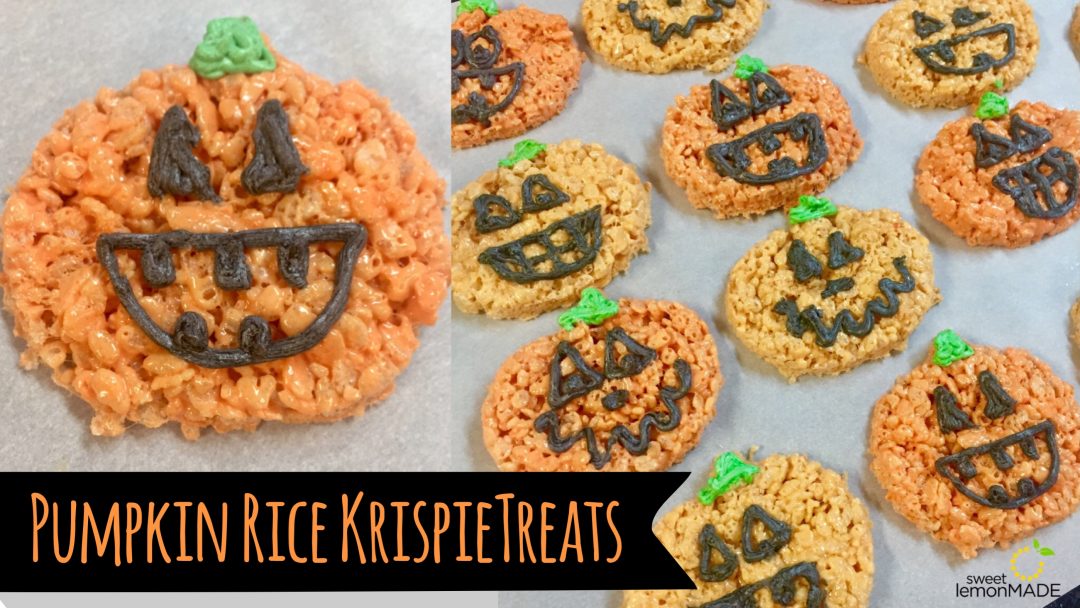
Brown Butter and Sea Salt Rice Crispy Treat Pumpkins
2016-10-31 15:19:27
Makes about 18 pumpkins (varies based on cookie cutter)
Ingredients
- 4 ounces unsalted butter
- 1 bag marshmallows (10 ounces)
- Heaping 1/4 teaspoon coarse sea salt
- 6 cups crispy rice cereal (about half a 12-ounce box)
- Buttercream frosting to decorate
- Food coloring
- Parchment paper
- Pumpkin cookie cutter (or any shape you want)
Instructions
- In a large pot, melt butter over medium-low heat. It will melt, then foam, then turn clear golden and finally start to turn brown and smell nutty. Stir frequently, scraping up any bits from the bottom as you do. Don’t take your eyes off the pot as while you may be impatient for it to start browning, the period between the time the butter begins to take on color and the point where it burns is often less than a minute.
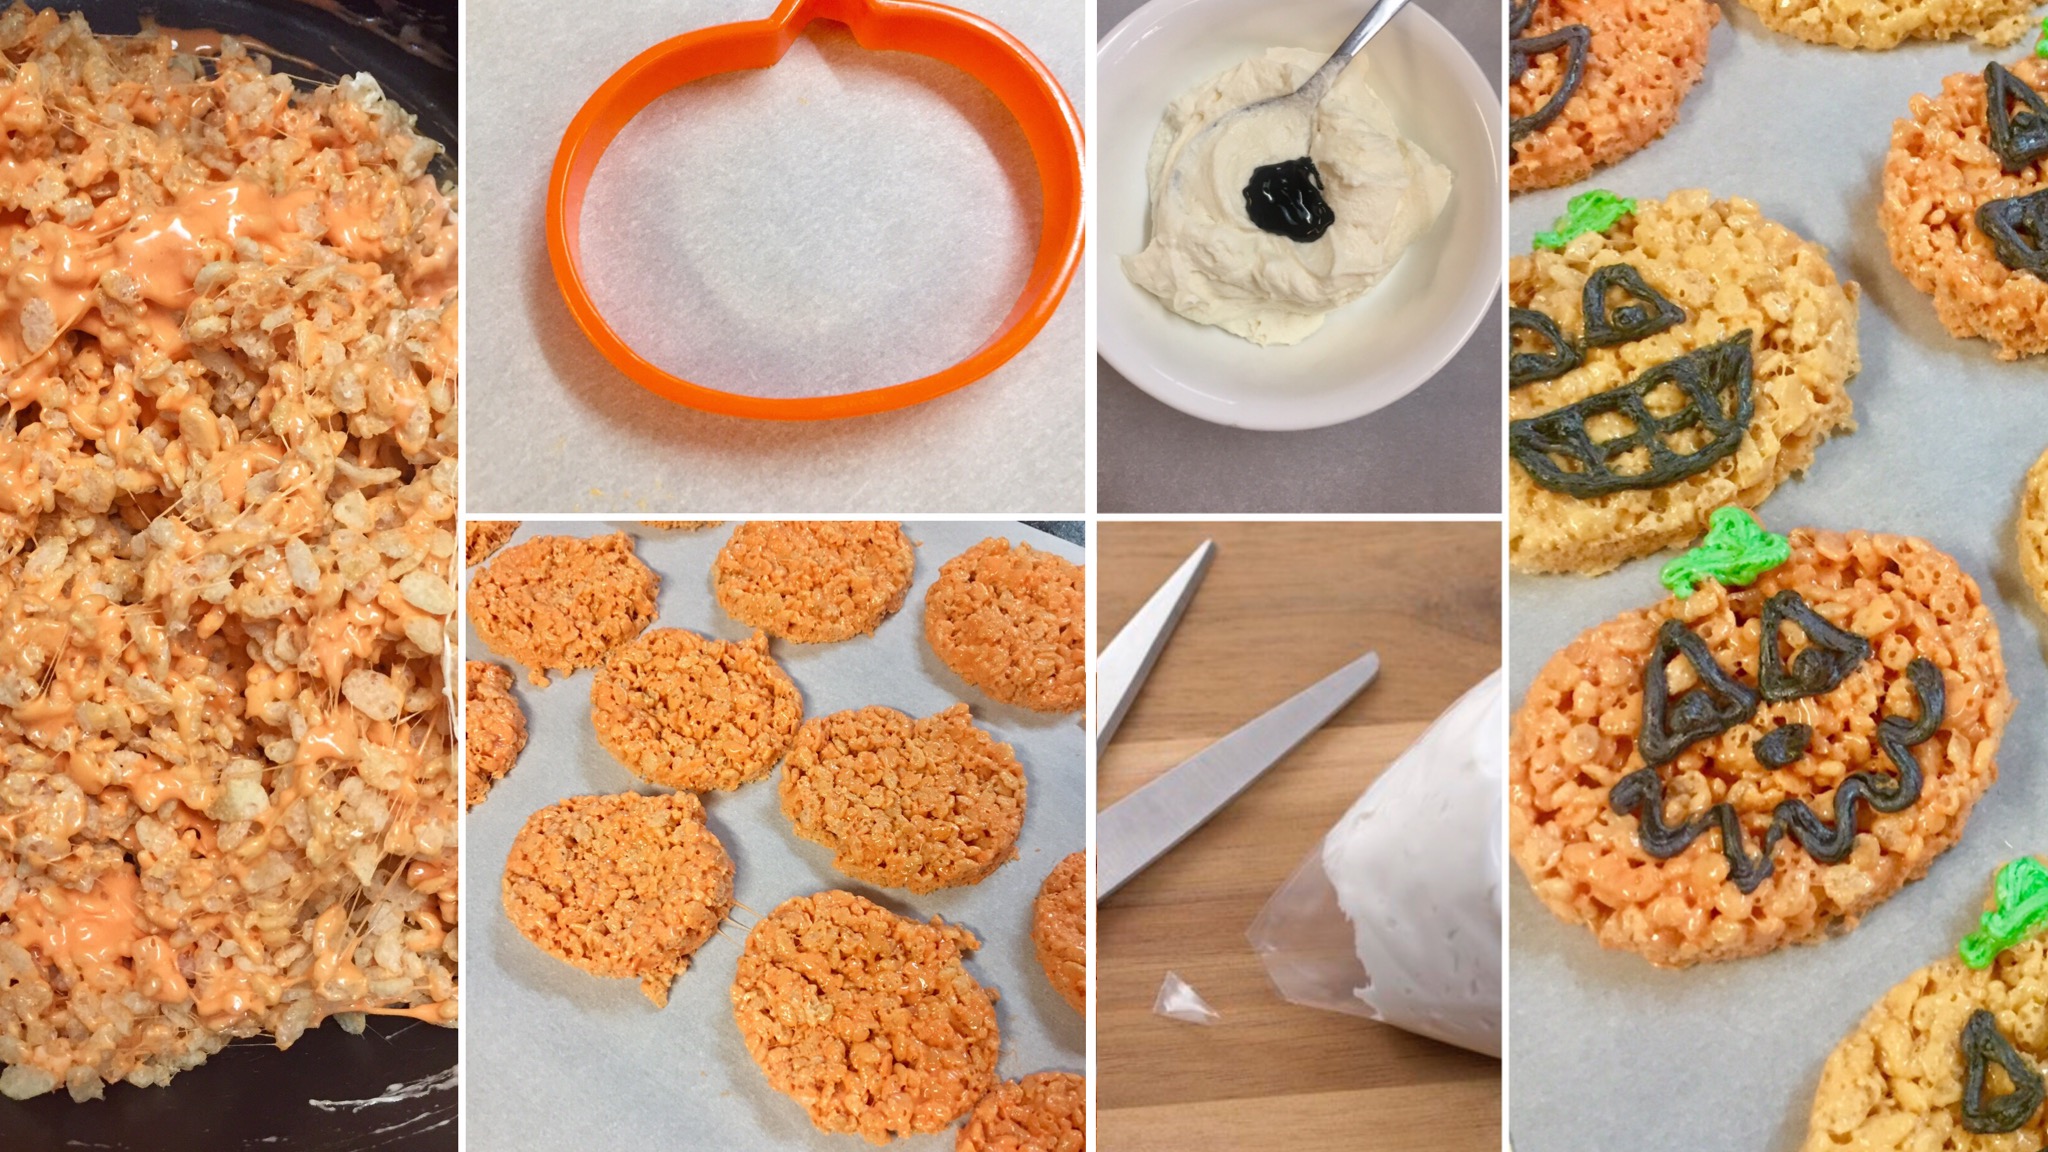
- As soon as the butter takes on a nutty color, turn the heat off and stir in the marshmallows. The residual heat from the melted butter should be enough to melt them, but if it is not, turn it back on low until the marshmallows are smooth. Add food coloring to turn the marshmallow magic orange (gel food coloring gives a more vibrant color) and stir well.
- Remove the pot from the stove and stir in the salt and cereal together.
- Quickly spread onto a piece of waxed or parchment paper.
- Spray your hands with non-stick cooking spray (or oil) so the marshmallow concoction won't stick to your hands and then press marshmallow/crisp rice mixture to about 1/2 to 3/4 of inch in thickness.
- Then using a cookie cutter, cut out shapes and allow mixture to cool.
- While cooling make your frosting. Make 3/4 of the frosting black and 1/4 of the frosting green with your food coloring. Then transfer each color into a Ziploc bag for piping.
- Cut a small hole in the corner of the Ziploc bag and begin piping faces on the pumpkins.
Sweet Lemon Made https://sweetlemonmade.com/
Recipe adapted from Smitten Kitchen.