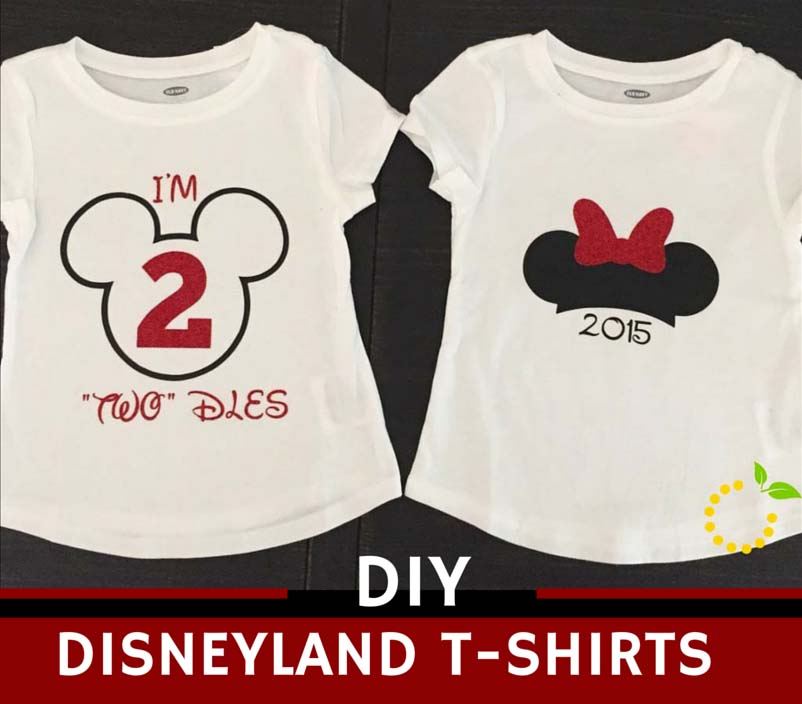
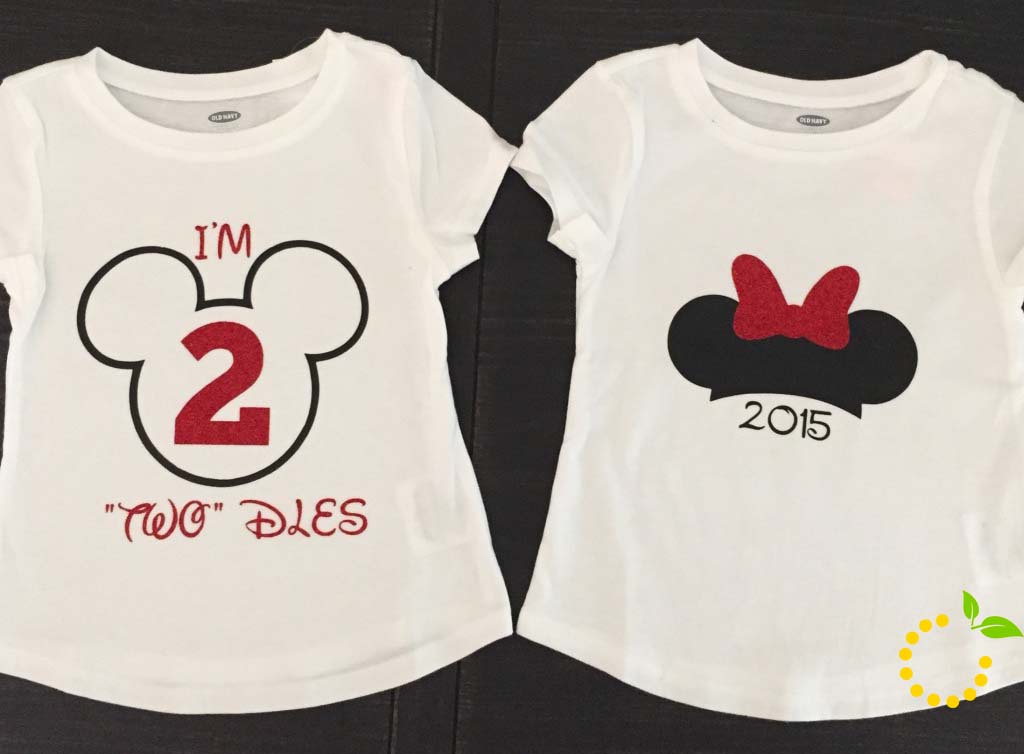
My daughter recently turned two and to celebrate we planned a family trip to the Happiest Place on Earth…Disneyland! It had been 10 years since my last visit (way too long) and would be Olivia’s first time, so I wanted to make it as fun and magical as possible.
The first thing that popped into my head was to make our own t-shirts to wear on the trip. Sure, I could easily go to the store and find something cute, but there was something special about making my own. I wasn’t sure where to start since it was my first time making anything with vinyl, so I called up my crafty sidekick Ashley for some help! I was surprised with how fast and easy it was to make the shirts, so I will definitely be making more in the future.
STEP 1.
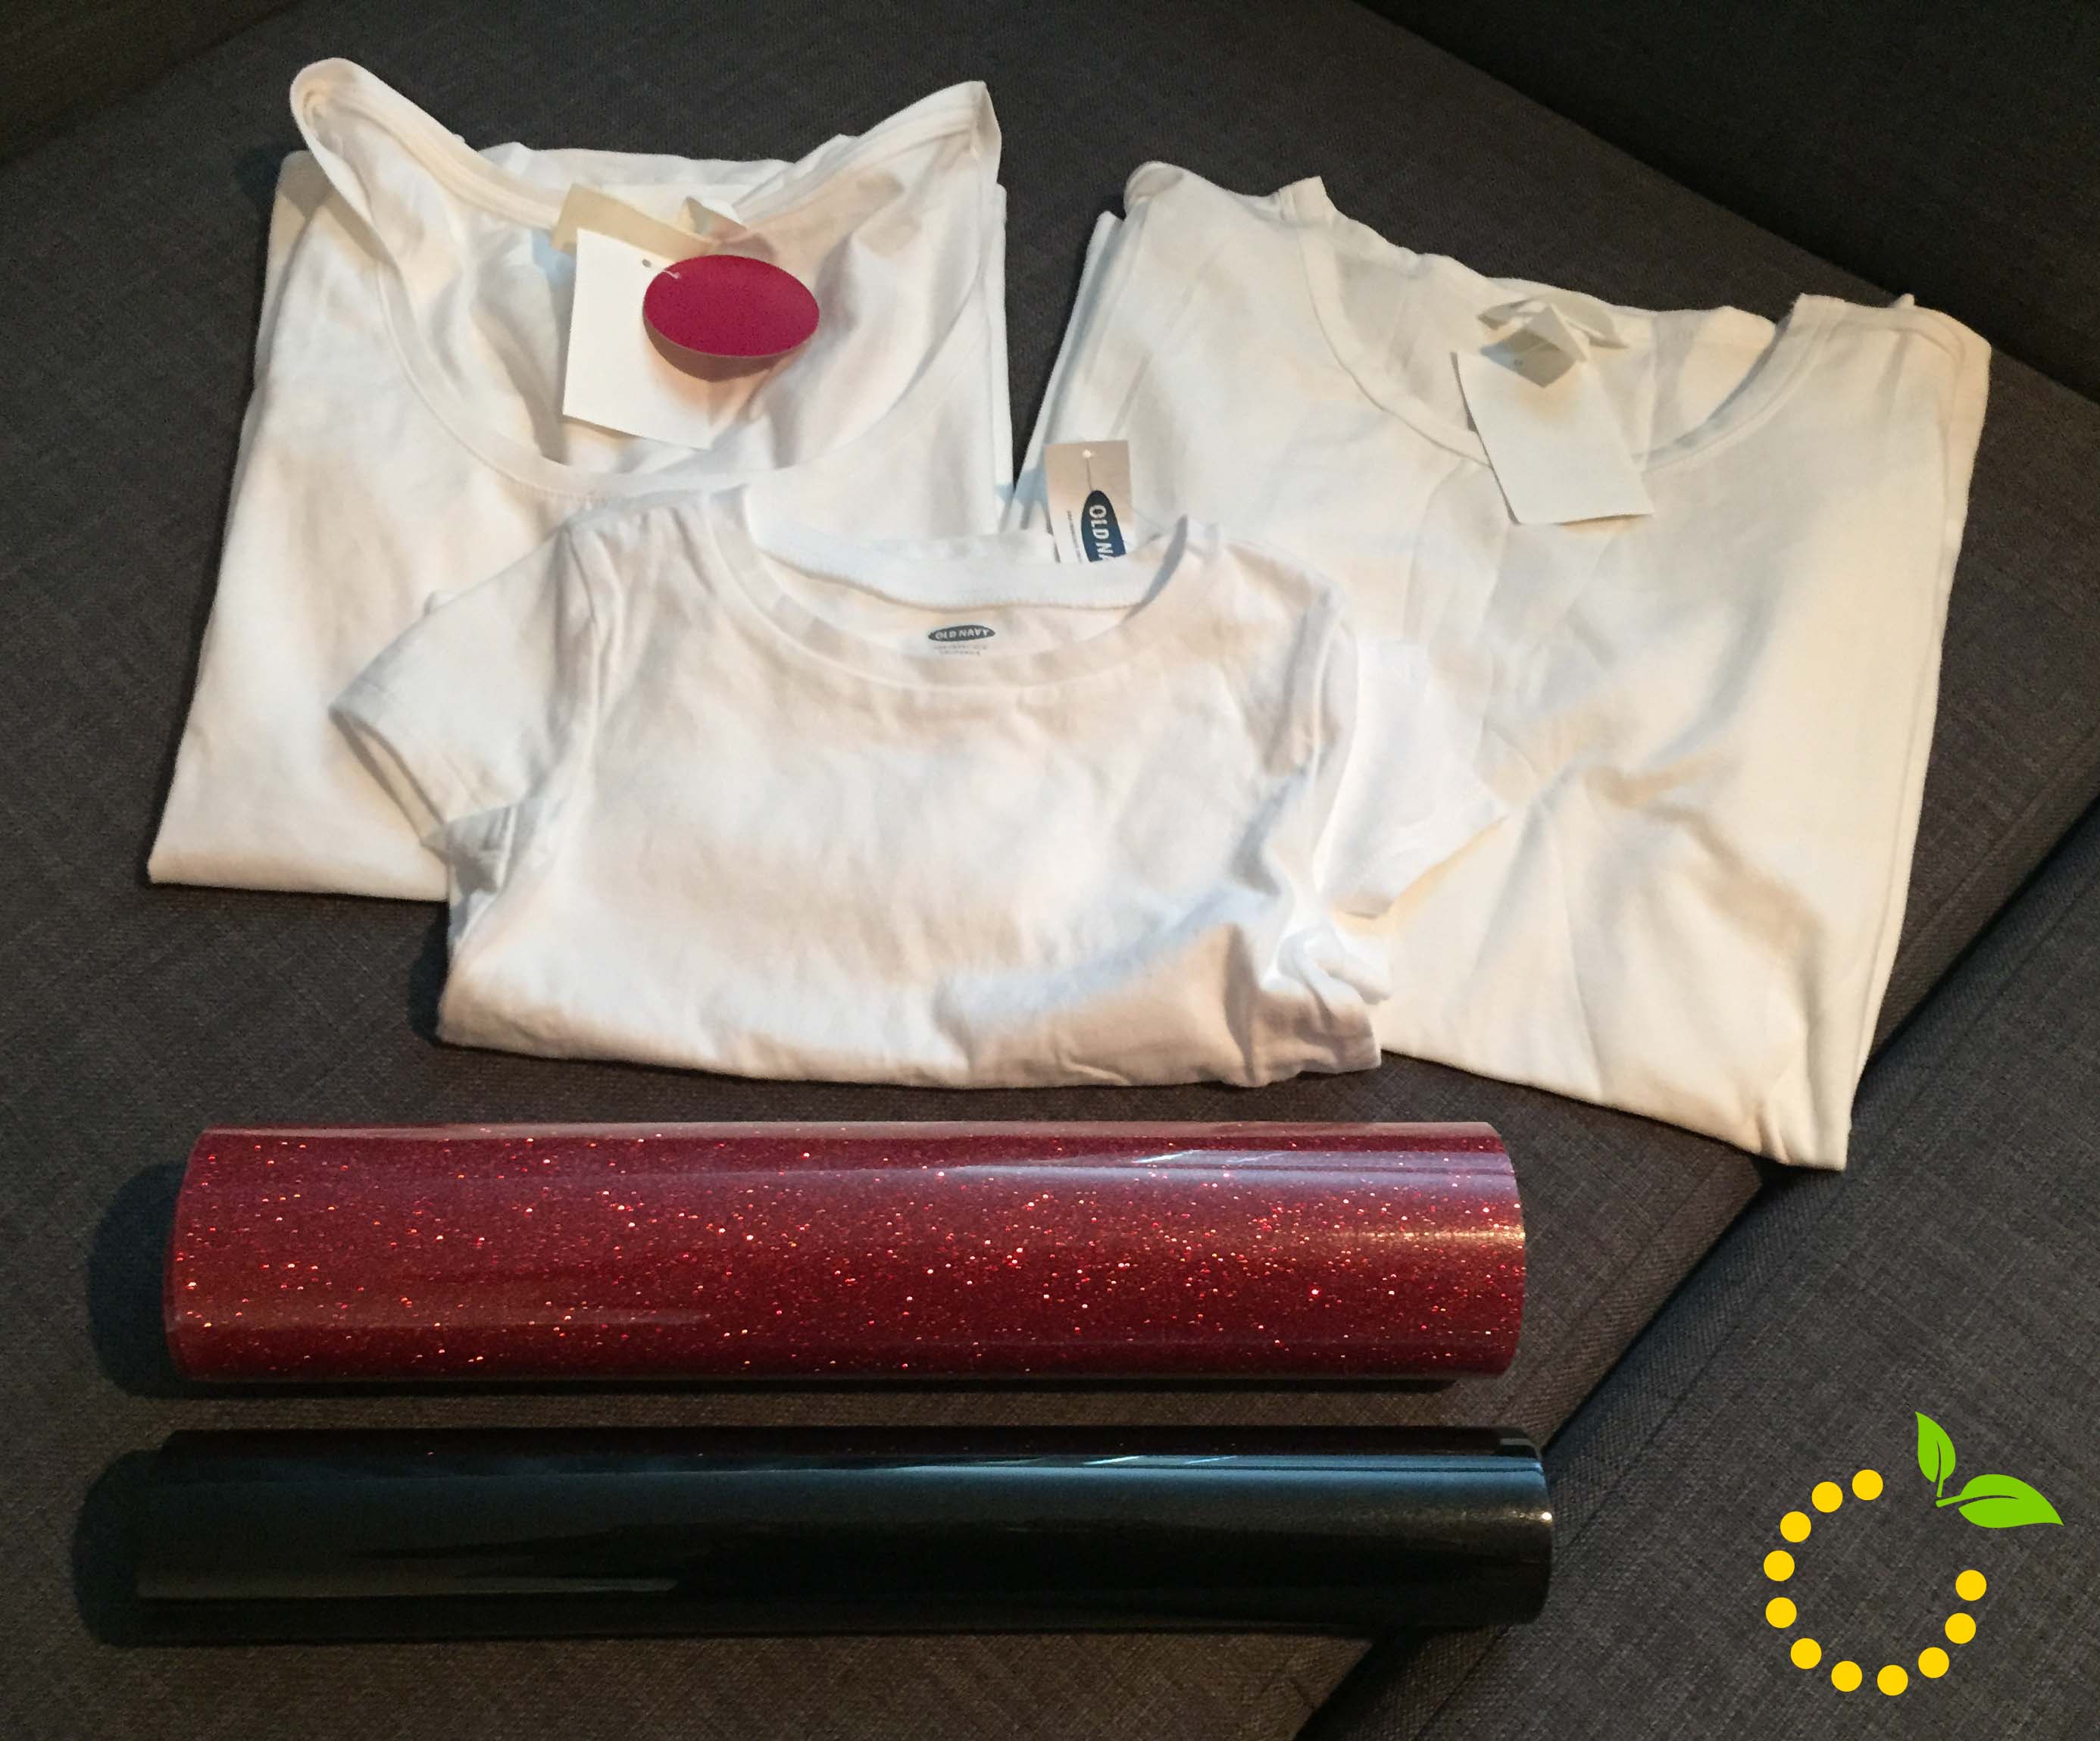
Visit a local craft shop and retail store to pick up your supplies. My shopping list included:
- Adult Plain White T-Shirt: $5 each at H&M.
- Child Plain White T-Shirt: $1.50 each at Old Navy (Yay for clearance deals).
- Iron-On Heat Transfer Vinyl: $12 for one roll of black and $16 for one roll of red glitter. The vinyl is the most expensive part of the project, but the red glitter was totally worth the price.
STEP 2.
Grab a vinyl cutter and prepare the images you want to use on your shirt. Ashley owns a Silhouette Cameo, which was super easy to use, but because my designs weren’t on a template, we had to look online and upload them to the Cameo. Every system is different, but here is a Silhouette tutorial by Sew Dang Cute Crafts for reference. Just remember, make sure your designs are printed backwards since you are ironing onto a shirt! (That might have slipped our minds…a couple of times)
STEP 3.
Drape your shirt over an ironing board and get your vinyl in place. Grab a towel to cover your shirt and start ironing. Run the iron back and forth multiple times. Lift the towel slowly to see if the vinyl is sticking or if it needs more heat. Once it sticks, you’re done!


