Browsing Category

Eats

Eats

Cozy Chicken Pot Pie

Cozy Chicken Pot Pie sweetlemonmade.com

Winter is in full swing here in Utah. We’ve got piles of snow everywhere and it was 14 degrees F when I woke up this morning. BRRRR! All I want to do is bury myself in a big pile of warm laundry fresh from the dryer and wait for spring. That’s obviously not a viable option, so if I can’t count on comfy laundry to warm my chilly extremities I guess I’ll have to choose the next best thing…cozy comfort food. I thought about mac and cheese (for the obvious reason that a mix of carby pasta and a decadent cheese sauce can cure WHATEVER ails you), but I was fresh out of cheese (and due to frigid temperatures I was obviously not willing to go buy some). But you wanna know what I did have in my fridge??? Pie crust!

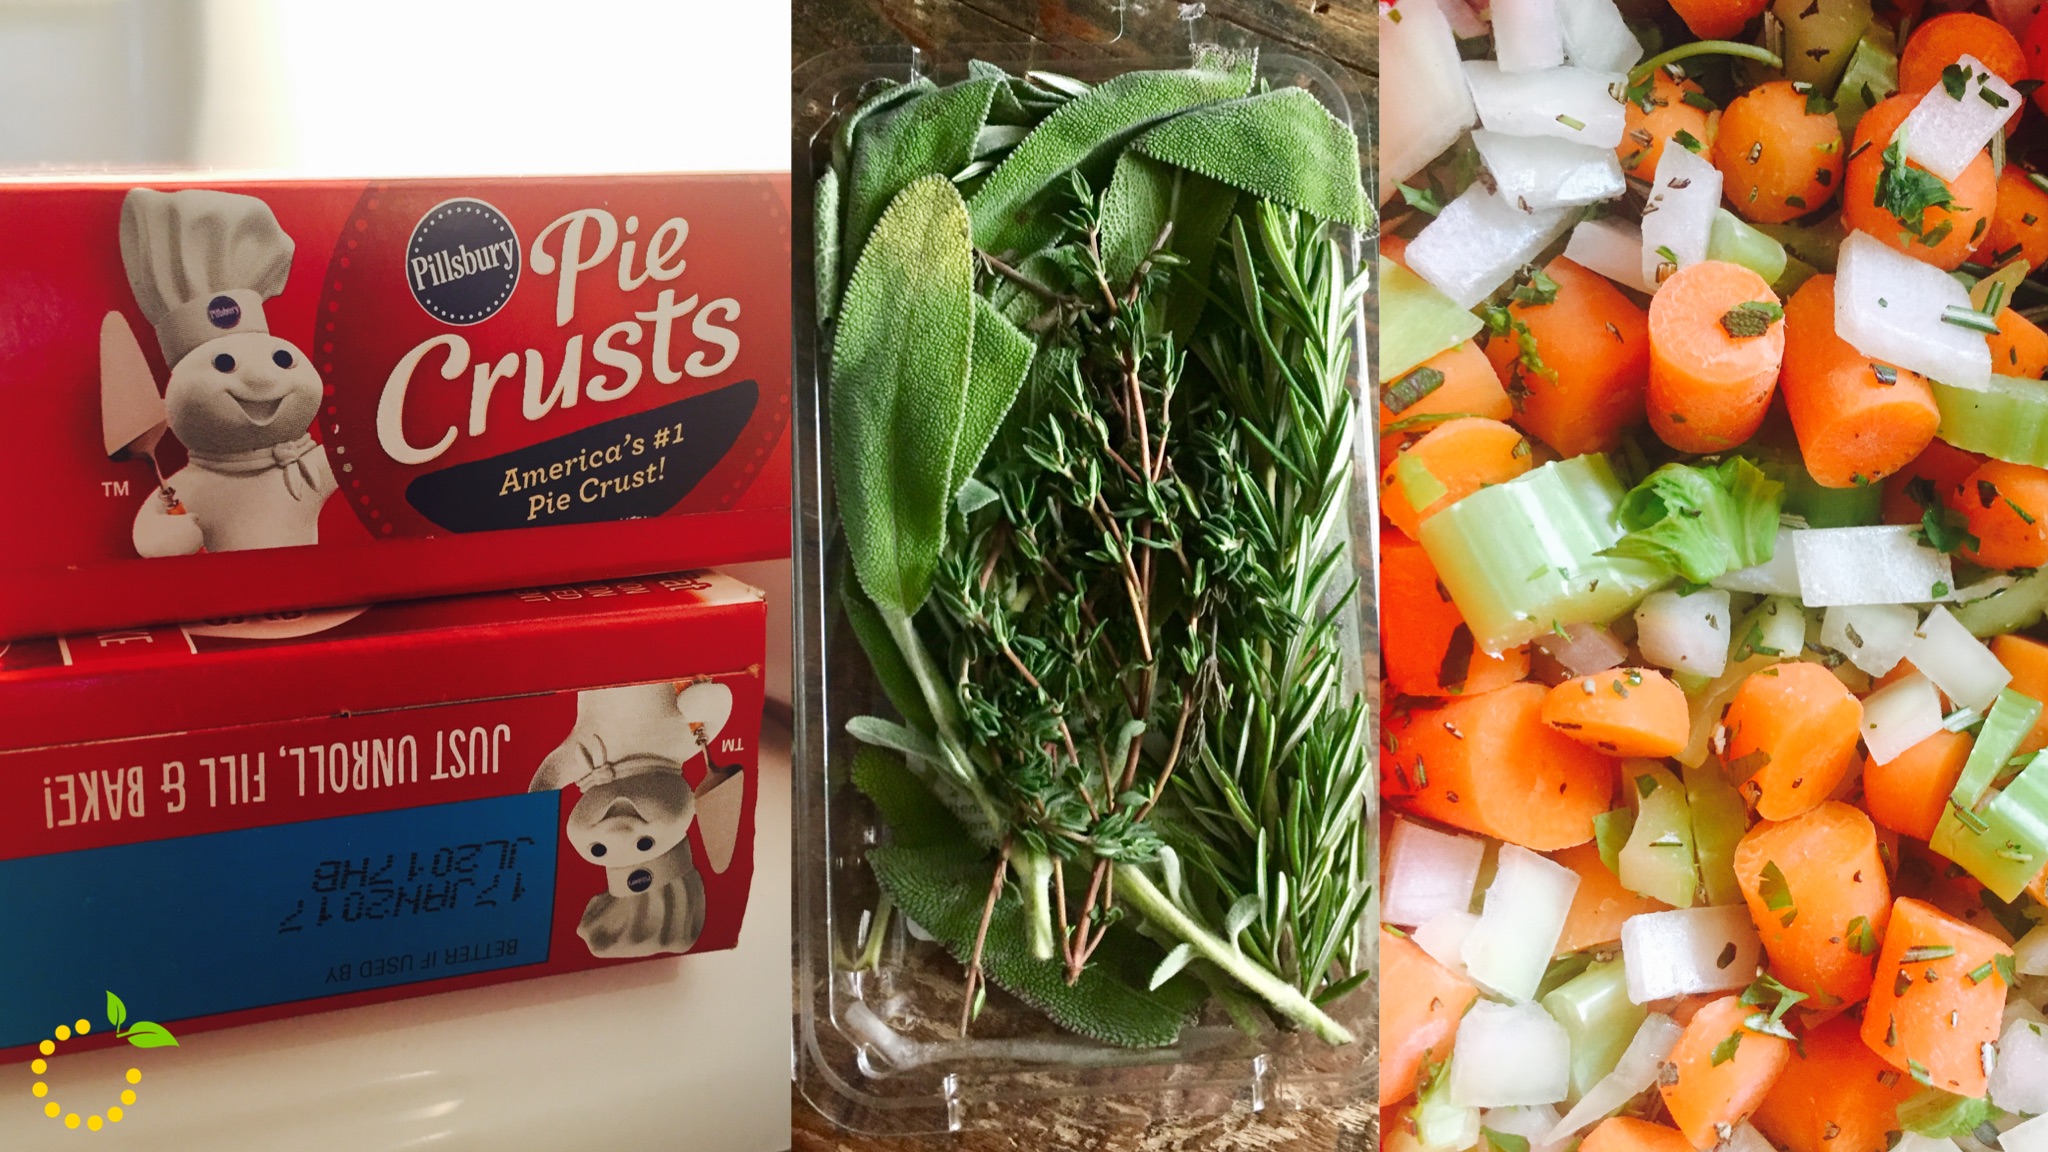
Yep, you know those pre-packaged ones you buy at Thanksgiving because you are too busy to make real ones? Yep, that’s what I found! And yes, it is still in there from Thanksgiving! The beauty of those preservative-enhanced pieces of buttery, flakey goodness is that they have a surprisingly long shelf-life in the fridge or freezer and can save the day in a moment like this! So with a pie crust in hand and thawing chicken in the sink I was struck with a beautiful idea for a creamy chicken pot pie! Um hello comfort food all-star!

Chicken Pot Pie Ingredients sweetlemonmade.com

I’ve consumed many a chicken pot pie in my day, yet I’ve never actually made one. So I did what I always do when I’m looking for a perfect, down-home classic family recipe…I google-searched for a Pioneer Woman recipe! She’s the queen of comfort food and her recipes always turn out awesome. So I foraged the fridge for ingredients and lucky for me had some carrot sticks, celery, and an onion on hand! I was GOLDEN. Yesssss! This is recipe is largely hers, but I did make a few changes…I doubled the vegetables, decreased the broth so it was thicker, and put a pie crust on the top and the bottom (because in my mind it’s not chicken pot pie without a delightful crust on the top and the bottom! See recipe details below and google Pioneer Woman “chicken pot pie” if you want her recipe.

Cozy Chicken Pot Pie
Write a review
Print
Ingredients
  1. 3 cups of shredded chicken
  2. 4 tablespoons of butter
  3. 1 cup finely diced onion (usually one onion)
  4. 1 cup finely diced celery
  5. 1 cup finely diced carrots
  6. ¼ cup flour
  7. 2 ½ cups chicken broth
  8. ¼ teaspoon of turmeric (not necessary if you don’ have it)
  9. Salt and pepper, to taste
  10. Chopped fresh herbs (any combination you like—I used thyme, rosemary, sage, to taste (about 3-5 tablespoons)
  11. ¼ cup of cream or half and half (also not necessary if you don’t have it)
  12. 2 unbaked pie crusts
  13. 1 egg
  14. 2 tablespoons of water
Instructions
  1. Preheat oven to 375 degrees F.
  2. Melt butter in a large pot over medium heat. Add onions, carrots, celery and stir until onions become translucent—about 5 minutes.
  3. Add the shredded chicken to the vegetable mixture and stir.
  4. Next sprinkle flour over chicken and vegetable mixture and continue to stir and cook for one minute.
  5. Pour chicken broth over mixture and continue stirring while mixture thickens.
  6. Once it thickens to your desired consistency add in the turmeric, salt, pepper, and herbs.
  7. Add the splash of cream and continue to stir (if mixture is too thick just add more chicken broth).
  8. Remove pan from heat and set aside.
  9. Place one unbaked pie crust in the bottom of a pie dish or pan.
  10. Pour warm chicken and vegetable mixture on top of bottom crust.
  11. Place unbaked pie crust on top of chicken mixture and seal it well with bottom crust by pressing them together using fingers.
  12. Cut 3-5 slits in the top crust to allow for ventilation while cooking.
  13. Mix egg and water to make a basic egg wash and brush egg wash on the crust.
  14. Place in the oven and cook uncovered for 30 minutes (or until the crust is a deep golden brown).
  15. Allow pot pie to cool for about ten minutes prior to serving.
  16. ENJOY!
Sweet Lemon Made https://sweetlemonmade.com/

Eats

Double Layer Pumpkin Pie

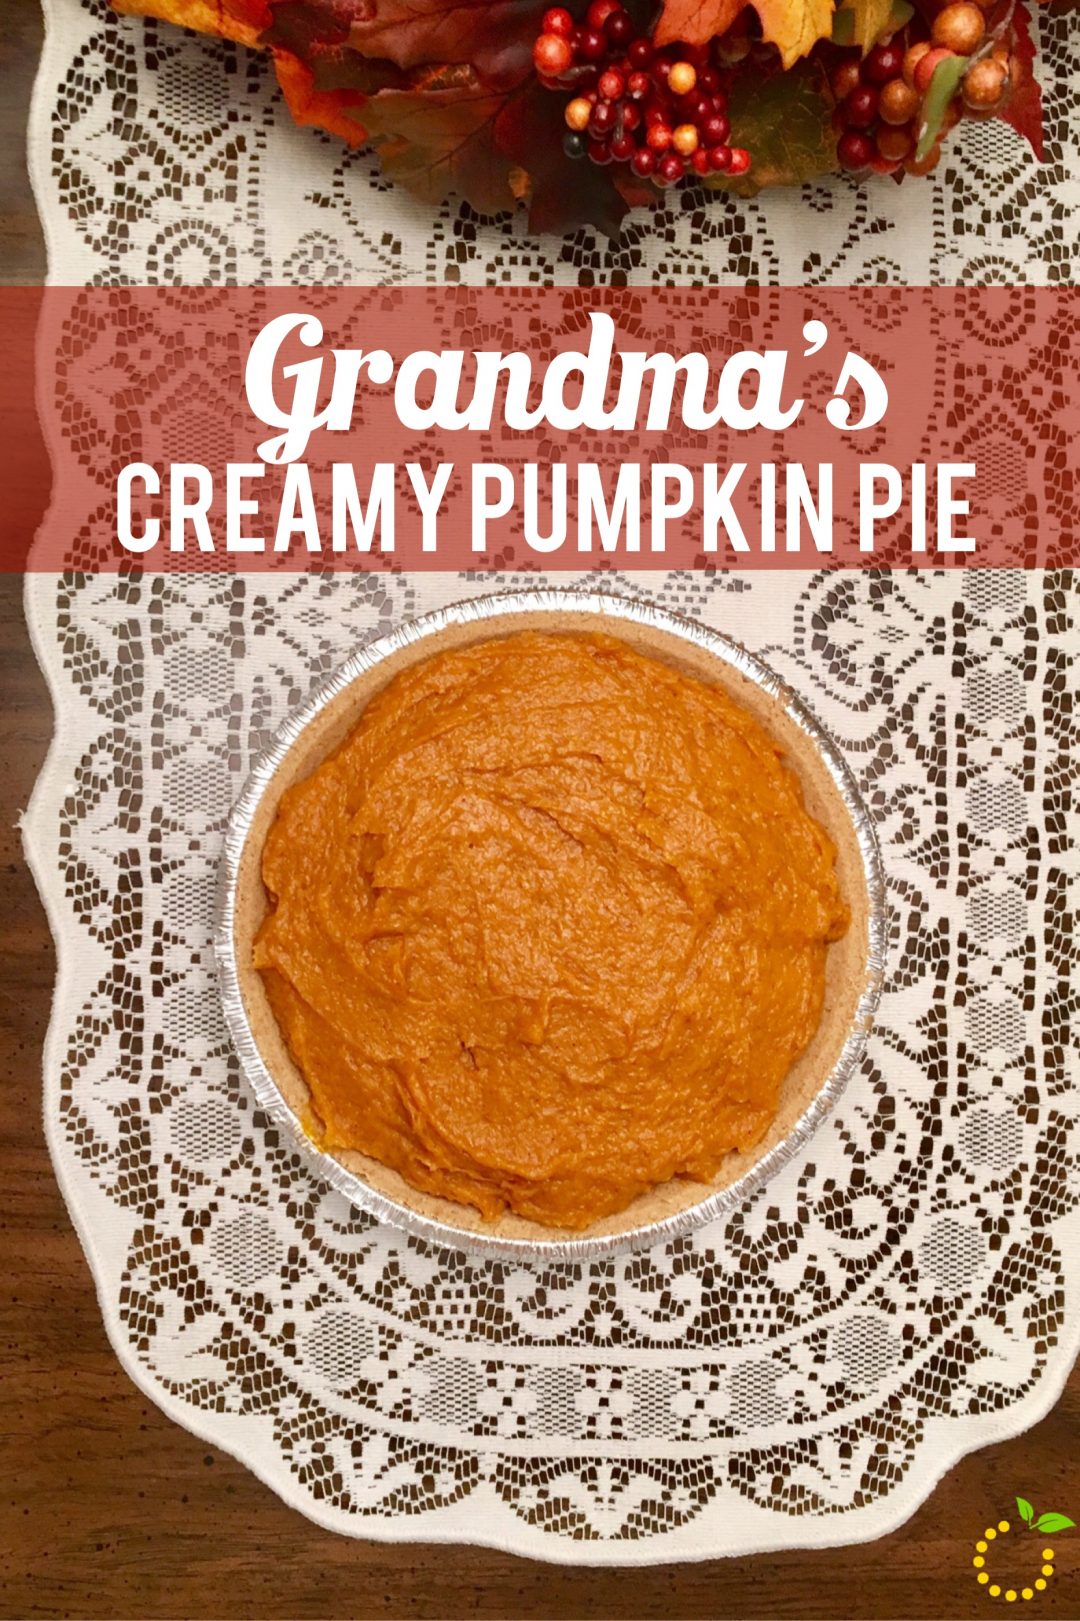
Every Thanksgiving I look forward to getting together with my family and enjoying delicious food, just like everyone else. But the one thing I look forward to the most is my grandma’s creamy pumpkin pie. She’s been making this pie for 20 years and it’s my absolute favorite. It’s lighter than the typical pumpkin pie, but it’s very rich and filling. The best part, it’s super easy to make! This pumpkin pie only takes 15 minutes to make and doesn’t involve baking. You just stick it right in the refrigerator to set. This is my kind of recipe!

I asked my grandma if there was a special story behind the recipe I could share, but she just happened to find it in a magazine one day back in 1996. Either way, it’s delicious and I wanted to share it with all of you. Enjoy!

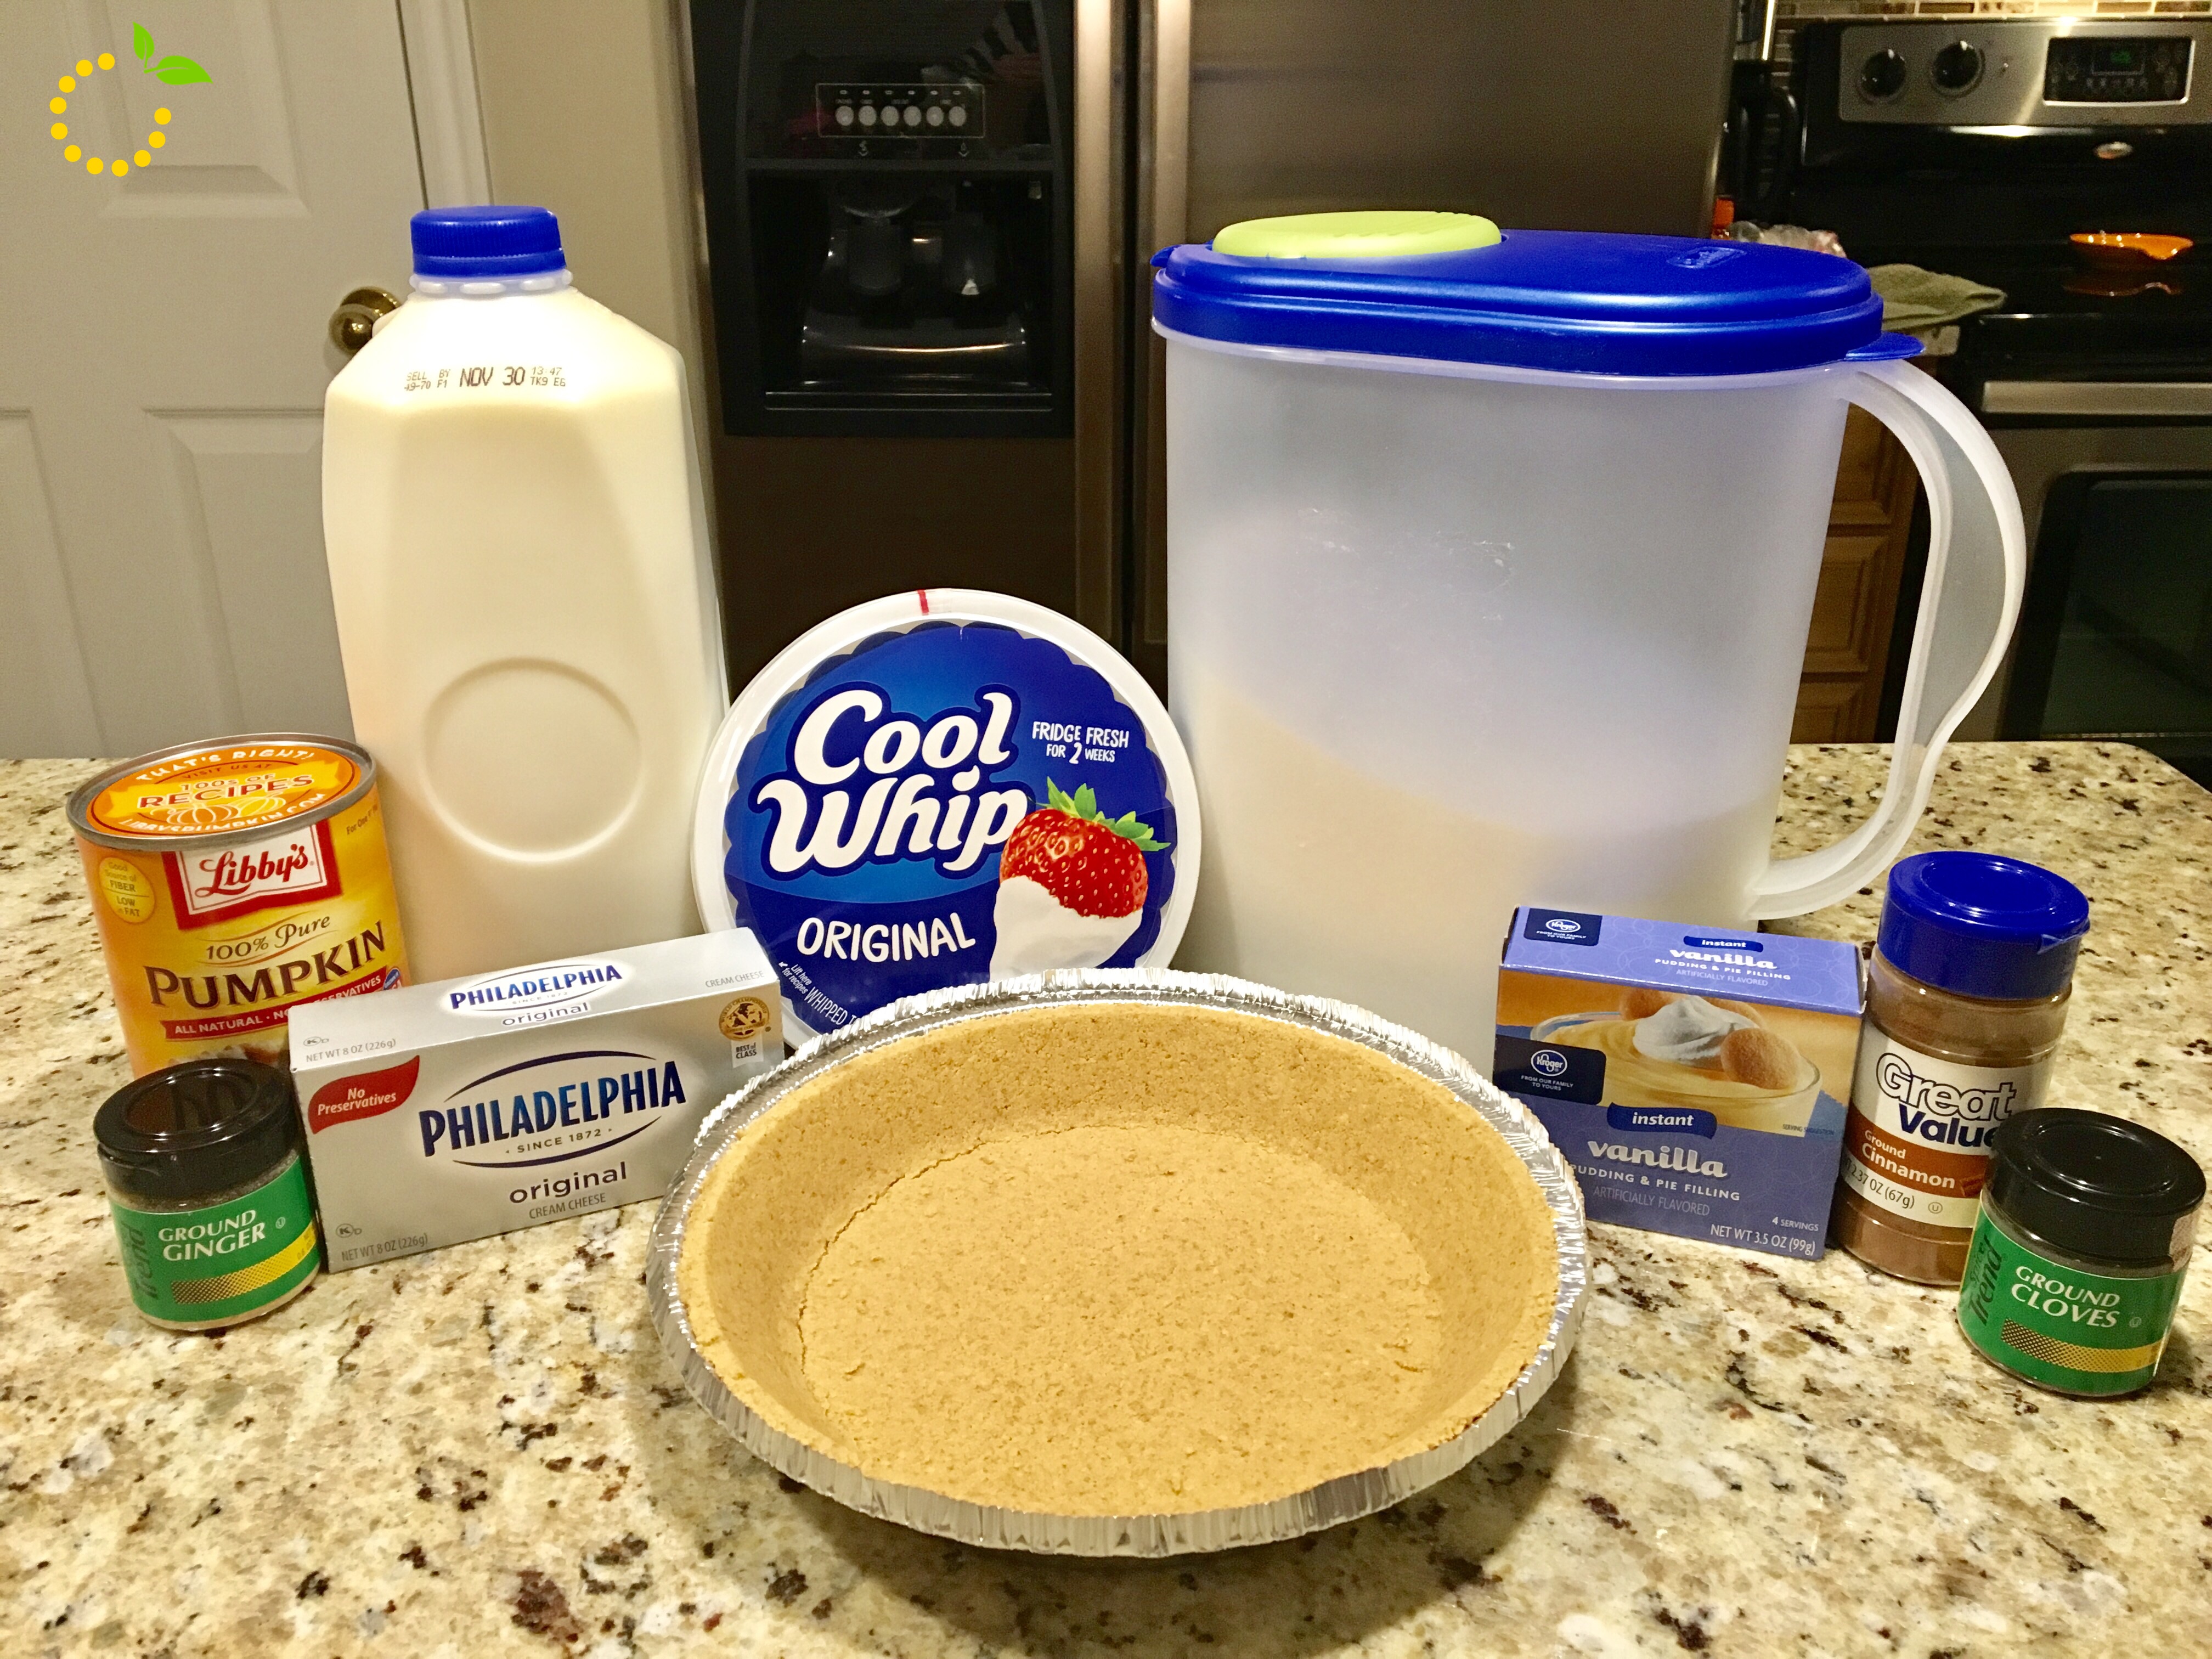
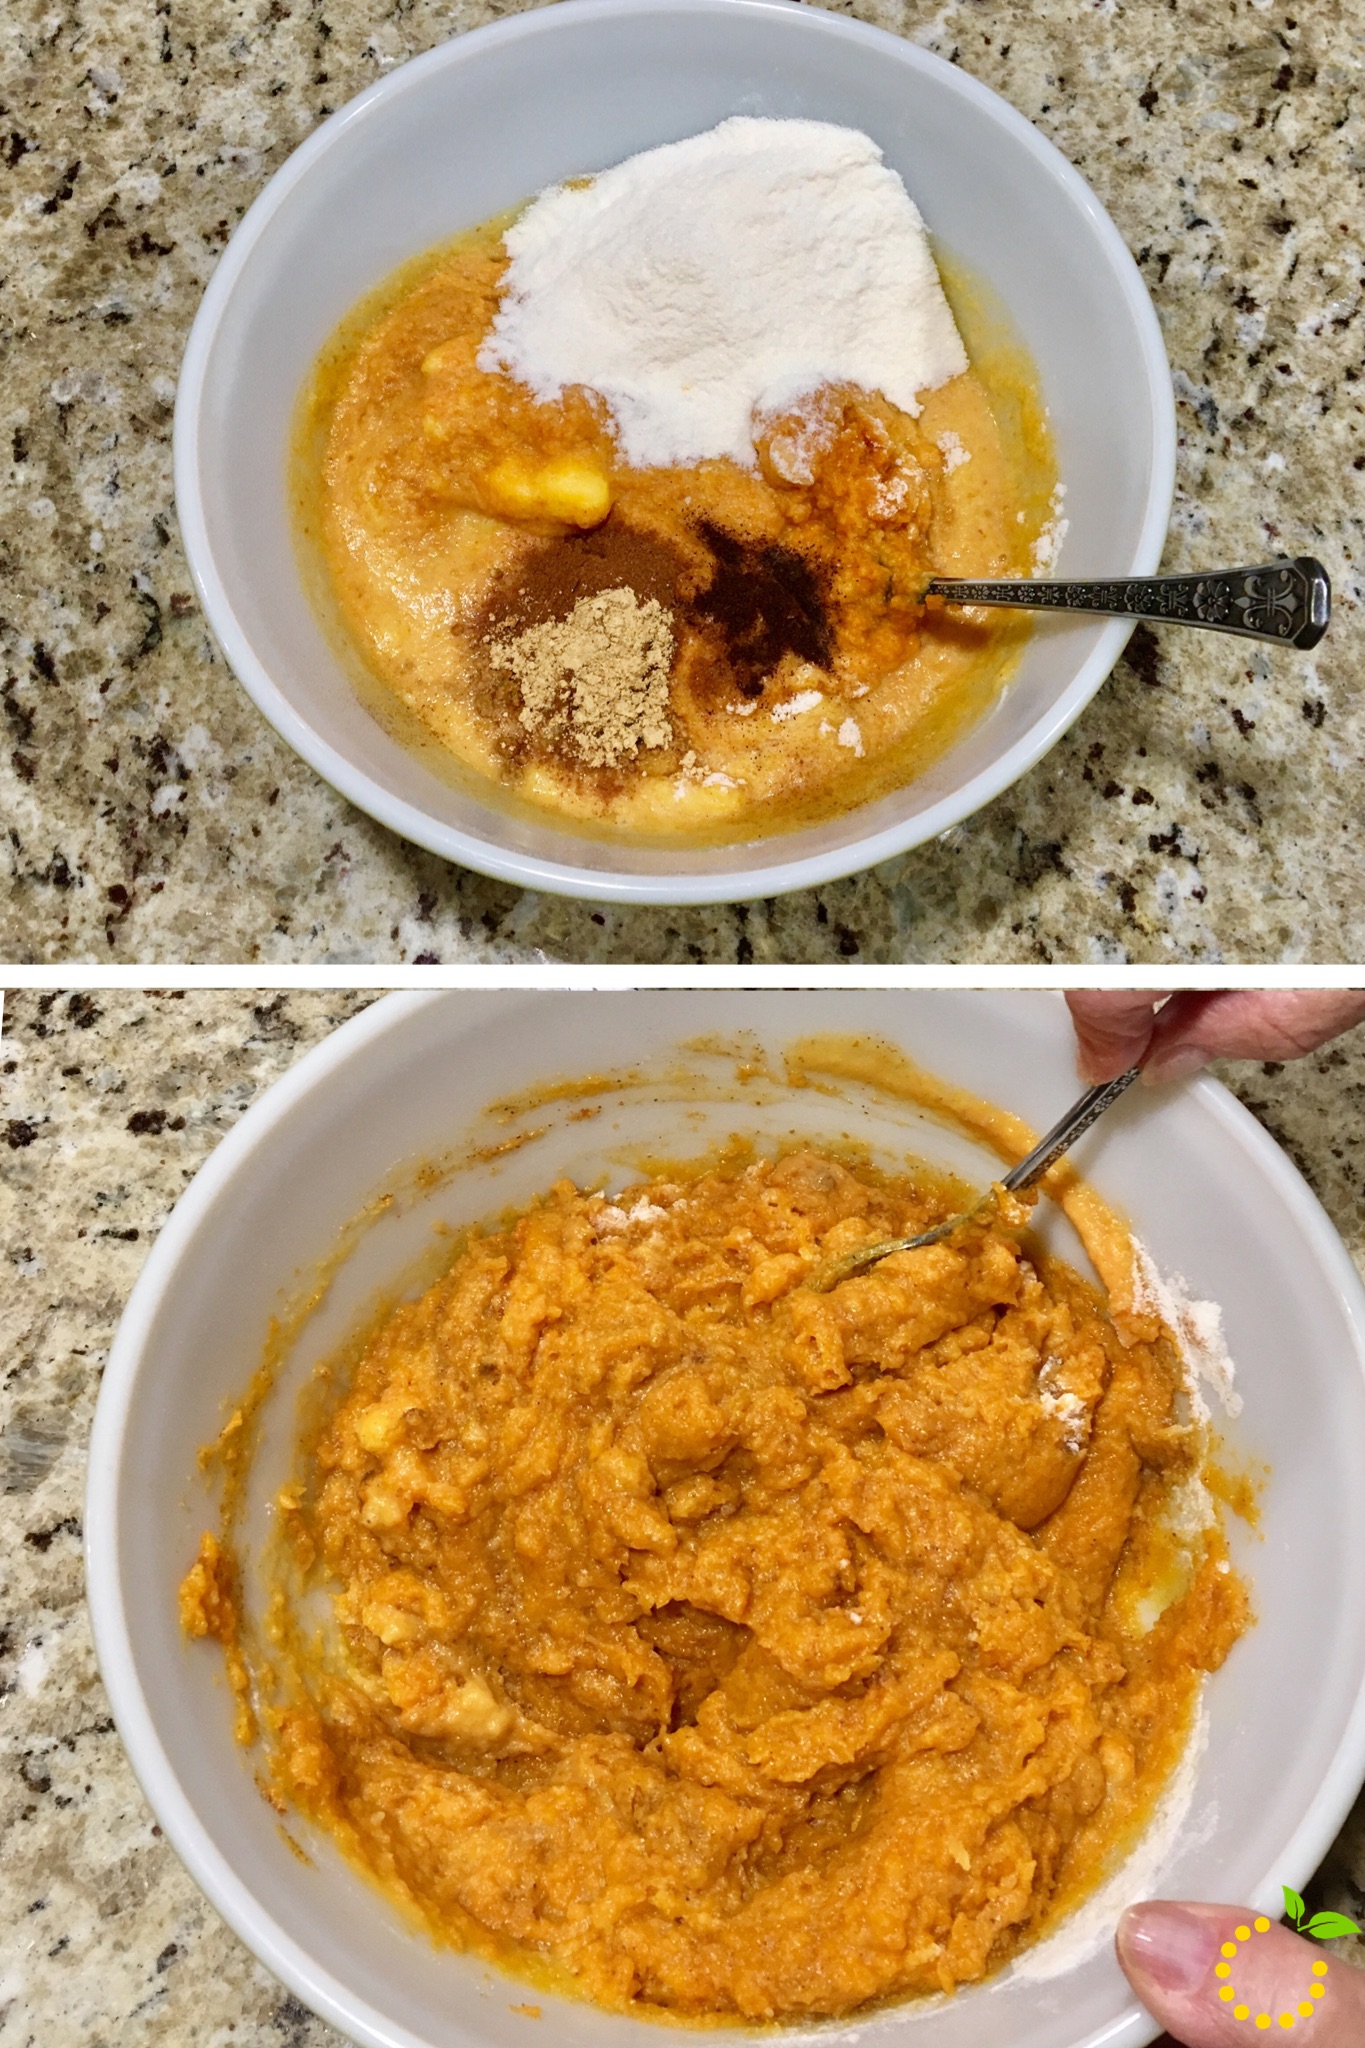
image-1ingredients

img_9380

img_9381

img_9382

Double Layer Pumpkin Pie
Write a review
Print
Ingredients
  1. 4 ounces cream cheese, softened
  2. 1 tablespoon milk
  3. 1 tablespoon sugar
  4. 1 1/2 cups thawed cool whip
  5. 1 graham cracker pie crust
  6. 1 cup cold milk
  7. 1 can (16 ounces) pumpkin
  8. 2 packages (4-serving size) vanilla flavor instant pudding and pie filling
  9. 1 teaspoon ground cinnamon
  10. 1/2 teaspoon ground ginger
  11. 1/4 teaspoon ground cloves
Instructions
  1. Soften cream cheese in the microwave for 15 seconds
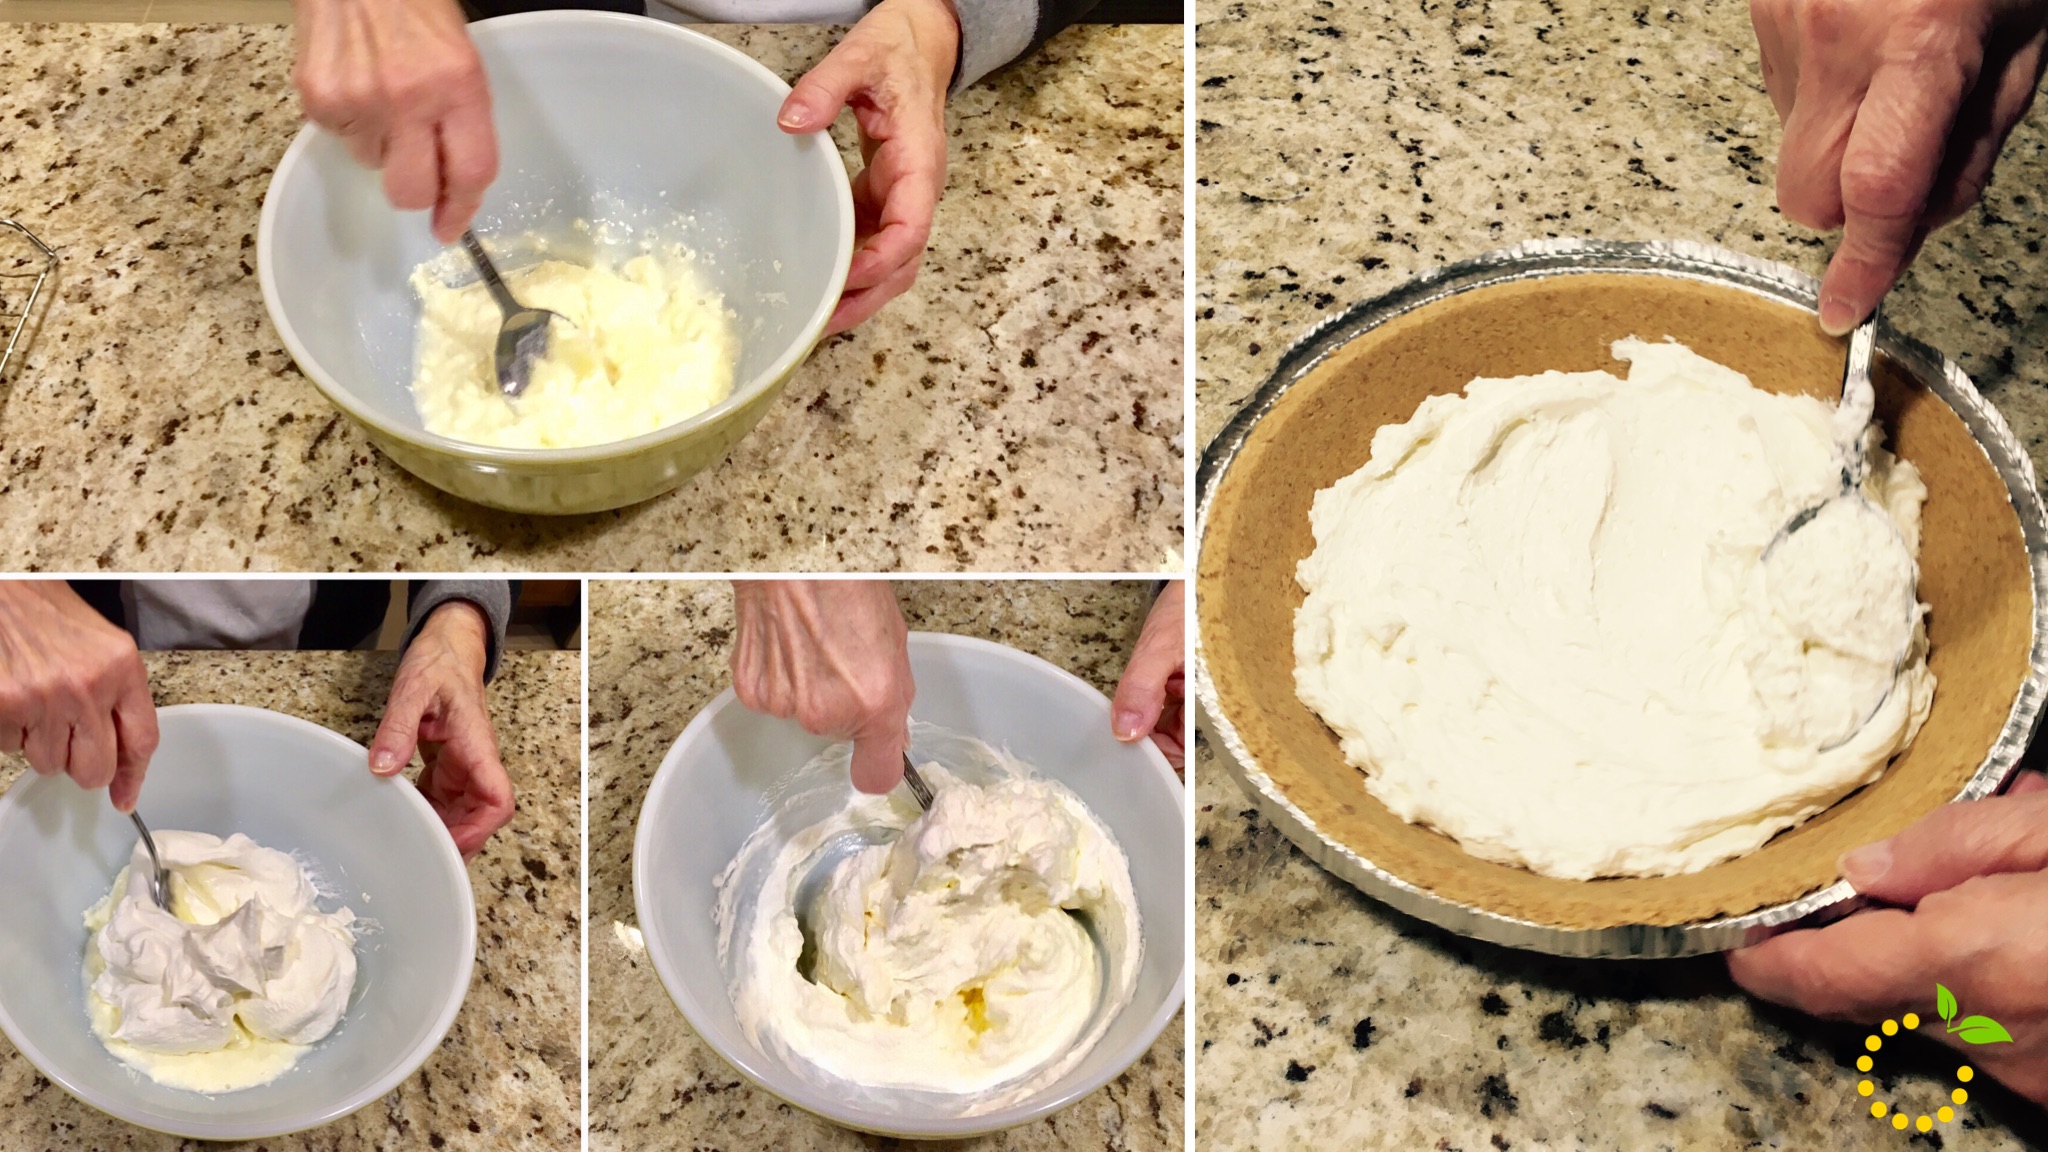
  2. Mix cream cheese, 1 tablespoon milk nad sugar in large bowl with wire whisk until smooth.
  3. Gently stir in whipped topping.
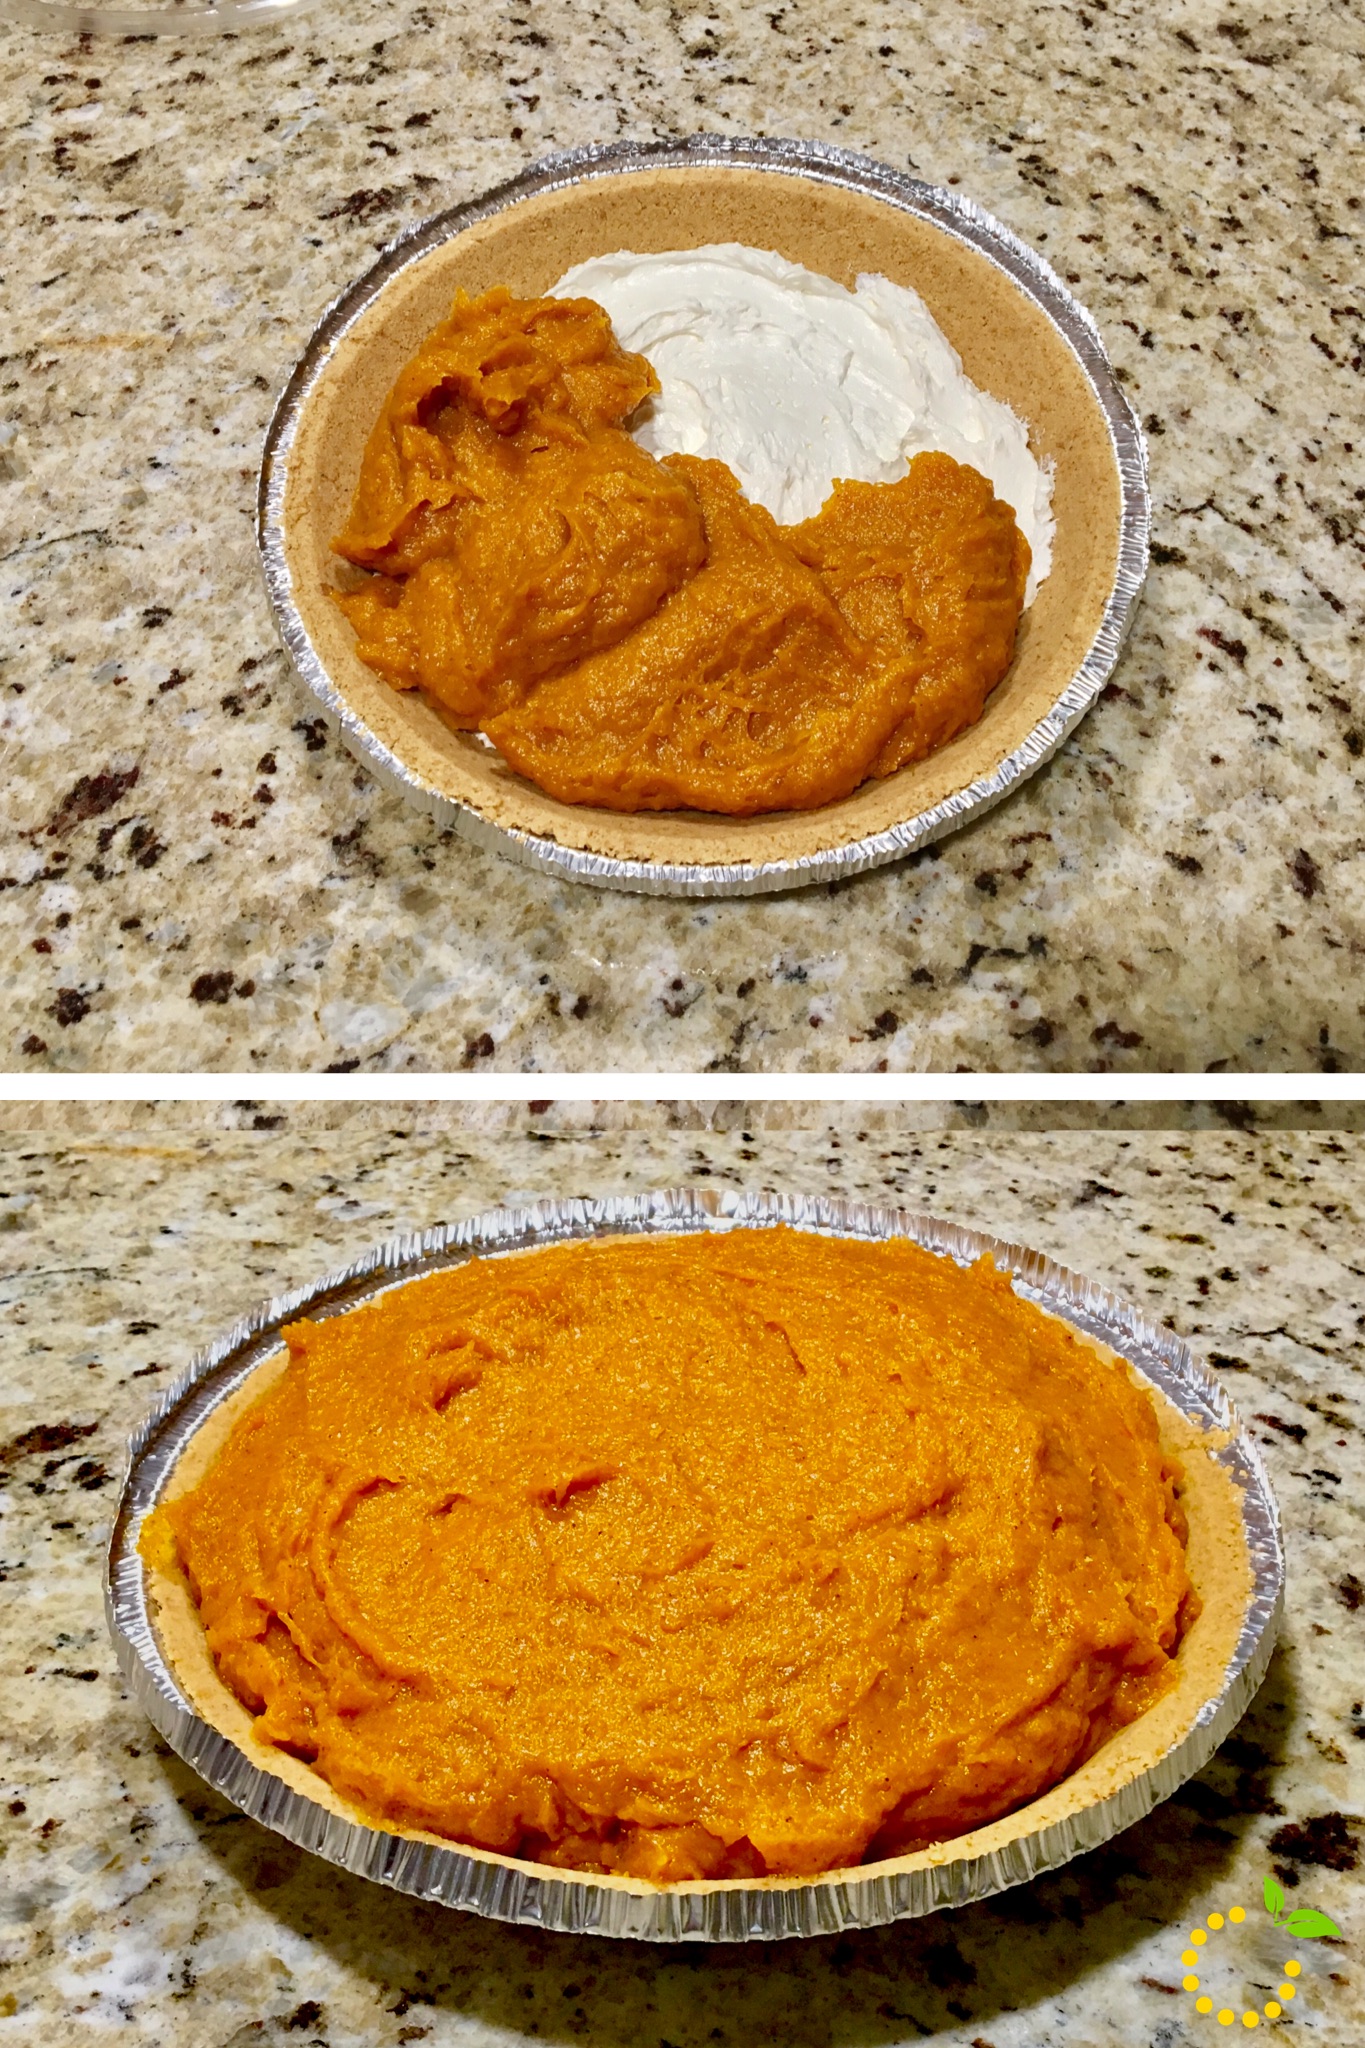
  4. Spread on bottom of crust.
  5. Pour 1 cup cold milk into bowl.
  6. Add pumpkin, pudding mixes and spices. Beat with wire whisk until well mixed. (mixture will be thick)
  7. Spread over cream cheese layer.
  8. Refrigerate 4 hours or until set.
  9. Garnish with additional whipped topping.
Sweet Lemon Made https://sweetlemonmade.com/

Eats

Chocolate Chip Pumpkin Mini Loaves

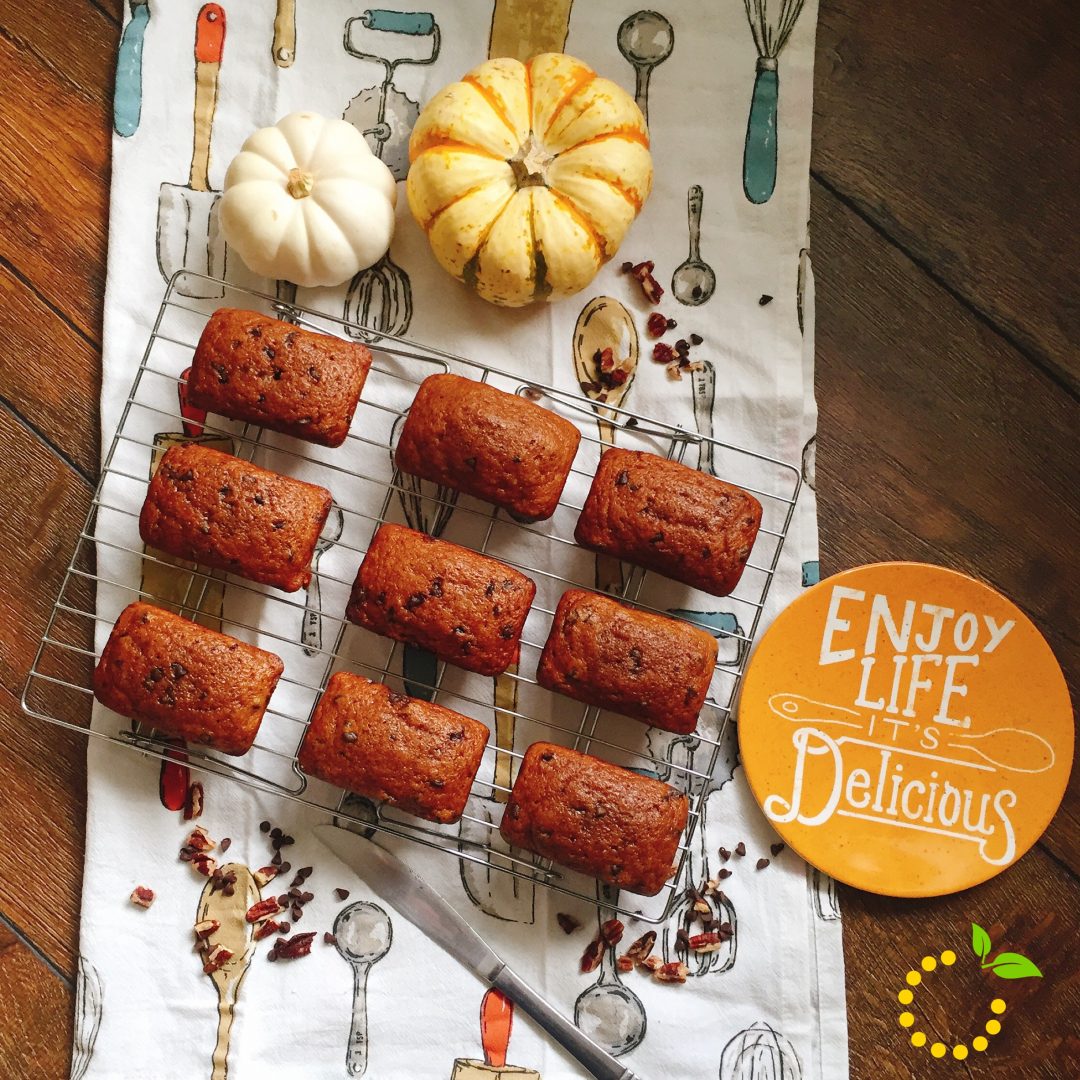
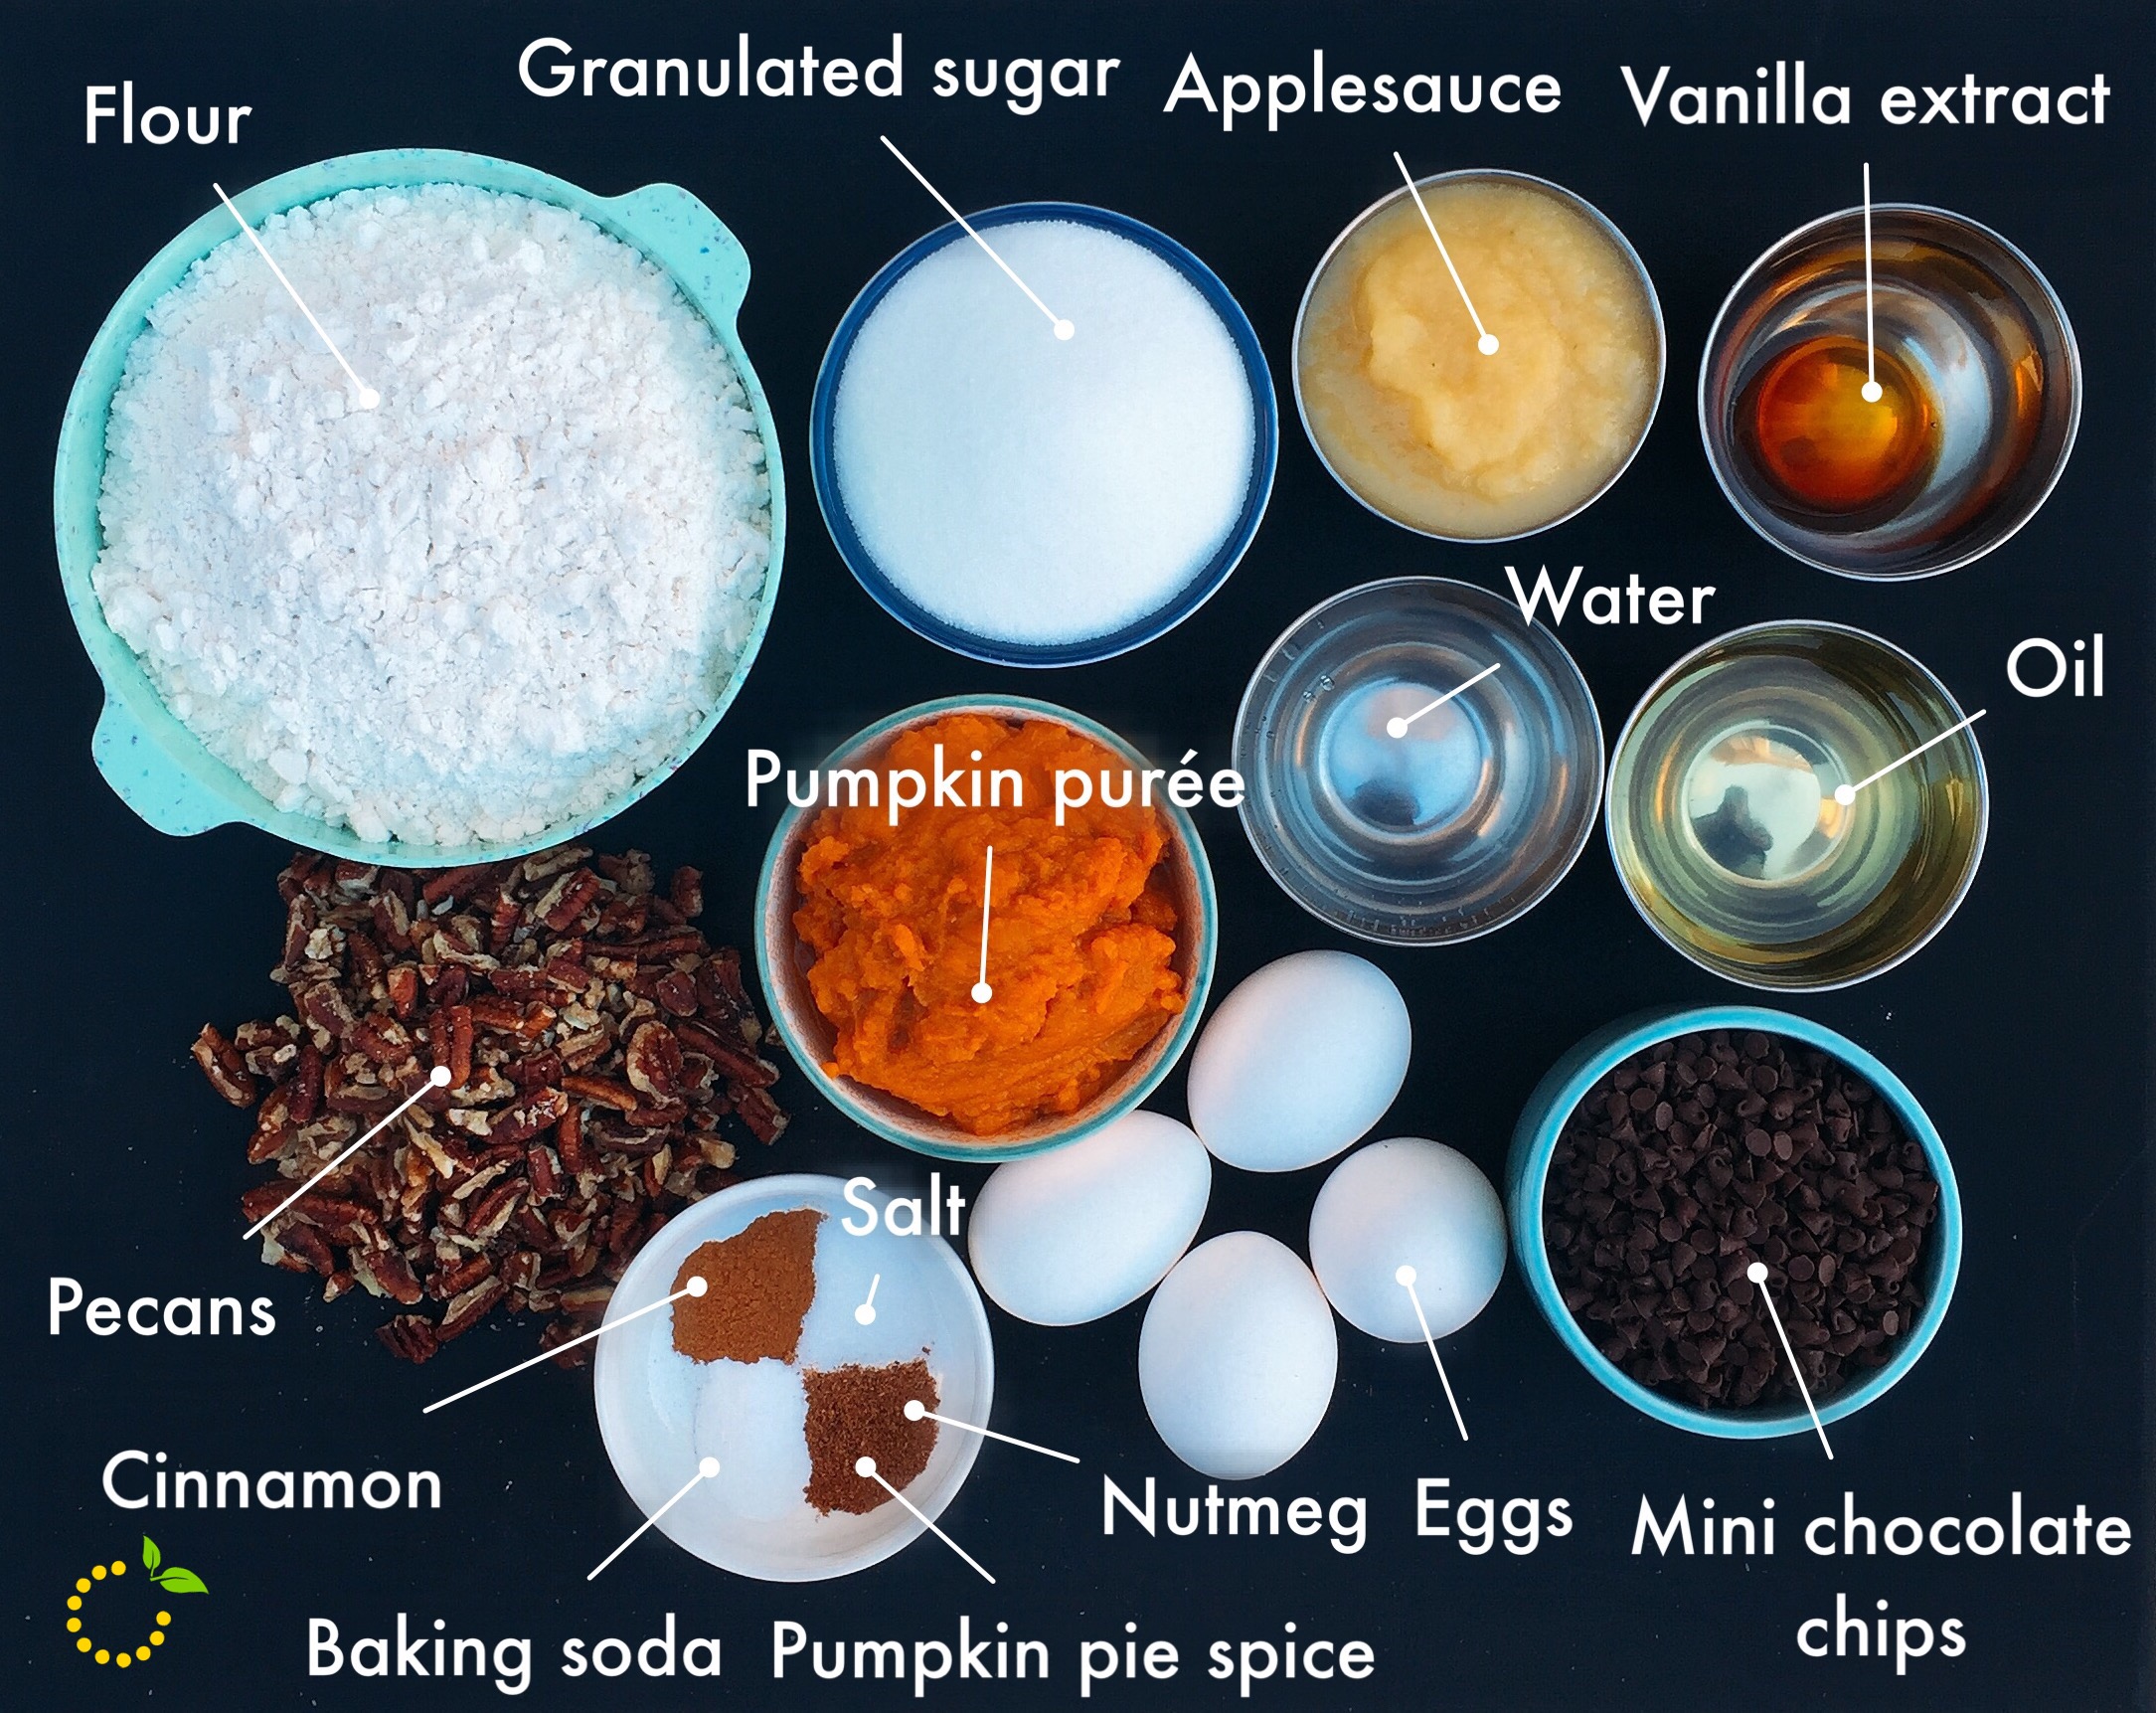
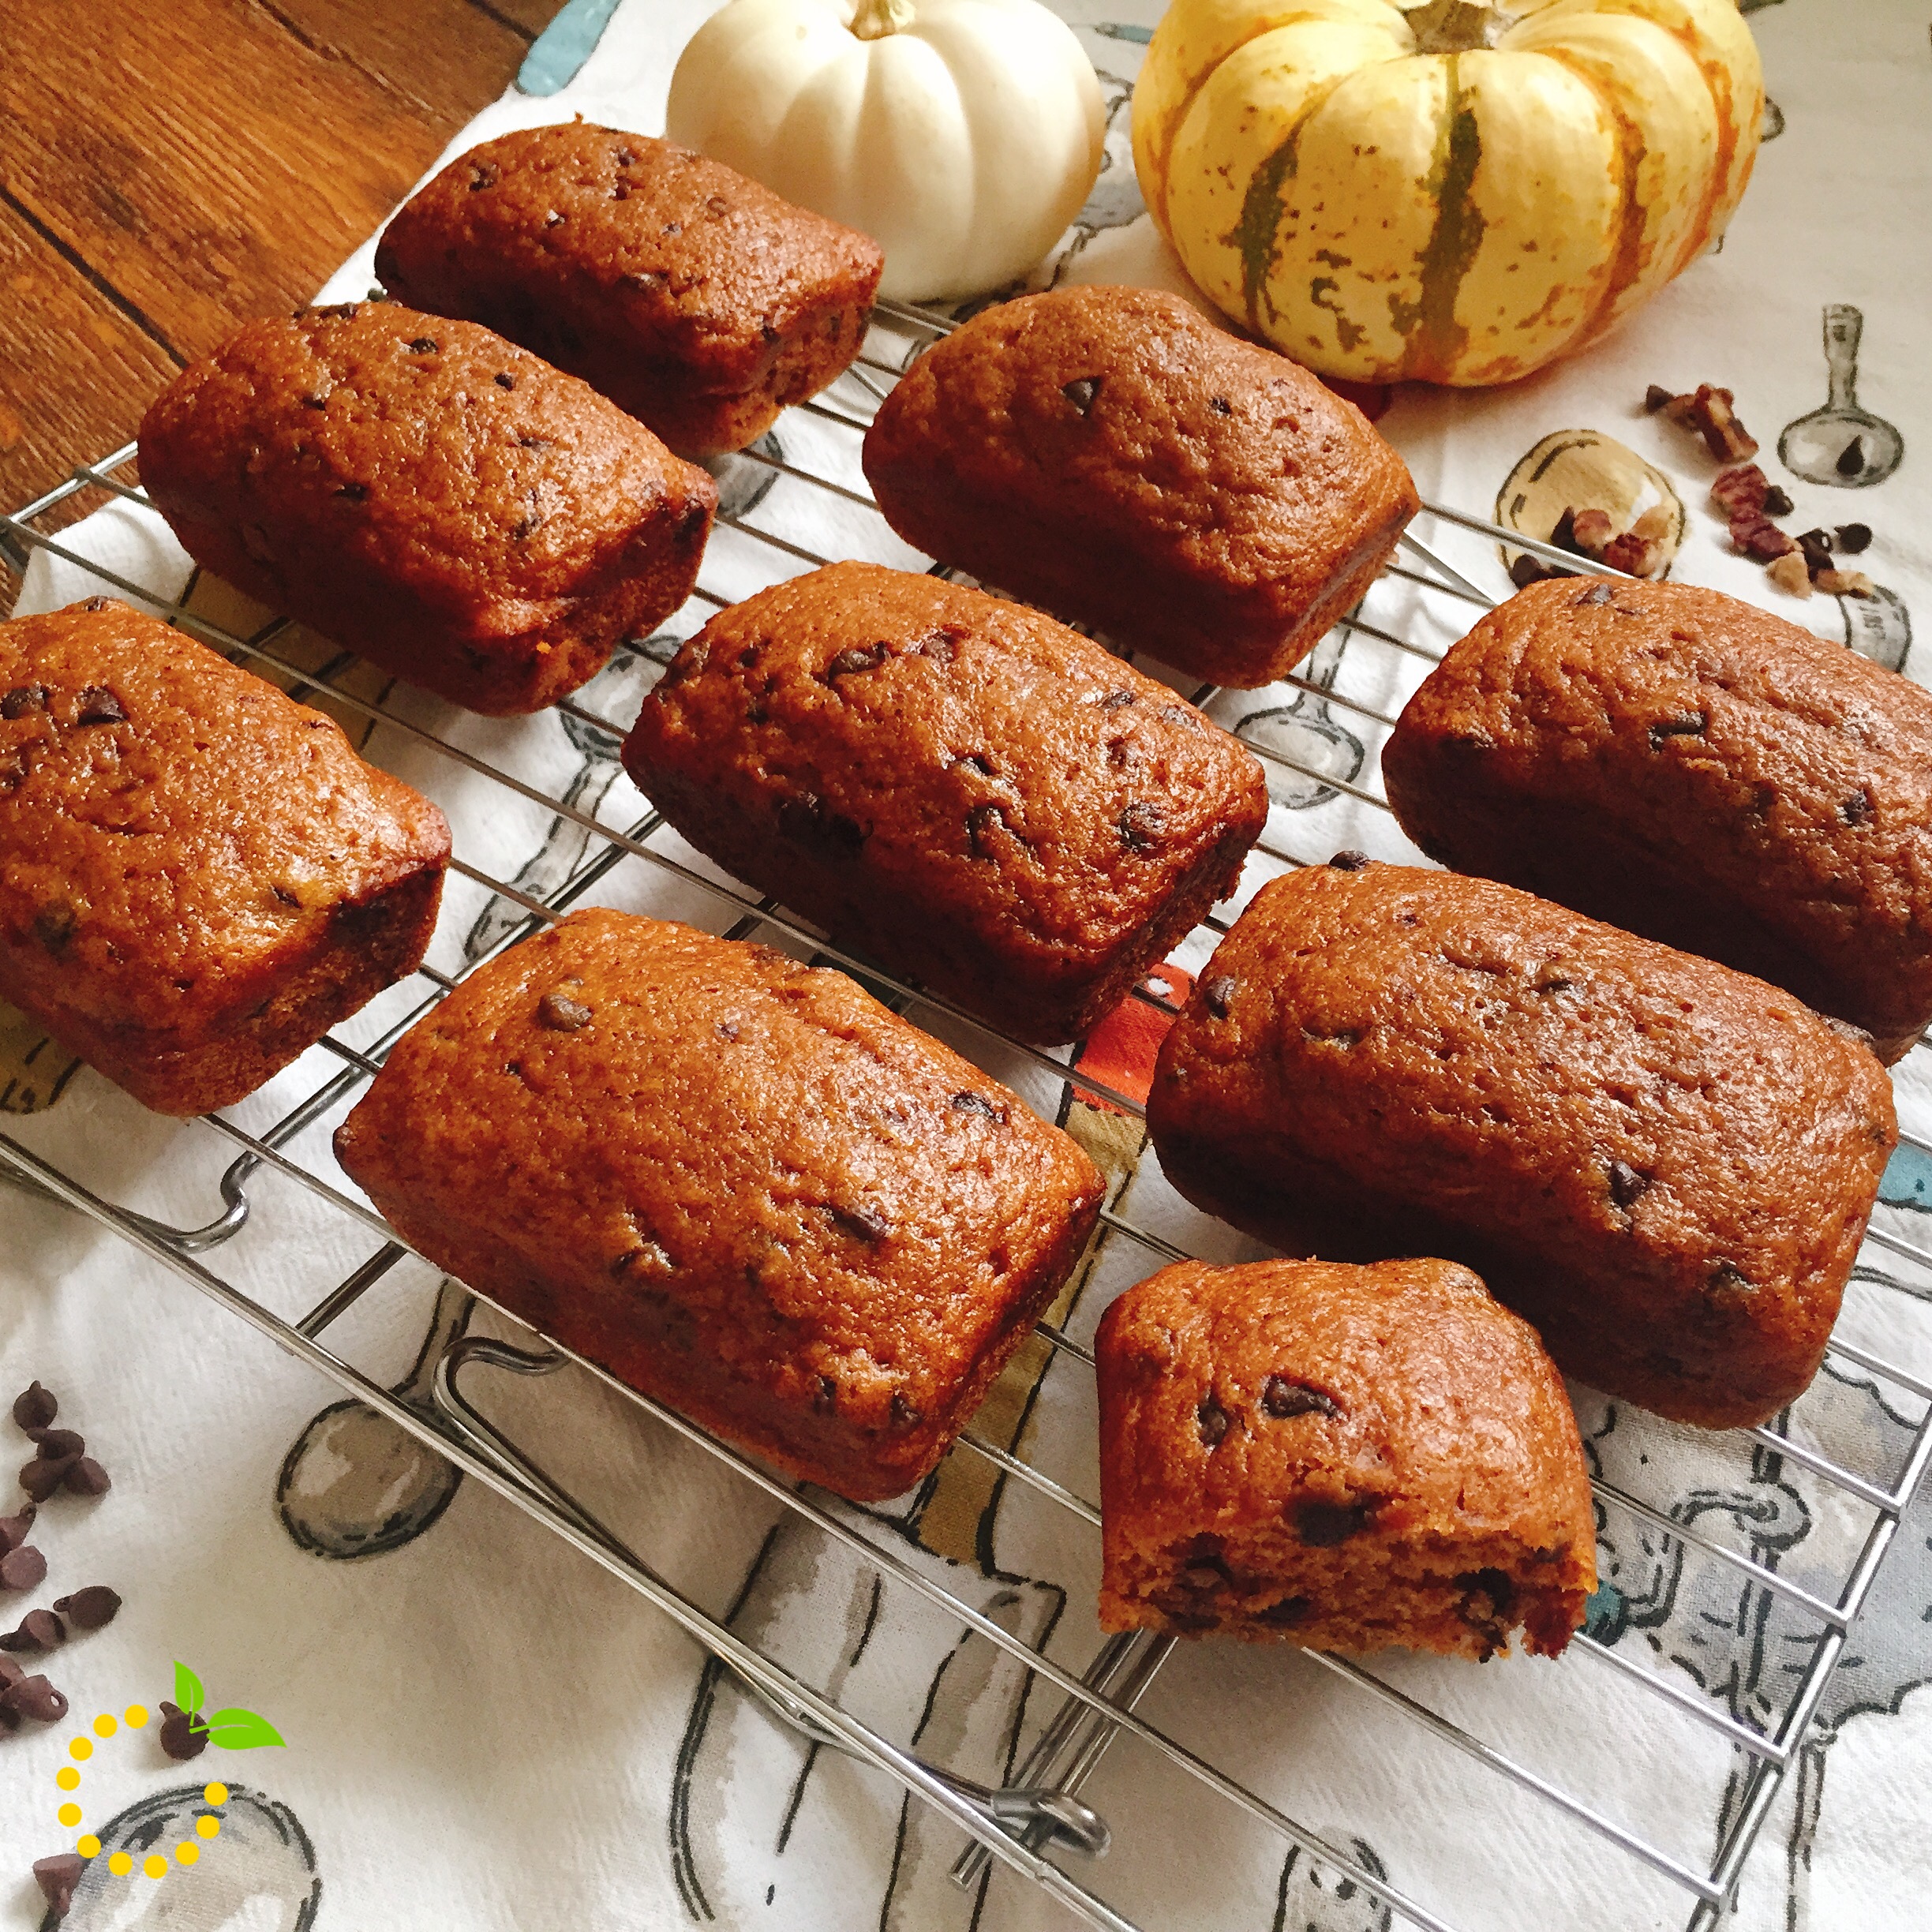
Let the fall baking commence! You can’t celebrate fall without some pumpkin in your life! Am I right? These chocolate chip pumpkin mini loaves have all the flavors you love about fall combined into each little mini loaf—pumpkin, mini chocolate chips, pecans, and bursts of cinnamon and nutmeg. And with the addition of applesauce in this recipe these little loaves are super moist.

img_8498


As I thought about making pumpkin bread, I remember that I had bought this mini loaf pan and couldn’t resist not using it. I love anything mini so, naturally I knew I had to use this new pan of mine! Because mini foods = happiness! 🙂 Does mini food make anyone else’s heart flutter with happiness? I love how these mini loaves are easily shareable with family, friends, and coworkers. And they also make great holiday treats to pack up individually.

img_8336-1

The best part of this recipe is that it is easy and simple. All you need is 2 bowls, a hand mixer, a mini loaf pan, and an oven. I hope I just made your holiday baking one step easier with this simple and delicious recipe.

Chocolate Chip Pumpkin Mini Loaves
Yields 18
Write a review
Print
Ingredients
  1. 3 1/2 cups all-purpose flour
  2. 2 teaspoon baking soda
  3. 1 tablespoon cinnamon
  4. 1/4 teaspoon nutmeg
  5. 1 tsp pumpkin spice
  6. 1 teaspoon salt
  7. 2 cups Libby's pure pumpkin (NOT pumpkin pie filling)
  8. 2 cups granulated sugar
  9. 1/2 cup oil
  10. 1/2 cup applesauce
  11. 4 eggs
  12. 1 teaspoon vanilla extract
  13. 1/2 cup water
  14. 1 cup mini chocolate chips
  15. 1 cup chopped pecans or nut of choice (optional)
Instructions
  1. Preheat oven to 350 degrees F.
  2. Grease your mini loaf pan and set aside.
  3. In a large bowl combine pumpkin, oil, applesauce, sugar, eggs, vanilla, and water. Using a hand mixer, mix until combined.
  4. In a separate bowl combine and whisk together the flour, baking soda, cinnamon, nutmeg, pumpkin spice and salt.
  5. Add dry ingredients to wet ingredients and mix until combined.
  6. Add mini chocolate chips and nuts and mix by hand with a spatula.
  7. Scoop batter into pan and fill each just under 3/4 of the way full.
  8. Bake for 20 minutes or until toothpick comes out clean when inserted into middle.
  9. Let cool in pan for 5-7 minutes before transferring to cooling rack.
  10. ENJOY!
Sweet Lemon Made https://sweetlemonmade.com/

 fullsizerender-1

Eats

Pumpkin Rice Krispie Treats

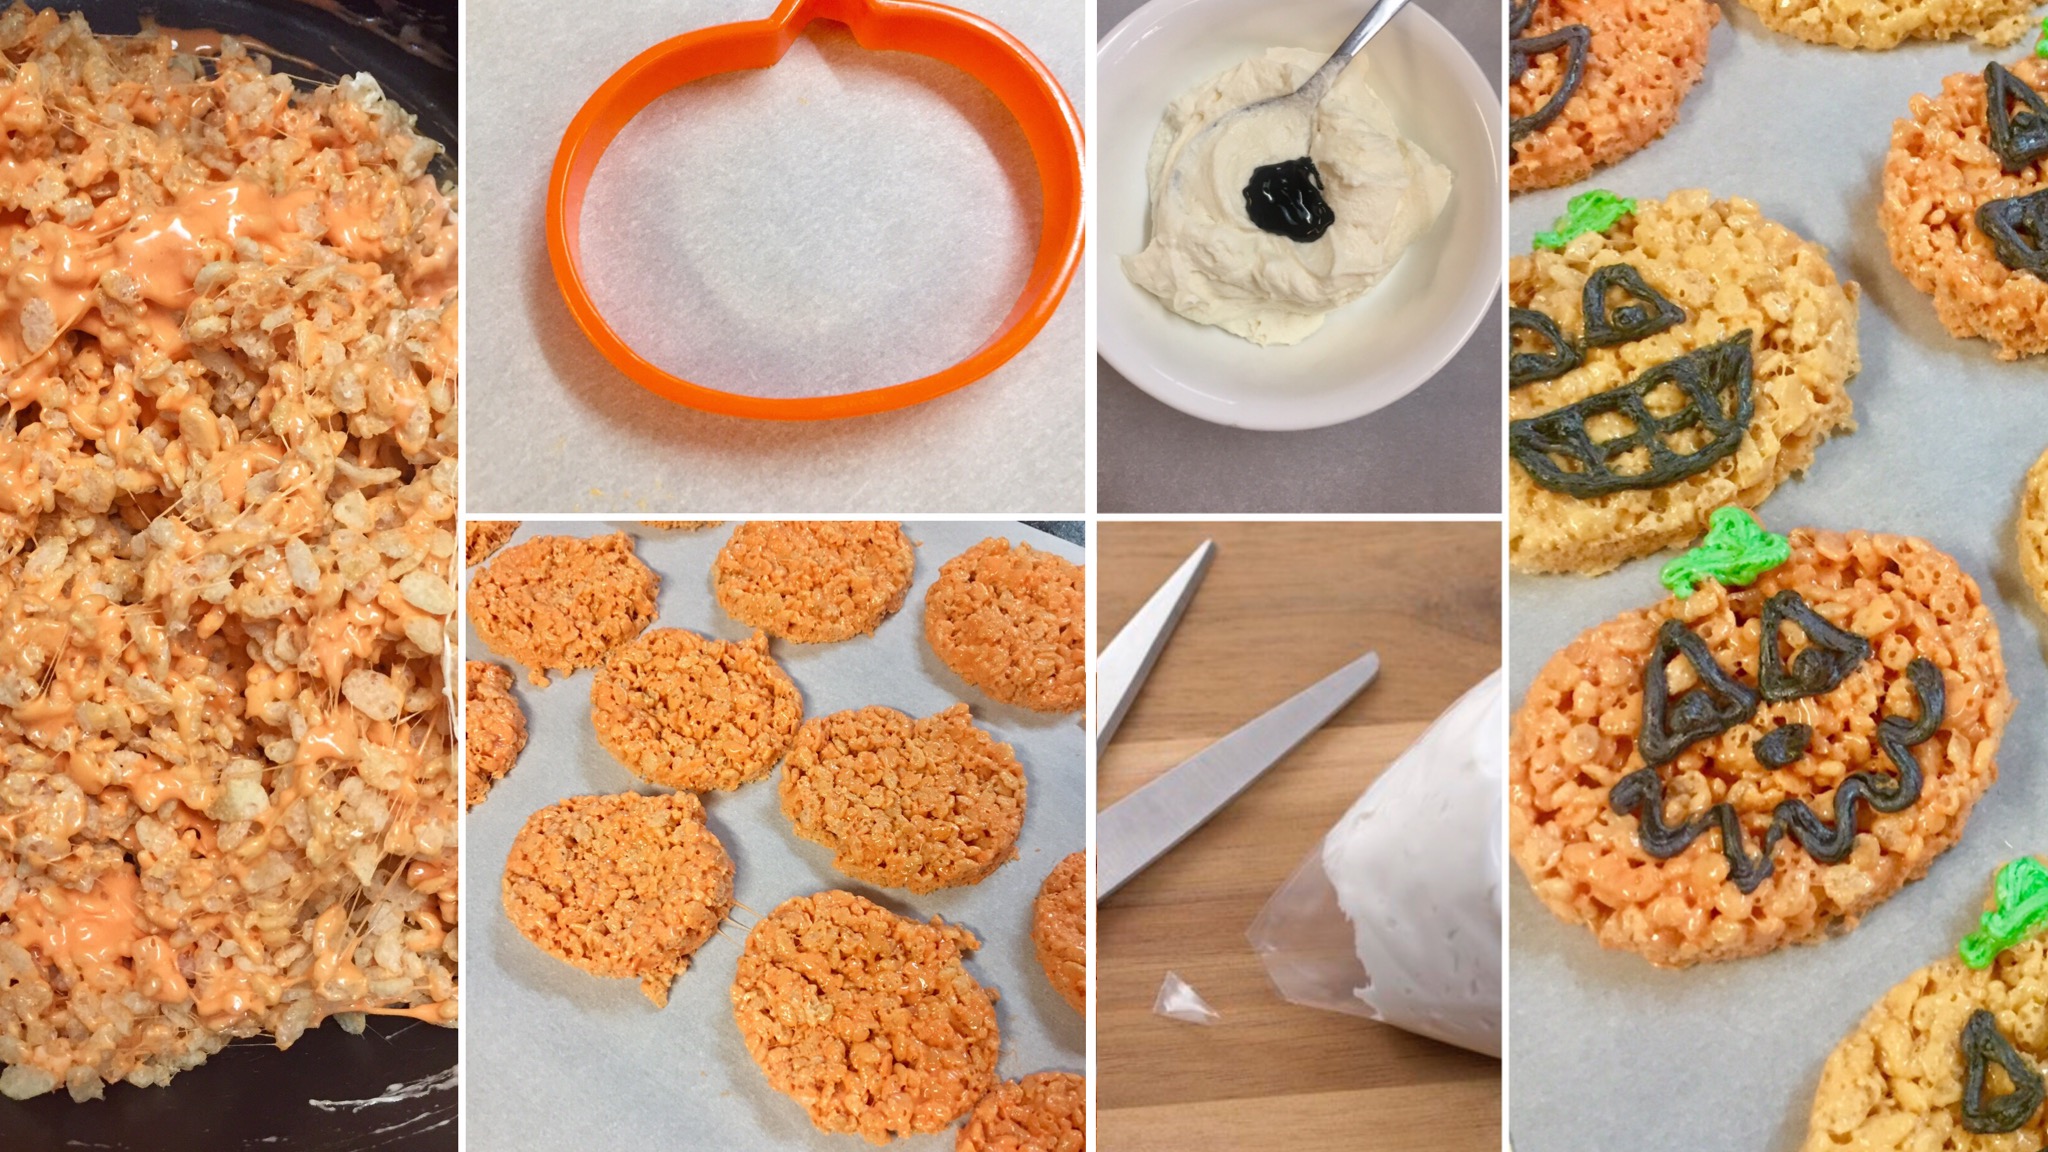
Okay, so I’m a chronic recipe hoarder thanks to Pinterest and Instagram, but when I saw this “Salted Brown Butter Crispy Treats” posted by Smitten Kitchen it was enough to motivate me to action. I love Smitten Kitchen and have absolute trust in all of her recipes. So when I needed a quick treat for a Halloween party  last night I made a quick adaptation to turn these amazing little guys into a festive party treat!

img_1590-1


Brown Butter and Sea Salt Rice Crispy Treat Pumpkins
Makes about 18 pumpkins (varies based on cookie cutter)
Write a review
Print
Ingredients
  1. 4 ounces unsalted butter
  2. 1 bag marshmallows (10 ounces)
  3. Heaping 1/4 teaspoon coarse sea salt
  4. 6 cups crispy rice cereal (about half a 12-ounce box)
  5. Buttercream frosting to decorate
  6. Food coloring
  7. Parchment paper
  8. Pumpkin cookie cutter (or any shape you want)
Instructions
  1. In a large pot, melt butter over medium-low heat. It will melt, then foam, then turn clear golden and finally start to turn brown and smell nutty. Stir frequently, scraping up any bits from the bottom as you do. Don’t take your eyes off the pot as while you may be impatient for it to start browning, the period between the time the butter begins to take on color and the point where it burns is often less than a minute.
  2. As soon as the butter takes on a nutty color, turn the heat off and stir in the marshmallows. The residual heat from the melted butter should be enough to melt them, but if it is not, turn it back on low until the marshmallows are smooth. Add food coloring to turn the marshmallow magic orange (gel food coloring gives a more vibrant color) and stir well.
  3. Remove the pot from the stove and stir in the salt and cereal together.
  4. Quickly spread onto a piece of waxed or parchment paper.
  5. Spray your hands with non-stick cooking spray (or oil) so the marshmallow concoction won't stick to your hands and then press marshmallow/crisp rice mixture to about 1/2 to 3/4 of inch in thickness.
  6. Then using a cookie cutter, cut out shapes and allow mixture to cool.
  7. While cooling make your frosting. Make 3/4 of the frosting black and 1/4 of the frosting green with your food coloring. Then transfer each color into a Ziploc bag for piping.
  8. Cut a small hole in the corner of the Ziploc bag and begin piping faces on the pumpkins.
Sweet Lemon Made https://sweetlemonmade.com/
The brown butter and sea salt in these little guys will make you come back for more and more. Not to mention everyone will love you and ask you for this recipe. Thanks, Deb (SmittenKitchen)!

Recipe adapted from Smitten Kitchen

 Brown Butter and Sea Salt Rice Crispy Treat Pumpkins

Eats

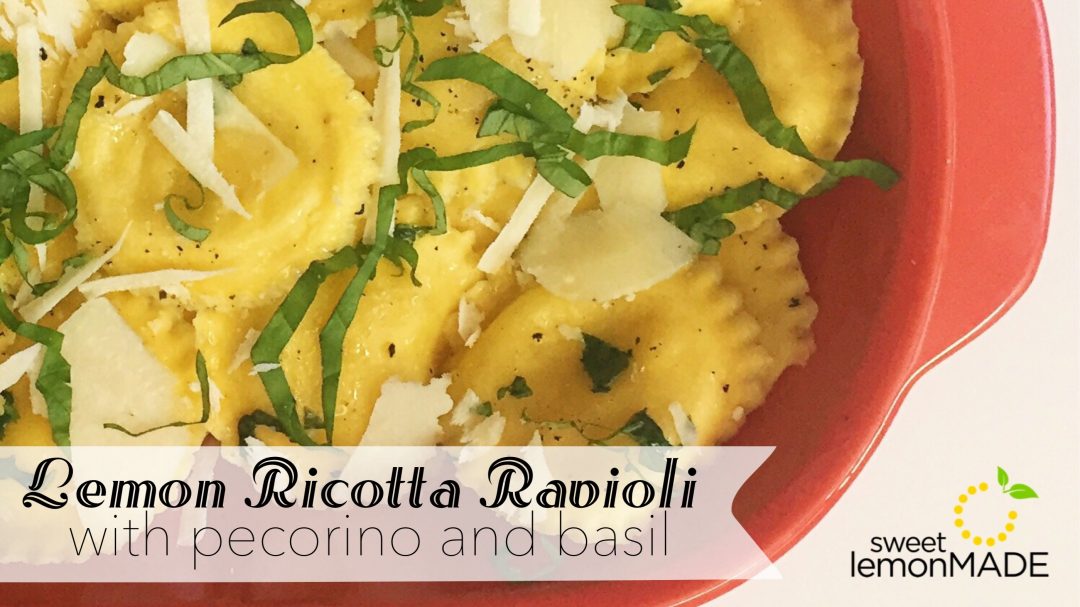
Quick and Easy Lemon Ricotta Ravioli with Pecorino and Basil

This was one of those meals that fell together as I was raiding my fridge in search of quick, non-cereal dinner option. I had been out of town on a week-long East coast road trip and was too busy (read: lazy) to go to the grocery store to replenish my barren refrigerator, and eating out again was the last thing I wanted to do. You know how it is, after a road trip sometimes you just want “real food,” that is cooked in a house, and has to be eaten with a fork. It’s only natural after a week of trail mix, apples, donuts, Swedish Fish, and Coke, right?

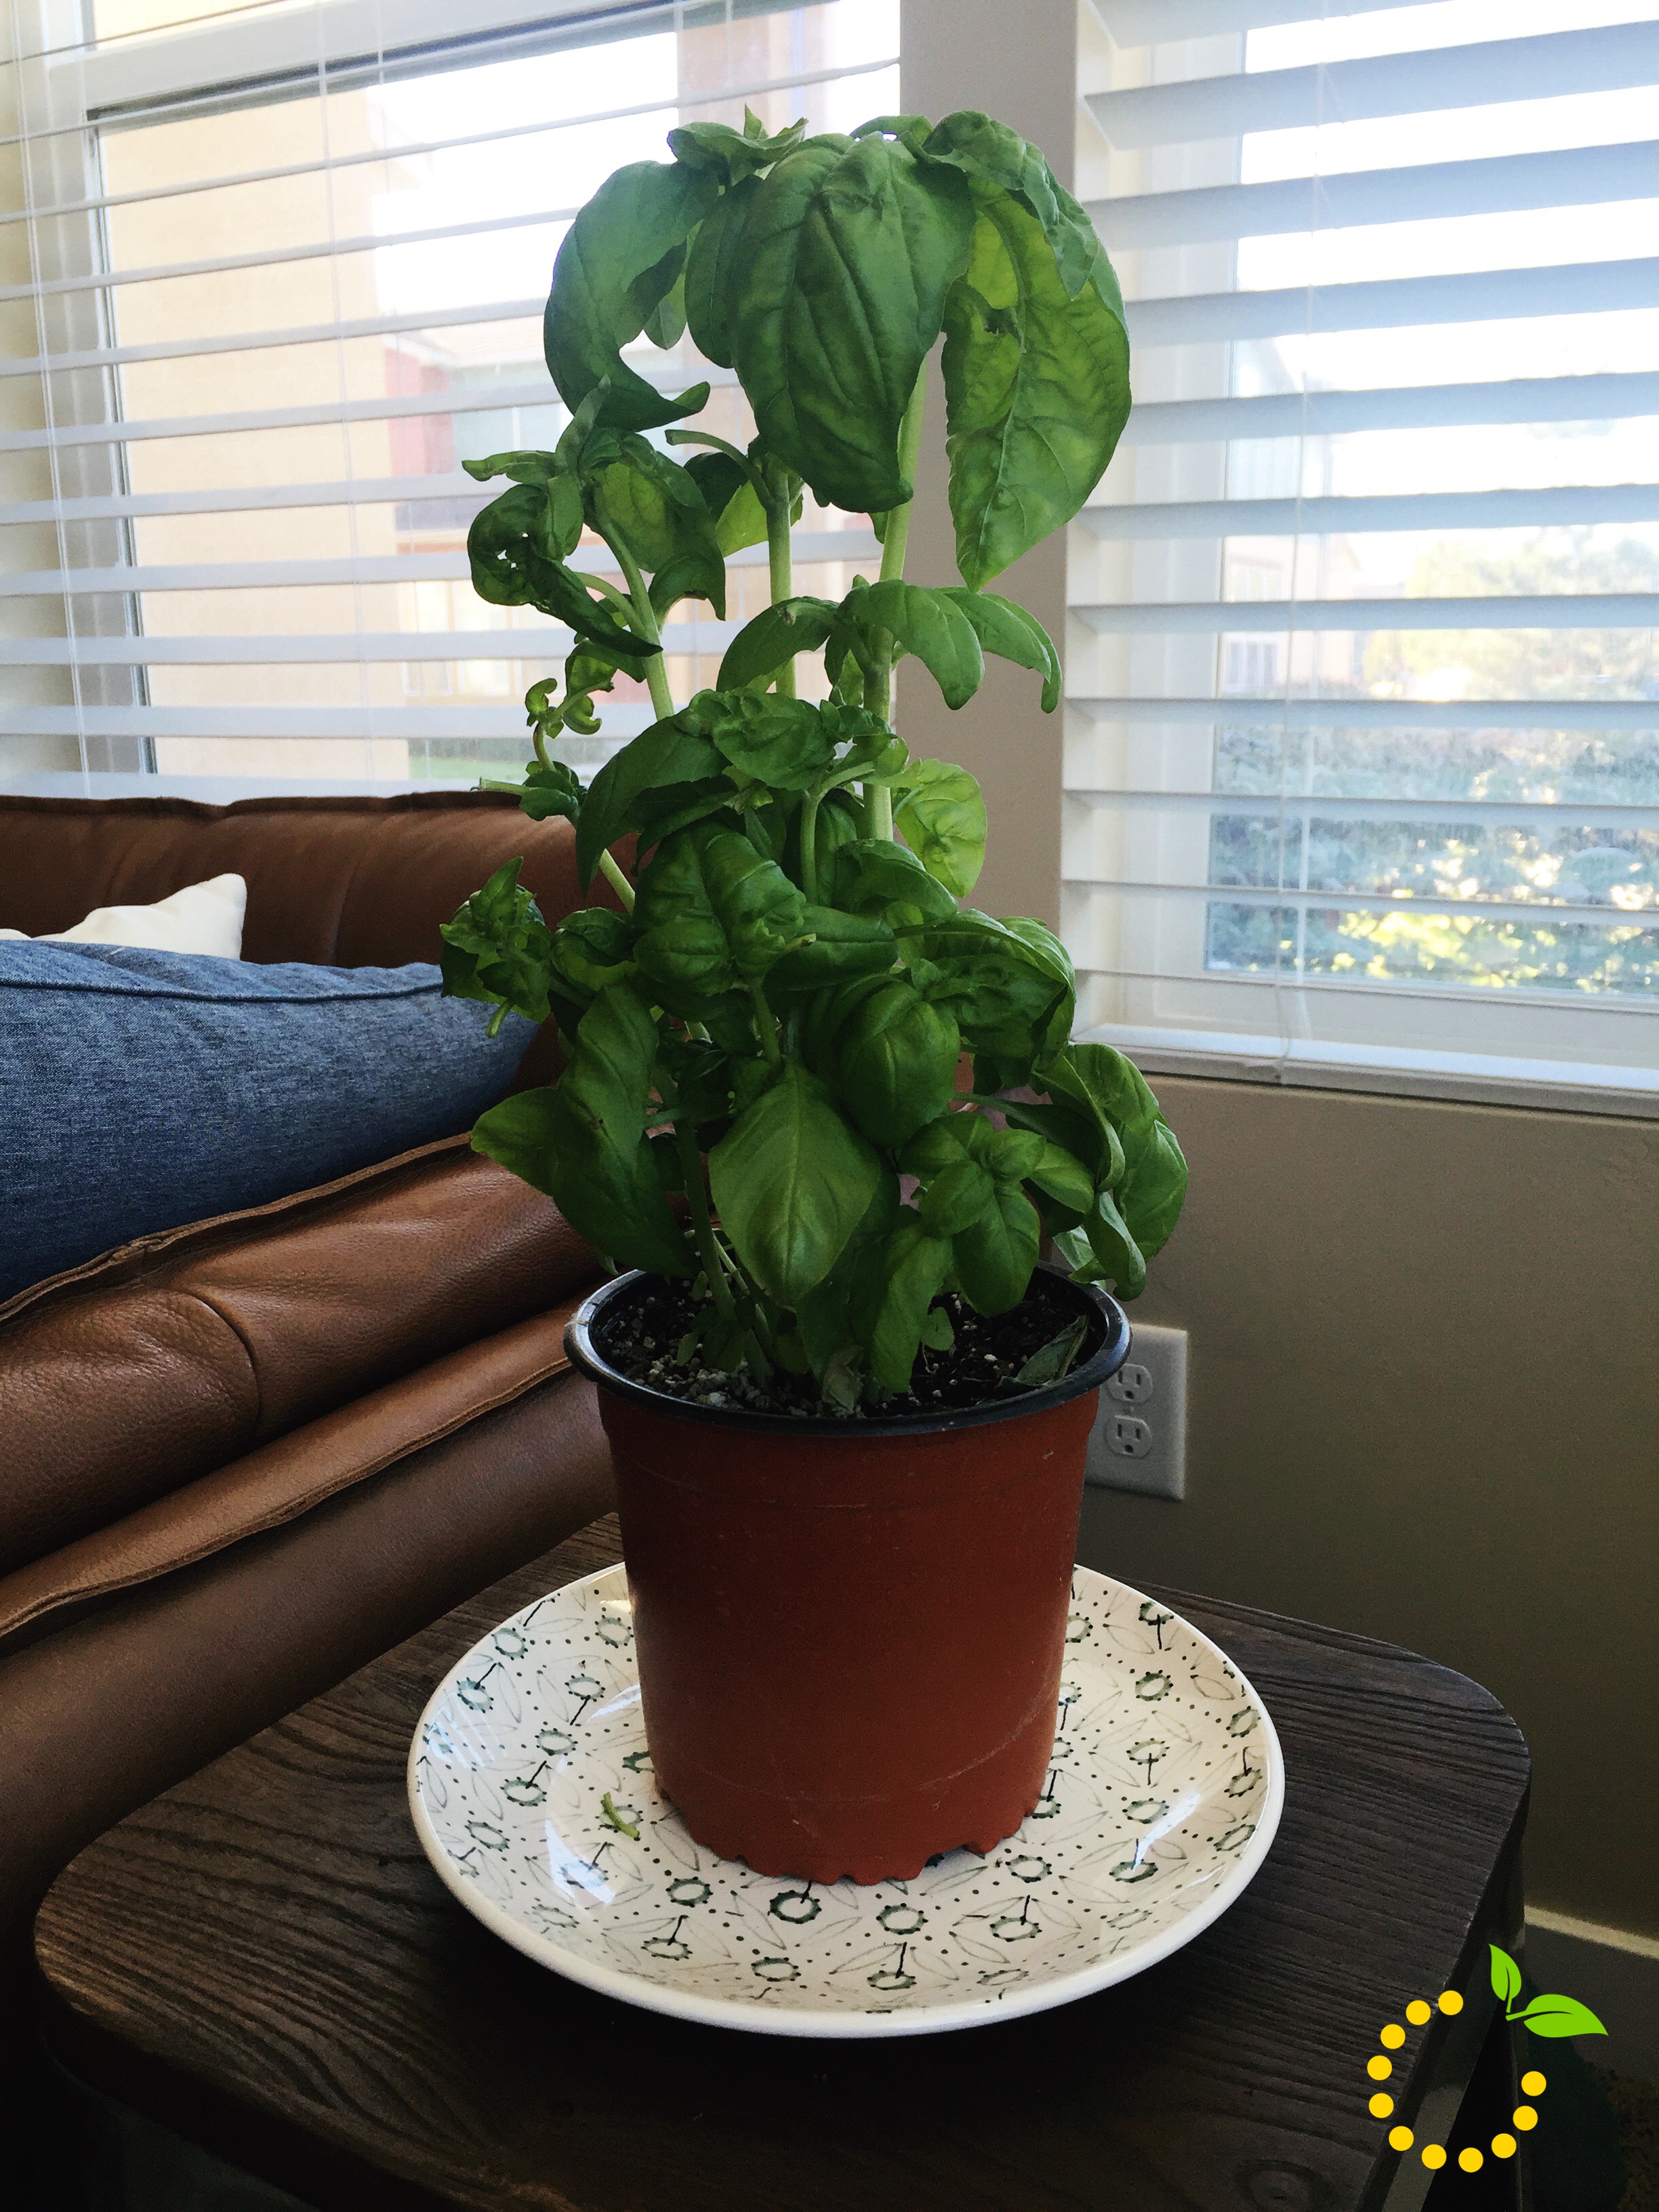
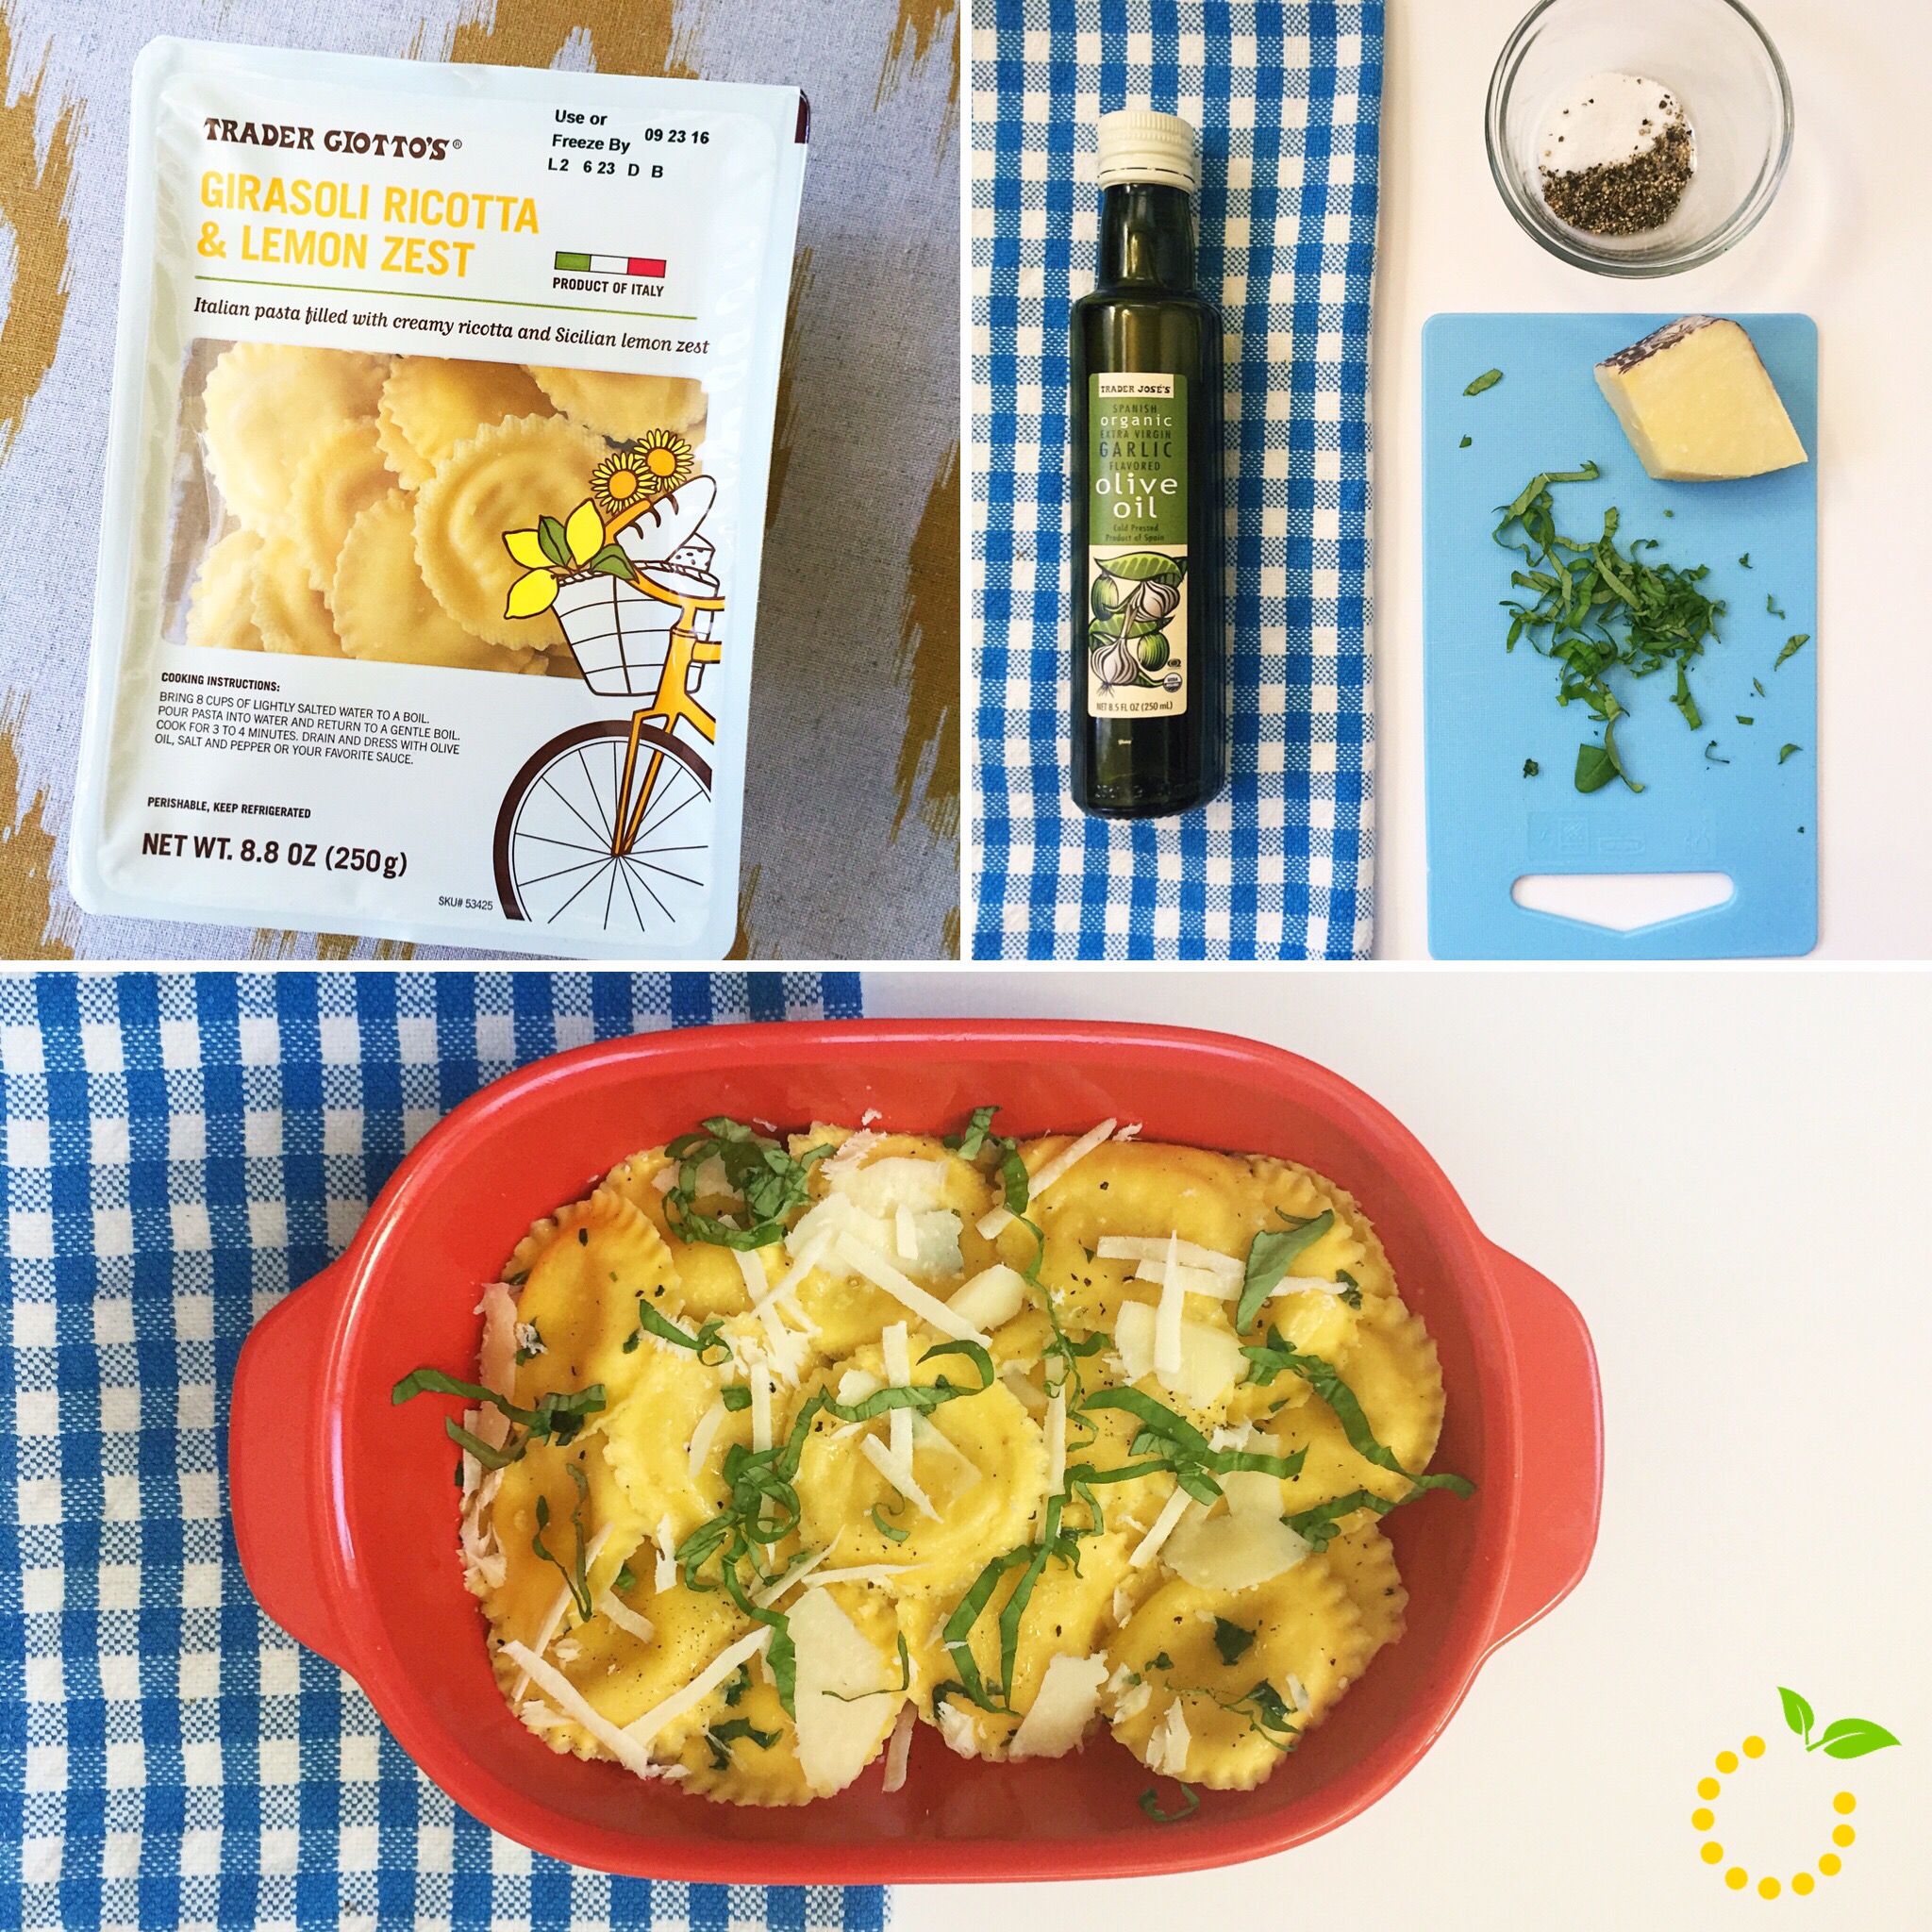
So as I stared deeply into the refrigerator, noticing all of the things that I probably should have thrown away prior to said trip, I saw some Trader Joe’s ravioli perched on top of a two week old birthday cake.  Seeing this as a solid start to my meal I grabbed it and noticed that it was a fancier version of ravioli than I typically buy. This was a lemon ricotta flavor. Intrigued and excited about this new flavor I began to think about what I could pair with it. Obviously you can’t go dump regular old tomato sauce on the delicate flavors of a lemon and ricotta, so the jar of pasta sauce was out. Next I thought about making a light cream sauce, but quickly realized I had no cream or milk in the fridge. Bah! And then out of the corner of my eye I saw my little ole basil plant sitting in the living room. I moved it into the living room so it could get more sun and have a fighting chance at survival in this “black thumb” household. And you know what? It was still alive! (Largely in part due to the graciousness of my awesome roommate that watered it for me while I was out of town, so thanks Em).

Basil

The little grocery store basil plant was actually flourishing and needed to be harvested. Perfect! Lemon and basil are a perfect combo. I decided to keep the sauce light so the light, fresh flavors of the basil and lemon could shine through and used a little garlic olive oil (side note: are you using flavored olive oils?? If not, do it! They are game changers, for sure), sea salt, cracked pepper, and some Pecorino Romano cheese that I had laying in the fridge. Pecorino is a hard sheep’s cheese with a great salty flavor. I’m a sucker for the fancy cheese station at any grocery store and love trying new flavors and types of cheeses. One thing that is awesome about buying those little fancy blocks (as opposed to the generic pre-shredded cheeses) is that they seriously last forever. Obviously it depends on the cheese, but I’ve had this Pecorino Romano block for over 6 months and it’s still flavorful and mold-free. Just sayin… Also, the Pioneer Woman says to never buy pre-shredded cheese. Always buy the block and shred it yourself. Your taste buds will thank you, I promise.

Ok, so moral of the story is…

  1. Randomness and creativity pay off in the kitchen
  2. Flavored olive oils—go try ‘em
  3. Fancy cheese last forever and can snazz up any plain-jane meal
  4. When it comes to cheese buy the block and shred yourself

Enough chatter, let me give you the deets for this super simple, super easy, super quick meal.

Ingredients


Lemon Ricotta Ravioli with Pecorino and Basil
Write a review
Print
Ingredients
  1. 1 package (or two if you’ve got a large crew) of Trader Joe’s Lemon Ricotta Ravioli
  2. 1-2 grilled chicken breasts, sliced or shredded (if you’re looking to add a little more substance to the meal, I didn’t this time)
  3. 4- 5 fresh basil leaves, cut into long, thin strips
  4. 2 teaspoons garlic olive oil
  5. 1 teaspoon extra virgin olive oil (you can do all garlic olive oil if you want a real punch of flavor)
  6. 1/3 cup Pecorino Romano cheese (or parmesan, mozzarella, whatever you like), use shavings or grated ( I prefer larger pieces of cheese so that you get a nice bite of flavor)
  7. Salt and cracked pepper, to taste
Instructions
  1. Bring pot of salted water to boiling. Once water is boiling add ravioli from package, keeping the heat high enough to allow a rolling boil to continue.
  2. Cook pasta for 3-4 minutes until al dente. Keep your eyes on the prize here and don’t get distracted. Three minutes is not enough time to multi-task and do something else, I promise. Mushy ravioli is THE WORST. The pasta will get soggy, it will tear easily, and before you know it the delicious filling is bursting out and you have goulash instead of ravioli. And let’s be real, nobody wants to eat that.
  3. Once pasta is cooked, place in colander, drain and shake off excess water, and place in serving bowl.
  4. Add the three teaspoons of olive oil and gently stir until ravioli is well coated. Depending on preference you may want to add a little more or a little less. Just follow your heart on this one. You want the pasta to be lightly coated so it doesn’t stick together and so it has some great flavor from the garlic olive oil.
  5. Add cut or shredded chicken (if desired). Note: If you decide to add chicken you will likely need to use a little more olive to coat the chicken as well.
  6. Add cheese, basil, and lightly toss with ravioli to mix well. Add salt and pepper to taste. Note: if you are using a salty hard cheese like a pecorino or a parmesan you will likely need less salt than if you use a mozzarella.
  7. Enjoy!
Sweet Lemon Made https://sweetlemonmade.com/