Browsing Tag

Crafts

Celebrate

EASY DIY PAPER GARLAND

Spring is in the air and just about everyone I know is pregnant! So literally April will be the month of showers, in more ways than one. April showers bring summer babies! Haha. I love an excuse to throw a party, so naturally I’m the first to sign up to host a baby shower. So we’d thought we’d bring you along for the ride as we plan, prepare, and party. Stayed tuned all month long for all the fun details.

Today we are talking decor. I am a total Pinterest wannabe when it comes to party decor, I pin ALL THE THINGS. I’d like to think I operate on the values of simple and fun, but if I’m being honest half the time it ends up being over the top, time consuming, and pricey. The other half of the time the ideas never leave my brain or Pinterest board…always the best of intentions (can I get an AMEN?). So knowing that I have a couple of showers coming up I decided to get ahead of the game this time. Paper banners and garland are all the rage these days and I’d been eyeing a few up at my favorite party shops, but couldn’t bring myself to pay $10 for a 6 foot banner (that day–let’s be honest, there are plenty of days that I spend way more on way less because I’m too busy or lazy, haha). But I love the fun, whimsical look that paper banners can give. You can personalize them with letters or have a variety of shapes and colors to give texture and dimension. They are awesome. So I set out to try out making and sewing my own! I have seen and heard of people doing this, claiming “it’s so easy!” But I wasn’t really sure what to do. I figured there had to be a catch of some kind. You can’t just sew paper, can you? Well, according to the craft gods you can, and it really is easy! You don’t need a special needle or special thread. I just used what I had already in my machine and had zero problems. I was kind of amazed. Okay, so here are the details…

FullSizeRender37853 FullSizeRender

STEP ONE: Cutting the Paper
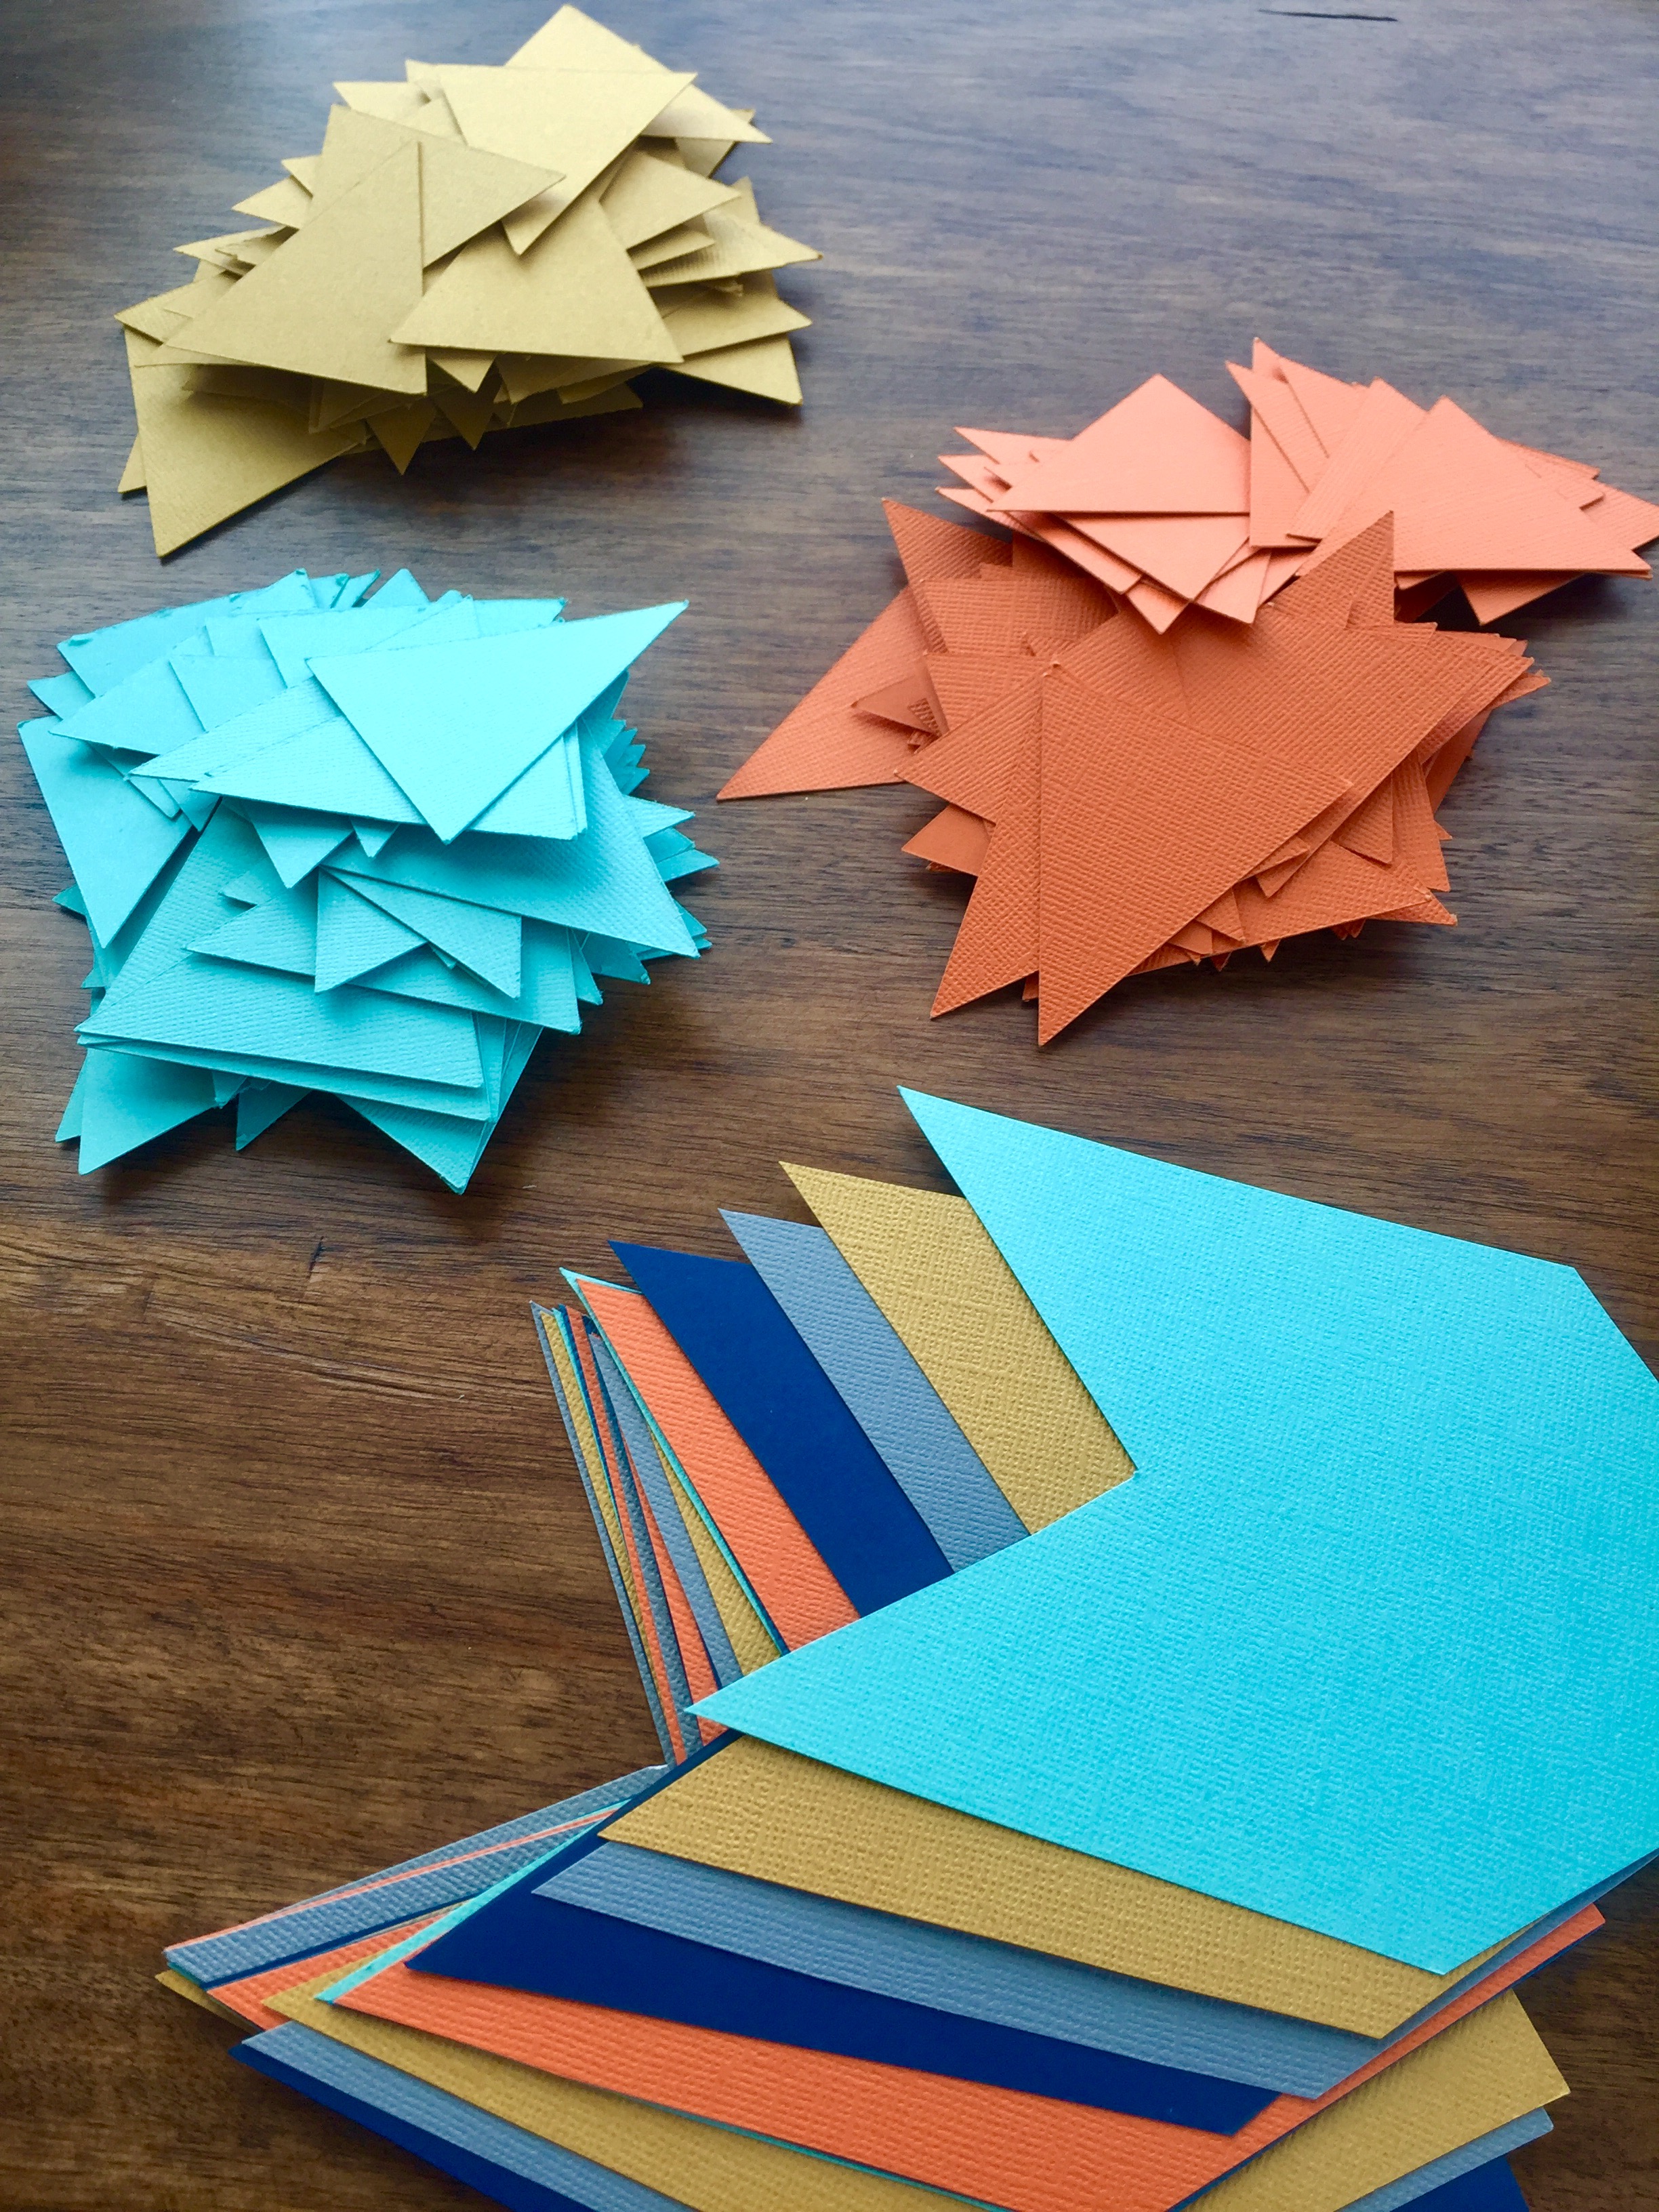
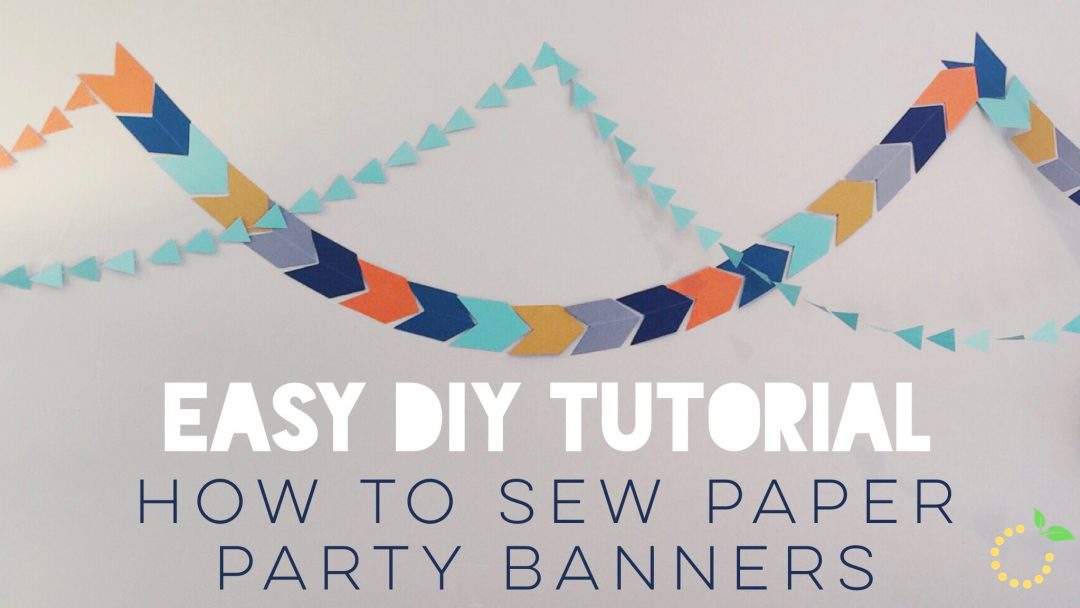
I decided that I wanted to do multiple garlands in different shapes and colors, so I searched the interwebs until I found the perfect shape. Once I found the arrow shape I wanted, I printed it on cardstock, cut it out, and then used it as a stencil to trace the shape on to the colored cardstock. After I had a page traced I used some regular old scissors and cut them out….one..by..one. This definitely the most time-consuming part of the whole project! I felt like I was doing an elementary art project. Trace and cut. Trace and cut. Searching for encouragement and validation in my seemingly endless endeavor, I texted this picture to my blogging budding and crafternoon partner in crime, Ashley, to show her my progress. Rather than responding with enthusiasm, she responded with surprise. “Are you really cutting all of those out by hand?” she asked. Confused I responded, “Yeah, how else would I do it? They don’t make hole punches that big!” Her response was filled with many tear-faced laughing emojis as she reminded me about her Silhouette Cameo Electronic Cutting Tool !! OH MY GOSH. Duh. I had totally forgotten she had one of those. I had literally spent hours tracing and cutting all of my large arrow shapes. Oh boy, if this isn’t the story of my life, I don’t know what is!! Haha.

She came over the next day and we used her fancy machine to cut out all the small triangles in no time at all. It was such a breeze I just shook my head in disbelief thinking of all the hours I had spent tracing and cutting the others the night before. So if you are going to do this, the only way for it to be simple and quick is if you have one of those fancy cutting machines!!!

STEP TWO: Sewing the Paper
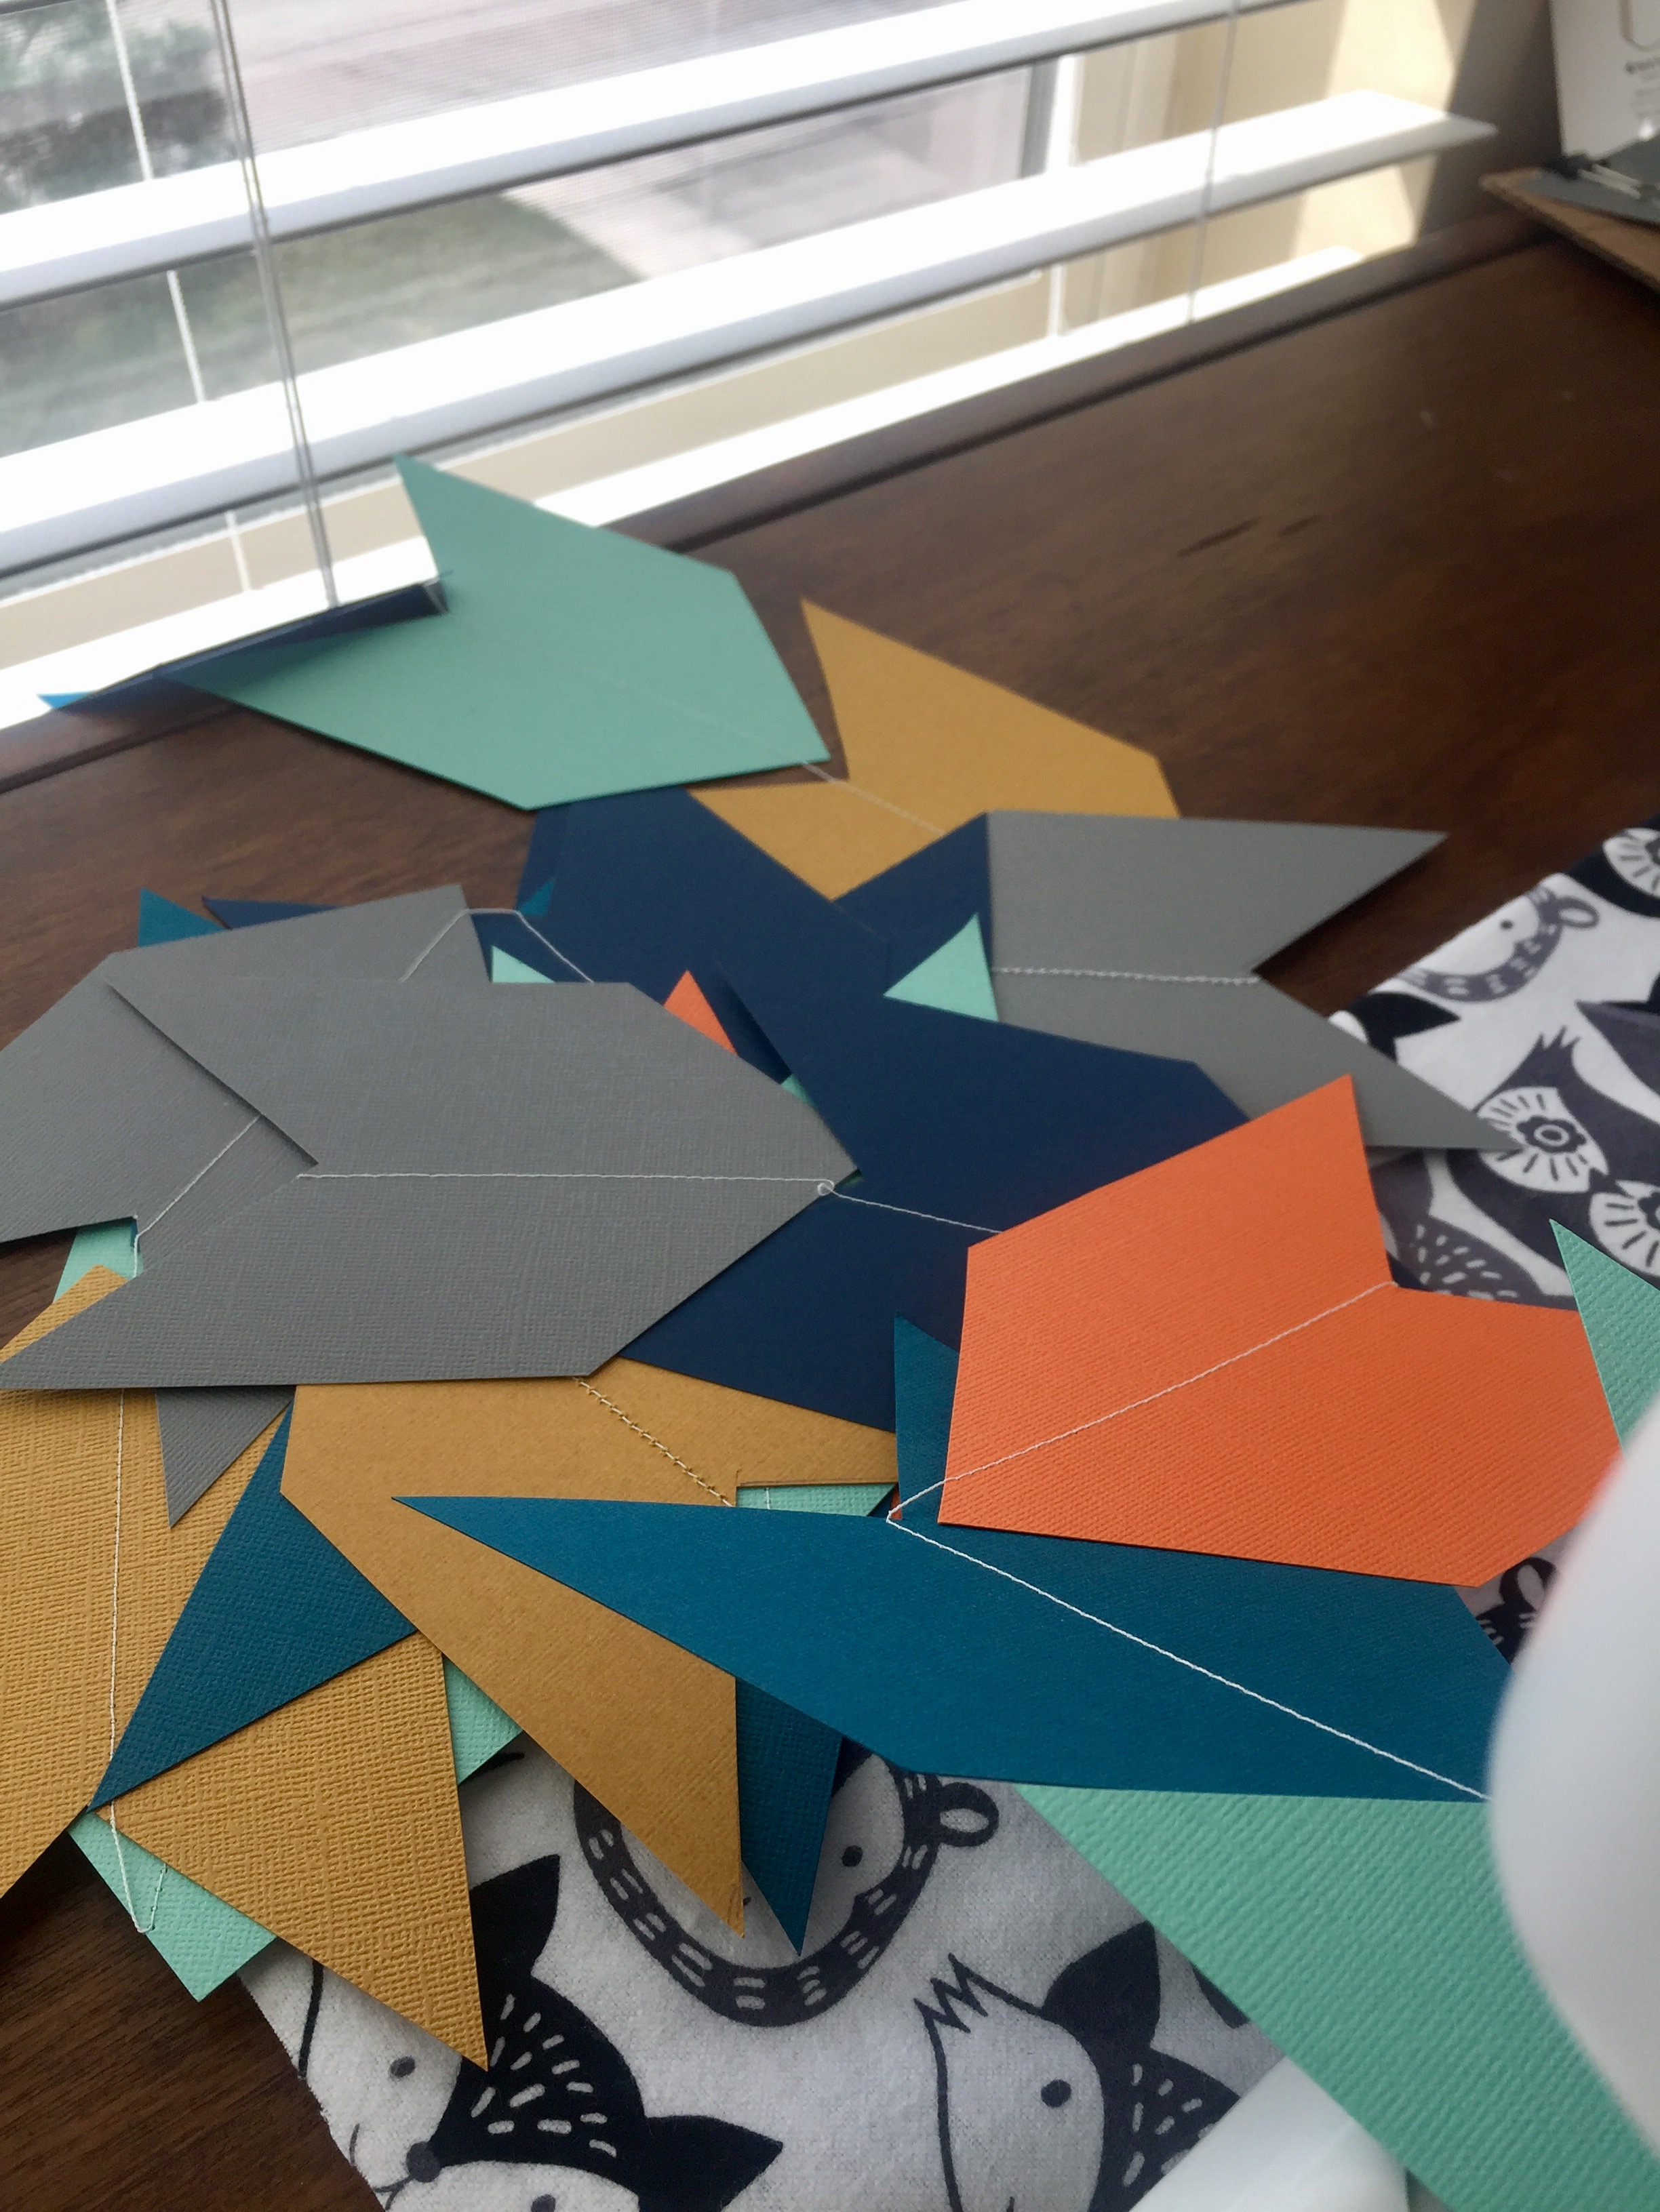
Once all your shapes are cut out, arrange them in the color pattern you want them to be sewn in (if you are using multiple colors) and make a pile. Next, make sure your sewing machine is ready to roll–full bobbin and threaded properly. For ease I picked the most basic, simple stitch. No need to adjust the tension or mess with any other fancy features–just keep it on the basic, standard settings. If your sewing machine has a speed dial be sure it is on the slowest setting. Before you put the first shape under the presser foot to sew, allow the sewing machine to sew with nothing under the presser foot (take the bobbin thread and the upper machine thread once there has been a few stiches and gently pull it back to help guide the formation of the string). You will do this so your banner has a long section of just thread at the beginning and the end of the banner. This will make hanging the banner much easier. Once you are ready to start sewing shapes, take your paper shapes and line one or two up on the sewing machine in front of the needle and presser foot. Make sure the presser foot is down and slowly begin sewing the shapes. Advance the shapes, adding new ones each time. Gently pull the shape that has been sewn and guide it behind the sewing machine. If you want your banner shapes to be more spaced out, allow the sewing machine to sew for longer without adding a shape (just letting it sew the upper thread and bobbin threads together).
Tip: when you are letting the sewing machine sew without paper, gently pull the last sewn shape (now behind the sewing machine) to keep some tension so the thread you are sewing does not tangle.

147
FullSizeRender638


STEP THREE: Storing the Banner
After sewing the banner can get tangled very easy because the thread connecting all the shapes is so thin. After I had finished sewing I cut a flap off a large cardboard box (from my many Amazon Prime purchases…I’m addicted) and began to wrap the banner around the cardboard piece. Once the banner had been wrapped I used a paper clip or binder clip to secure the ends of the banner to the cardboard so they didn’t come loose or tangle. These store easily and keep the garland tangle-free until the next party!

IMG_5542

I loved the way the triangles turned out! It was a fun look and I really liked how they all didn’t hang the same way. The variations in the angles as the hung added great texture and dimension. So if you have a party coming up and know someone with a fancy electronic Silhouette Cameo or a Cricket, this project is definitely worth your time and will save you lots of money$$$.

IMG_0555

Create

DIY Fall Mason Jars

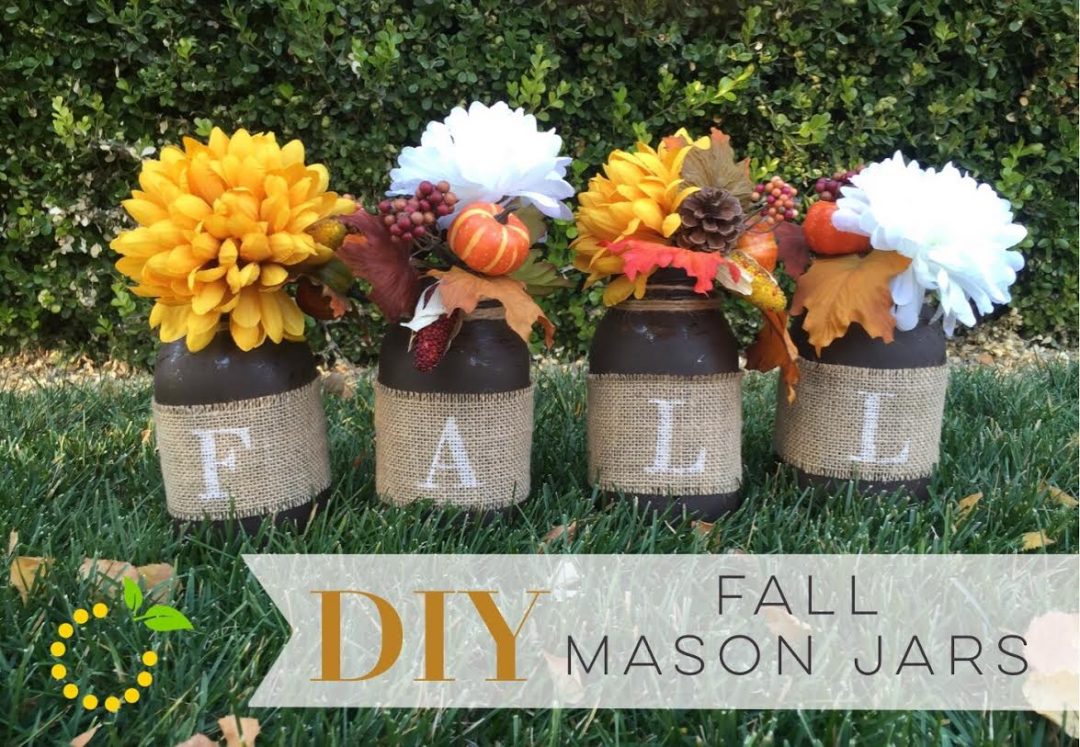
All I have to say is—I LOVE MASON JARS!! Who else loves them too? I practically use them for everything! I use them for drinks, storage, serving dishes, canning, and of course decor! These DIY fall mason jars make a great statement decor piece. The great thing about these jars is you can spell out any fall word you would like to incorporate into your decor. The possibilities are endless! So gather up your supplies and get crafting. This DIY project is easy and can be done before your guests show up for Thanksgiving festivities!

Supplies

  • Mason jars-wide mouth quart 
  • Paint–for both the jars and the letters
  • Sponge brush
  • Burlap
  • Scissors
  • Letter stencils–I made my own with my Silhouette or you can free hand paint your letters
  • Glue gun
  • Coarse sandpaper
  • Letter stencils or a Silhouette cutting machine and vinyl

Directions

  1. Wipe down all mason jars to remove any dirt or oil.
  2. Paint mason jars. Tip: for a distressed look, paint thin coats of paint. Too thick of coats will take longer to dry and harder to sand.
  3. Let paint dry for a couple of hours or until paint is not tacky to the touch. Tip: if you start to paint your second coat too soon, the paint will start to peel and ball up. If you can, letting it dry overnight is best.
  4. Repeat another thin layer of paint and let dry. I chose to just paint 2 layers since I planned to distress and sand them. Don’t worry if some of the glass is peeking through your paint—it just makes the sanding process faster.
  5. Repeat steps 3 & 4 if a more solid look is desired.
  6. While you wait for your paint to dry, cut your stencils if you are making your own.
  7. Cut your burlap down to size.
  8. Wrap burlap around your jars and hot glue ends to secure.
  9. Place stencil onto the burlap and apply paint, repeat, and let dry.
  10. And embellish!

Create

4th of July Mantel Decor

July 4 Mantle Decor sweetlemonmade.com

The 4th of July is right around the corner and if you are looking for some decorating ideas to spruce up your mantel, I’ve got a few crafts and DIYs to share with you! DON’T HAVE A MANTEL? Don’t worry…you can recreate these decor ideas using a shelf or bookcase in your house. You can also decorate a console table you may have in your entryway or in your living room. The possibilities are endless!

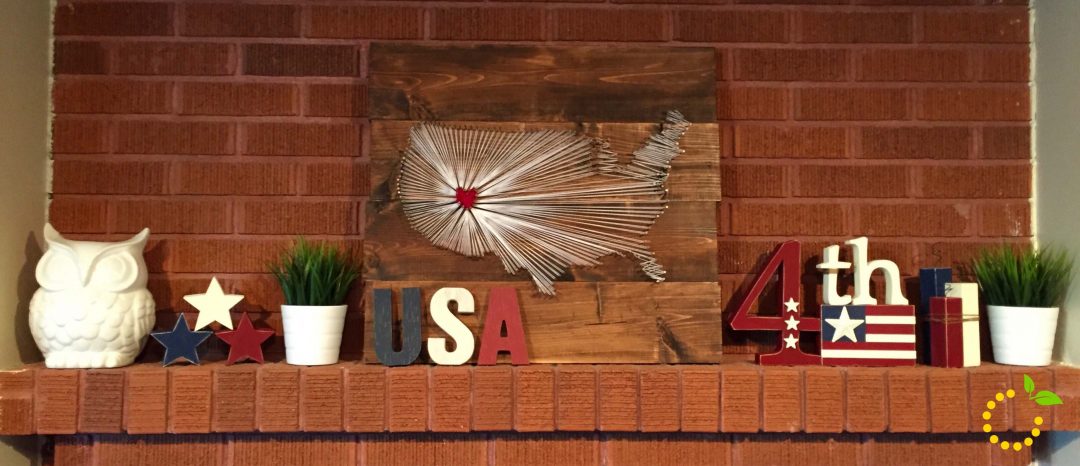
I designed this 4th or July mantel with a big statement piece, a DIY string art of the USA. I have wanted to do a string art piece for a long time but, could never decide on what to do until I saw Wendy from The Paisley Pickle making one at a friends house. Just a warning…this string art project is not for the faint-hearted crafter. This project takes patience and time. But, once it’s finished you will be thrilled with the results! I am! And I love the finished project even though it tested my patience. Look below for all of the materials needed and instructions on how to make your own the string art.

USA String Art sweetlemonmade.com


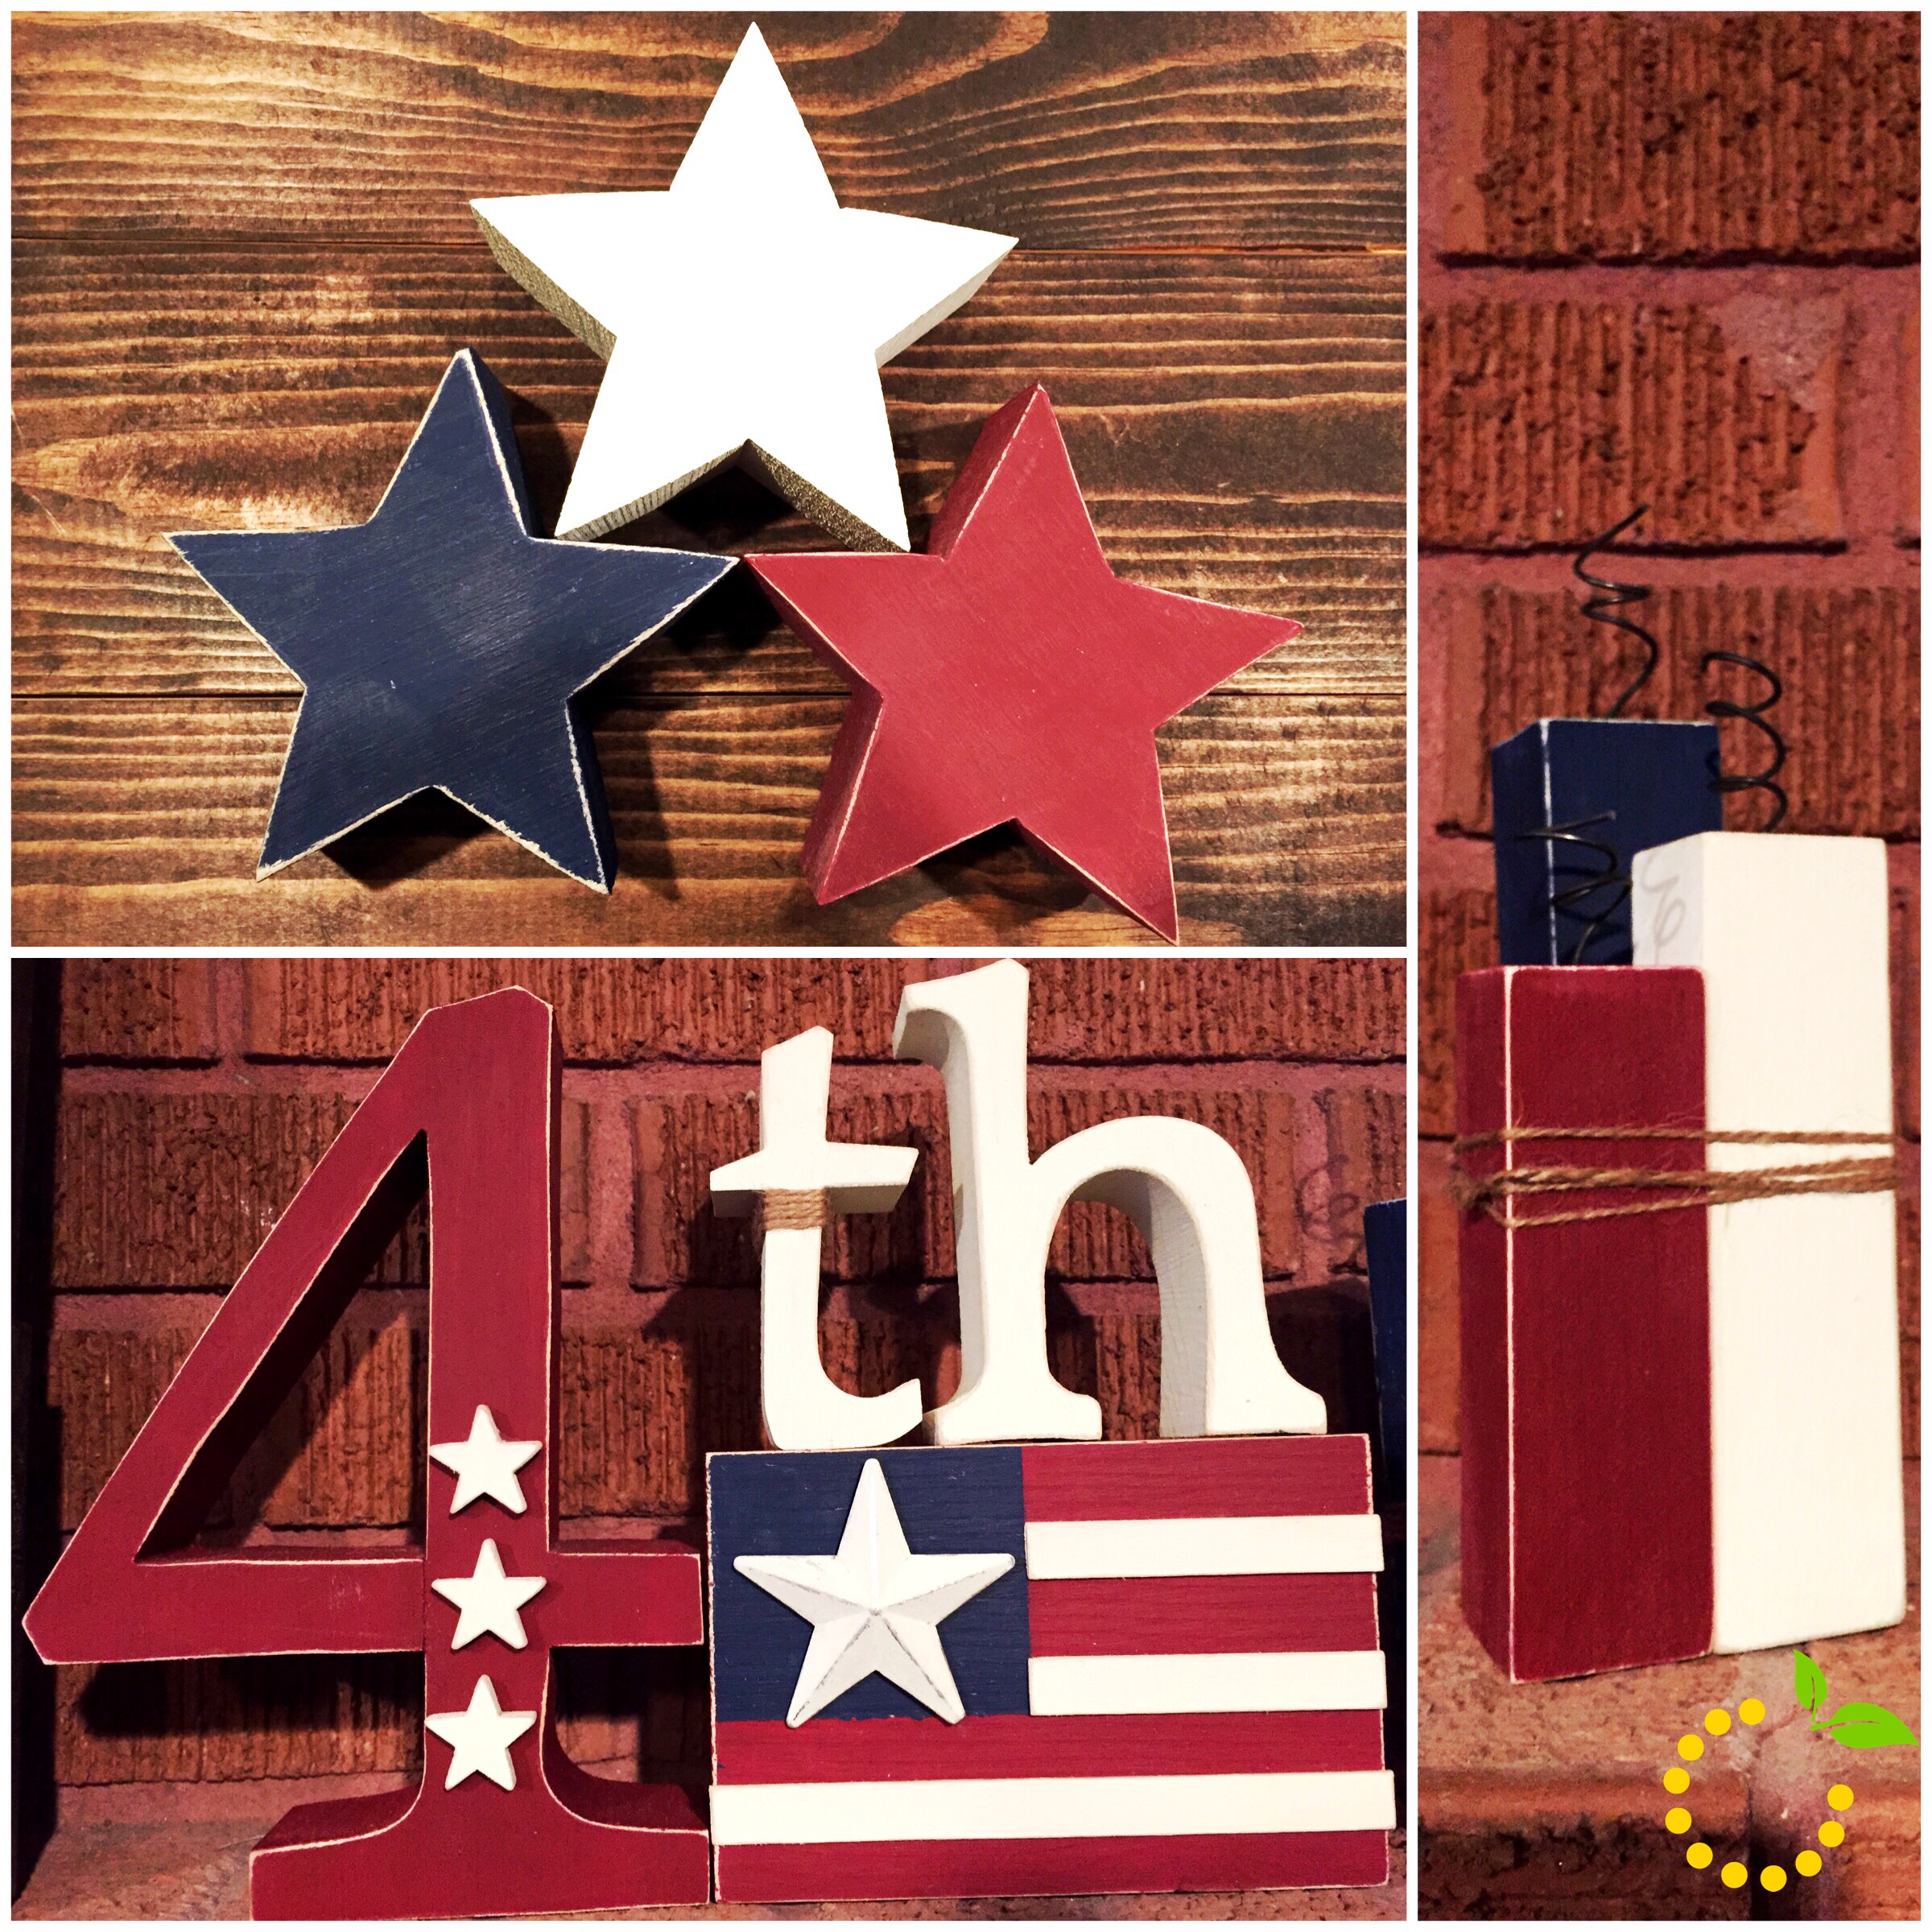
The wood stars, firecrackers, and 4th & flag can be purchased from the Wood Connection. The wood pieces come unfinished and can be decorated and painted however you like. I painted and distressed mine and added a few embellishments to some of the pieces to give them some dimension. And the USA letters were from Target’s dollar spot section.

4th of July Collage sweetlemonmade.com

DIY How To—USA Map String Art

Materials Needed:

  • 4 wood boards that are 24″ x 5″ and 2 boards/pieces to nail to the back to hold it together.
  • String – I used DMC Baroque Crochet Cotton for the white string and DMC Embroidery Floss for the red string
  • Box of nails (you will want a nail with a decent head so the string won’t pop off)
  • Stain – I used Rustoleum stain in Kona
  • Cheesecloth and vinyl gloves (for staining)
  • USA map template (Get it printed at Office Max or your local print shop and ask them for an engineer print.)


Step 1: Cut and nail together wood planks

Step 2: Stain your wood board.

Step 3: Print out the map template.

Step 4: Once your stain is dry, cut out the template and tape it to your board.

Map Template sweetlemonmade.com

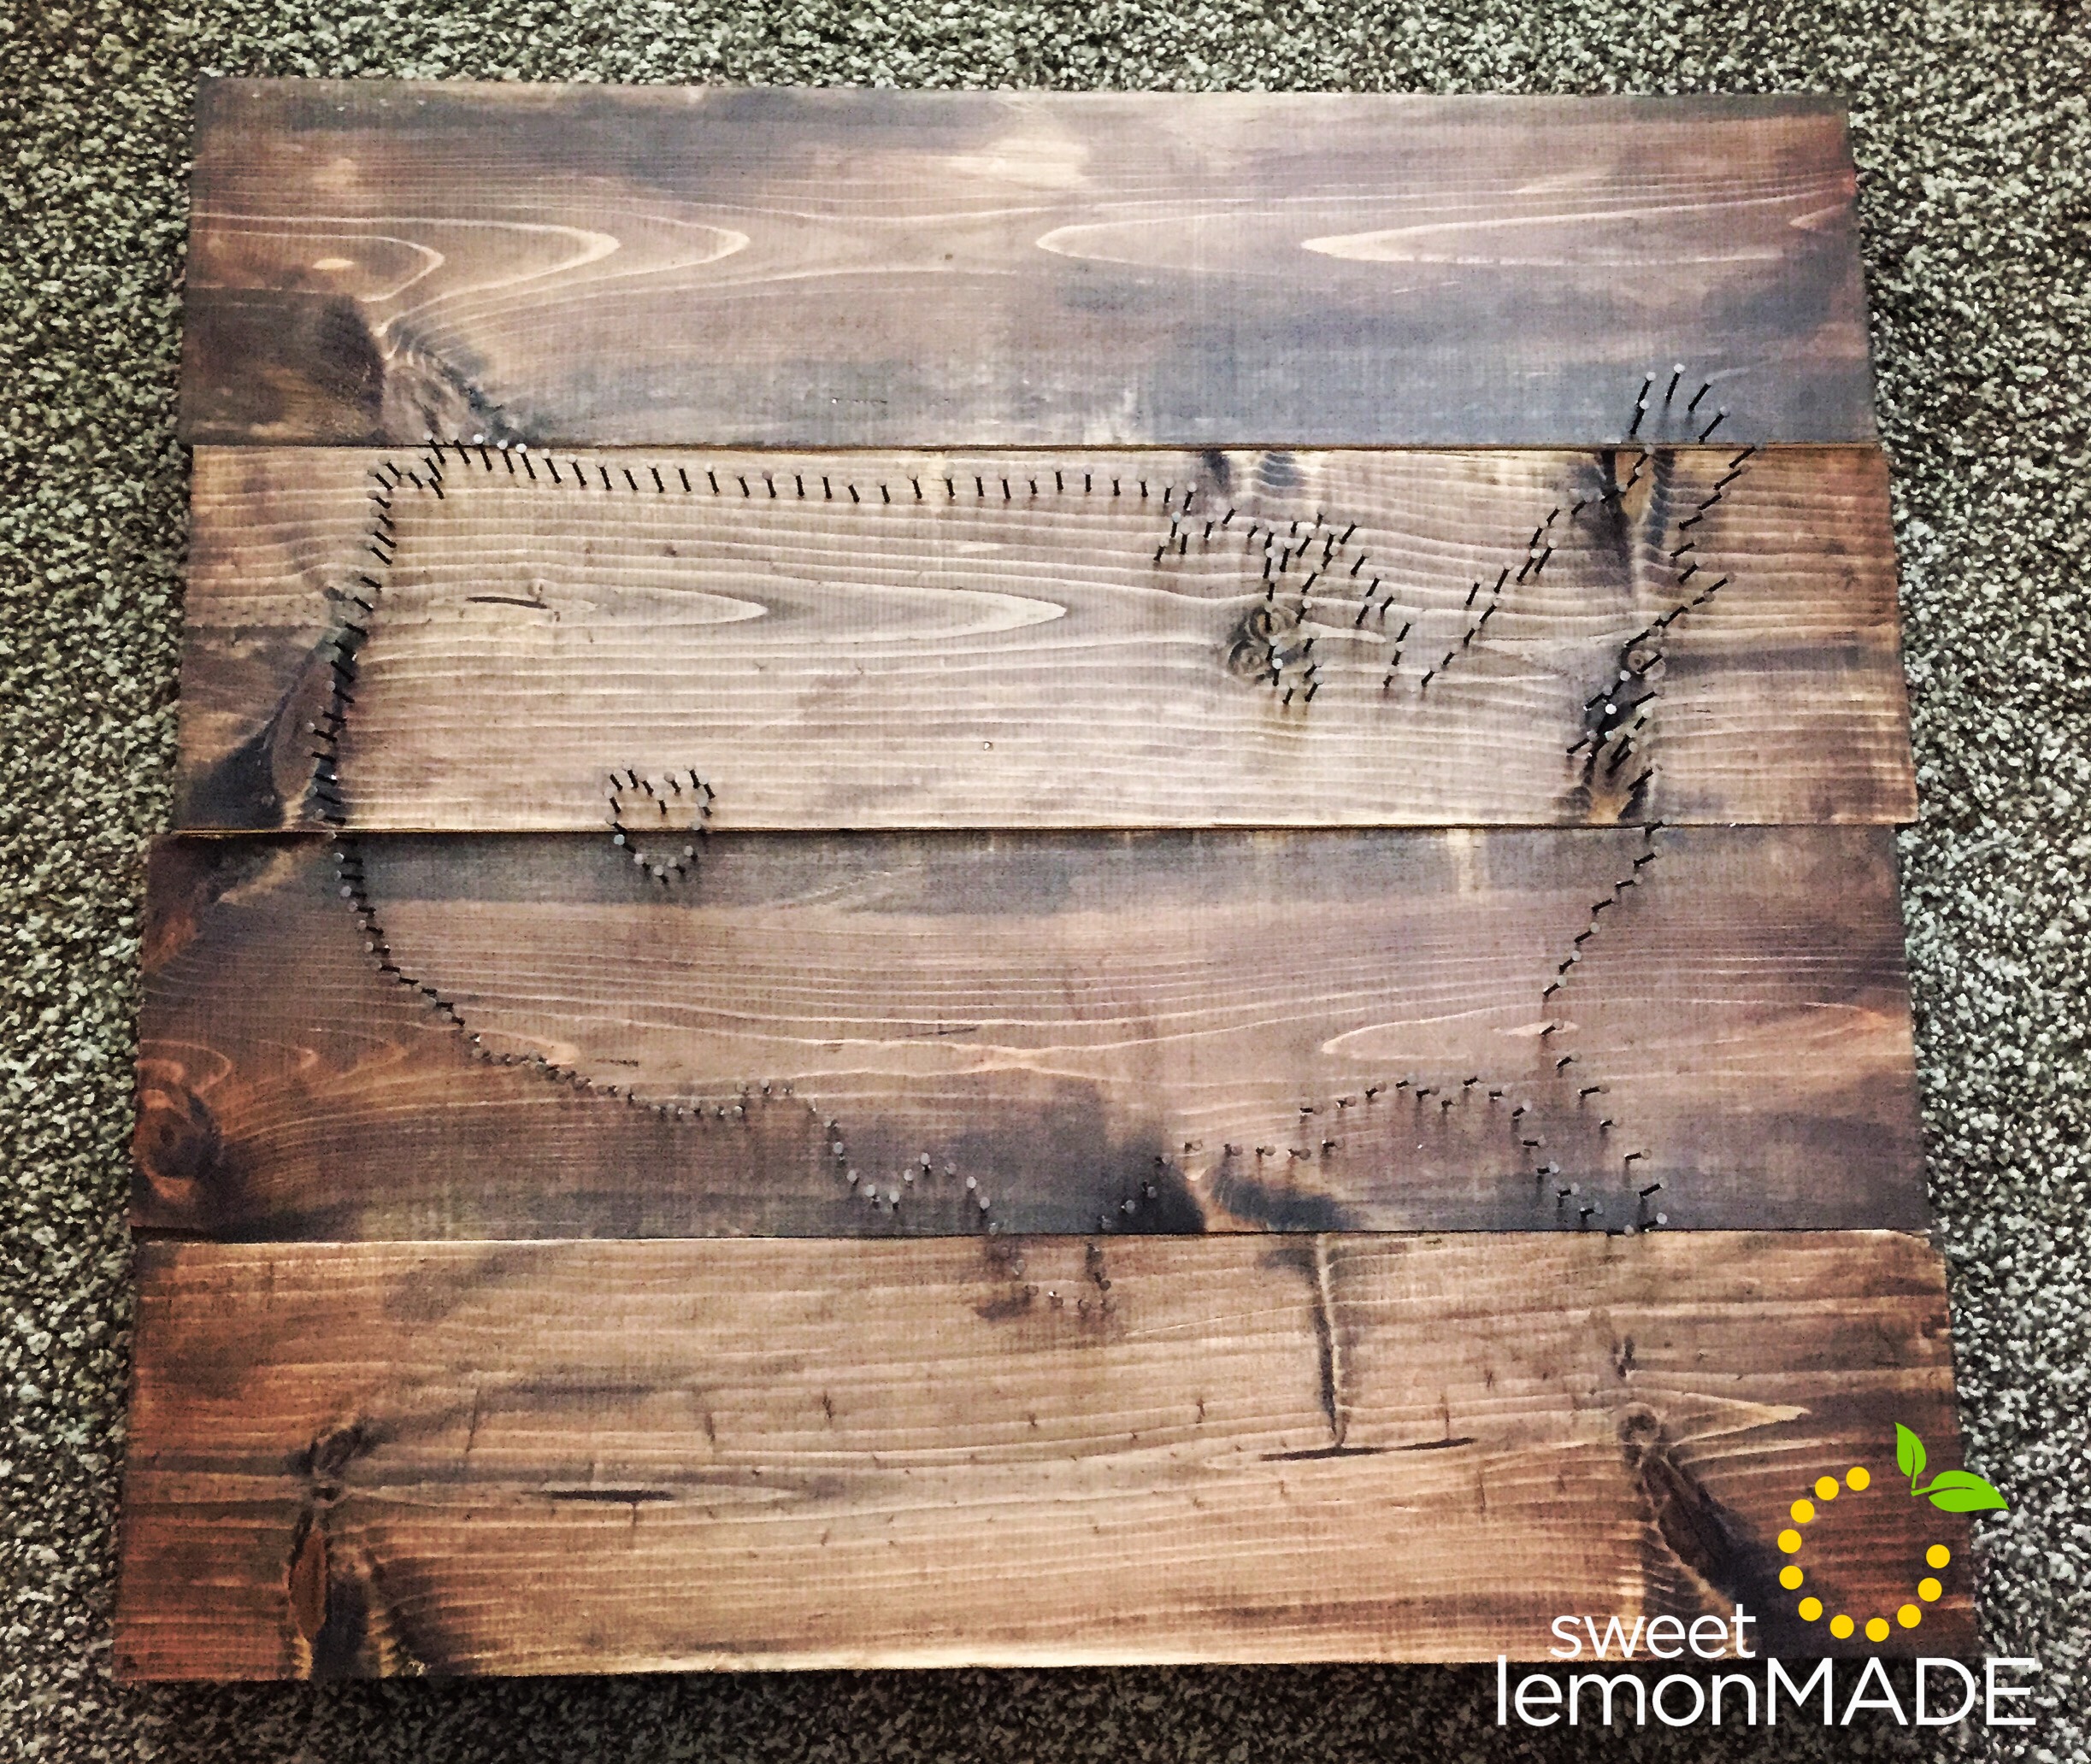
Step 5: Time to get the hammer out! Nail around the entire outline of the map – I spaced out the nails about an inch apart. (Warning: this step is the hardest and longest. Don’t get discouraged.)

Step 6: Once all of your nails are in, remove the paper template.

Board with Nails sweetlemonmade.com

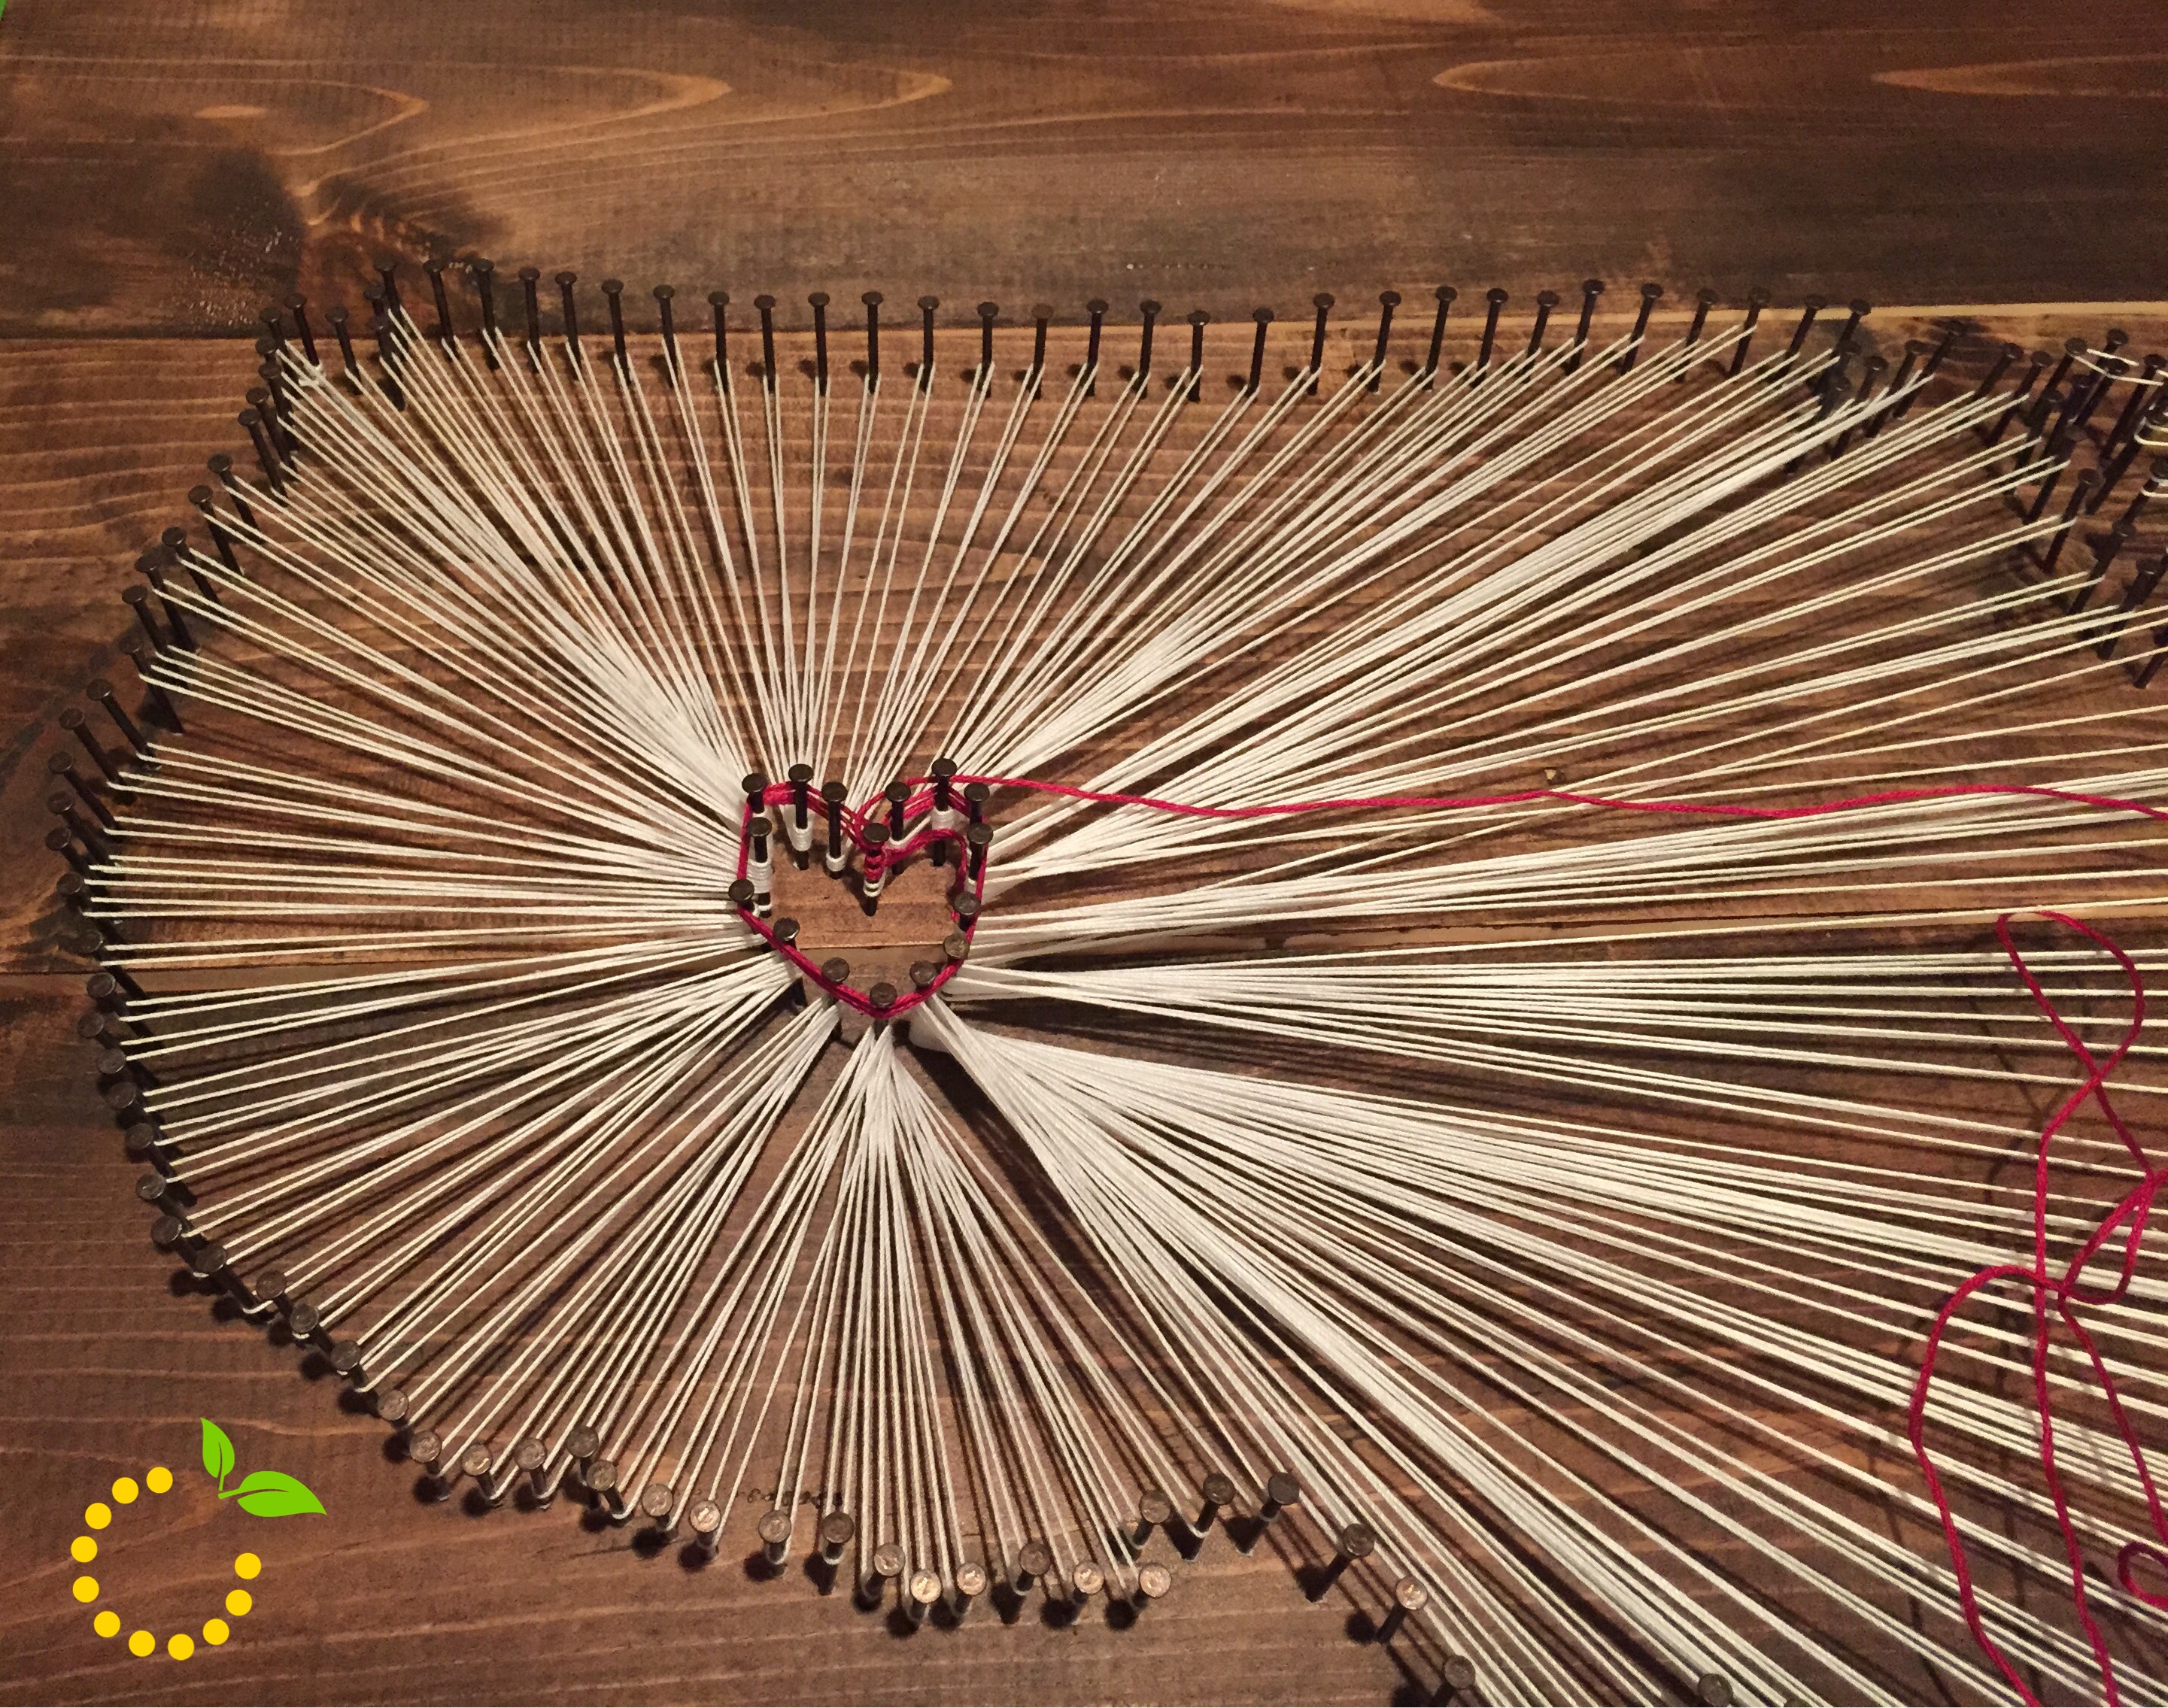
Step 7: Now for the fun part! Get your string and tie a knot around the head of one of the nails. Start by stringing the string down towards the heart and wrapping the string around one of the nails of the heart. (Tip: since the heart has less nails, you will need to string the outside strings around the nails multiple times.) Keep repeating until you are all done. Once you are done, tie another knot.

Step 8: Get your red DMC Embroidery Floss. Begin by tying a knot around one of the nails around the heart and string the string back and forth criss crossing the string.

Progress sweetlemonmade.com

Wood Connection Wood Projects

Materials Needed:

  • Red, white/cream, and blue paint
  • Foam brushes
  • Sand paper
  • Wood glue
  • Painters tape
  • Balsa wood sticks (for the stripes on the flag)
  • Metal star embellishment
  • Twin for embellishment
  • Thick wire for the firecrackers (can be purchased from Lowe’s or Home Depot)
  • Wire cutters
  • A pencil or wooden dowel to wrap the wire around to crate the twisted shape


Step 1: Sand any rough edges and wipe all wood pieces down with a cloth to get rid of any saw dust.

Step 2: Paint all wood pieces the desired colors and let dry. For the flag, I taped off the section for the blue and let dry and then covered the blue to paint the red.  

Step 3: Once they have dried, sand the edges to distress (optional).

Step 4: Glue small stars onto the ‘4’, the balsa wood sticks to the flag, and the star to the flag.

Step 5: Cut wire to desired length and wrap it around a pencil/dowel to twist it into shape.

Step 6: Place a tiny amount of glue onto the end of the wire and insert into hole on top of each firecracker.

Step 7: Tie or wrap twine around whatever you want (optional).

Mantle Decor 4th of July sweetlemonmade.com

Create

DIY Disneyland T-Shirts

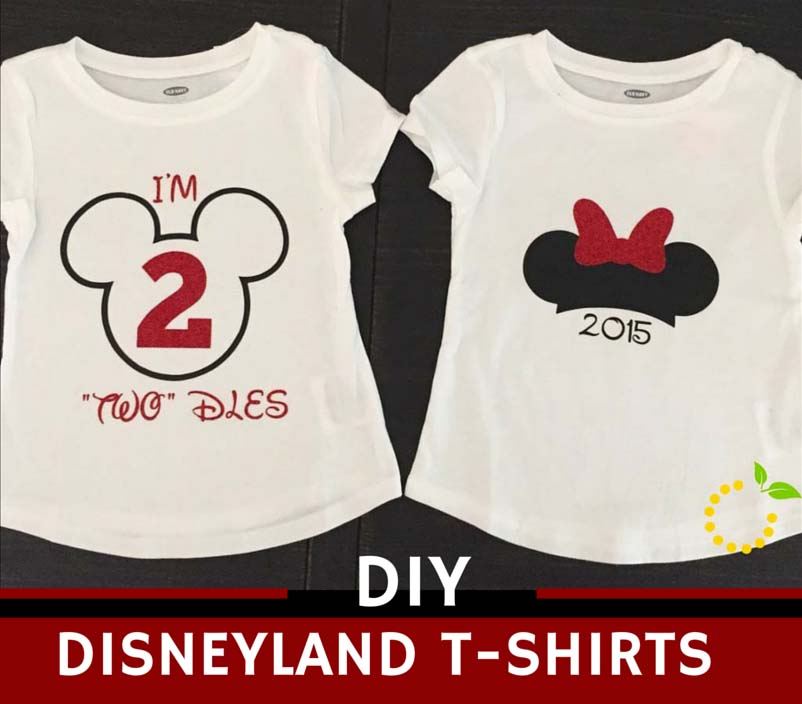
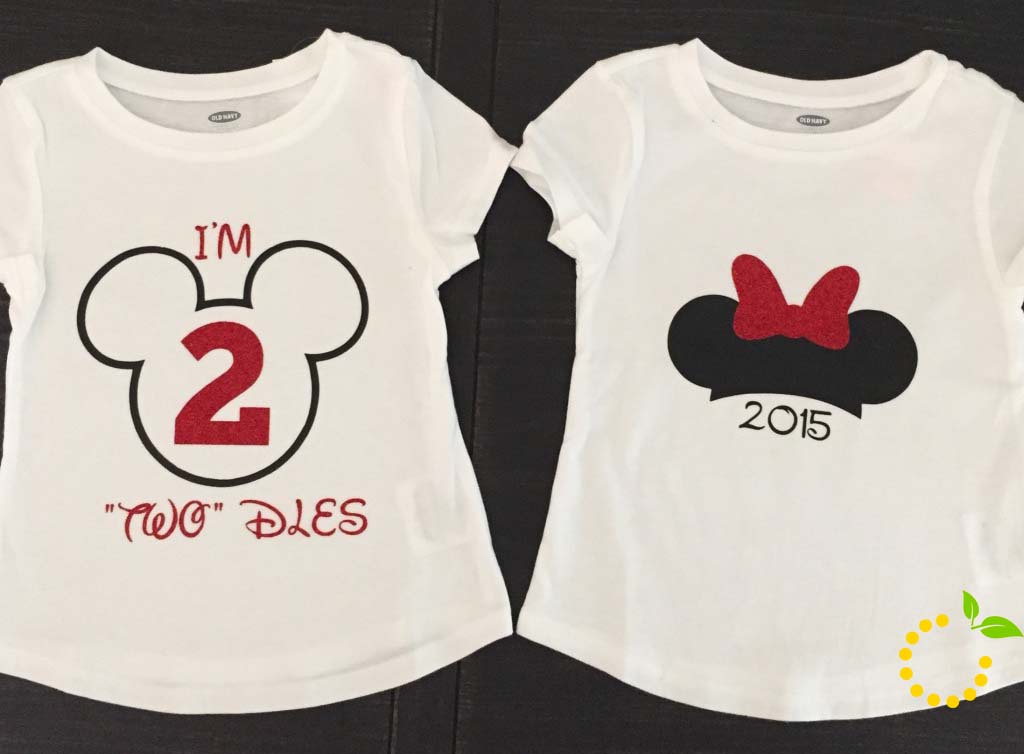
Disneyland T-Shirts sweetlemonmade.com

My daughter recently turned two and to celebrate we planned a family trip to the Happiest Place on Earth…Disneyland! It had been 10 years since my last visit (way too long) and would be Olivia’s first time, so I wanted to make it as fun and magical as possible.

The first thing that popped into my head was to make our own t-shirts to wear on the trip. Sure, I could easily go to the store and find something cute, but there was something special about making my own. I wasn’t sure where to start since it was my first time making anything with vinyl, so I called up my crafty sidekick Ashley for some help! I was surprised with how fast and easy it was to make the shirts, so I will definitely be making more in the future.

STEP 1.
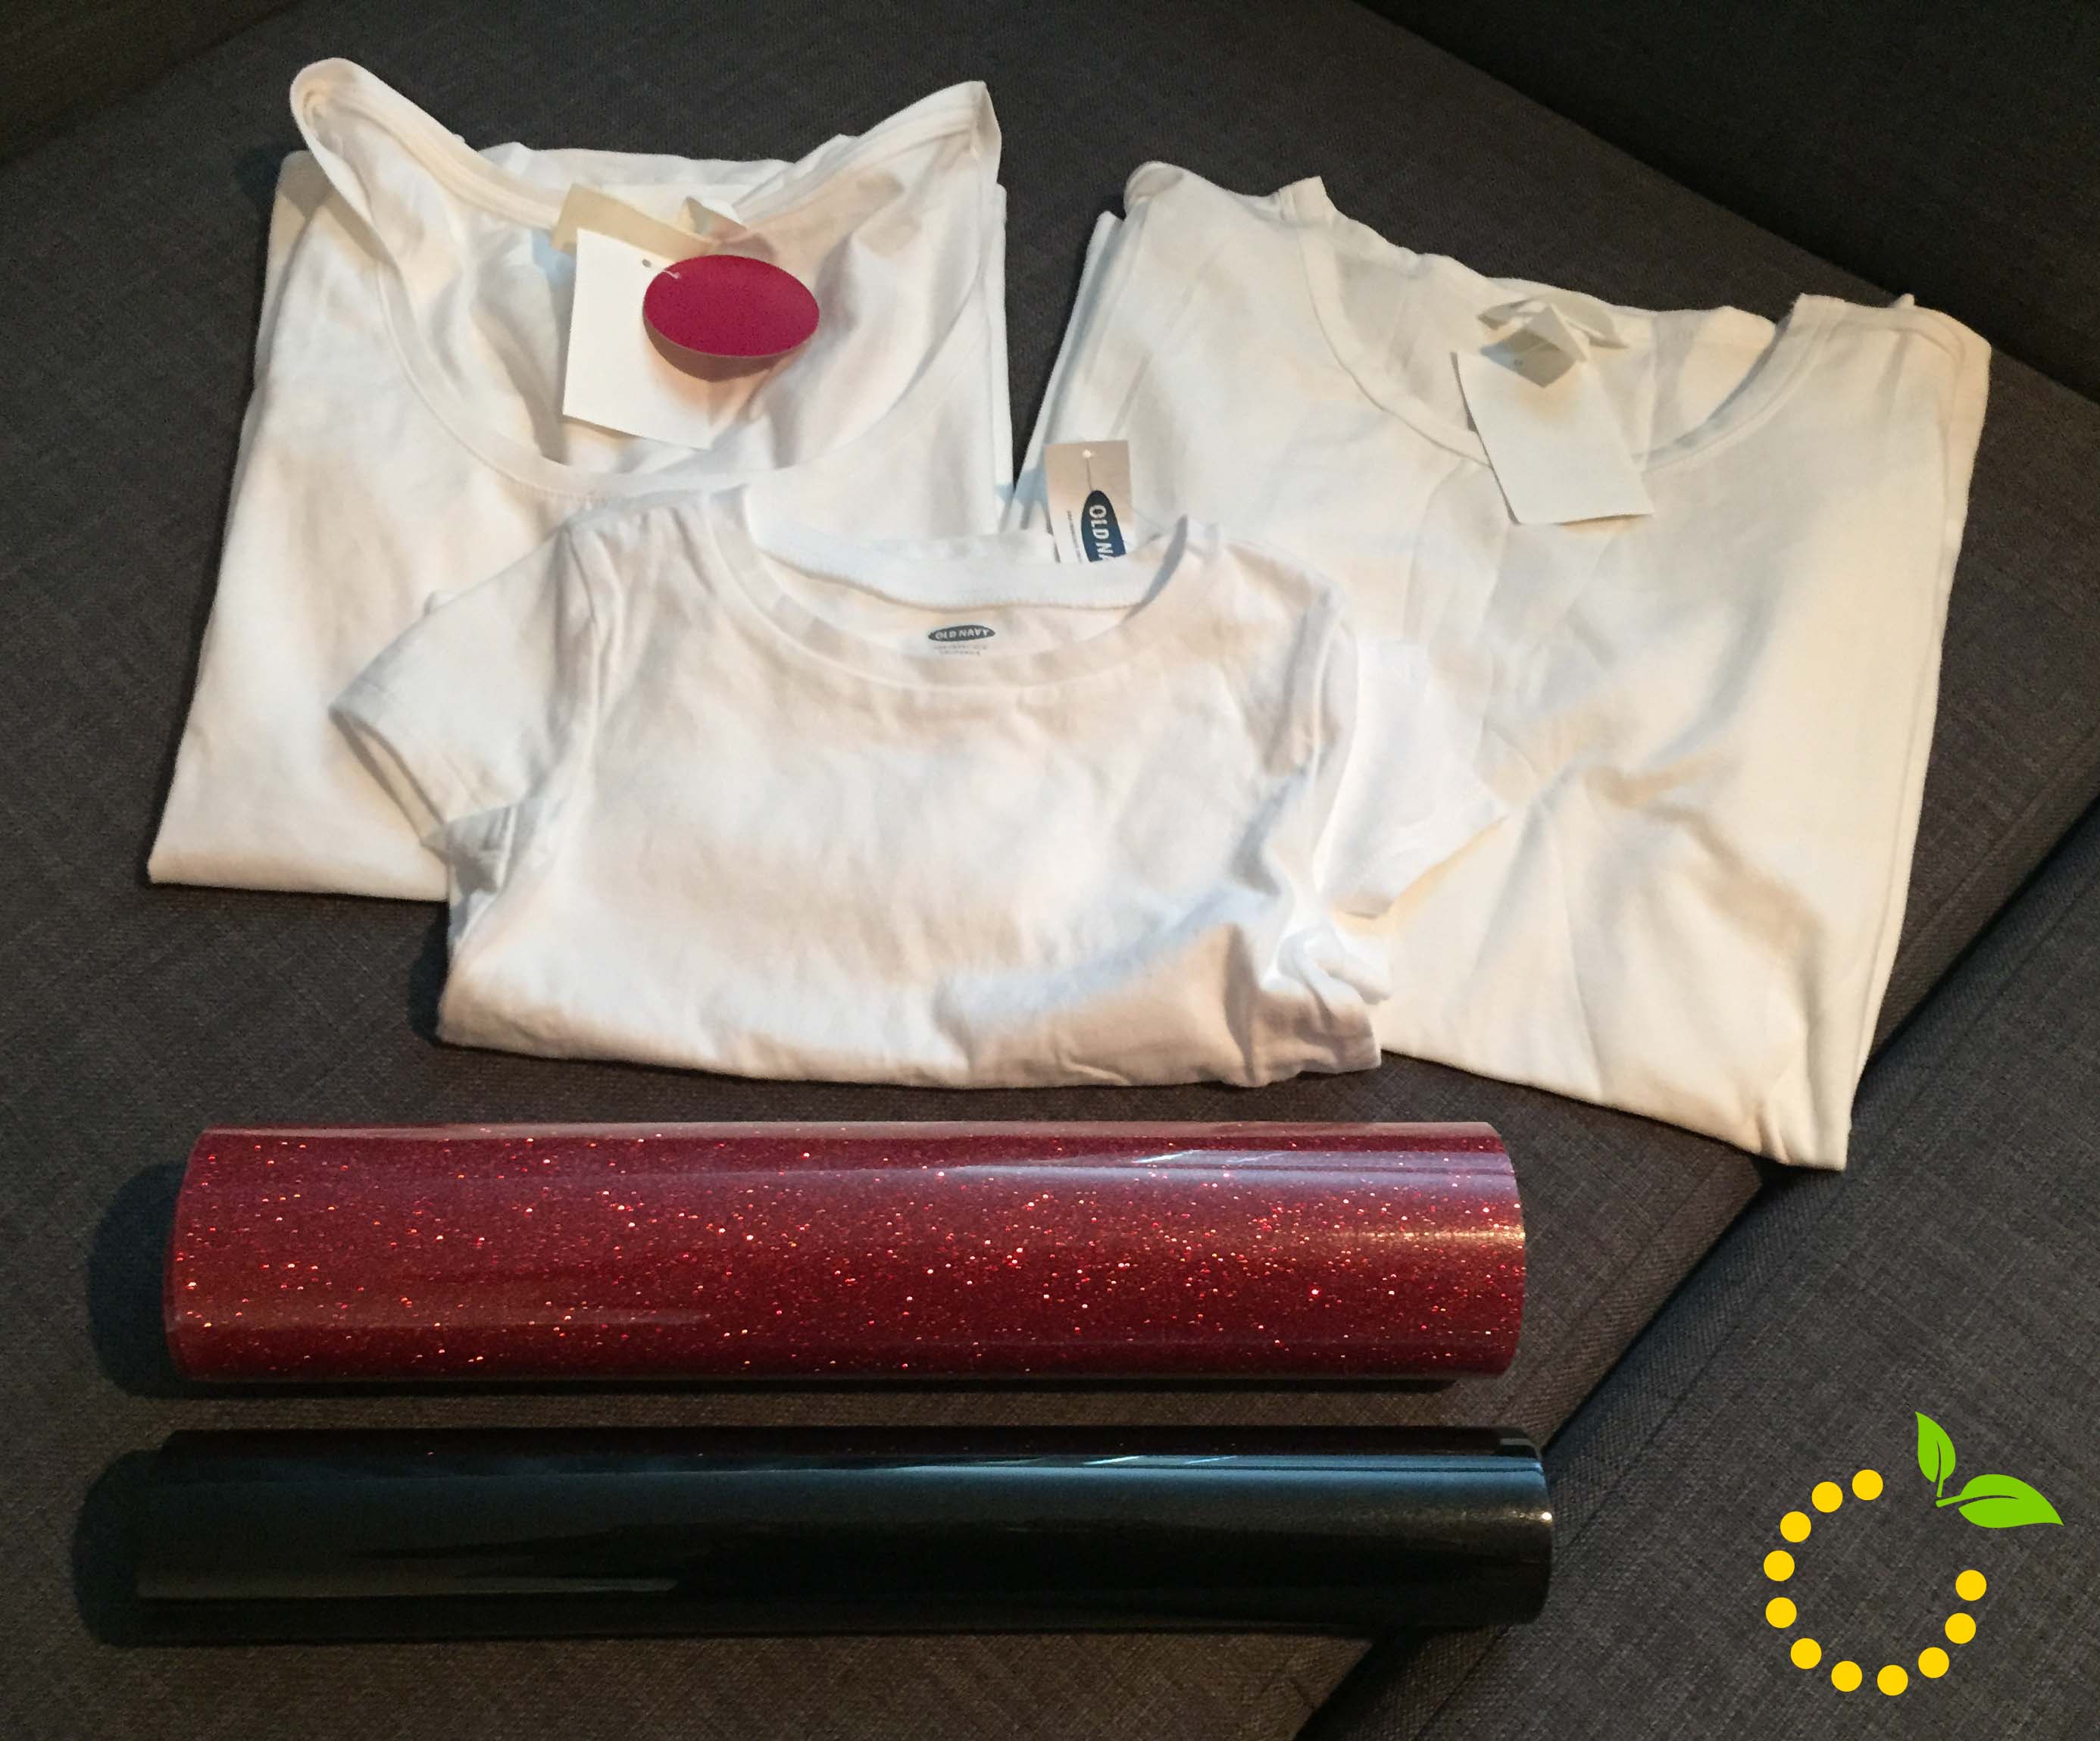
Visit a local craft shop and retail store to pick up your supplies. My shopping list included: 

  • Adult Plain White T-Shirt: $5 each at H&M.
  • Child Plain White T-Shirt: $1.50 each at Old Navy (Yay for clearance deals).
  • Iron-On Heat Transfer Vinyl: $12 for one roll of black and $16 for one roll of red glitter. The vinyl is the most expensive part of the project, but the red glitter was totally worth the price.

Disneyland DIY T-Shirt Supplies sweetlemonmade.com

STEP 2.
Grab a vinyl cutter and prepare the images you want to use on your shirt. Ashley owns a Silhouette Cameo, which was super easy to use, but because my designs weren’t on a template, we had to look online and upload them to the Cameo. Every system is different, but here is a Silhouette tutorial by Sew Dang Cute Crafts for reference. Just remember, make sure your designs are printed backwards since you are ironing onto a shirt! (That might have slipped our minds…a couple of times)

STEP 3.
Drape your shirt over an ironing board and get your vinyl in place. Grab a towel to cover your shirt and start ironing. Run the iron back and forth multiple times. Lift the towel slowly to see if the vinyl is sticking or if it needs more heat. Once it sticks, you’re done! 

DIY Disneyland T-Shirts sweetlemonmade.com


Create

DIY Valentine’s Day Wreath

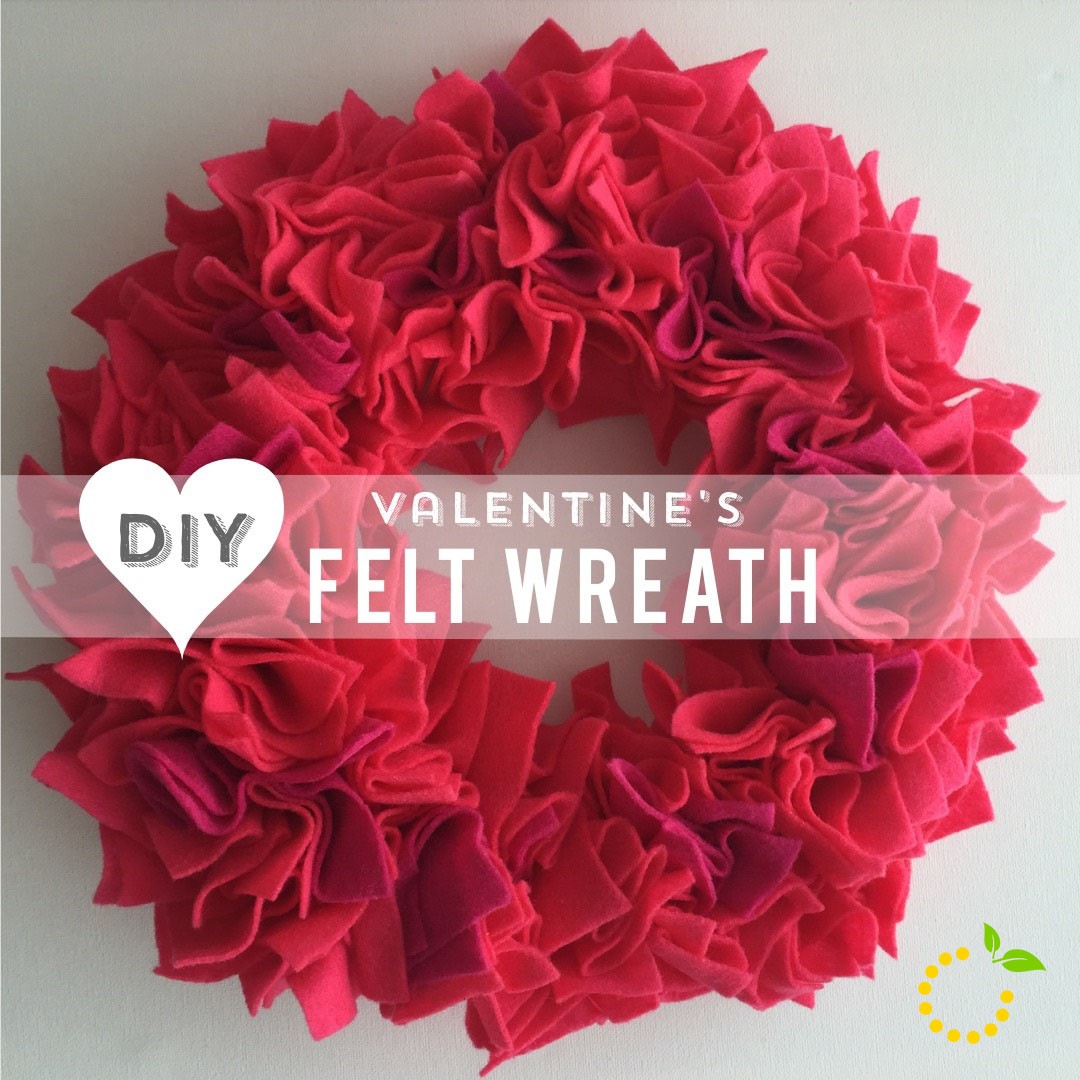
DIY Valentine's Wreath - sweetlemonmade.com

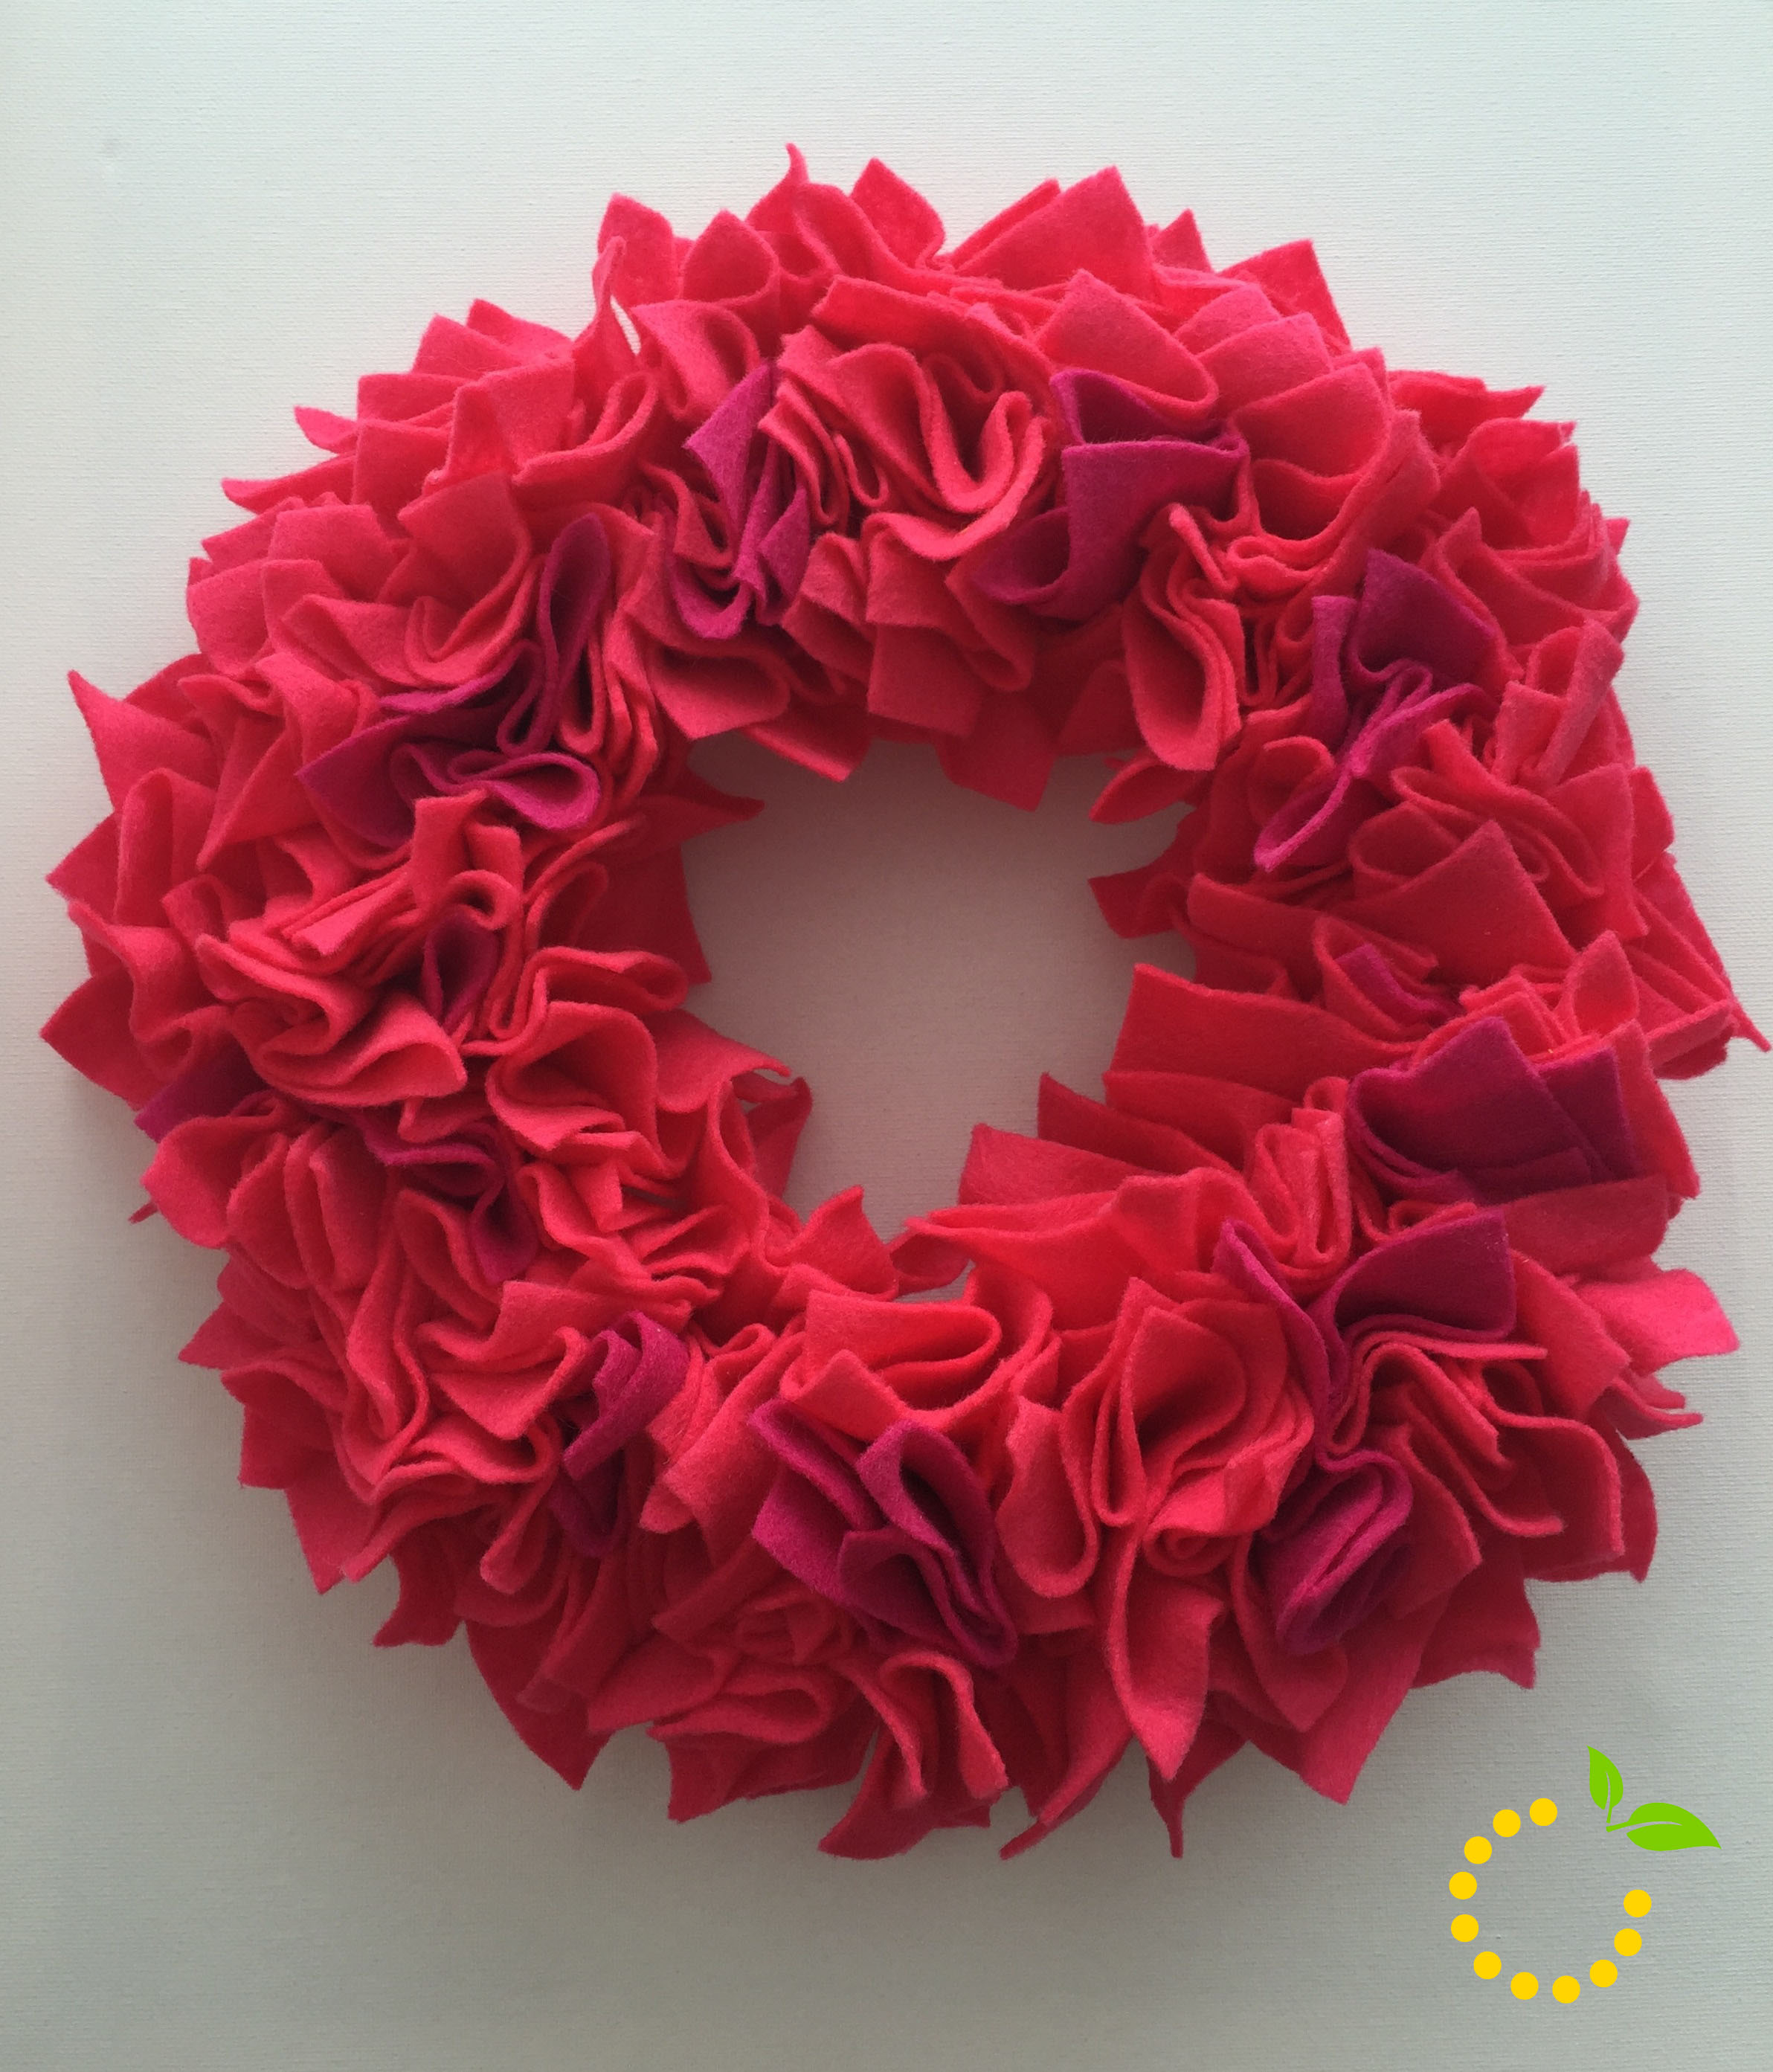
It’s February and that means Valentine’s Day is coming up! Want to add some Valentine’s décor to your home that you can make yourself? We’ve got a DIY wreath project to share. This wreath is easy to make and can even be done while you catch up on your favorite shows on Netflix! That is what I did!

Supplies needed:

  • Felt (in one color or a variety of colors) – amount will vary depending on the size of wreath you want to make but, 2 yards should be plenty.
  • Styrofoam wreath
  • Fabric glue
  • Wood pencil or wooden dowel
  • Scissors/rotary cutter
  • Cutting mat if using a rotary cutter
  • Ribbon – optional, to hang wreath

Valentine's DIY Wreath - sweetlemonmade.com


Directions:

Start by cutting the felt into 3 ½ inch squares—lots and lots of them!

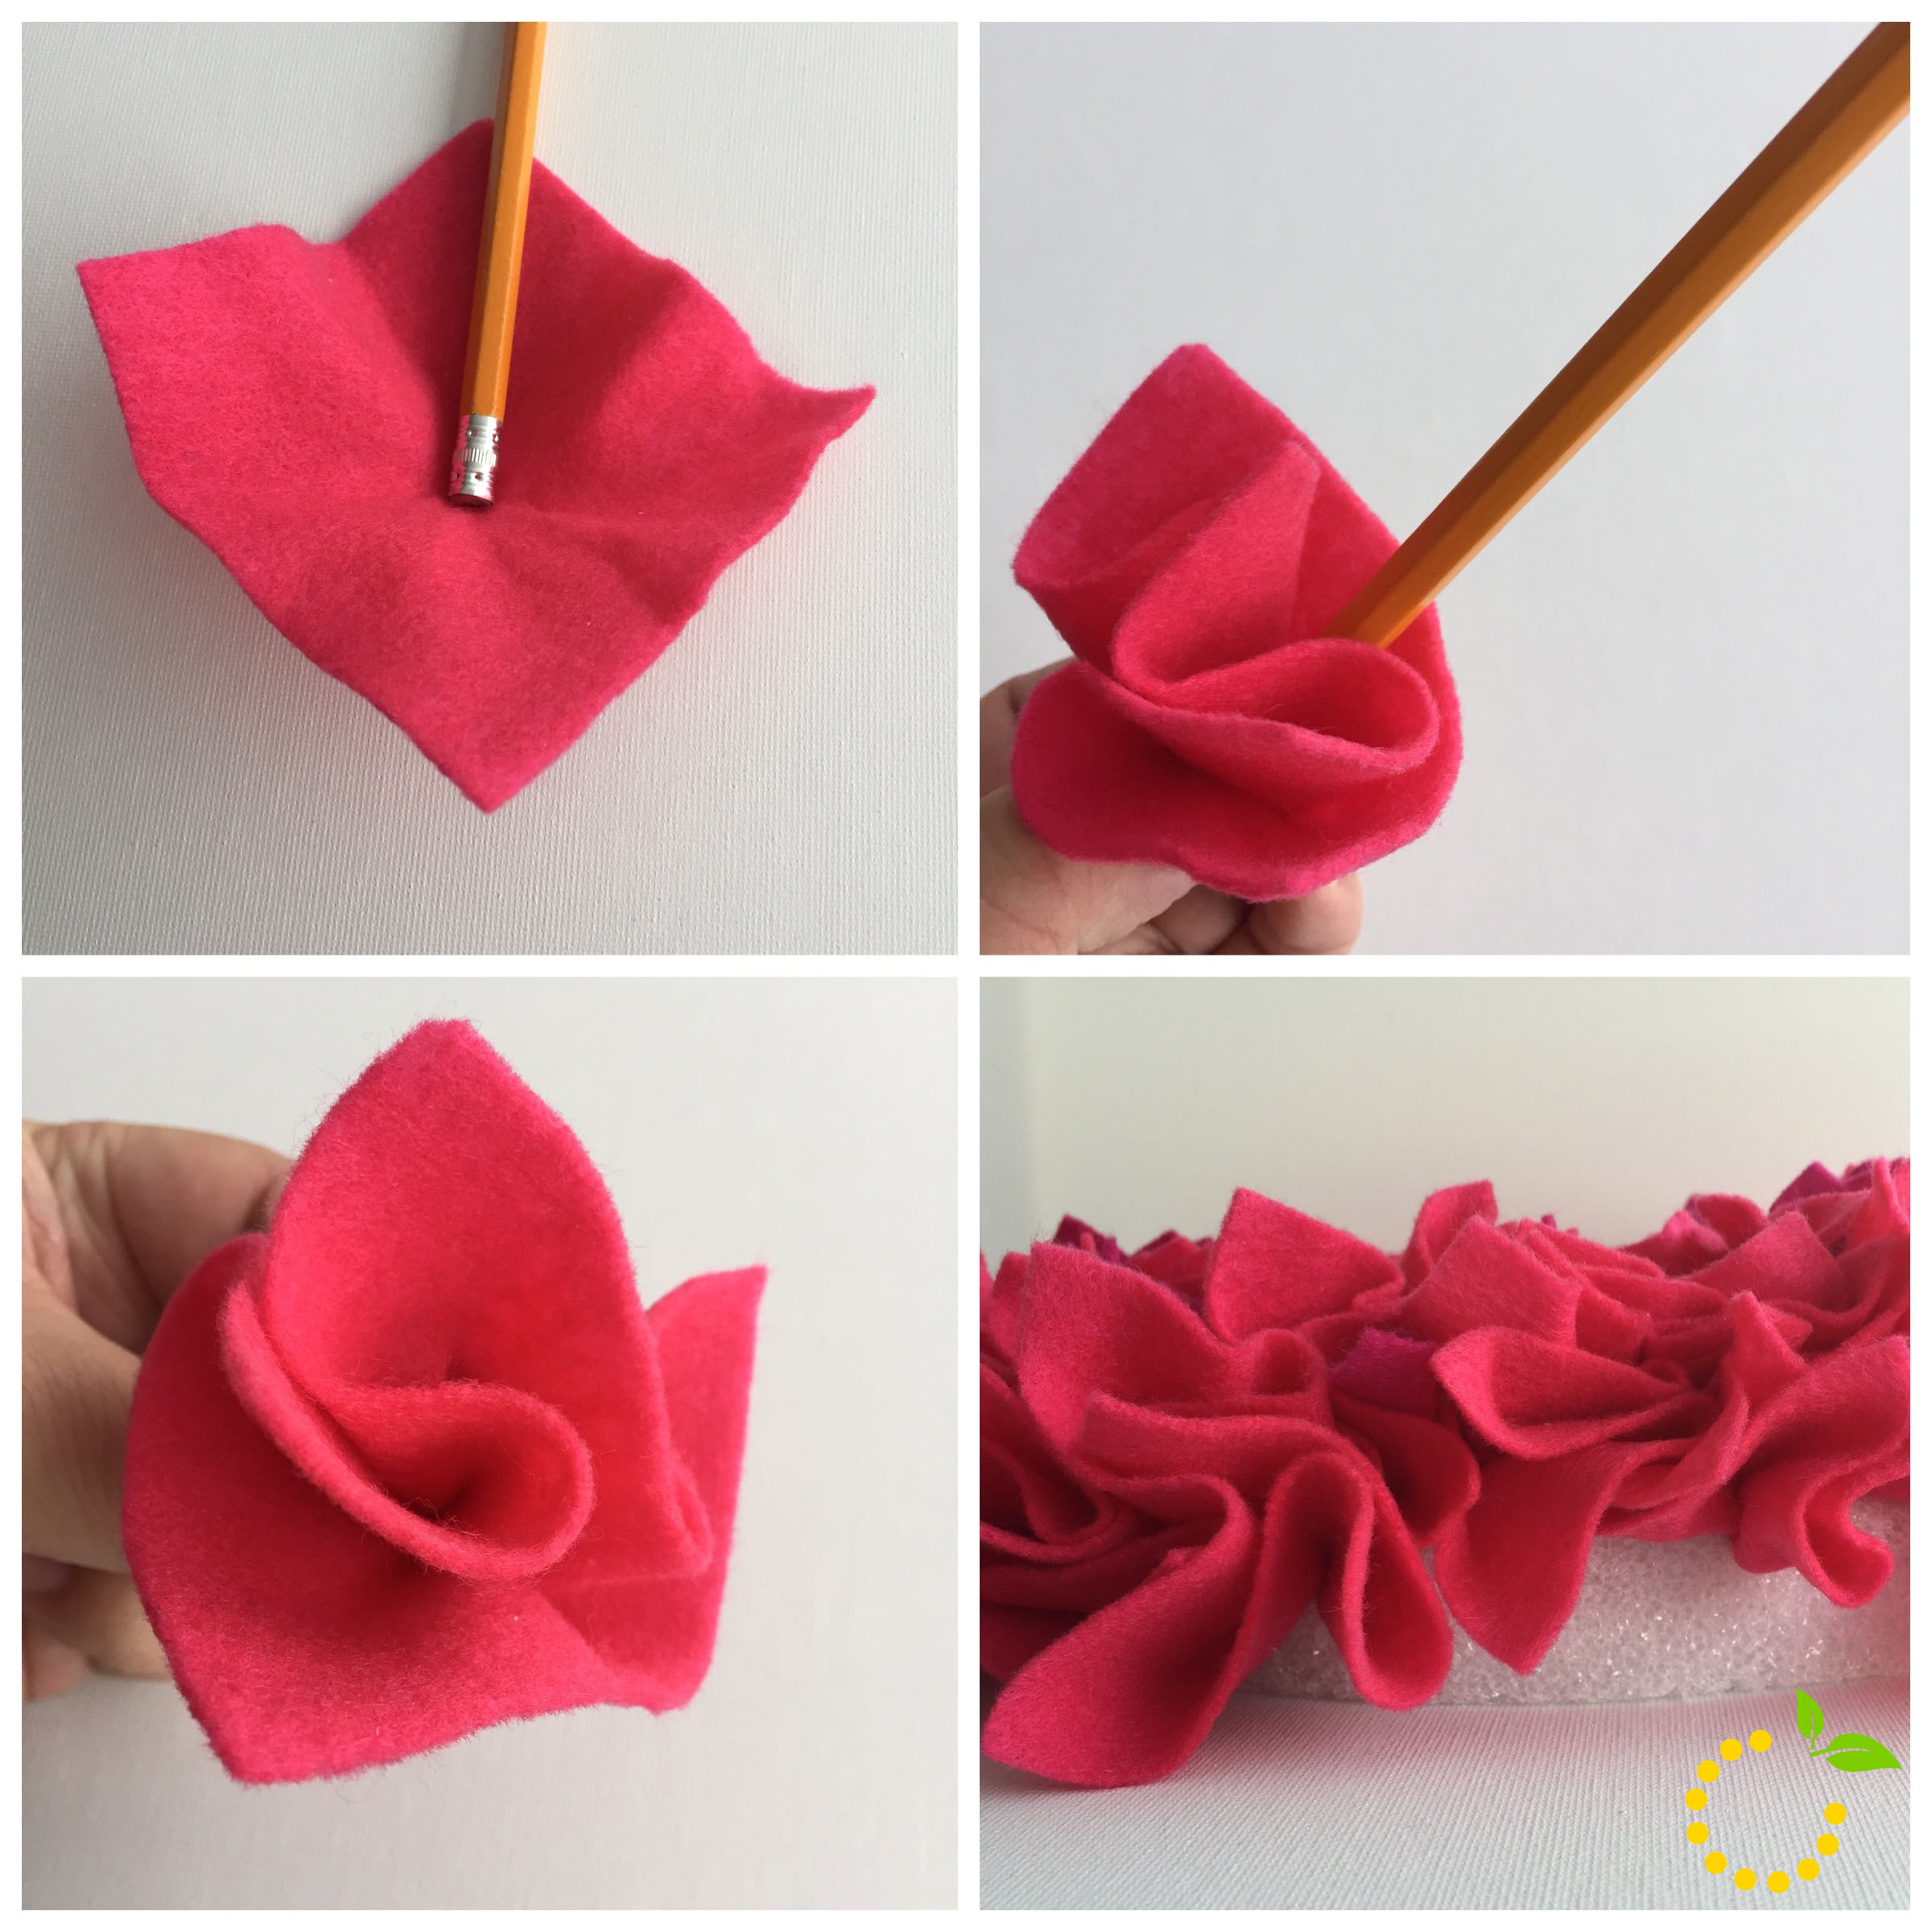
Get your wreath form, squares of felt, glue (I squeezed out a little bit onto a plastic plate to easily dip), and pencil/wooden dowel ready.

Using your pencil/dowel poke it in the middle of the felt square and scrunch it up around the pencil. While holding it, dip the tip into a little bit of glue and poke into the Styrofoam and continuing the process until the wreath is covered and no Styrofoam is showing.


Wreath Valentine's DIY - sweetlemonmade.com