Browsing Tag

Holiday

Sweet Tips

5 Tips for Riding the North Pole Express

North Pole Express Tips sweetlemonmade.com

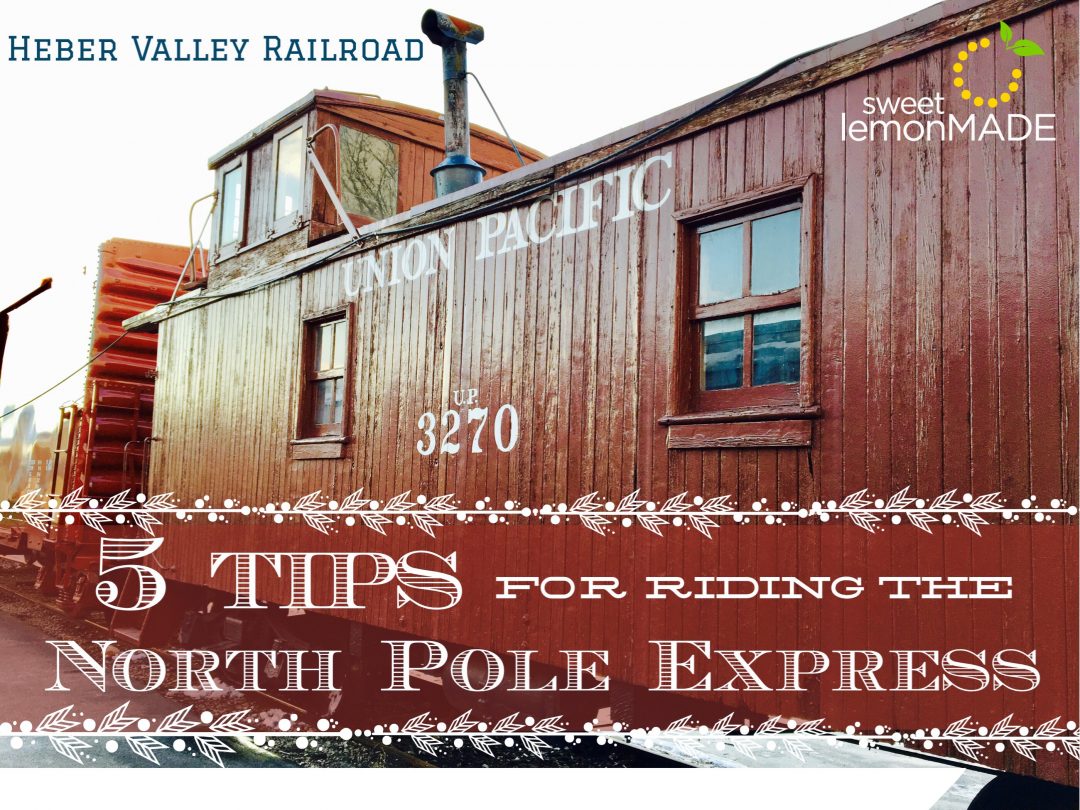
This year I had the chance to take my three-year-old daughter Olivia on the North Pole Express. I have heard a lot of great things about this magical experience aboard the Heber Creeper on the Heber Valley Railroad, and was excited to finally check it out for myself. Since it was our first time, I wasn’t quite sure what to expect. Thanks to some tips from our family and friends, we were able to be prepared for the adventure.

North Pole Express Train sweetlemonmade.com

North Pole Ticket sweetlemonmade.com

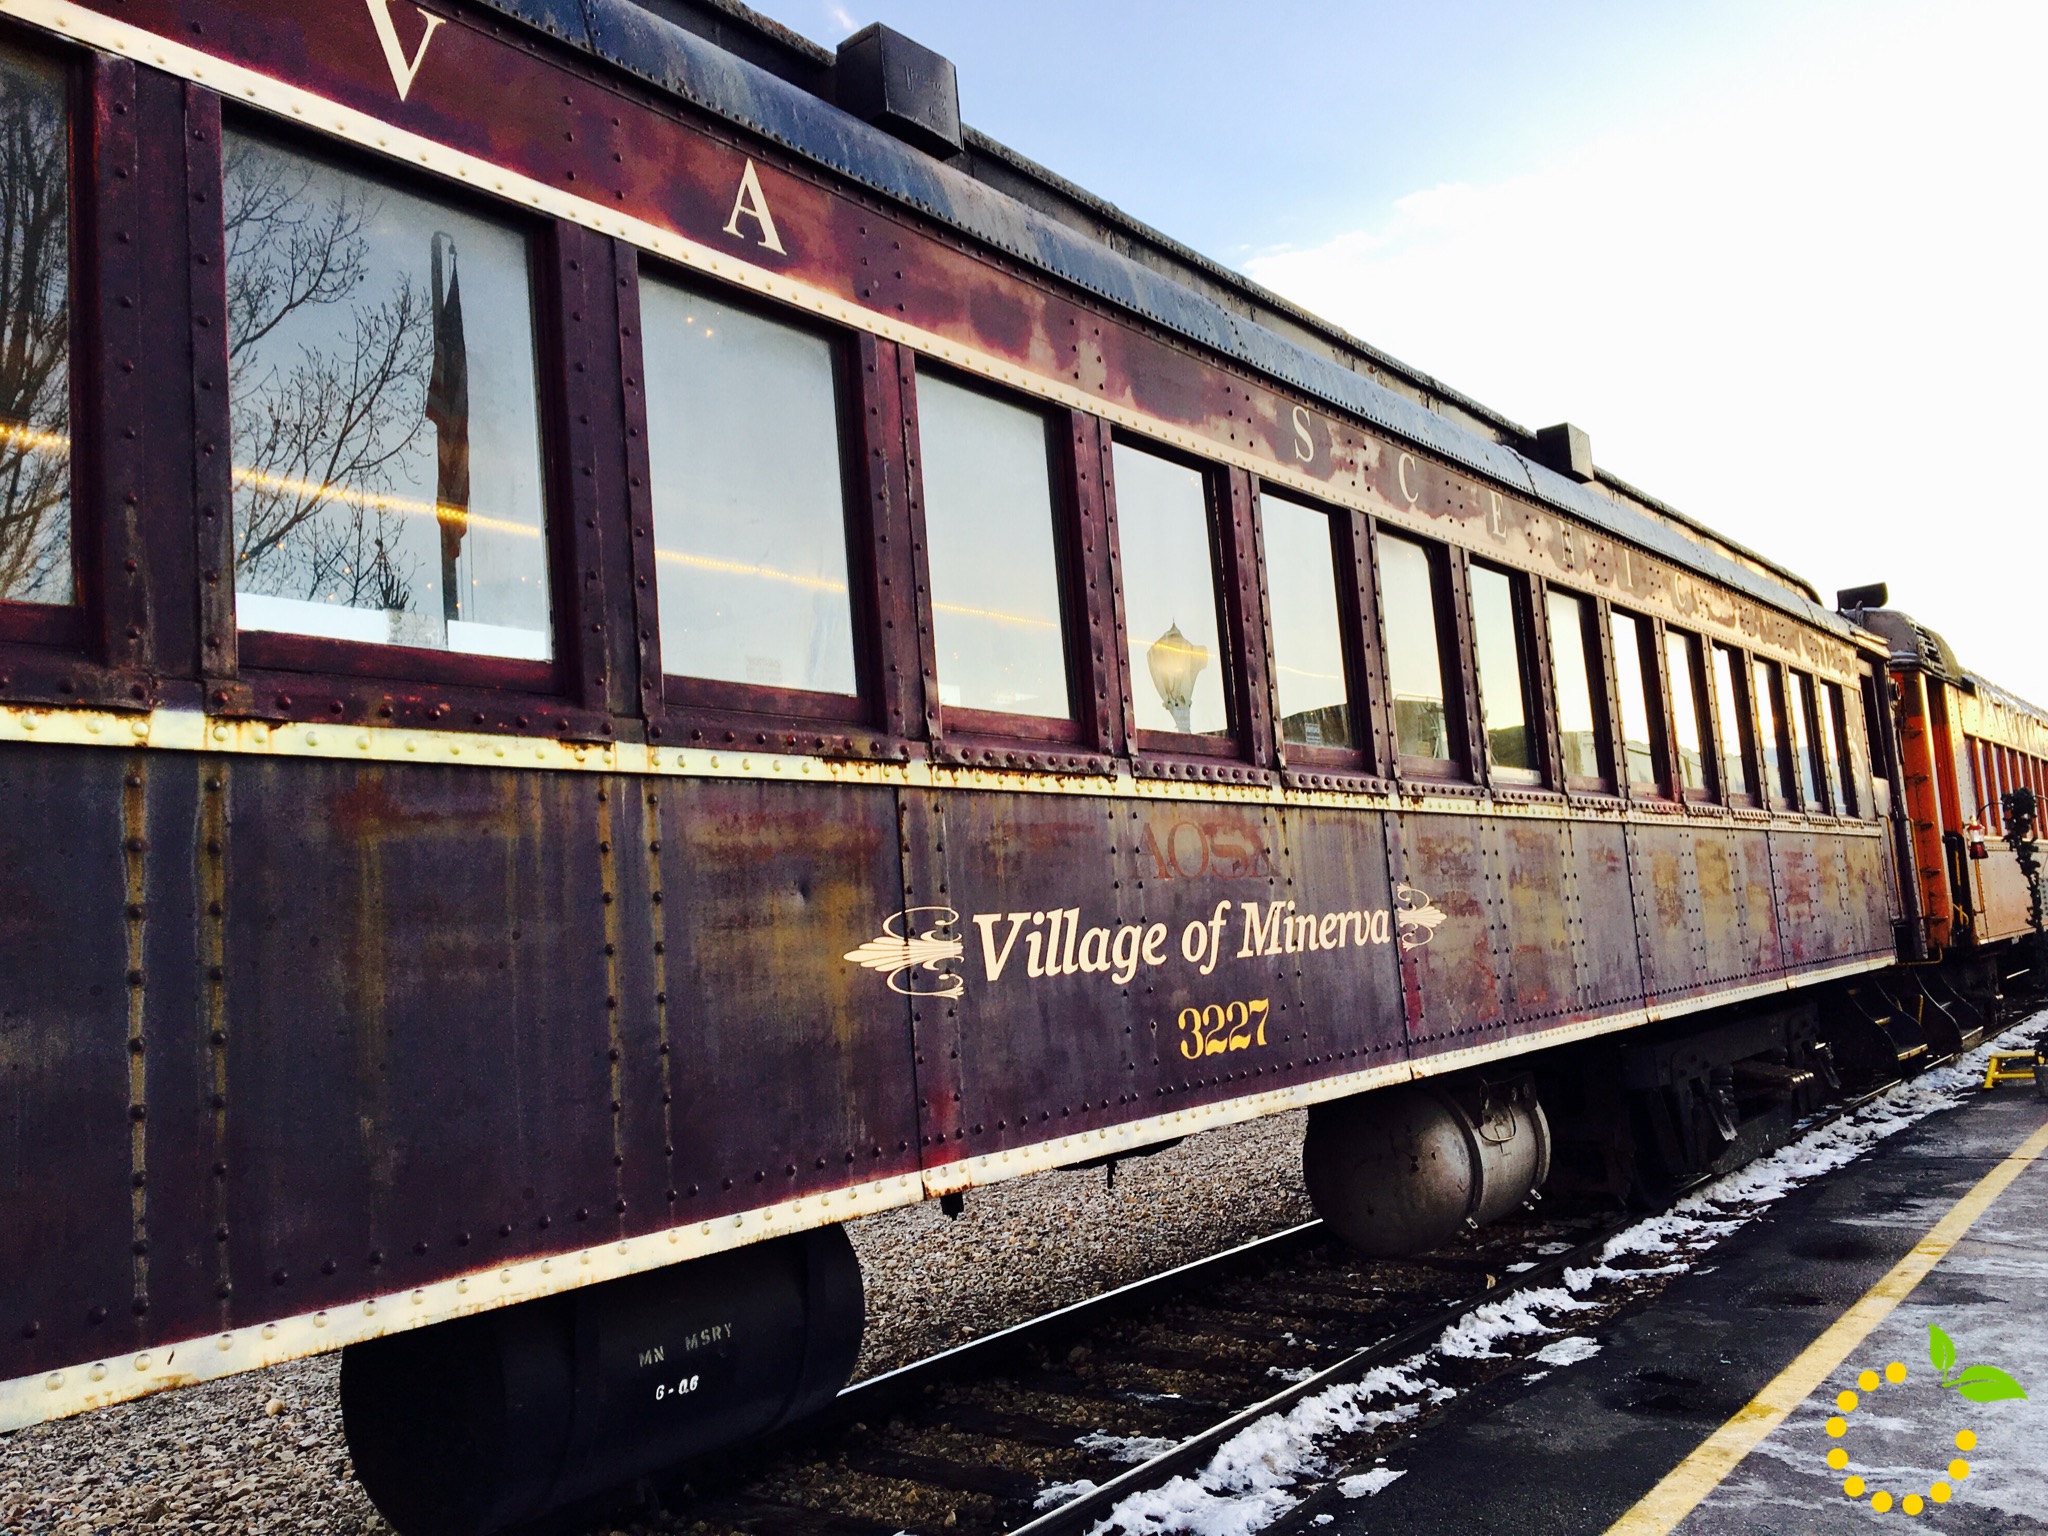
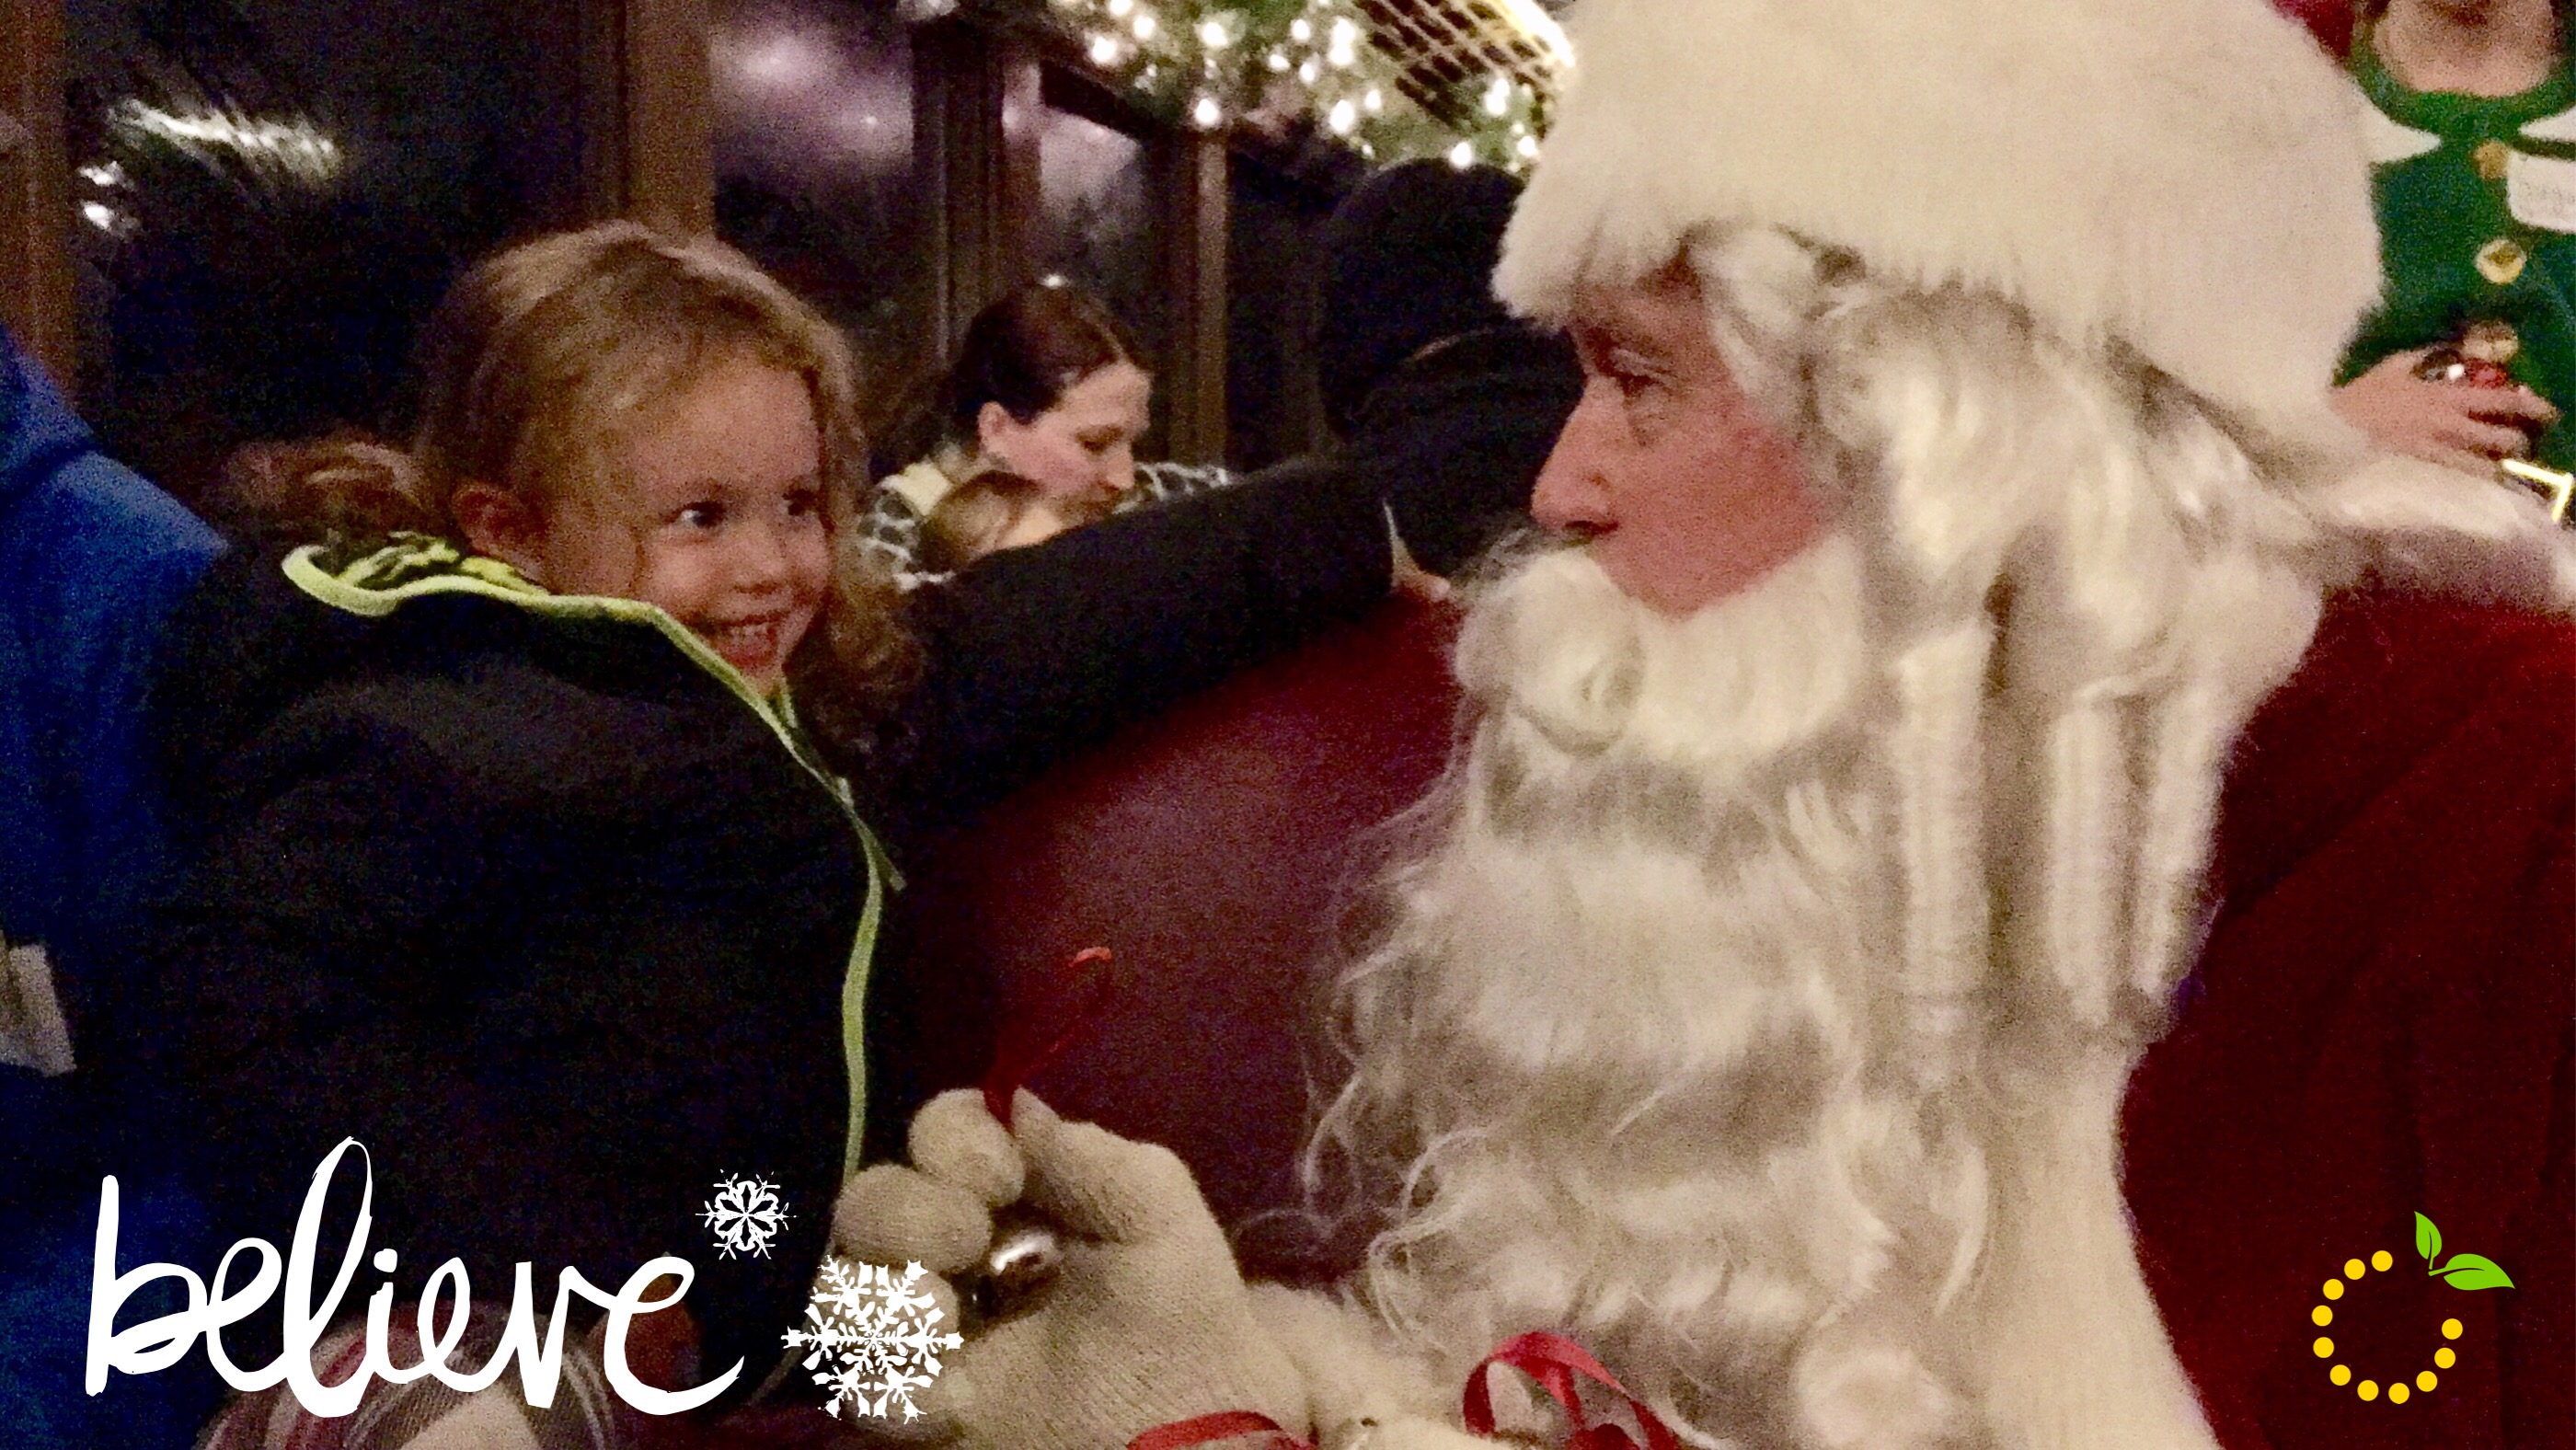
The North Pole Express is a 90 minute train ride to the North Pole aboard the Heber Creeper. This adventure mimics the classic tail of the Polar Express. Some kids dress even dress in their Christmas pajamas. Along the journey you can expect to meet Mrs. Clause, eat chocolate chip cookies and sing Christmas carols. Once you reach the Noth Pole, Santa Clause boards the train and meets with every little boy and girl. Olivia had so much fun meeting Santa Clause and singing along with everyone on the train. 

North Pole Train Entrance sweetlemonmade.com
img_2783
We want you to have the same great experience, so below are 5 tips to keep in mind when riding the North Pole Express.

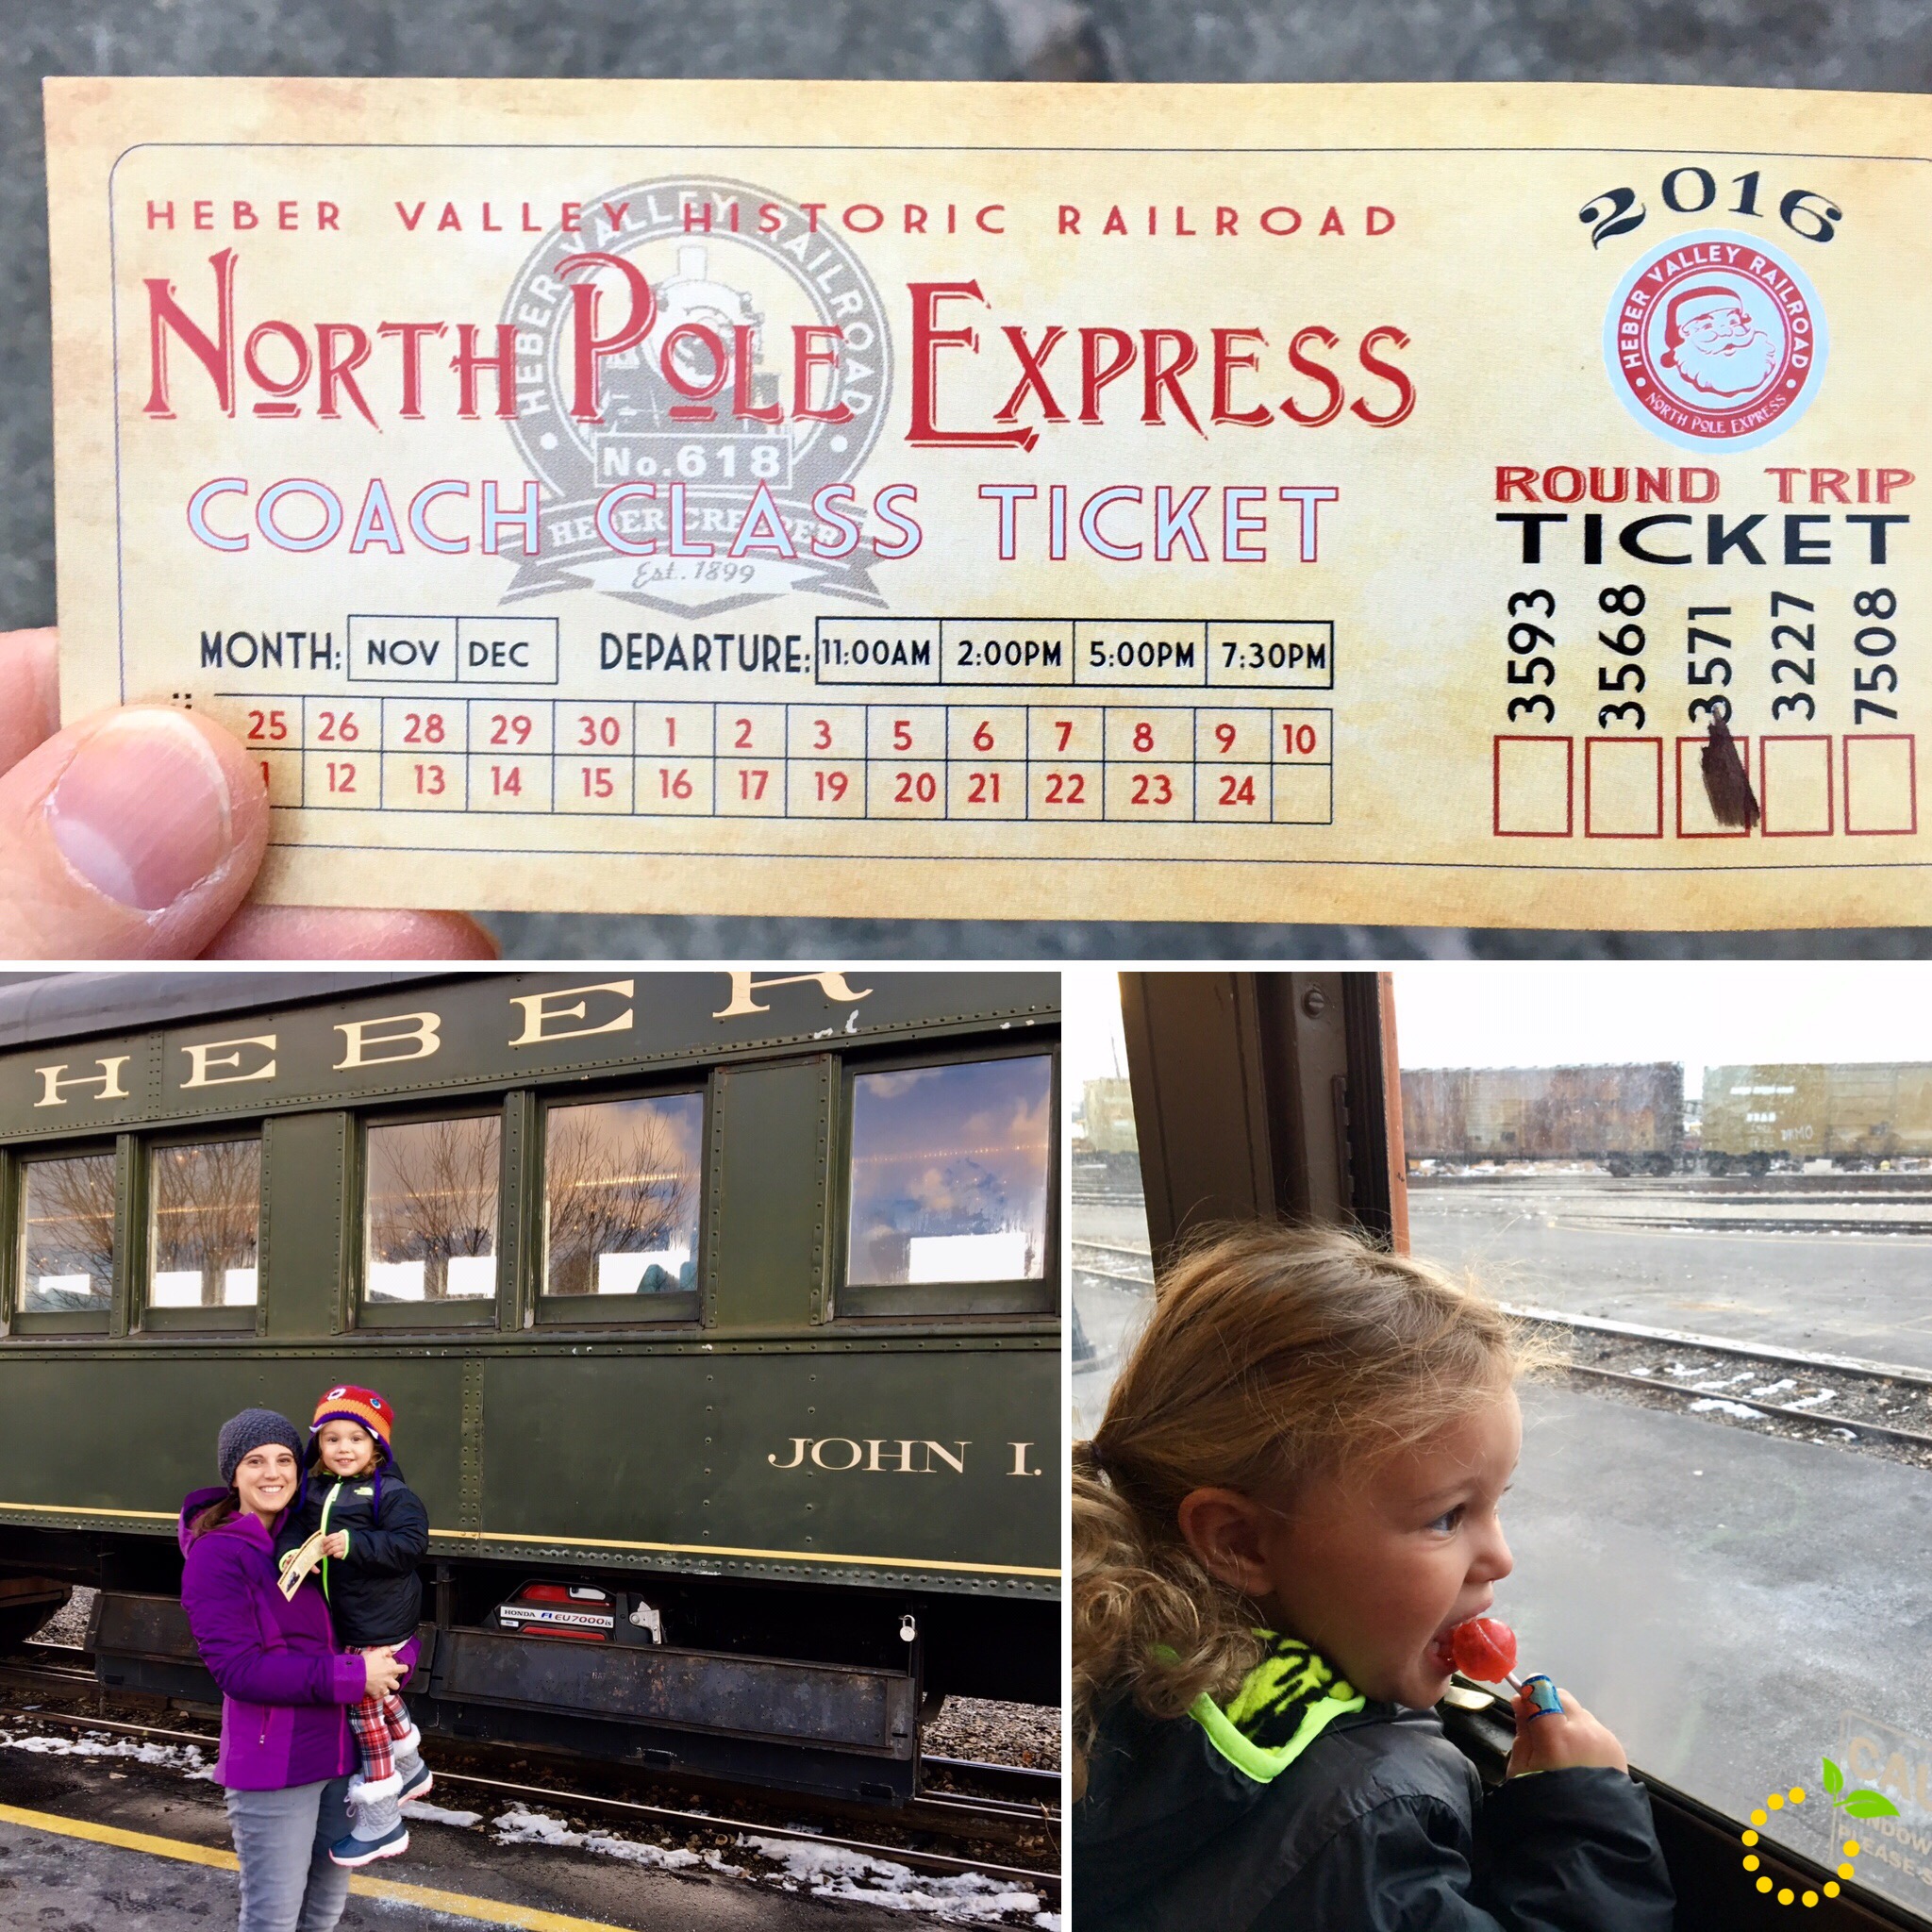
  1. Buy Tickets Early: As you might already know, tickets go fast and the North Pole Express will sale out. Tickets go on sale in the early fall, so make note on your calendar to check the website in October for the best dates and times for your family.
  2. Dress Warm: We were worried there wouldn’t be heat on the train, but it was pretty warm. You will however want to bundle up because you will be spending some time outside before and after the train ride. It’s pretty chilly up in Heber in the winter!
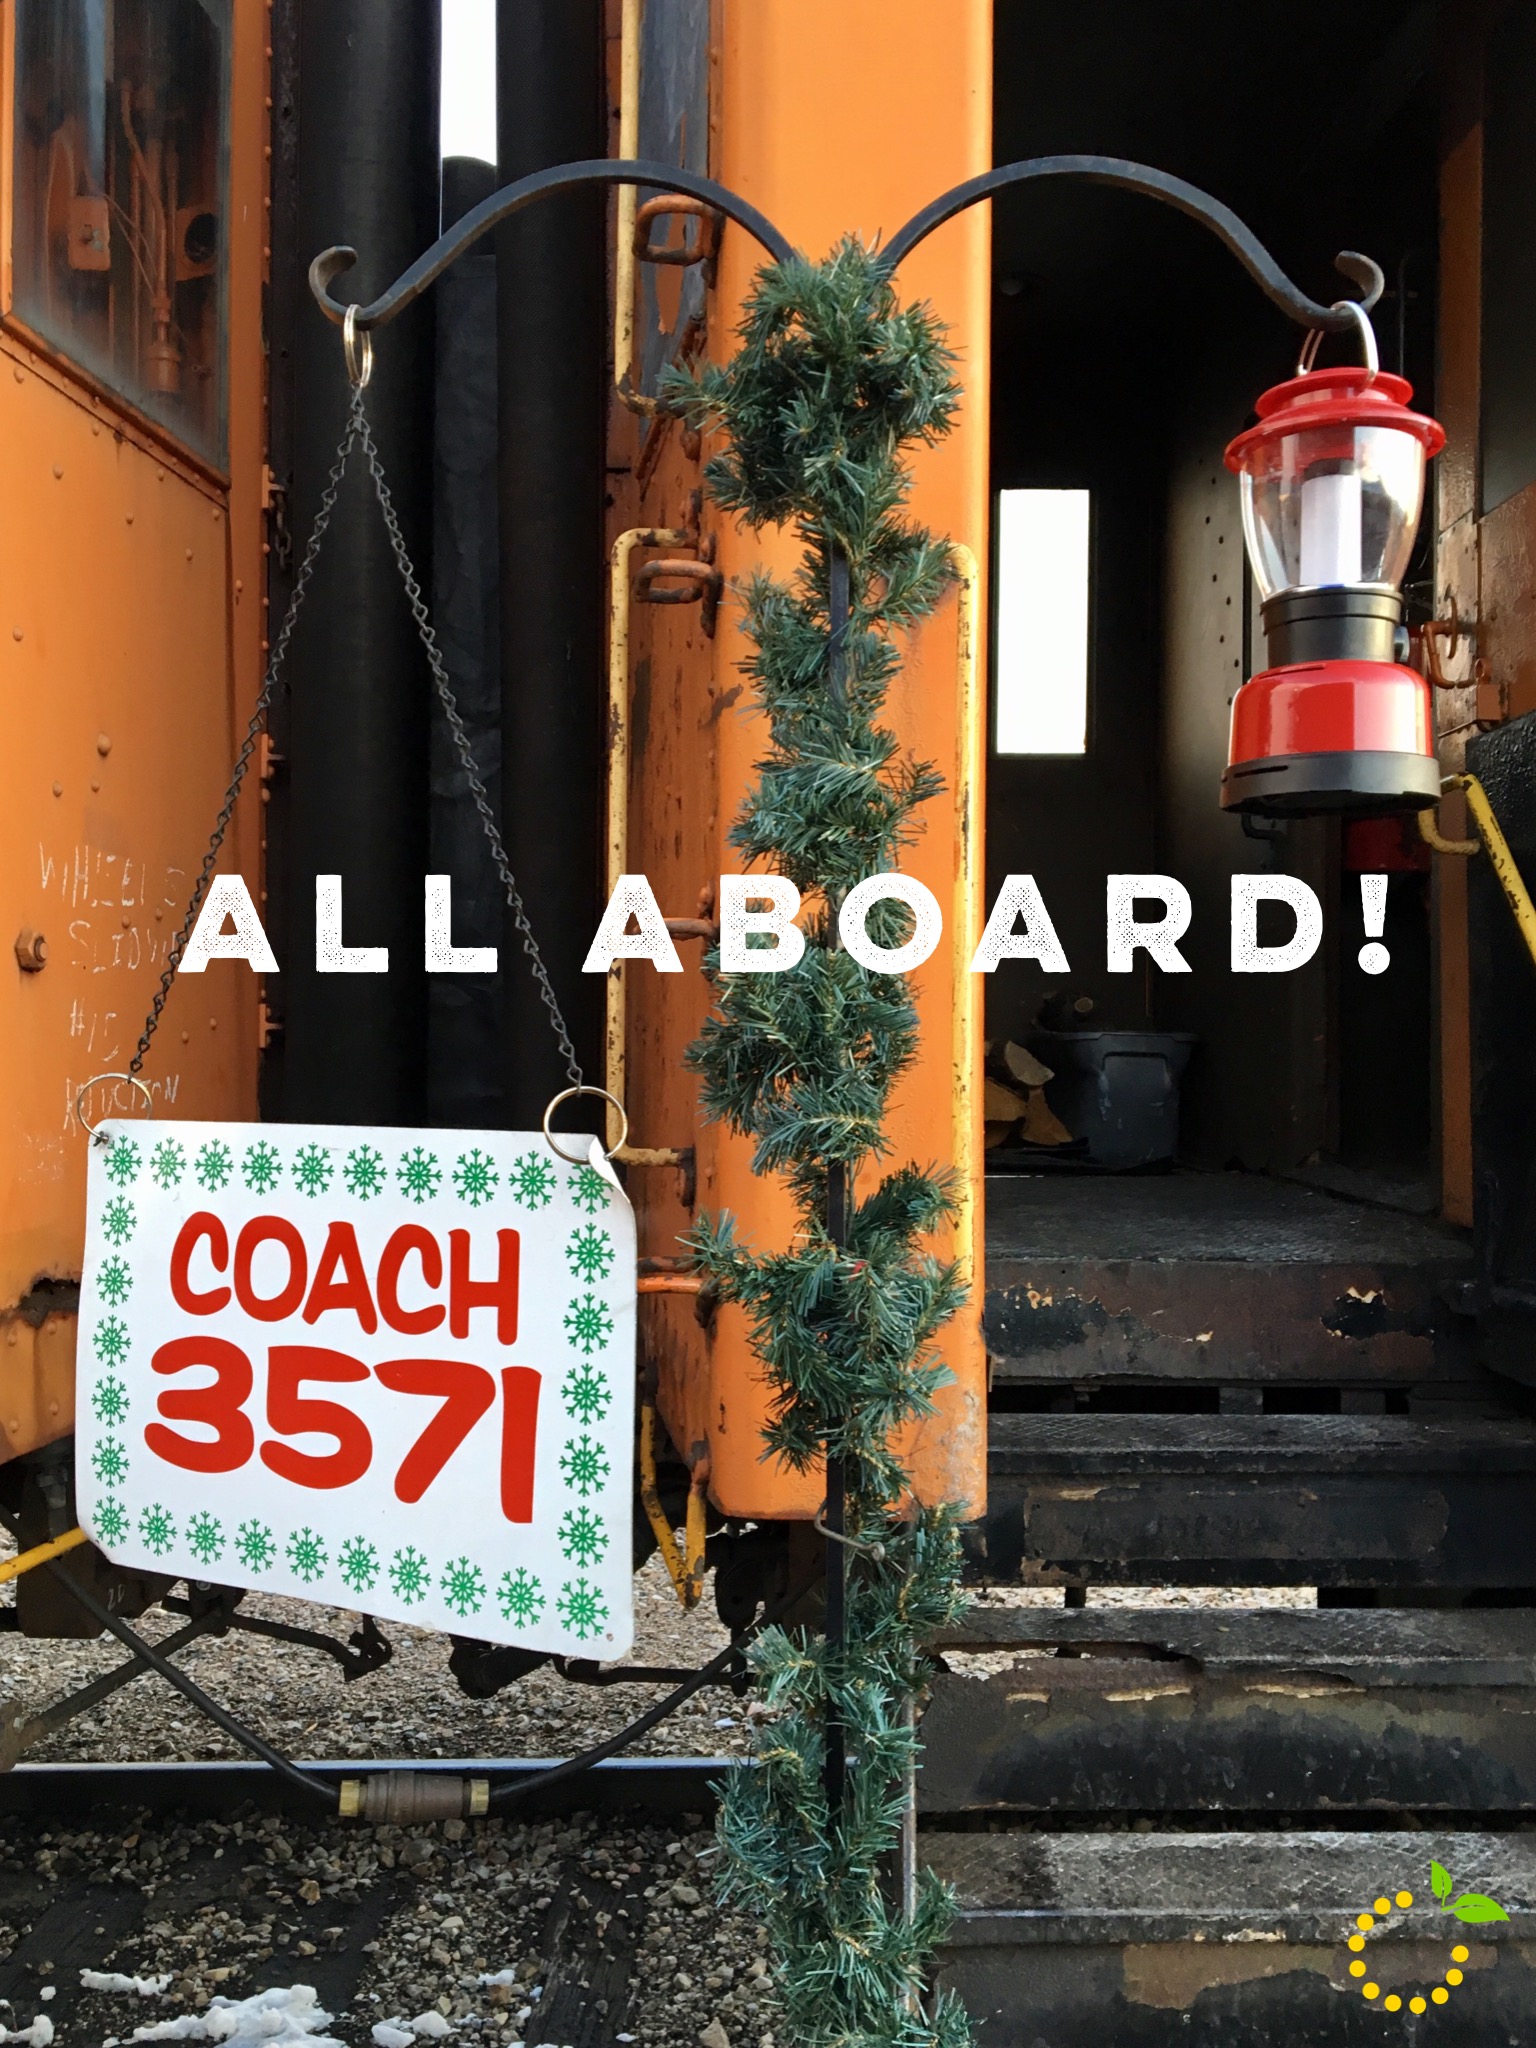
  3. Arrive Early: Our train was scheduled for 5:00 but we decided to get there 30 minutes early. This allowed us to check out the gift shop and get situated. We waited in line outside for about 15 minutes and were able to be one of the first ones on the train.
  4. Get the Best Seat: Make sure to sit on the right side of the train. This is the best spot because you will get to see the North Pole and Santa right out your window. If you are on the left side, you can still see, you just have to stand up and move over to the window.
  5. Bring Snacks: The train ride is 90 minutes, which can be a tad long for some kids. It’s hard to get my three-year-old to sit still for 5 minutes, so I brought lots of snacks to keep her occupied. The elf’s bring around cookies and hot chocolate, so you’ll have an added snack for the ride.

Overall we had a great experience on the North Pole Express and will make this a new Christmas tradition. We can’t wait to go again next year and make this a family tradition.

Create

4th of July Mantel Decor

July 4 Mantle Decor sweetlemonmade.com

The 4th of July is right around the corner and if you are looking for some decorating ideas to spruce up your mantel, I’ve got a few crafts and DIYs to share with you! DON’T HAVE A MANTEL? Don’t worry…you can recreate these decor ideas using a shelf or bookcase in your house. You can also decorate a console table you may have in your entryway or in your living room. The possibilities are endless!

I designed this 4th or July mantel with a big statement piece, a DIY string art of the USA. I have wanted to do a string art piece for a long time but, could never decide on what to do until I saw Wendy from The Paisley Pickle making one at a friends house. Just a warning…this string art project is not for the faint-hearted crafter. This project takes patience and time. But, once it’s finished you will be thrilled with the results! I am! And I love the finished project even though it tested my patience. Look below for all of the materials needed and instructions on how to make your own the string art.

USA String Art sweetlemonmade.com


The wood stars, firecrackers, and 4th & flag can be purchased from the Wood Connection. The wood pieces come unfinished and can be decorated and painted however you like. I painted and distressed mine and added a few embellishments to some of the pieces to give them some dimension. And the USA letters were from Target’s dollar spot section.

4th of July Collage sweetlemonmade.com

DIY How To—USA Map String Art

Materials Needed:

  • 4 wood boards that are 24″ x 5″ and 2 boards/pieces to nail to the back to hold it together.
  • String – I used DMC Baroque Crochet Cotton for the white string and DMC Embroidery Floss for the red string
  • Box of nails (you will want a nail with a decent head so the string won’t pop off)
  • Stain – I used Rustoleum stain in Kona
  • Cheesecloth and vinyl gloves (for staining)
  • USA map template (Get it printed at Office Max or your local print shop and ask them for an engineer print.)


Step 1: Cut and nail together wood planks

Step 2: Stain your wood board.

Step 3: Print out the map template.

Step 4: Once your stain is dry, cut out the template and tape it to your board.

Map Template sweetlemonmade.com

Step 5: Time to get the hammer out! Nail around the entire outline of the map – I spaced out the nails about an inch apart. (Warning: this step is the hardest and longest. Don’t get discouraged.)

Step 6: Once all of your nails are in, remove the paper template.

Board with Nails sweetlemonmade.com

Step 7: Now for the fun part! Get your string and tie a knot around the head of one of the nails. Start by stringing the string down towards the heart and wrapping the string around one of the nails of the heart. (Tip: since the heart has less nails, you will need to string the outside strings around the nails multiple times.) Keep repeating until you are all done. Once you are done, tie another knot.

Step 8: Get your red DMC Embroidery Floss. Begin by tying a knot around one of the nails around the heart and string the string back and forth criss crossing the string.

Progress sweetlemonmade.com

Wood Connection Wood Projects

Materials Needed:

  • Red, white/cream, and blue paint
  • Foam brushes
  • Sand paper
  • Wood glue
  • Painters tape
  • Balsa wood sticks (for the stripes on the flag)
  • Metal star embellishment
  • Twin for embellishment
  • Thick wire for the firecrackers (can be purchased from Lowe’s or Home Depot)
  • Wire cutters
  • A pencil or wooden dowel to wrap the wire around to crate the twisted shape


Step 1: Sand any rough edges and wipe all wood pieces down with a cloth to get rid of any saw dust.

Step 2: Paint all wood pieces the desired colors and let dry. For the flag, I taped off the section for the blue and let dry and then covered the blue to paint the red.  

Step 3: Once they have dried, sand the edges to distress (optional).

Step 4: Glue small stars onto the ‘4’, the balsa wood sticks to the flag, and the star to the flag.

Step 5: Cut wire to desired length and wrap it around a pencil/dowel to twist it into shape.

Step 6: Place a tiny amount of glue onto the end of the wire and insert into hole on top of each firecracker.

Step 7: Tie or wrap twine around whatever you want (optional).

Mantle Decor 4th of July sweetlemonmade.com