
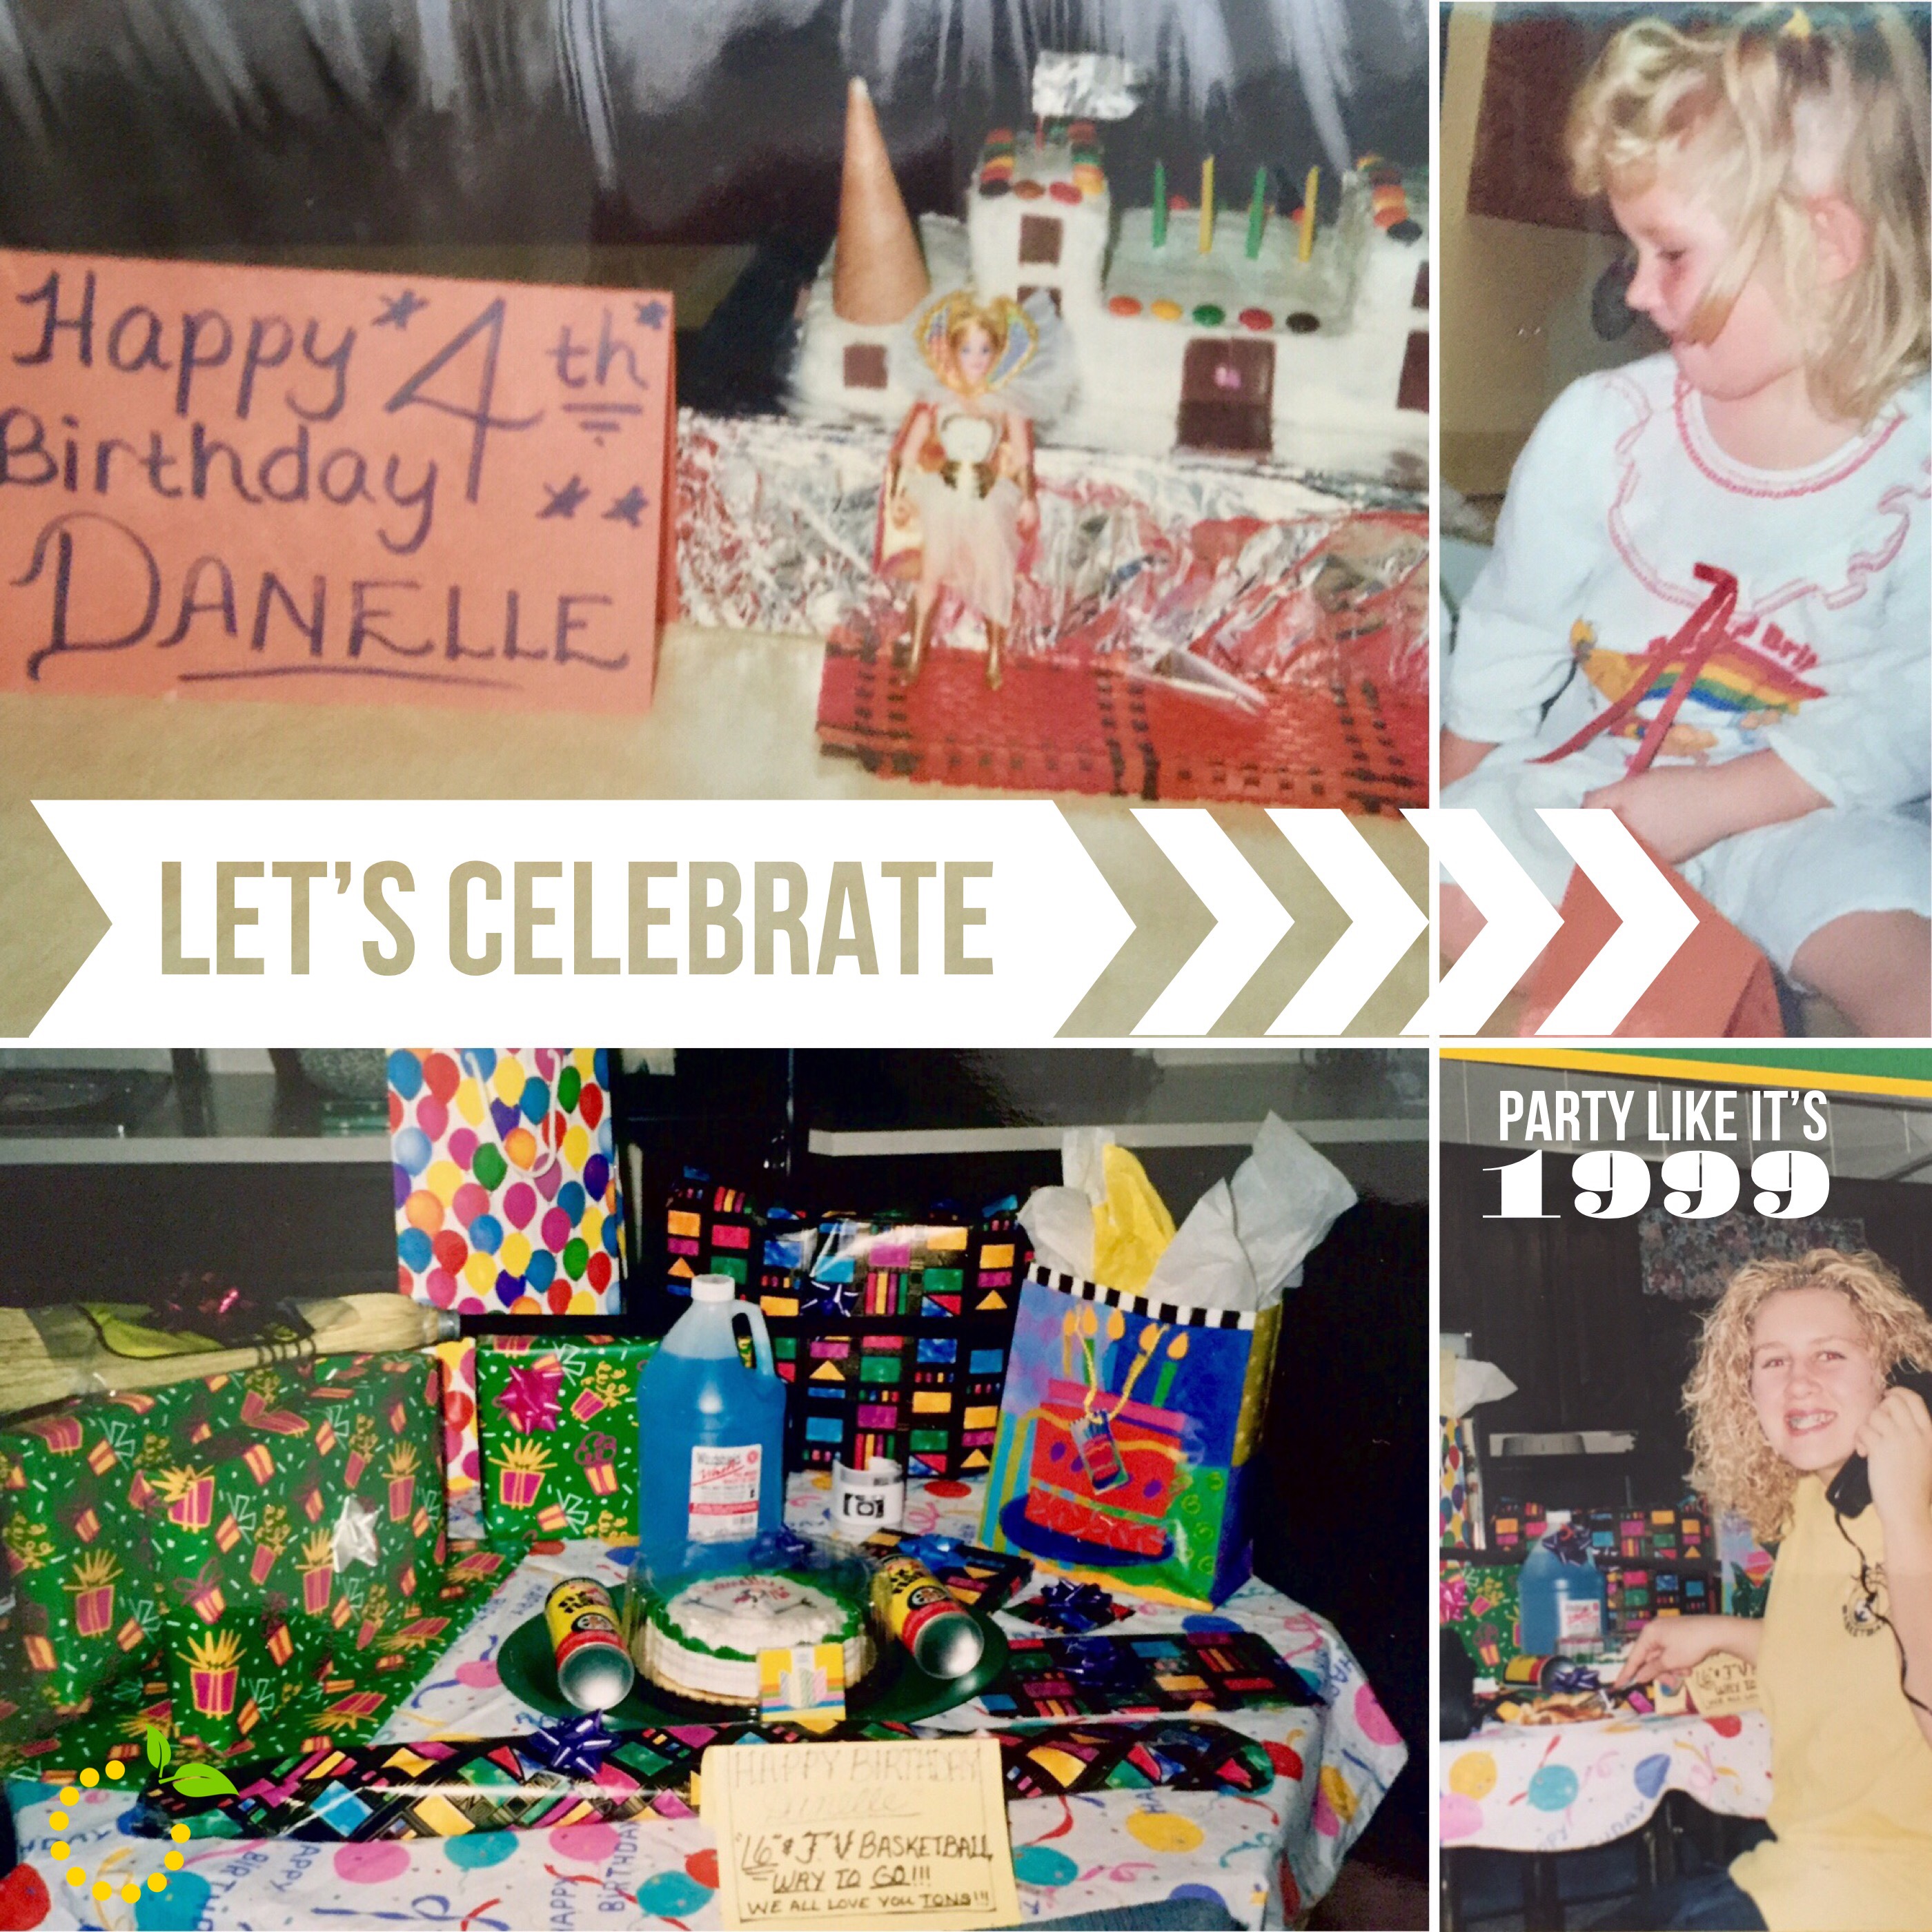
Over here at Sweet LemonMADE this week has been full of celebrating—both Emily and Megan had birthdays this week! I love celebrating birthdays! Growing up my mom always made birthdays a big deal. On the morning of your birthday as you entered the kitchen/family room the kitchen table was always covered with birthday paraphernalia—birthday tablecloth, birthday cake, birthday presents, and sometimes even blown up pictures of you for an added celebratory touch. My mom would stay up until the wee hours of the morning to ensure this spread was perfectly placed and the cake was perfectly frosted. And although this fantastic tradition was known to us all, my mom would wait until we went to bed before she started creating birthday magic. I’m kind a glad she did. I loved walking out into a celebratory explosion, each year with a slightly different cake and décor.
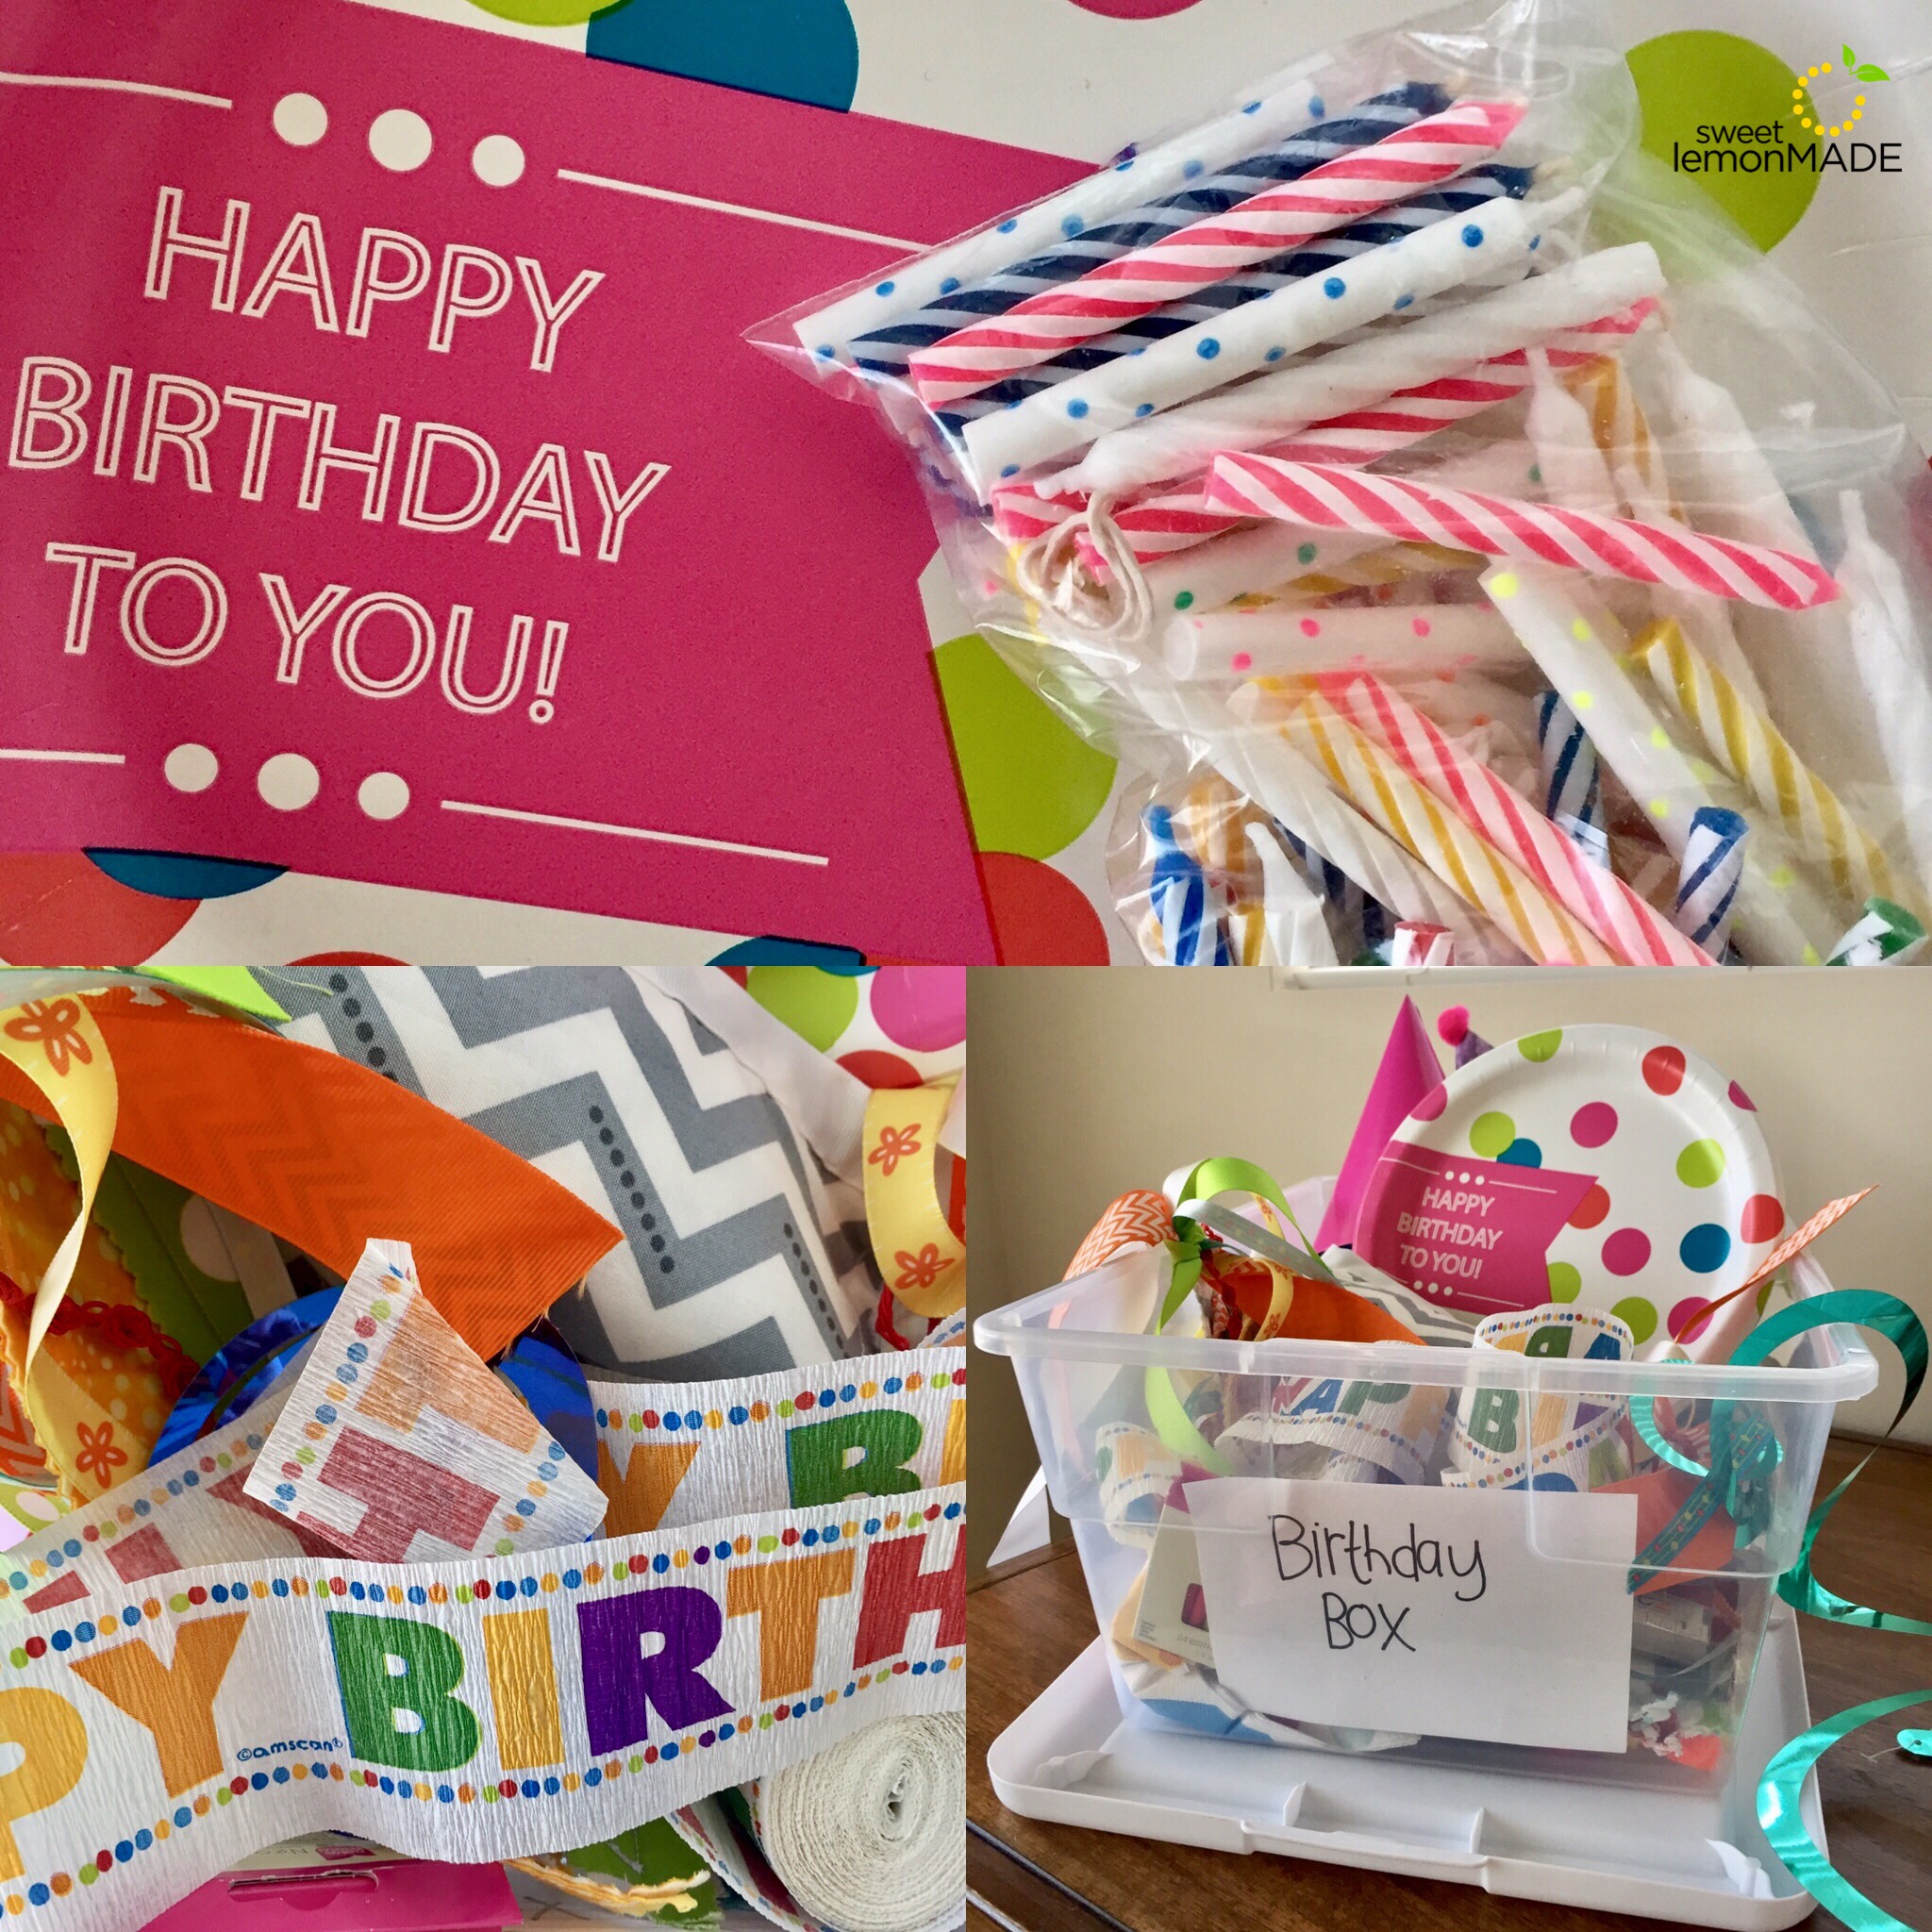
Naturally, I have become very fond of celebrating birthdays and as the years go on, I love putting on a celebration for those I love even more. As a result I have a clear Rubbermaid packed to the brim with birthday supplies. I call it my birthday box. In here I keep on hand at all times, decorations, candles, crepe paper, banners, birthday plates, etc. Everything you need to pull together an impromptu b-day celebration at the drop of a hat. What? What? Party people in the house!
This birthday box and my weird obsession for buying fabric (even though I only barely know how to sew and only sew maybe one project a year) came in handy as my friend, Shelley, and I decorated for Emily’s birthday in the wee hours of the morning before Em got up for work. Em is a classy gal that loves diet Coke and all things gold, so it was easy to know what to surprise her with. And you know what I found out? Shelley has a birthday box too. No wonder we are friends.

As you can tell, we pulled some super simple elements together to make a fun, snazzy birthday background. Here’s some info on all the things:
- Gold curtain
- Reusable birthday banner
- Fabric—intended for some other project, unhemmed, but fit most of the table 🙂
- Balloons—no helium here so we just blew them up and tossed them around like confetti
- Pitcher of flowers—Target for the pitcher and grocery store flowers (since they are the only flower shop open at 6am)
- Donut cake—Dunford chocolate chocolate donuts stacked into a pyramid (easiest and tastiest birthday cake ever! Those donuts are AMAZING)
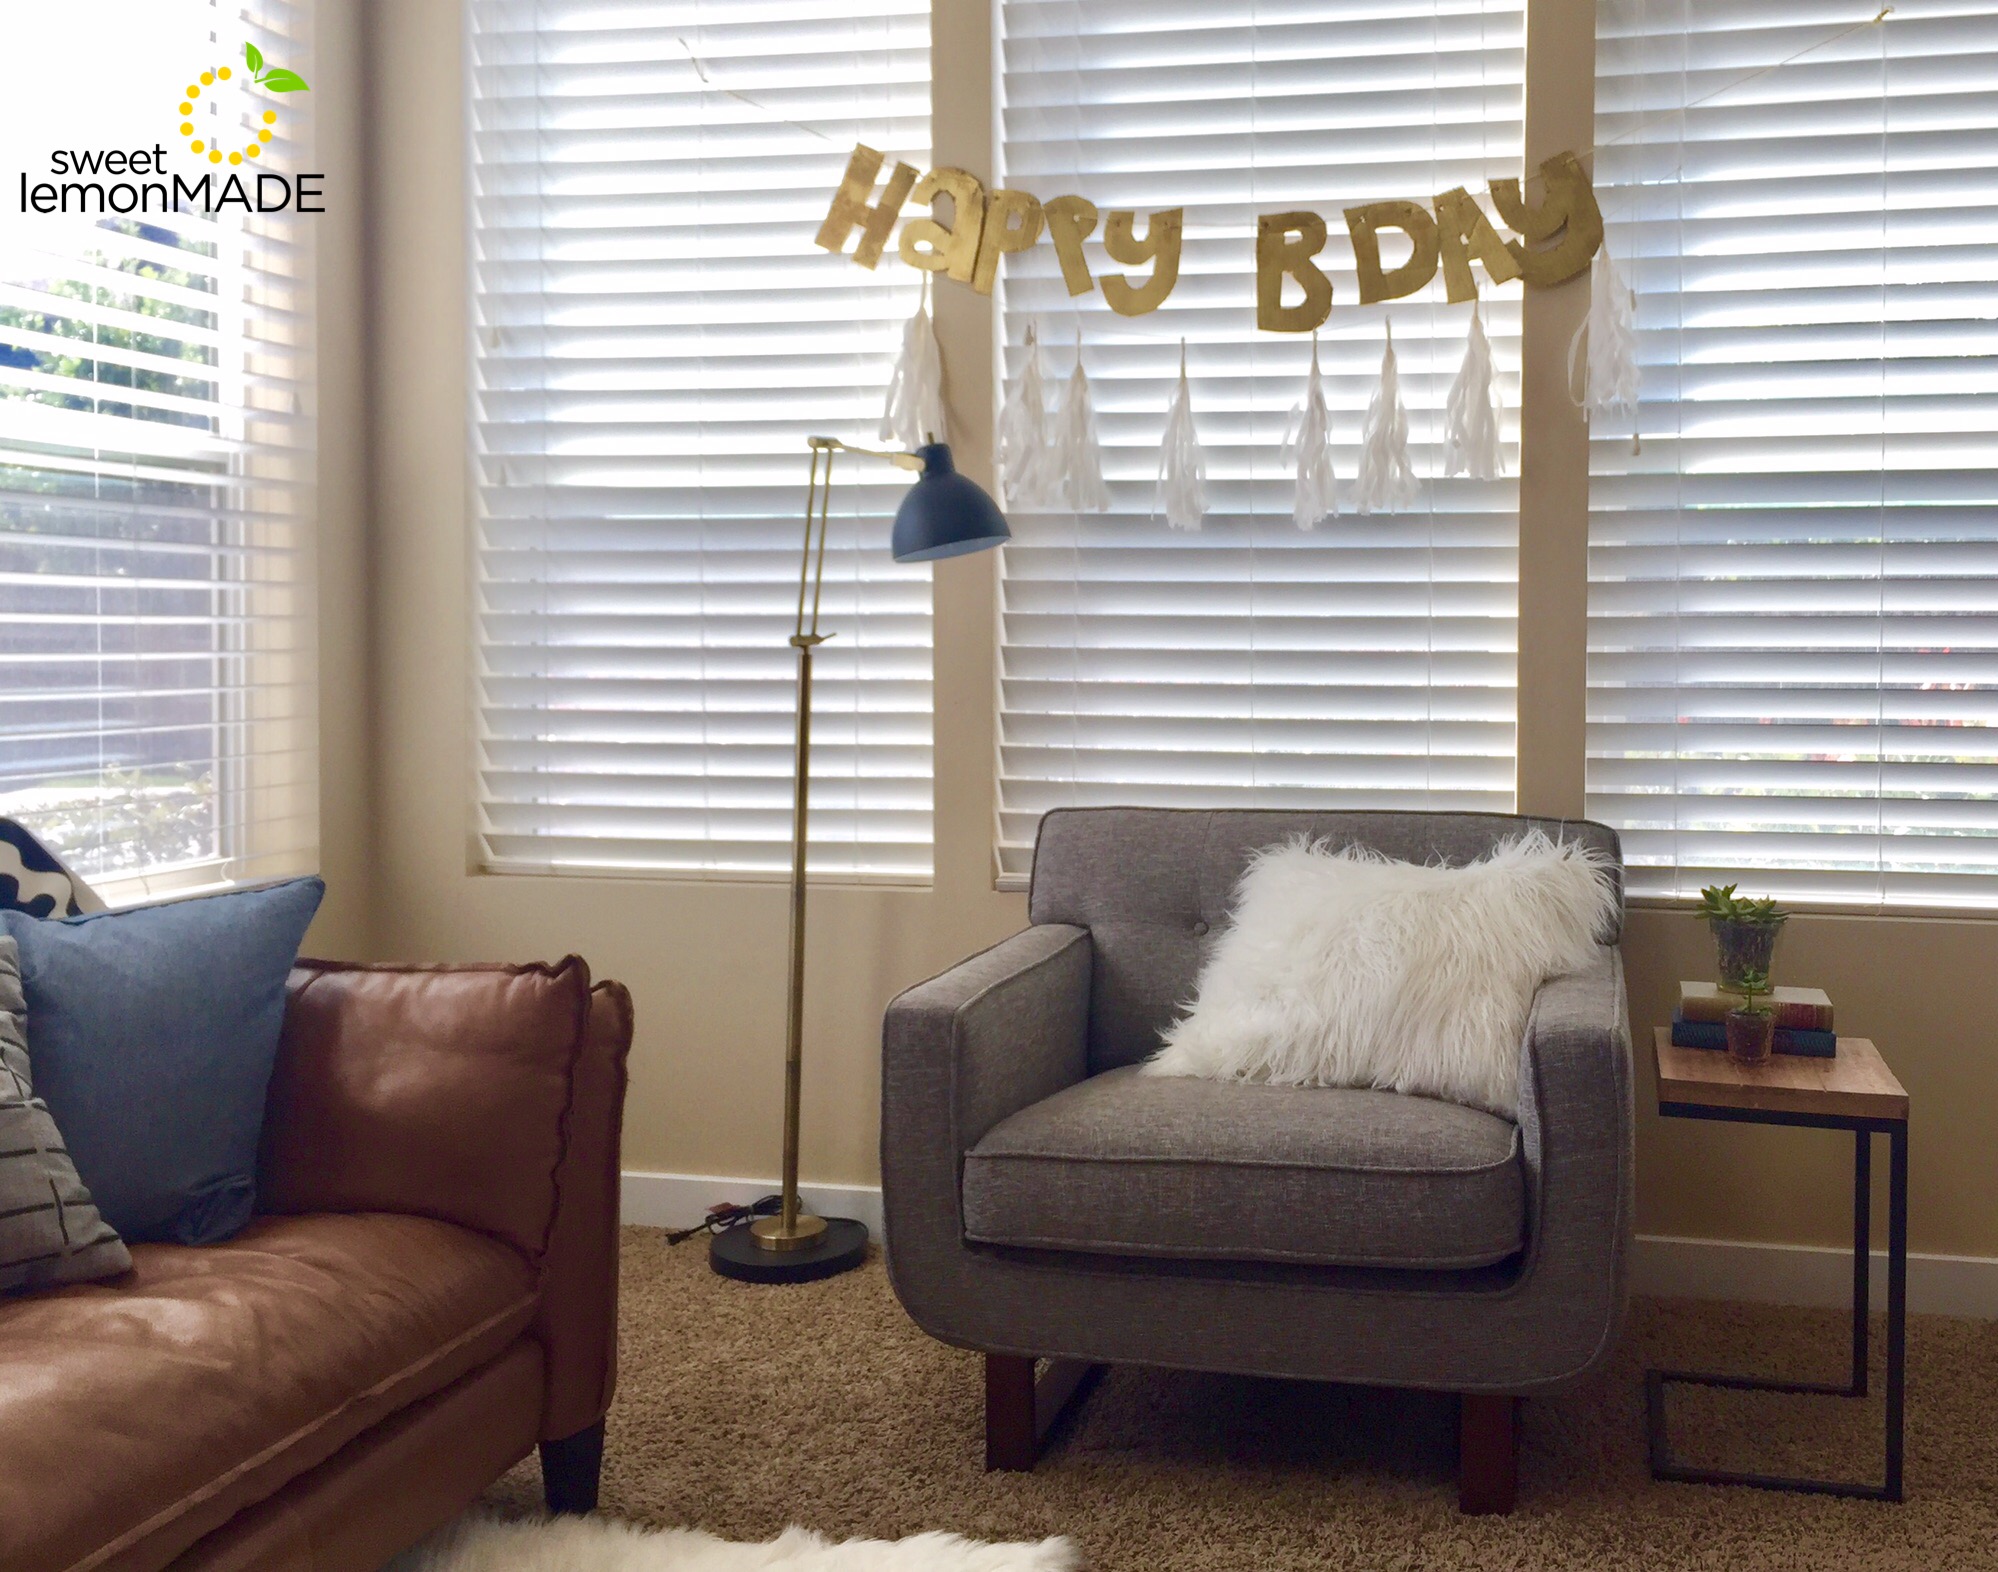
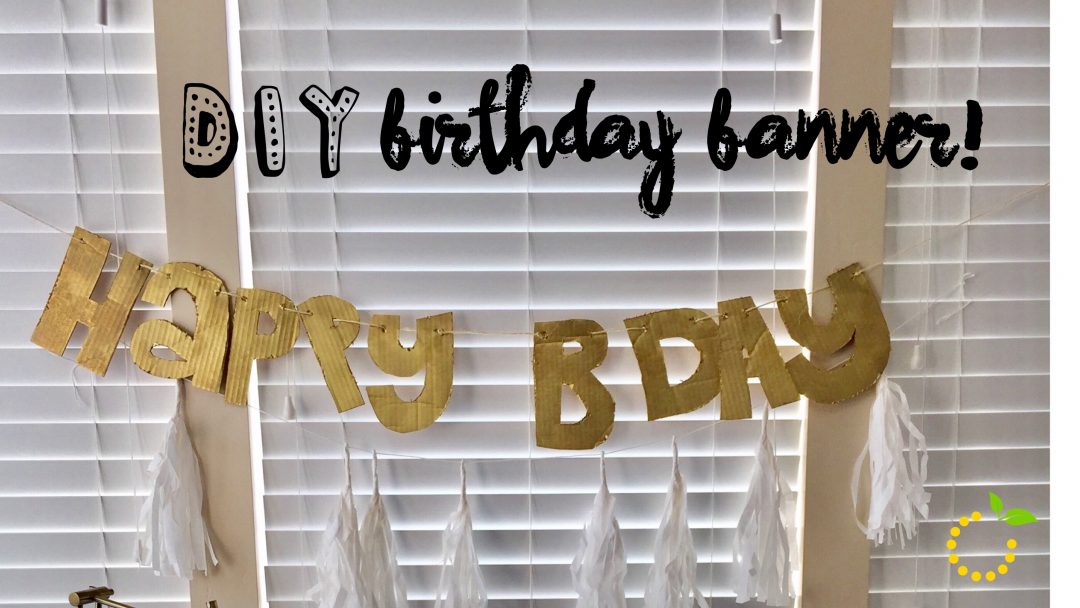
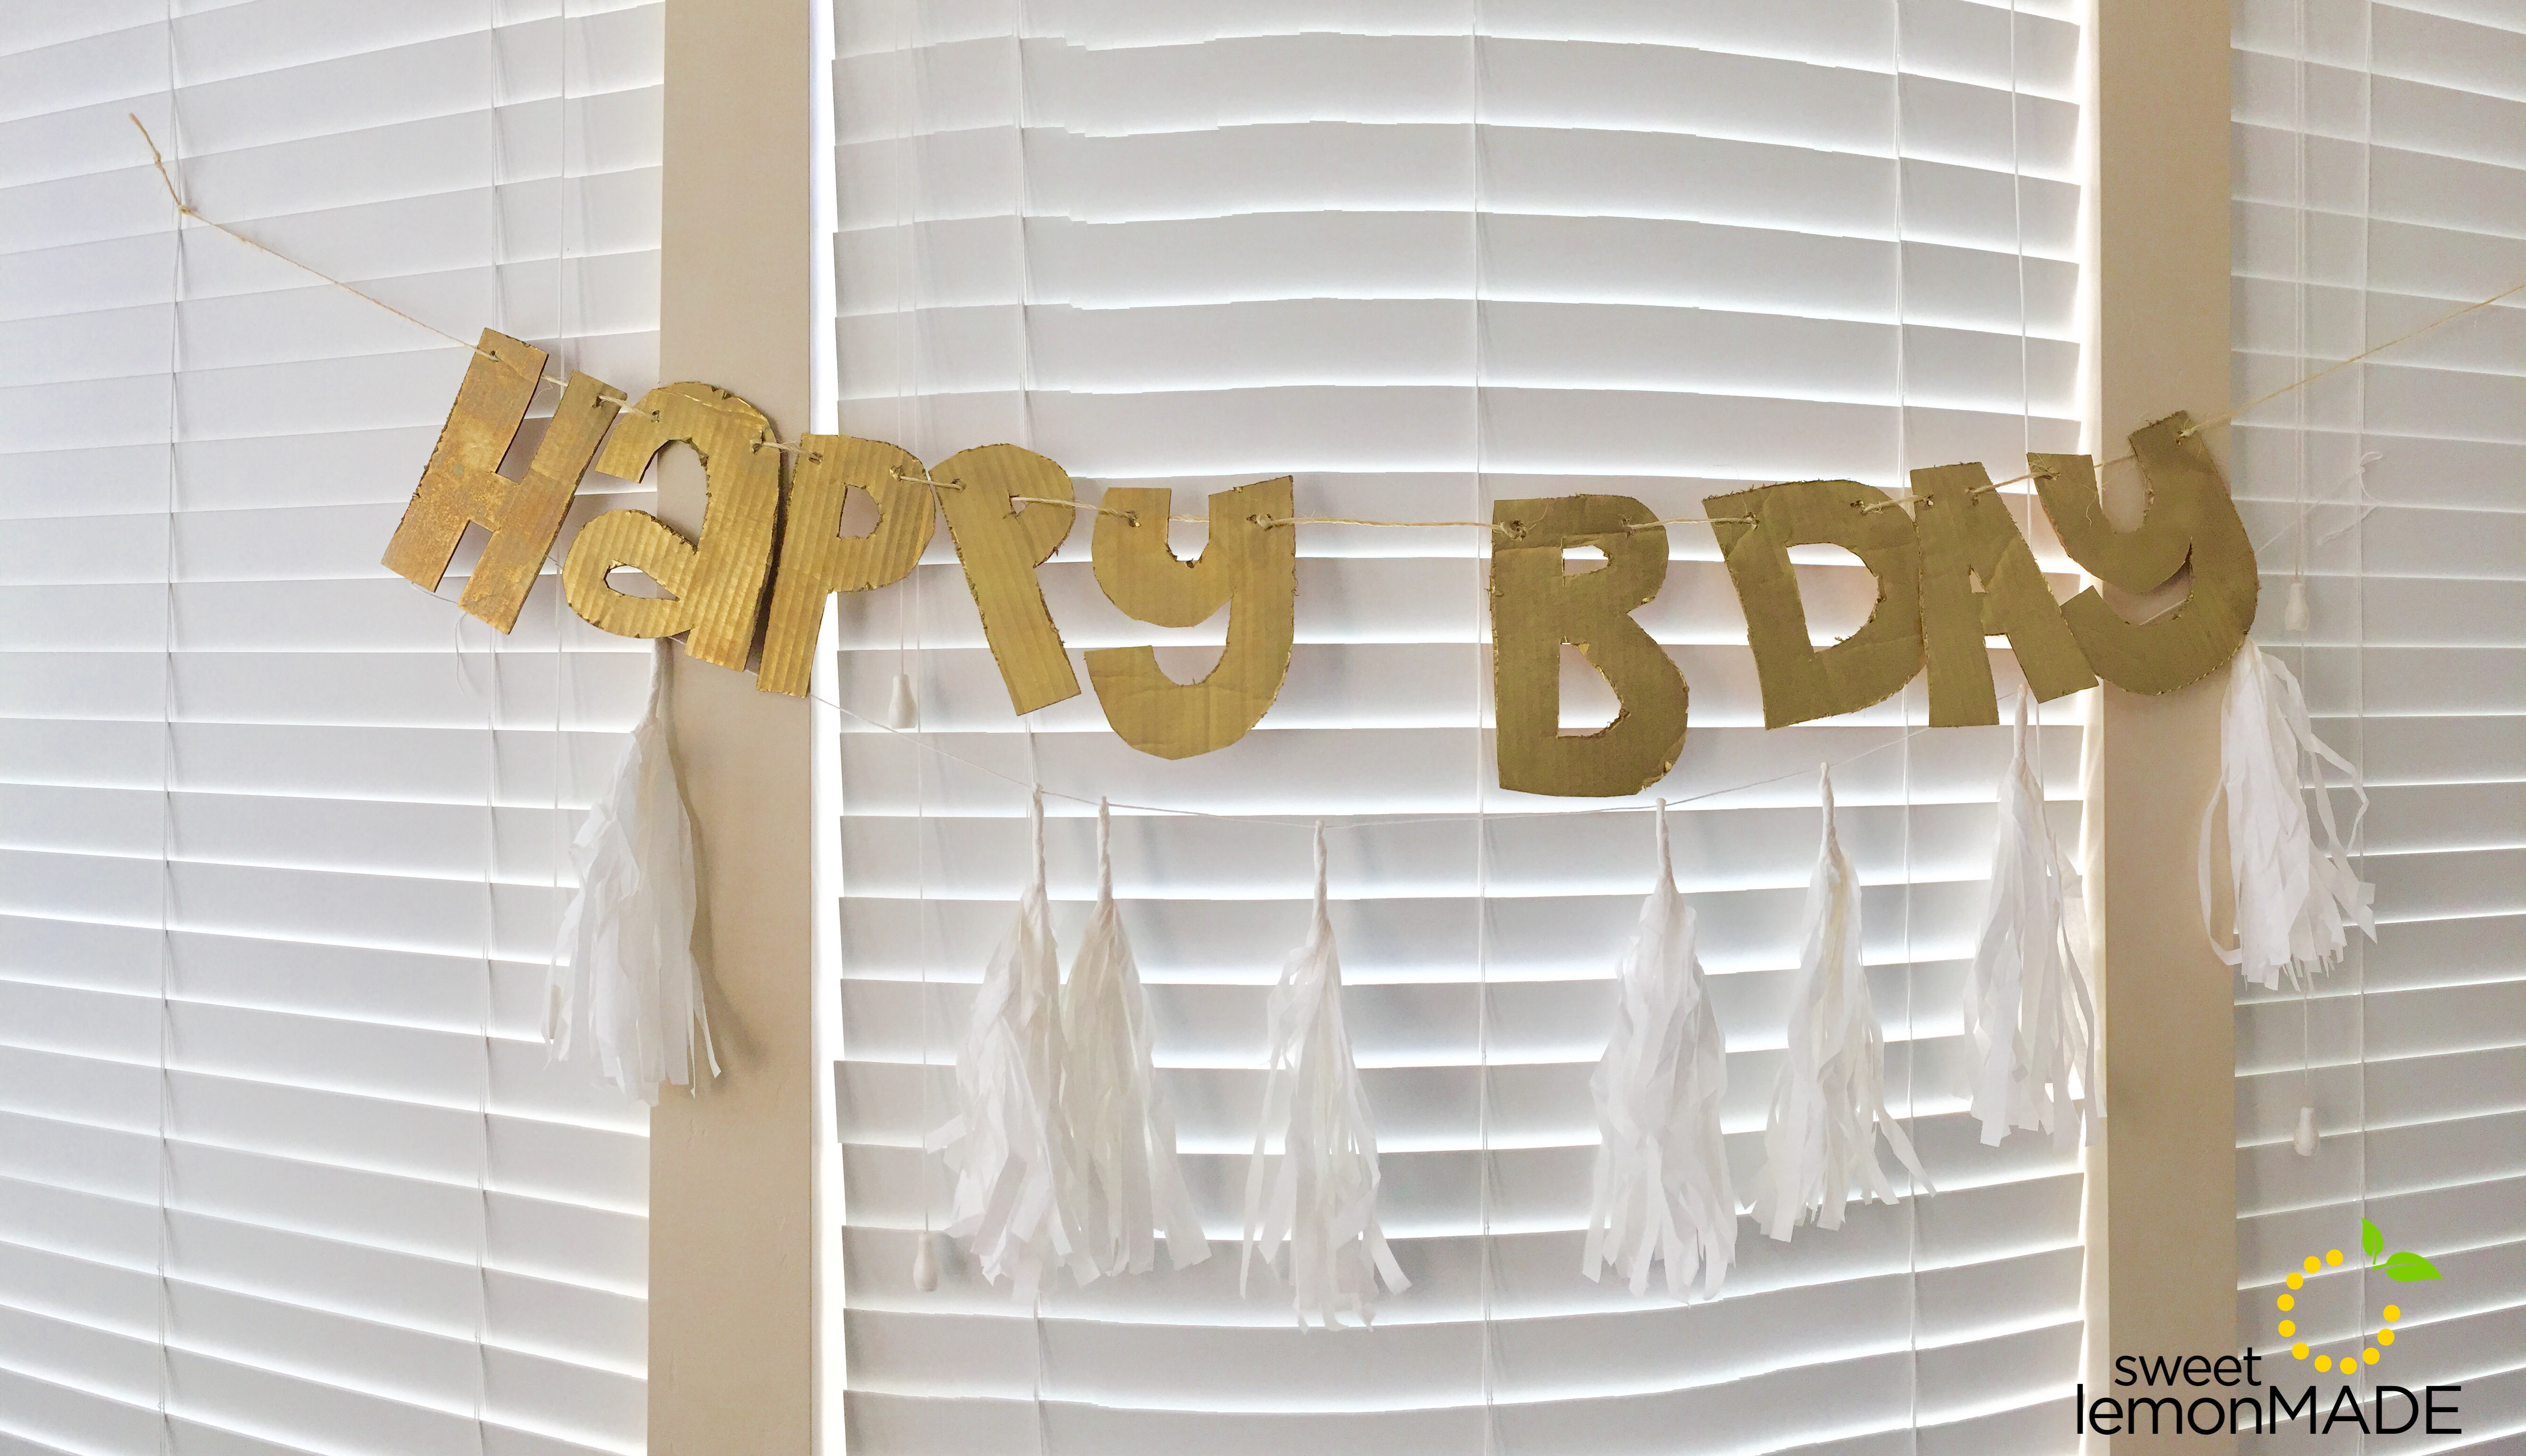
Seeing how we were working from TWO birthday boxes we had multiple banners, so we hung this little guy in the living room! This homemade cardboard banner is simple, but one of my favorite b-day decorations. All you need is a cardboard box, some twine, and paint and you can create your very own birthday banner.
Snazzy Cardboard Birthday Banner:
Supplies:
- Cardboard box (may need a couple depending on size)
- Pencil or marker
- Box cutter (razor cutter)
- Paint (spray paint or ceramic paint)
- Twine (long enough to string all your letters on)
Directions:
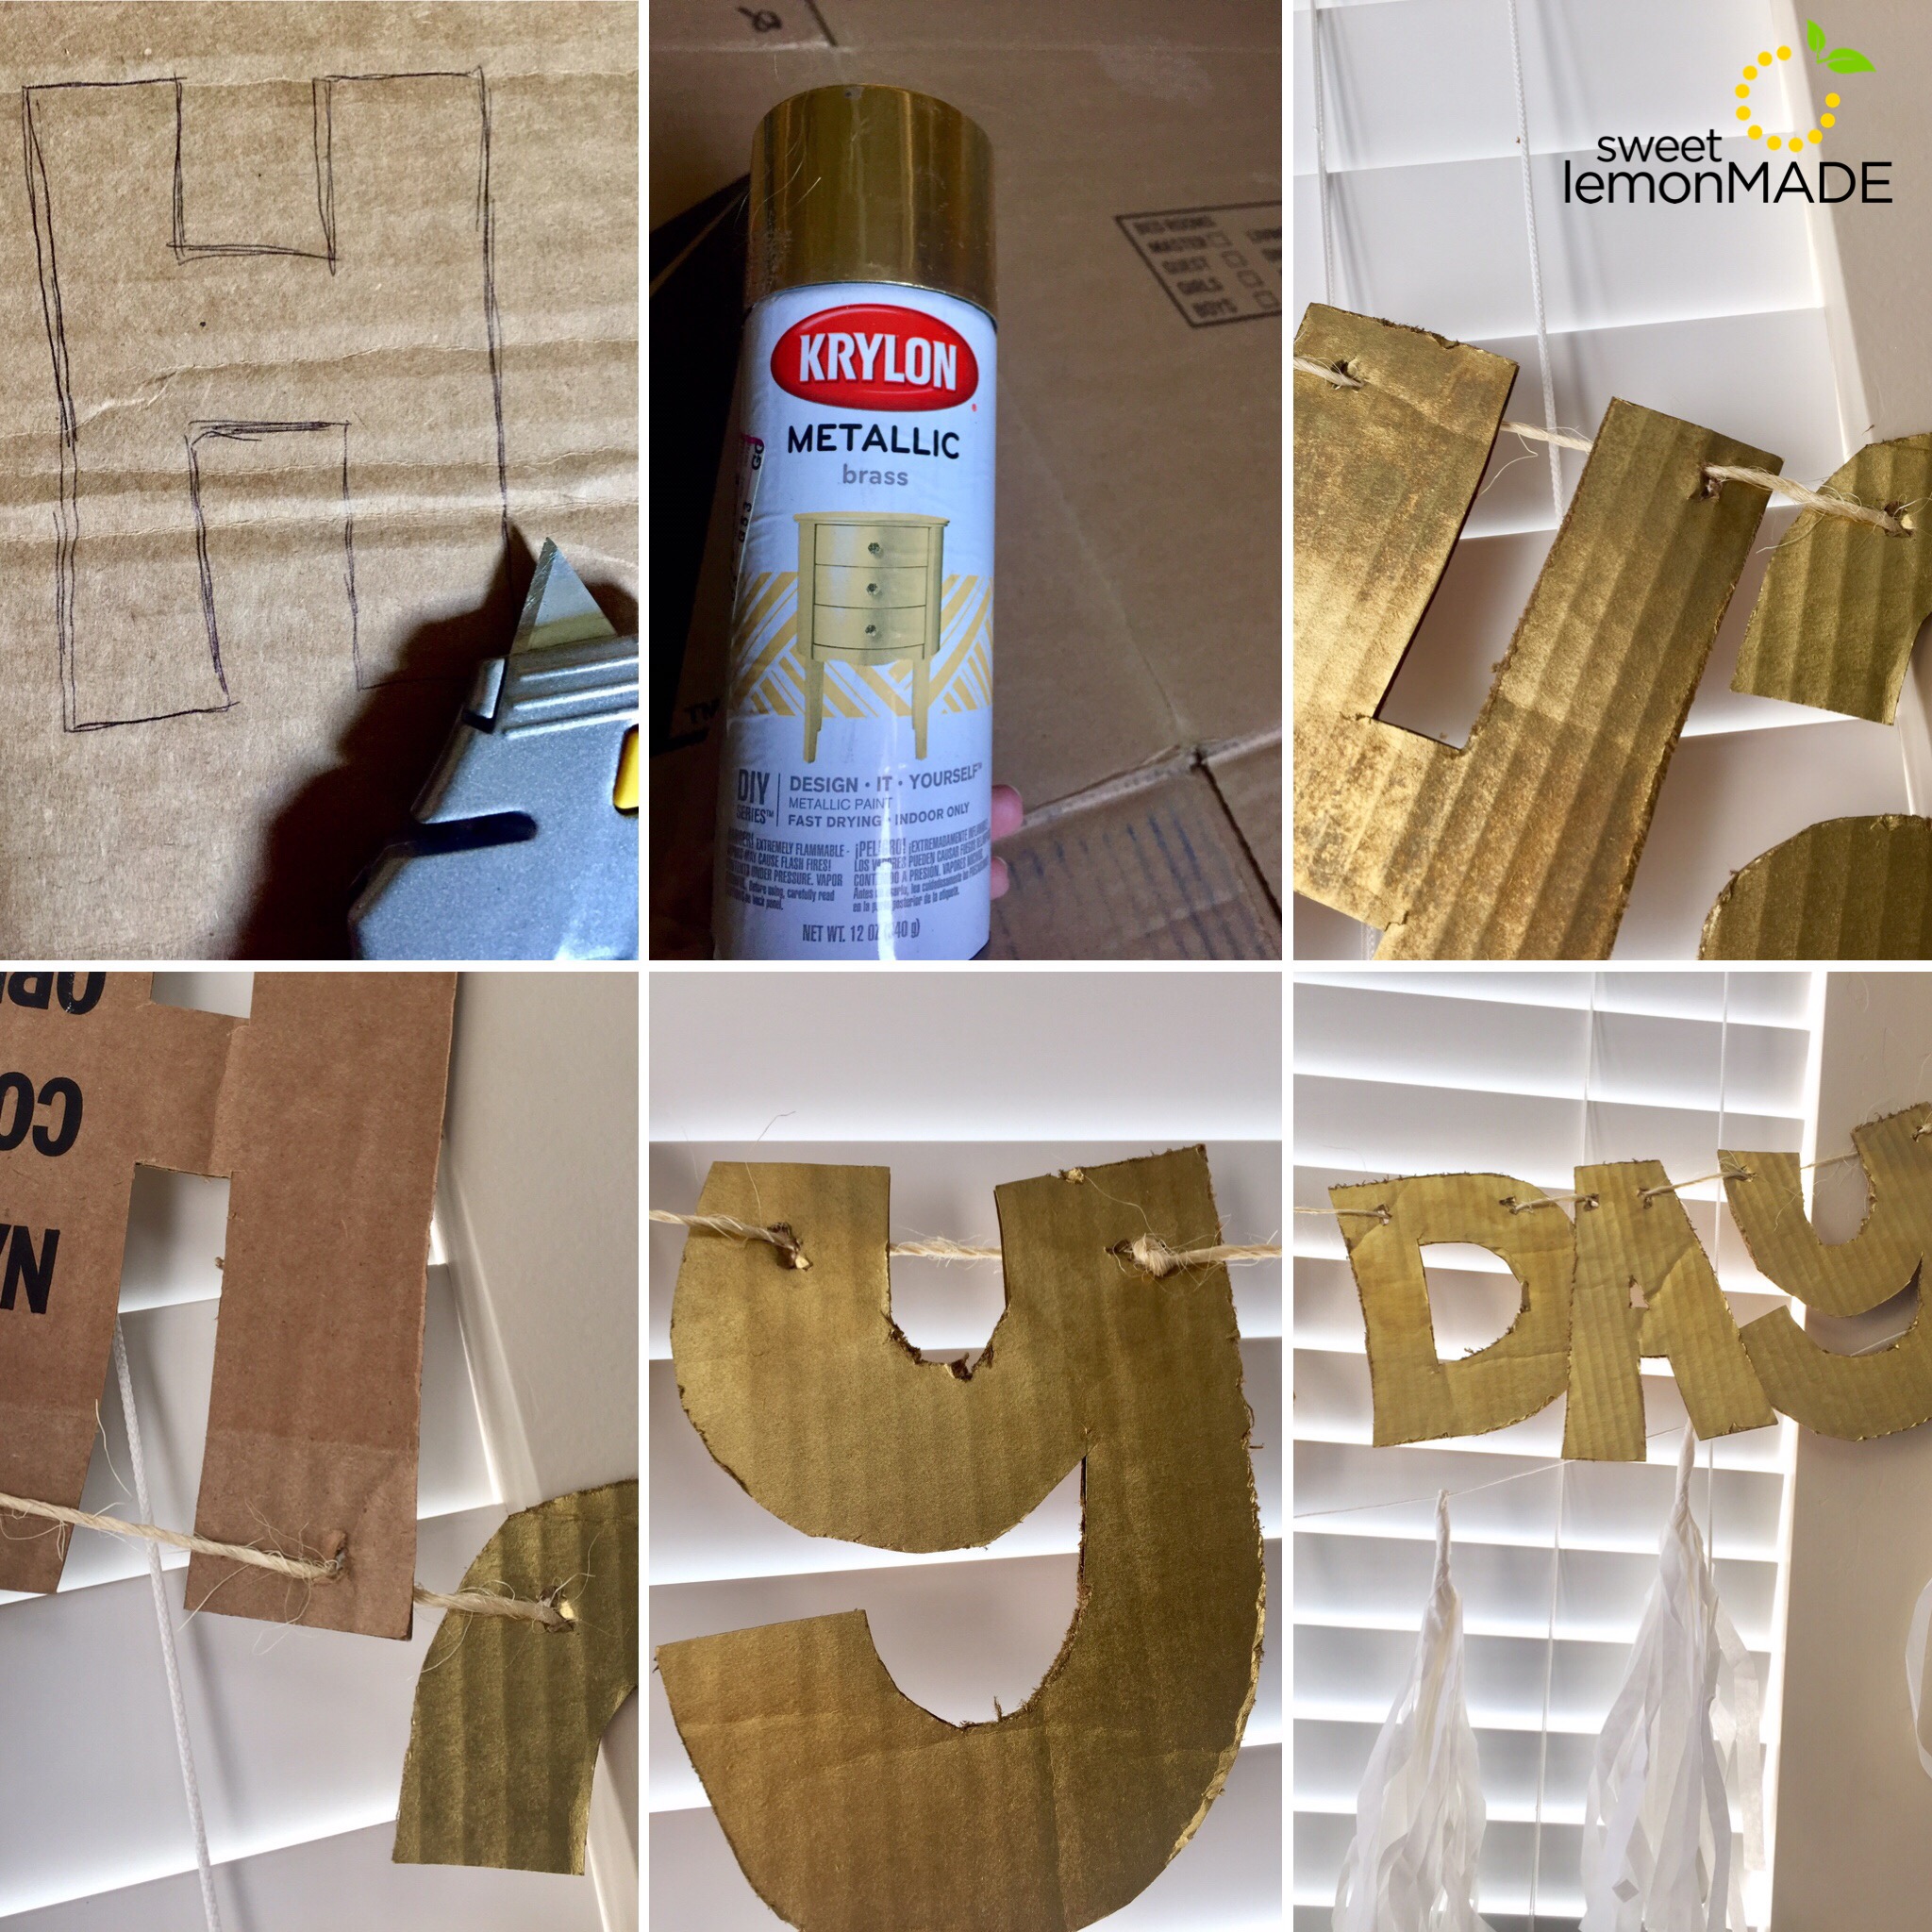
- Find a piece(s) of cardboard to fit the size of letters you want to make and wipe with a dry towel to remove any particles or dust.
- Using a pen or pencil draw block letters (or use stencil, or trace letters printed from your computer if your junior high block letter skills have faded) on the cardboard. Make sure to leave about an inch between letters so you can cut them out easily without injuring a close by letter.
- Once letters are cut, determine how you want letters to hang on twine and poke two holes near the top of the letter for the twine to thread through. I used a combination of a box cutter and a ball point pen to stab my holes.
- Next, paint each of the letters and allow to dry completely. Use two coats of paint to ensure full coverage and vibrant color.
- Finally, to complete the banner take the full-length piece of twine and thread each letter through the string. At the beginning and ending of each word tie a not in the twine so the letters don’t’ slide and the words stay distinct. Once all the letters are threaded on the twine, loop the ends (so it can be hung on push pin or nail) and leave at least 6-12 inches of twine on the ends (helpful if you need to tie the banner sometimes rather than hook it on push pins).
- Ta Dah! HBD to all your people!

No Comments