All Posts By

Ashley

Eats

S’mores Cookies

S'mores Cookies sweetlemonmade.com

The recipe for these s’mores cookie call for marshmallow bits, you know those mini marshmallows that you only got in hot chocolate packets. Did you know they sell a whole container of them? Where were these when I was a child?!? My parents would have loved to have been able to buy these for me because  I would always open up a second packet just to steal the marshmallows out of it and make some other unlucky person, usually my Dad drink the other packet without marshmallows.

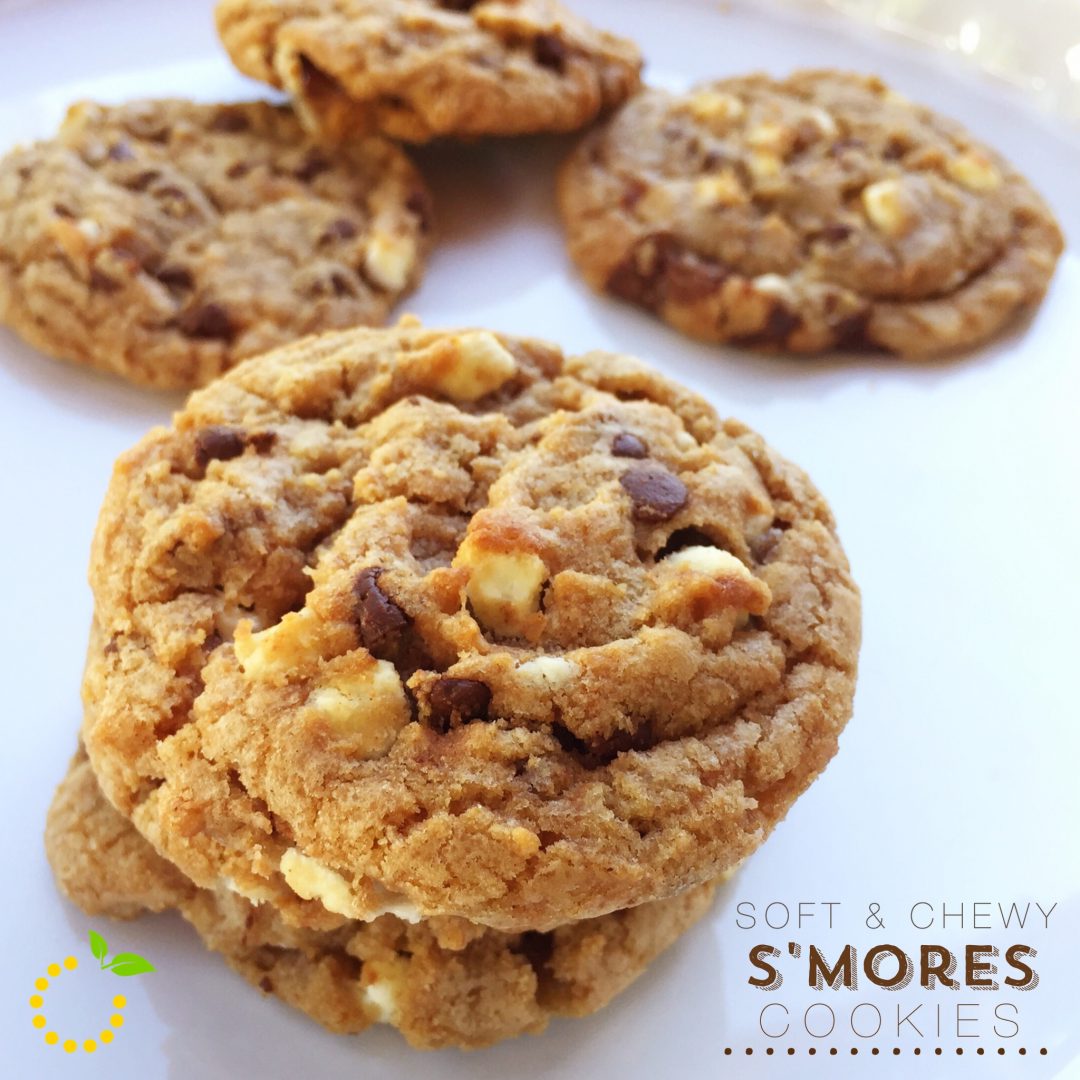
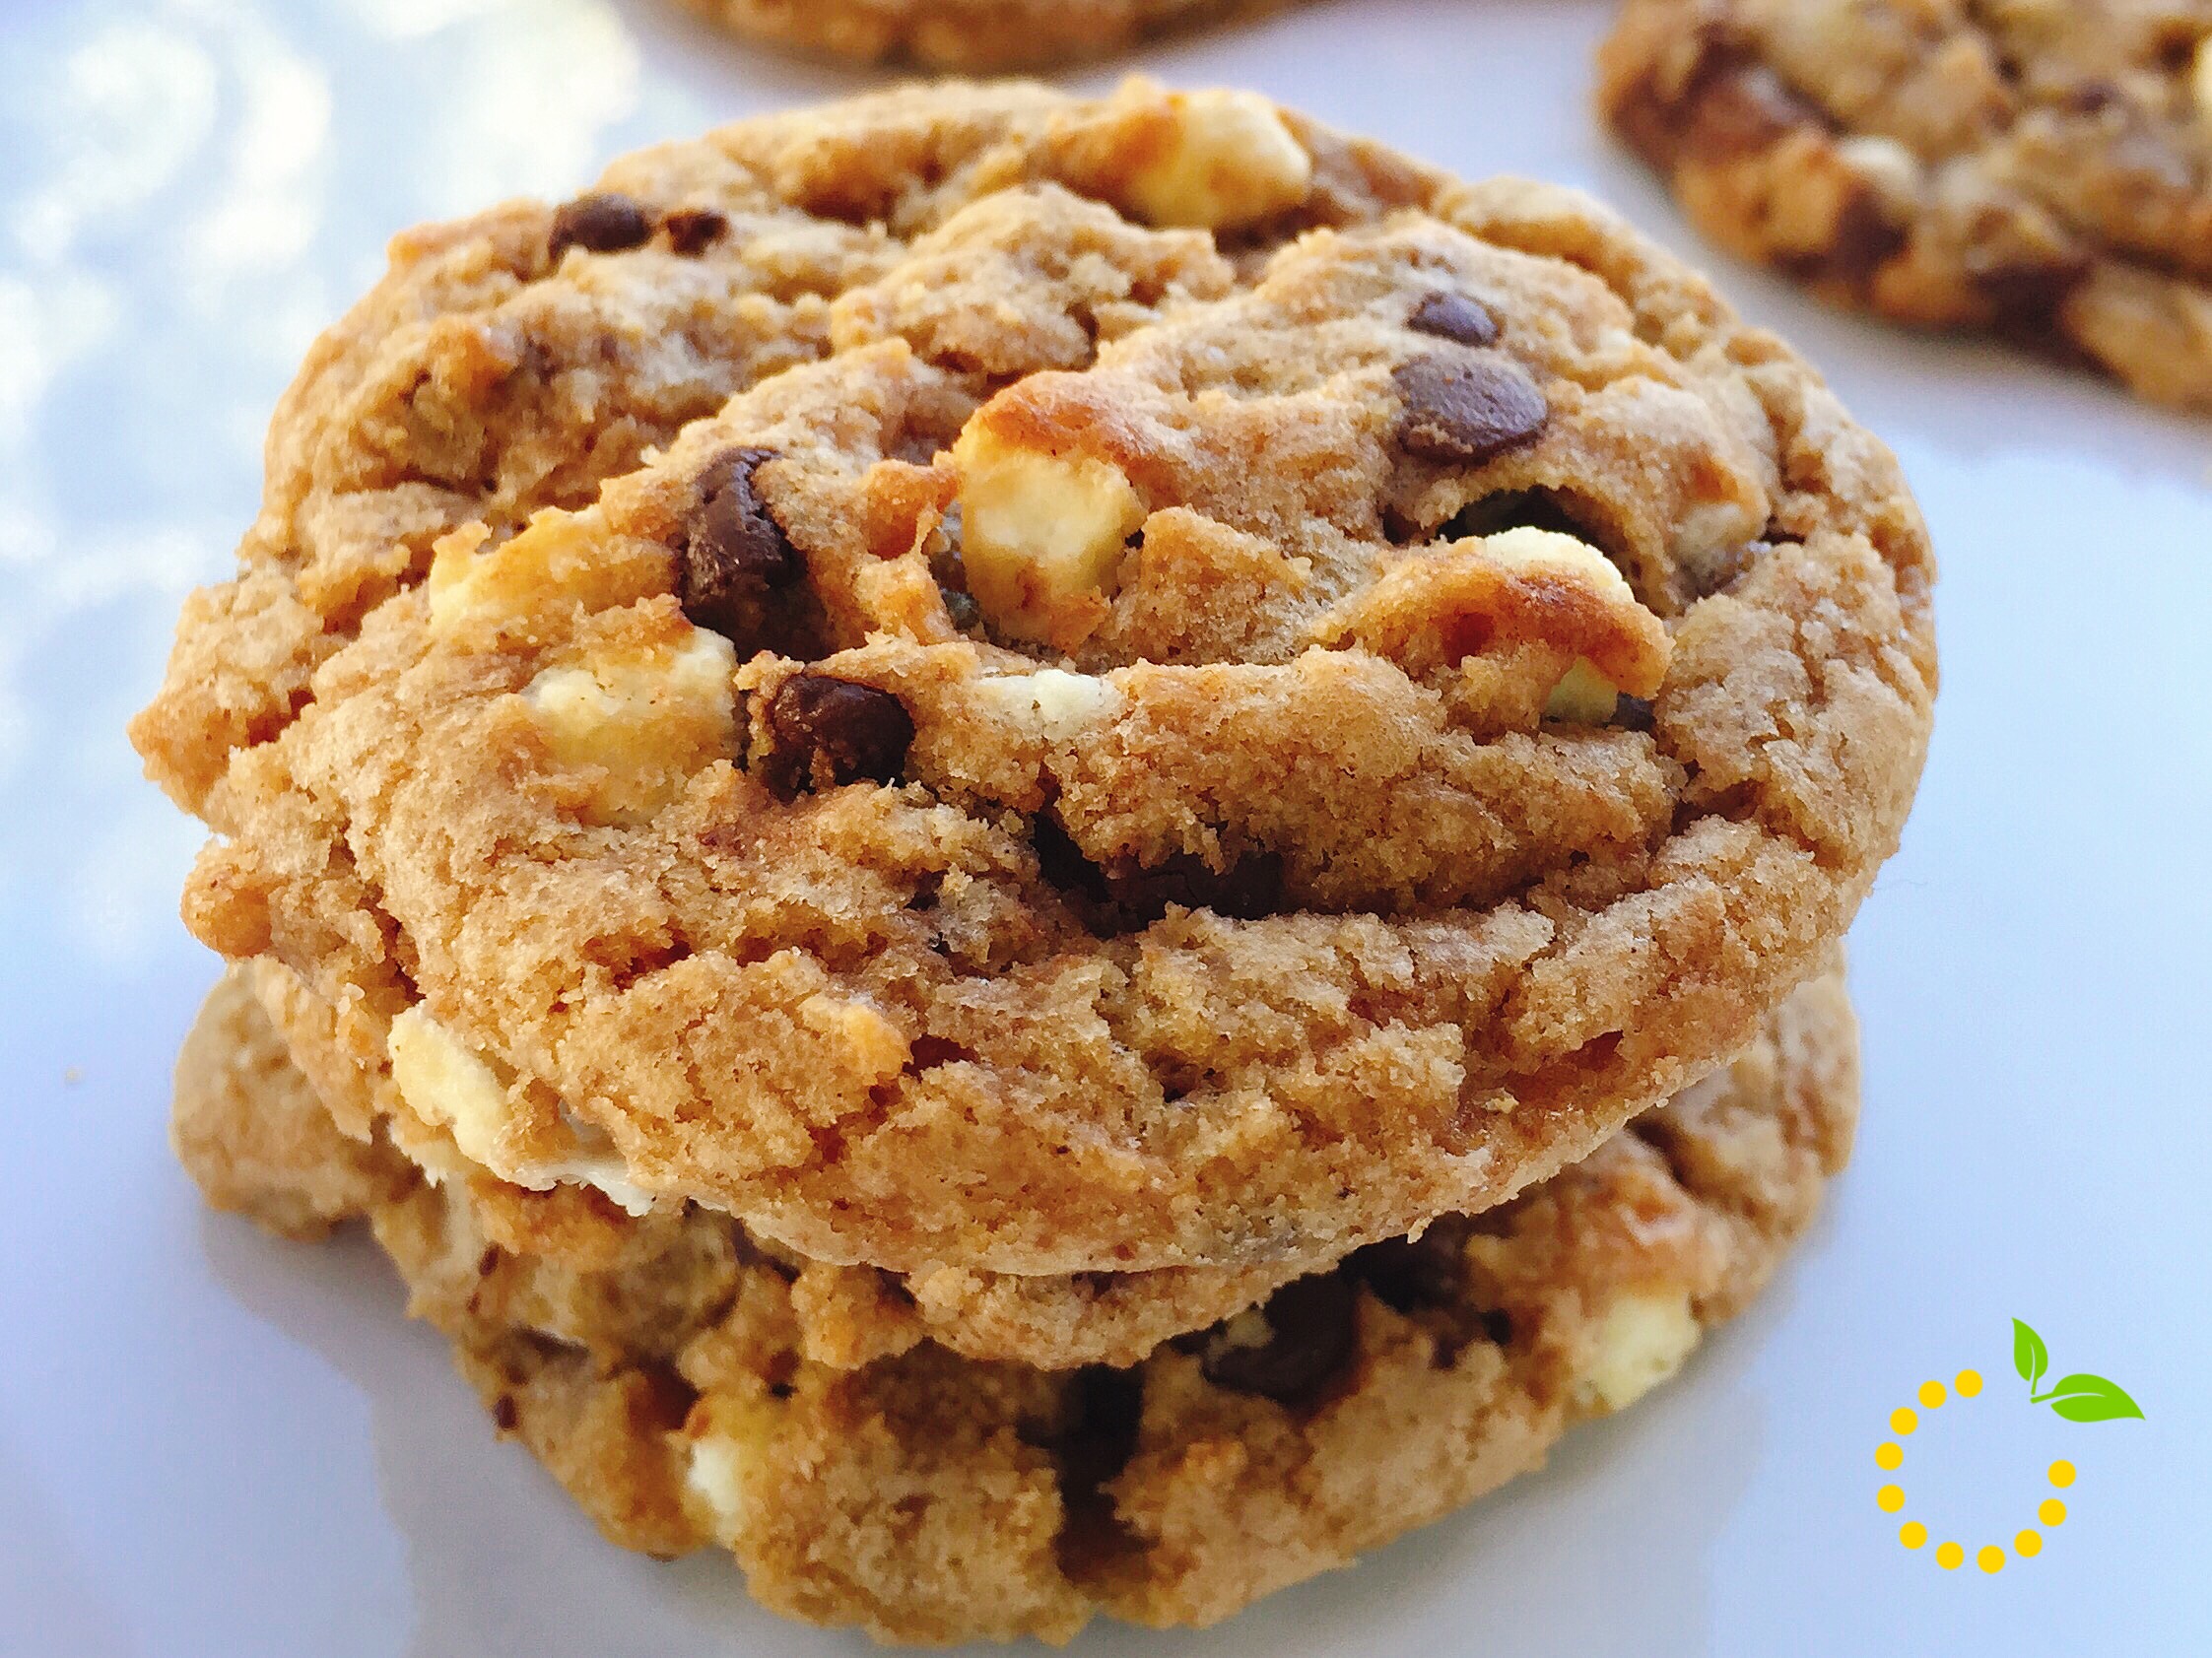
When you can’t have a campfire s’more you can always make these soft and chewy s’mores cookies that have everything you love about a s’more with it’s combination of sweet graham crackers, creamy melted chocolate, and toasted marshmallows. Like a touch of cinnamon flavor, use the cinnamon flavored graham crackers or if you want the taste of a traditional s’more use the original graham crackers. These darn cookies are so good! It’s like having two desserts in one—a cookie and a s’more!

S'mores Cookie Dough sweetlemonmade.com

 
S'mores Cookies sweetlemonmade.com


S'mores Cookie Recipe
Write a review
Print
Ingredients
  1. 1/2 cup unsalted butter, softened
  2. 1/2 cup granulated sugar
  3. 1/4 cup brown sugar
  4. 1 egg
  5. 1 teaspoon vanilla extract
  6. 1 1/3 cups all purpose flour
  7. 3/4 cup regular or cinnamon graham cracker crumbs (about 7 full graham cracker sheets)
  8. 1 teaspoon baking powder
  9. 1/2 teaspoon salt
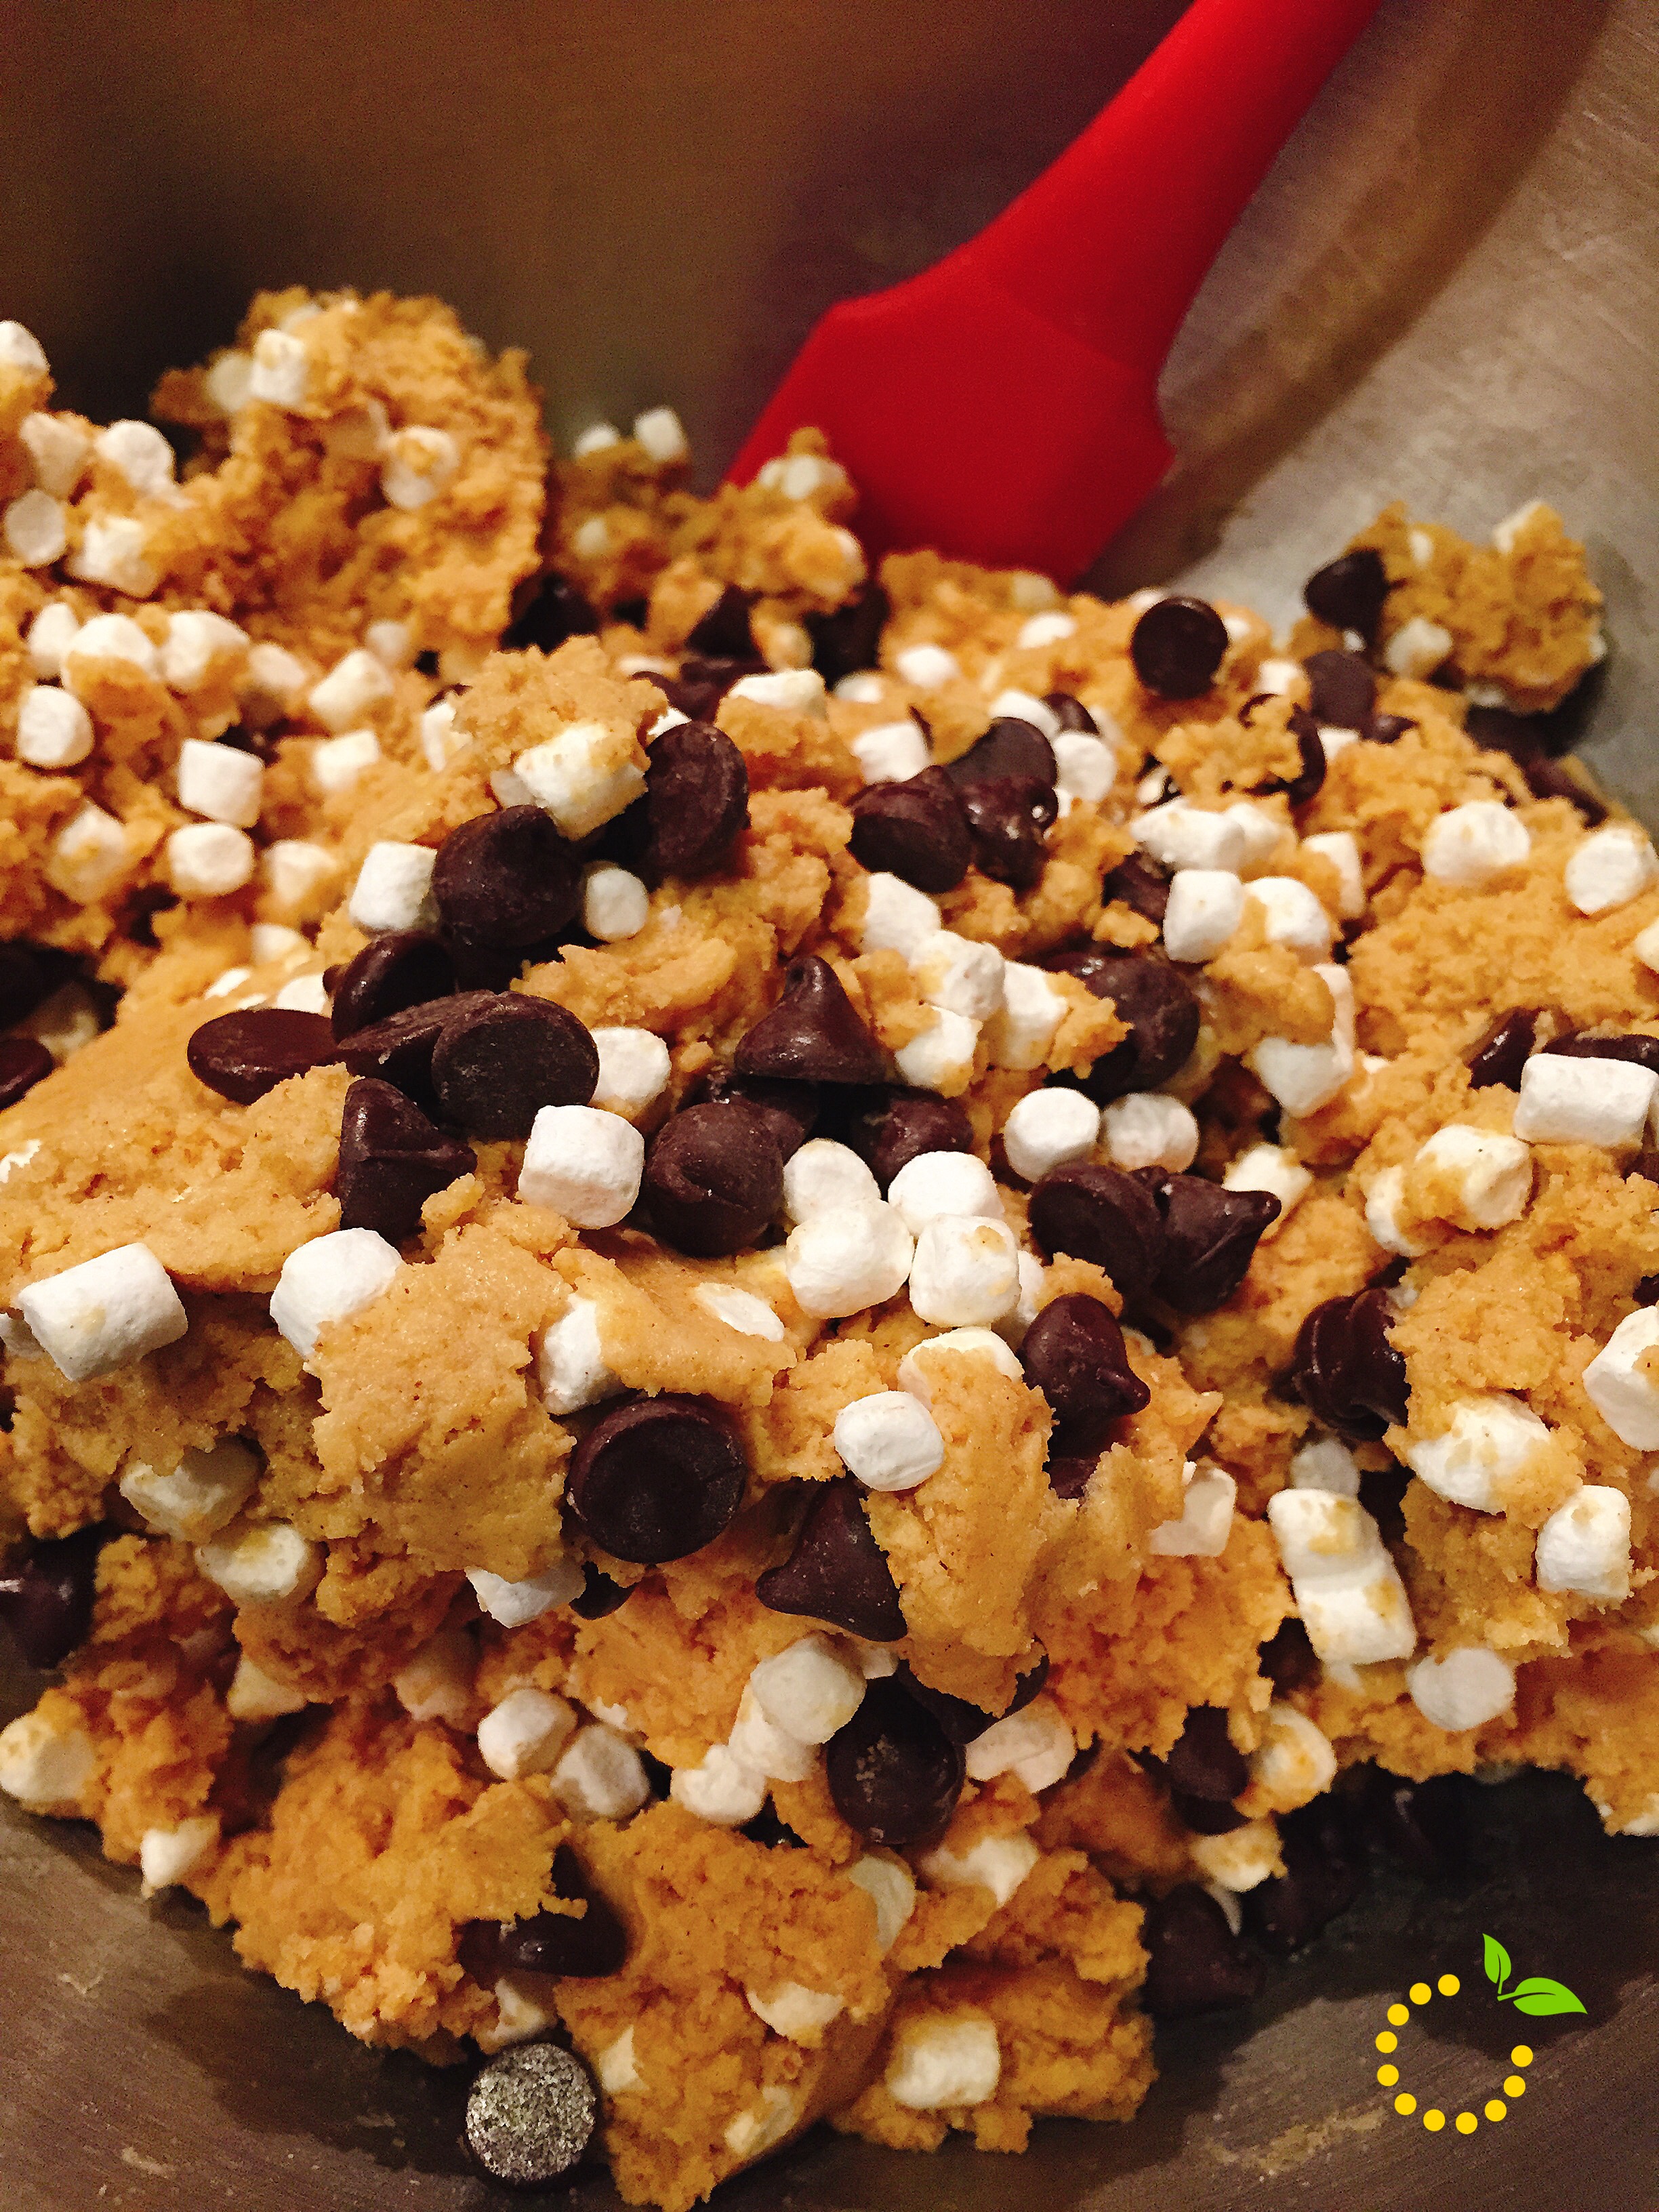
  10. 1 cup mini or regular chocolate chips
  11. 1 cup Jet Puffed Mallow Bits
Instructions
  1. Preheat oven to 350 degrees F. Line a cookie sheet with parchment paper.
  2. Using a mixer, cream the butter and sugars until light and fluffy, about 3 minutes. Add the egg and vanilla and beat for an additional 2 minutes.
  3. Meanwhile, use a food processor or blender to crush 7 graham cracker sheets into 3/4 cup fine crumbs.
  4. In a separate bowl, whisk together the graham cracker crumbs, flour, baking powder, and salt.
  5. Slowly add the dry ingredients to the wet ingredients, and mix on low speed until the dough just comes together. Add the chocolate chips and marshmallow bits and stir to combine. Scoop dough using a mini cookie dough scoop and place onto the prepared cookie sheet.
  6. Bake at 350 degrees F for 10-12 minutes or until edges are a light golden brown.
Sweet Lemon Made https://sweetlemonmade.com/

S'mores Cookie Recipes sweetlemonmade.com
Recipe adapted from Kevin and Amanda Blog

Create

Do It Yourself Gift Basket Idea

Gift Basket Idea sweetlemonmade.com

I’ve got a great DIY gift basket idea that can be given as a birthday gift, wedding gift, or for that student headed off to college. Even though this basket was made specifically for a wedding gift, I think the bakers and cooks in your life would love to receive this gift basket! If you are giving it to a baker friend, swap out a few of the items to suit like swapping out some of the kitchen utensils for cupcake liners, piping bags and tips, or sprinkles.  And maybe the recipient of this basket will bake you some special treats or invite you over for some dessert! 🙂

Head to your favorite store (aka Target…my favorite store) or if you are on a budget, the dollar store has great kitchen items too. Once you’ve got all of your items find a basket or container to fit everything and get to filling up that basket! For a list of items I bought for this basket—checkout the list below.

Gift basket items:

  • Rolling pin
  • Half size baking sheet
  • Cooling rack
  • Spatula
  • Parchment paper
  • Cookie mix
  • Measuring cups (for dry and liquid ingredients)
  • Measuring spoons
  • Cookie cutters
  • Oven mitt
  • Dish towels
  • Bowl scrapper
  • assortment of other kitchen utensils (to fill basket)

Gift Basket Idea for the Cook sweetlemonmade.com

Create

4th of July Mantel Decor

July 4 Mantle Decor sweetlemonmade.com

The 4th of July is right around the corner and if you are looking for some decorating ideas to spruce up your mantel, I’ve got a few crafts and DIYs to share with you! DON’T HAVE A MANTEL? Don’t worry…you can recreate these decor ideas using a shelf or bookcase in your house. You can also decorate a console table you may have in your entryway or in your living room. The possibilities are endless!

I designed this 4th or July mantel with a big statement piece, a DIY string art of the USA. I have wanted to do a string art piece for a long time but, could never decide on what to do until I saw Wendy from The Paisley Pickle making one at a friends house. Just a warning…this string art project is not for the faint-hearted crafter. This project takes patience and time. But, once it’s finished you will be thrilled with the results! I am! And I love the finished project even though it tested my patience. Look below for all of the materials needed and instructions on how to make your own the string art.

USA String Art sweetlemonmade.com


The wood stars, firecrackers, and 4th & flag can be purchased from the Wood Connection. The wood pieces come unfinished and can be decorated and painted however you like. I painted and distressed mine and added a few embellishments to some of the pieces to give them some dimension. And the USA letters were from Target’s dollar spot section.

4th of July Collage sweetlemonmade.com

DIY How To—USA Map String Art

Materials Needed:

  • 4 wood boards that are 24″ x 5″ and 2 boards/pieces to nail to the back to hold it together.
  • String – I used DMC Baroque Crochet Cotton for the white string and DMC Embroidery Floss for the red string
  • Box of nails (you will want a nail with a decent head so the string won’t pop off)
  • Stain – I used Rustoleum stain in Kona
  • Cheesecloth and vinyl gloves (for staining)
  • USA map template (Get it printed at Office Max or your local print shop and ask them for an engineer print.)


Step 1: Cut and nail together wood planks

Step 2: Stain your wood board.

Step 3: Print out the map template.

Step 4: Once your stain is dry, cut out the template and tape it to your board.

Map Template sweetlemonmade.com

Step 5: Time to get the hammer out! Nail around the entire outline of the map – I spaced out the nails about an inch apart. (Warning: this step is the hardest and longest. Don’t get discouraged.)

Step 6: Once all of your nails are in, remove the paper template.

Board with Nails sweetlemonmade.com

Step 7: Now for the fun part! Get your string and tie a knot around the head of one of the nails. Start by stringing the string down towards the heart and wrapping the string around one of the nails of the heart. (Tip: since the heart has less nails, you will need to string the outside strings around the nails multiple times.) Keep repeating until you are all done. Once you are done, tie another knot.

Step 8: Get your red DMC Embroidery Floss. Begin by tying a knot around one of the nails around the heart and string the string back and forth criss crossing the string.

Progress sweetlemonmade.com

Wood Connection Wood Projects

Materials Needed:

  • Red, white/cream, and blue paint
  • Foam brushes
  • Sand paper
  • Wood glue
  • Painters tape
  • Balsa wood sticks (for the stripes on the flag)
  • Metal star embellishment
  • Twin for embellishment
  • Thick wire for the firecrackers (can be purchased from Lowe’s or Home Depot)
  • Wire cutters
  • A pencil or wooden dowel to wrap the wire around to crate the twisted shape


Step 1: Sand any rough edges and wipe all wood pieces down with a cloth to get rid of any saw dust.

Step 2: Paint all wood pieces the desired colors and let dry. For the flag, I taped off the section for the blue and let dry and then covered the blue to paint the red.  

Step 3: Once they have dried, sand the edges to distress (optional).

Step 4: Glue small stars onto the ‘4’, the balsa wood sticks to the flag, and the star to the flag.

Step 5: Cut wire to desired length and wrap it around a pencil/dowel to twist it into shape.

Step 6: Place a tiny amount of glue onto the end of the wire and insert into hole on top of each firecracker.

Step 7: Tie or wrap twine around whatever you want (optional).

Mantle Decor 4th of July sweetlemonmade.com

Eats

Blue Moon Cupcakes

Blue Moon Cupcakes with Cream Cheese Frosting sweetlemonmade.com

These Blue Moon cupcakes are light and fluffy topped with zesty orange cream cheese frosting. When I first came across these on Pinterest, I knew I needed to pin it for later so that I could make them for one of my friends who loves Blue Moon beer! So surprise a Blue Moon loving friend with these scrumptious cupcakes!

Blue Moon Cupcakes sweetlemonmade.com

Blue Moon Cupcakes
Write a review
Print
Ingredients
  1. FOR THE CUPCAKES
  2. 1/2 cup unsalted butter, room temperature
  3. 1 1/4 cup granulated sugar
  4. 1 2/3 cup all-purpose flour
  5. 1 teaspoon baking powder
  6. 1/8 teaspoon salt
  7. 2 eggs, room temperature
  8. 1 teaspoon vanilla extract
  9. 1 orange, zested (save some for garnishing)
  10. 2/3 cup Blue Moon beer
  11. 2 tablespoon whole milk
  12. ORANGE CREAM CHEESE FROSTING
  13. 8 oz. cream cheese, softened
  14. 3/4 cup unsalted butter, softened
  15. 4 1/2 cups powdered sugar, sifted
  16. 4 tablespoons freshly squeezed orange juice
Instructions
  1. Preheat oven to 375 degrees. Line a muffin tin with 12 cupcake liners.
  2. In a mixing bowl, sift together flour, baking powder and salt. Set aside.
  3. In a stand mixer fitted with the paddle attachment, cream butter for 1 minute, until pale and fluffy. Add sugar. Cream together butter and sugar for 3-4 minutes.
  4. Add eggs, one at a time, scraping down sides of the bowl after each addition. Add vanilla and orange zest; mix until just combined.
  5. In a medium mixing bowl, whisk together beer and milk. Alternatively add beer mixture and flour mixture to butter mixture until fully incorporated.
  6. Fill cupcake liners 1/2 – 2/3 full. Bake for 15-18 minutes until slightly golden brown and cupcakes bounce back at the touch of a finger, or a toothpick inserted in center comes out clean. Transfer cupcakes to a cooling rack and allow to cool completely.
  7. In a stand mixture fitted with the paddle attachment, cream together butter and cream cheese.
  8. Add powdered sugar, 1/2 cup at a time, until all sugar has been added, scraping down sides of bowl after each addition. Stir in orange juice until fully incorporated.
  9. Pipe frosting onto cupcakes and top with fresh orange zest and small orange slice, if desired.
Sweet Lemon Made https://sweetlemonmade.com/


Recipe adapted from Sweet Caroline’s Cooking


Eats

Fruit Cheesecake Sugar Cookie Cups

Fruit Cheesecake Sugar Cookie Cups sweetlemonmade.com

These fruit cheesecake sugar cookie cups combine the soft, chewiness of the sugar cookie, the smooth no-bake cheesecake, and the pop of freshness from the assortment of fruit! It’s summer and what is the best summertime dessert? For me it’s none other than fruit pizza! I know a few (a lot) of people that would agree with me. So to put a little twist on everyone’s favorite classic dessert the fruit pizza, I made the sugar cookie into a portable cup.

The ingredients are simple yet, the combination of it all is just so delicious! Mmm! You know the recipe is a winner when they are the most requested (and 7 batches later) your friends are still wanting more! And getting a non-fruit lover to like these is another testament as to how yummy these little treats are. My friend’s husband who doesn’t  particularly like fruits  was a bit skeptical to try one of these fruit cheesecake cups but, once she finally convinced him to try one he was sold!

So for your next hangout or BBQ, whip up a batch (or maybe 2 or 3) to take with you to your next get together!

sugar cookie cup sweetlemonmade.com

Fruit Cheesecake Sugar Cookie Cups
Write a review
Print
Ingredients
  1. Cookie Cups
  2. 3/4 cup unsalted butter, room temp
  3. 1 cup granulated sugar
  4. 1 egg
  5. 2 teaspoons vanilla extract
  6. 2 cups all-purpose flour
  7. 1 teaspoon baking soda
  8. 2 teaspoons cornstarch
  9. Cheesecake Filling and Fruit Topping
  10. 12 ounces cream cheese
  11. 1 and 1/2 teaspoons vanilla extract
  12. 1 and 3/4 cups powdered sugar
Instructions
  1. Spray cupcake pan with nonstick cooking spray. Preheat oven to 350 degrees.
  2. Cream butter and sugar together for 5 minutes, until light and fluffy.
  3. Add the egg and vanilla and beat until well combined.
  4. Add the dry ingredients to the wet ingredients and mix until smooth. Dough will be thick.
  5. Scoop dough balls into muffin tin with a cookie scooper. Press cookie dough into the bottom and about 1/3-1/2 way up the sides of each cupcake cup, forming a cup shape.
  6. Bake for 8-10minutes.
  7. Remove from oven and allow to cool for about 5 minutes, then remove to cooling rack to finish cooling. If the centers aren't cupped enough to add filling, use the end of a wooden spoon or the bottom of a tablespoon to press the center down a bit.
  8. Once cookies have cooled, make the cheesecake filling. Blend the cream cheese, vanilla and powdered sugar together until smooth.
  9. Pipe cheesecake filling into cookie cups.
Sweet Lemon Made https://sweetlemonmade.com/