
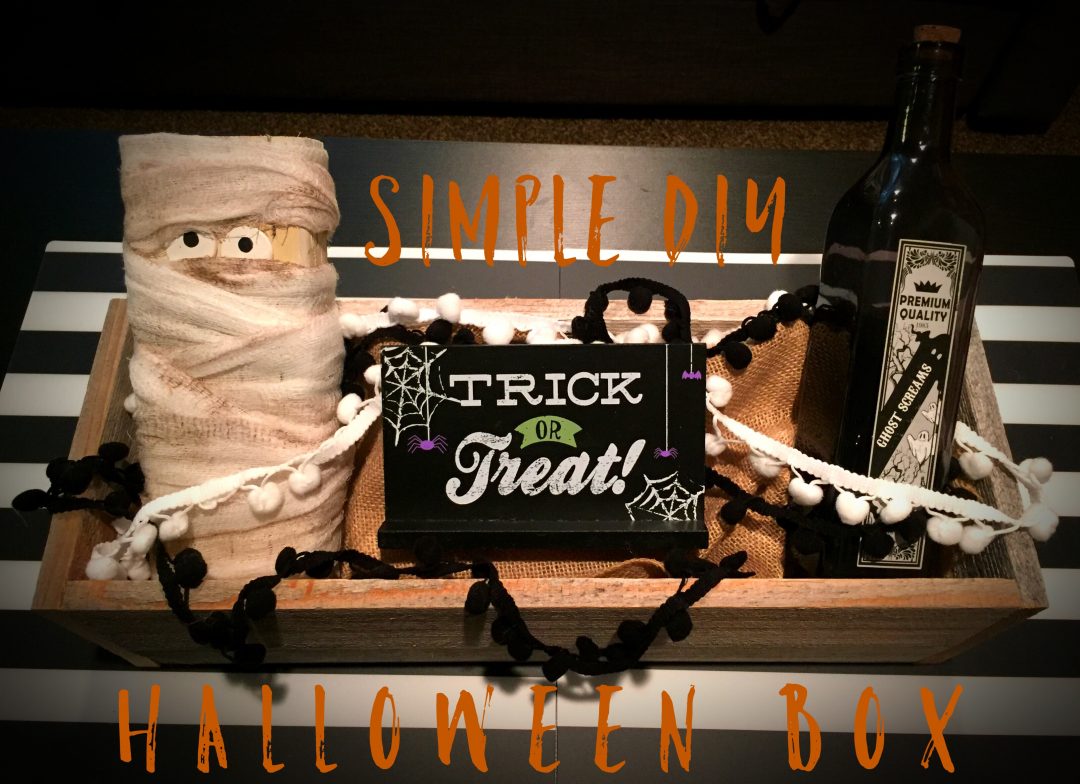
If your short on time or just want something simple to make, this project is for you! And the best part is that the box can be used in so many different ways. It’s the perfect statement piece for my coffee table. I love that I can use the box over and over! It’s nice because each holiday or season I can easily change out the decor to match. For this Halloween box, I found a couple pre-made, store bought pieces at Target in the infamous Dollar Spot section (that spot gets me in trouble every time 🙂 Who else can resist that section?) to make decorating a little bit easier when you have limited time to craft. The mummy is also super easy to make too!
Wood Box Supplies:
- 3 – 1 x 6 Pieces of reclaimed wood or store bought wood boards cut down to 17″
- 2 – 1 x 6 pieces of reclaimed wood or store bought wood boards cut down to 7″
- Nail gun
- Wood stain/paint (optional if using store bought boards)
Directions:
- First cut all of your 1 x 6 boards down to size.
- Using your nail gun nail each of the long pieces to the bottom piece and then nail small end pieces to the outside of the bottom and long side pieces.
Wood Mummy Supplies:
- 2×4 piece of wood cut down to 9″ tall
- Cream/off white spray paint
- Cheese cloth
- Wood circles
- White and black paint
- Paint brush
- New No. 2 pencil with eraser
- Wood glue
- Wood stain
- Latex gloves
- Hand staple gun
Directions:
- Cut 2×4 down to 9″ tall.
- Spray paint and let dry.
- Paint wood circles with white paint and using the eraser, dip it into some black paint and dot your eyes. Set aside to dry.
- Cut cheese cloth into strips of varying widths.
- Put on your latex gloves and dip a couple of fingertips into your wood stain and brush it onto your cheese cloth to give it a spooky look.
- Glue eyes on with wood glue.
- Wrap strips around your wood piece alternating angles and directions to give it a more mummified look stapling the end pieces to the back of the mummy with a hand staple gun.
Other supplies:
- Trick or treat sign–found in the Dollar Spot section at Target (last seasons Halloween decor)
- Apothecary bottle–found in the Dollar Spot section at Target (current find)
- White and black Pom Pom garlands–found in the Dollar Spot section at Target (current find)
- Burlap
Assembly:
- I stuffed the bottom of my box with a couple packing bubbles and tissue paper and covered it with some burlap to hide it to prop up the mummy, sign, and bottle.
- Place your items into the box and then string the garlands around.


No Comments