Browsing Tag

treats

Eats

Blue Moon Cupcakes

Blue Moon Cupcakes with Cream Cheese Frosting sweetlemonmade.com

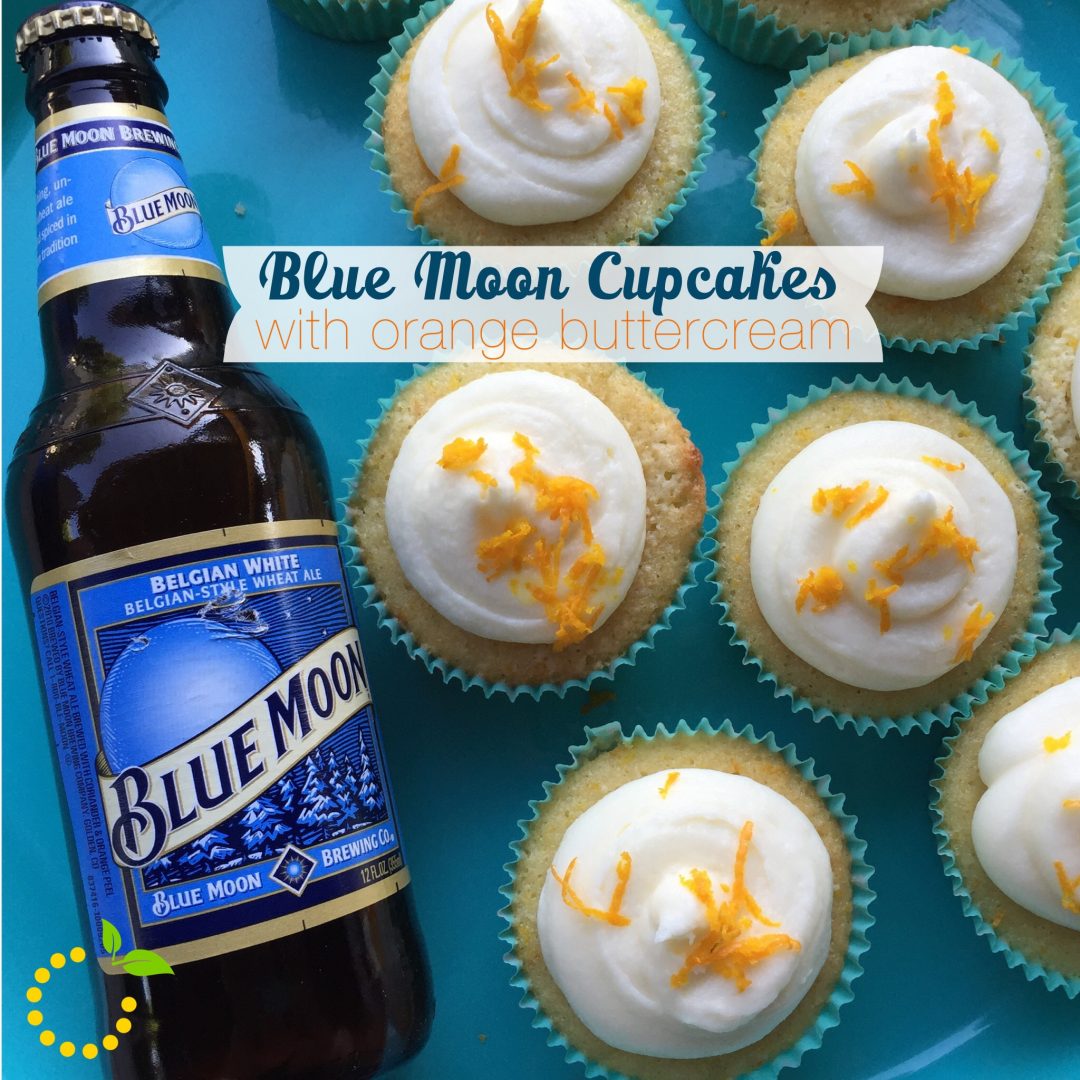
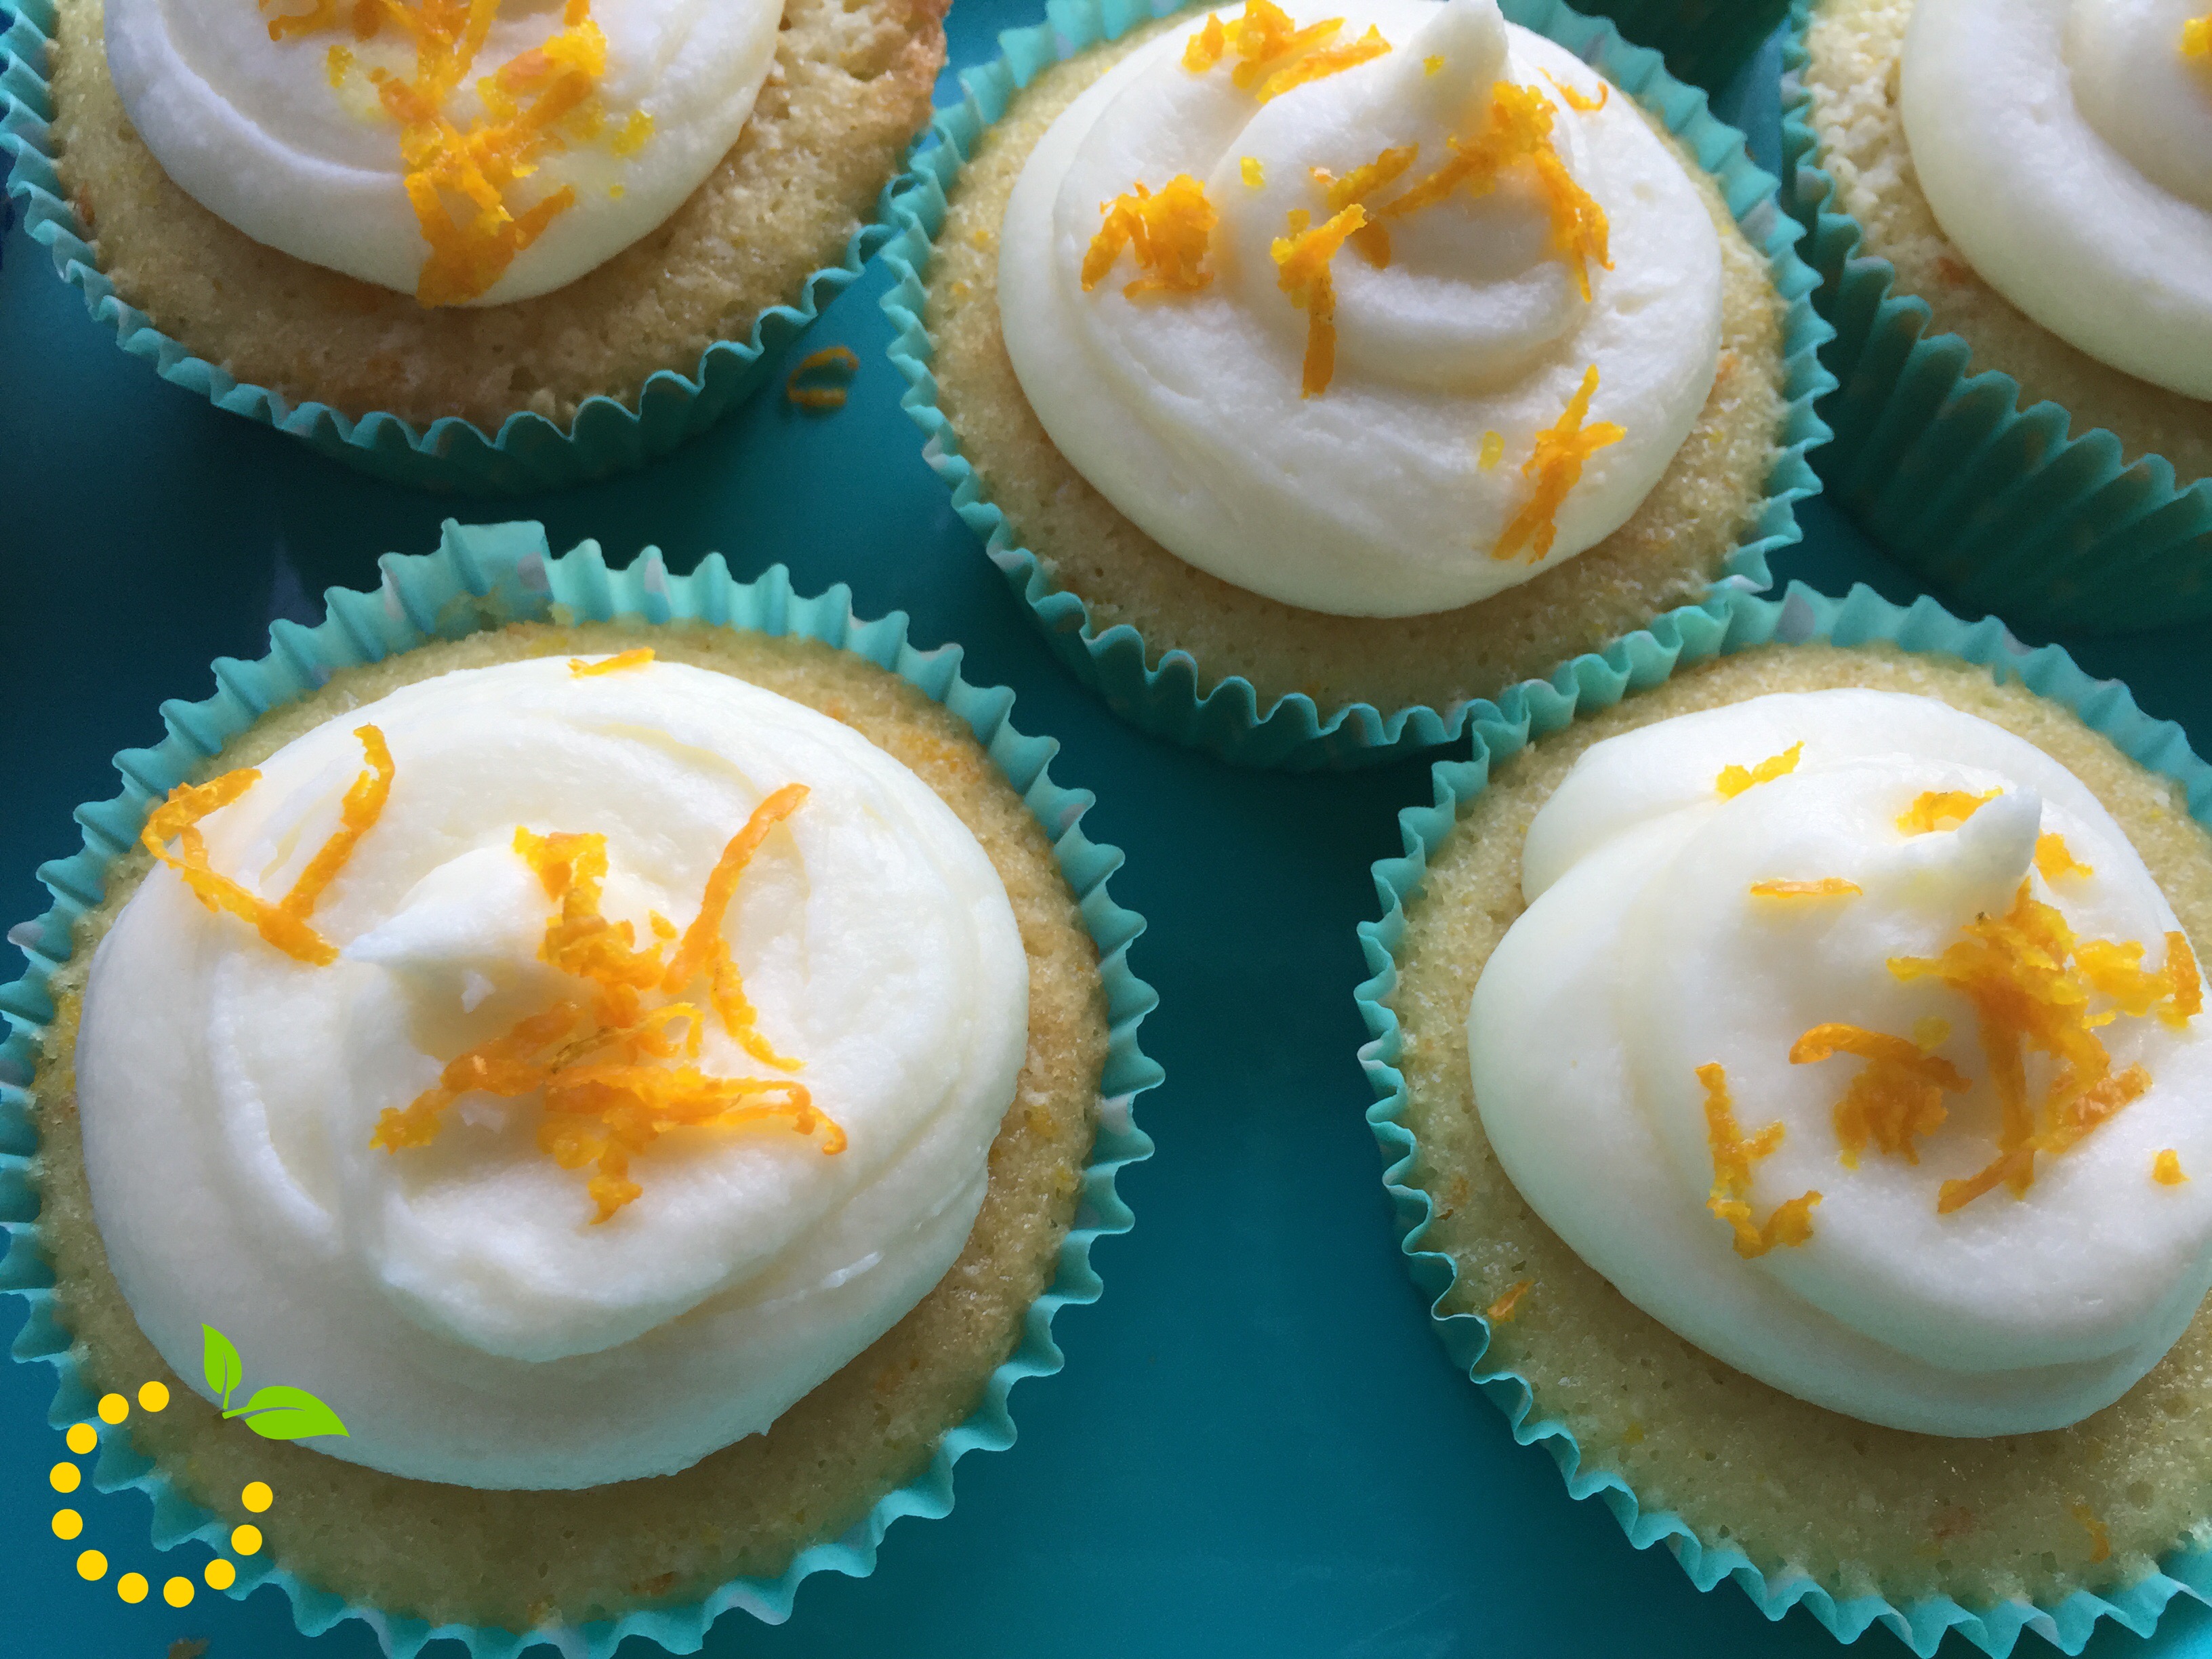
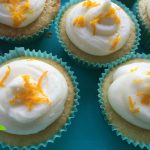
These Blue Moon cupcakes are light and fluffy topped with zesty orange cream cheese frosting. When I first came across these on Pinterest, I knew I needed to pin it for later so that I could make them for one of my friends who loves Blue Moon beer! So surprise a Blue Moon loving friend with these scrumptious cupcakes!

Blue Moon Cupcakes sweetlemonmade.com

Blue Moon Cupcakes
Write a review
Print
Ingredients
  1. FOR THE CUPCAKES
  2. 1/2 cup unsalted butter, room temperature
  3. 1 1/4 cup granulated sugar
  4. 1 2/3 cup all-purpose flour
  5. 1 teaspoon baking powder
  6. 1/8 teaspoon salt
  7. 2 eggs, room temperature
  8. 1 teaspoon vanilla extract
  9. 1 orange, zested (save some for garnishing)
  10. 2/3 cup Blue Moon beer
  11. 2 tablespoon whole milk
  12. ORANGE CREAM CHEESE FROSTING
  13. 8 oz. cream cheese, softened
  14. 3/4 cup unsalted butter, softened
  15. 4 1/2 cups powdered sugar, sifted
  16. 4 tablespoons freshly squeezed orange juice
Instructions
  1. Preheat oven to 375 degrees. Line a muffin tin with 12 cupcake liners.
  2. In a mixing bowl, sift together flour, baking powder and salt. Set aside.
  3. In a stand mixer fitted with the paddle attachment, cream butter for 1 minute, until pale and fluffy. Add sugar. Cream together butter and sugar for 3-4 minutes.
  4. Add eggs, one at a time, scraping down sides of the bowl after each addition. Add vanilla and orange zest; mix until just combined.
  5. In a medium mixing bowl, whisk together beer and milk. Alternatively add beer mixture and flour mixture to butter mixture until fully incorporated.
  6. Fill cupcake liners 1/2 – 2/3 full. Bake for 15-18 minutes until slightly golden brown and cupcakes bounce back at the touch of a finger, or a toothpick inserted in center comes out clean. Transfer cupcakes to a cooling rack and allow to cool completely.
  7. In a stand mixture fitted with the paddle attachment, cream together butter and cream cheese.
  8. Add powdered sugar, 1/2 cup at a time, until all sugar has been added, scraping down sides of bowl after each addition. Stir in orange juice until fully incorporated.
  9. Pipe frosting onto cupcakes and top with fresh orange zest and small orange slice, if desired.
Sweet Lemon Made http://sweetlemonmade.com/


Recipe adapted from Sweet Caroline’s Cooking


Eats

Fruit Cheesecake Sugar Cookie Cups

Fruit Cheesecake Sugar Cookie Cups sweetlemonmade.com

These fruit cheesecake sugar cookie cups combine the soft, chewiness of the sugar cookie, the smooth no-bake cheesecake, and the pop of freshness from the assortment of fruit! It’s summer and what is the best summertime dessert? For me it’s none other than fruit pizza! I know a few (a lot) of people that would agree with me. So to put a little twist on everyone’s favorite classic dessert the fruit pizza, I made the sugar cookie into a portable cup.

The ingredients are simple yet, the combination of it all is just so delicious! Mmm! You know the recipe is a winner when they are the most requested (and 7 batches later) your friends are still wanting more! And getting a non-fruit lover to like these is another testament as to how yummy these little treats are. My friend’s husband who doesn’t  particularly like fruits  was a bit skeptical to try one of these fruit cheesecake cups but, once she finally convinced him to try one he was sold!

So for your next hangout or BBQ, whip up a batch (or maybe 2 or 3) to take with you to your next get together!

sugar cookie cup sweetlemonmade.com

Fruit Cheesecake Sugar Cookie Cups
Write a review
Print
Ingredients
  1. Cookie Cups
  2. 3/4 cup unsalted butter, room temp
  3. 1 cup granulated sugar
  4. 1 egg
  5. 2 teaspoons vanilla extract
  6. 2 cups all-purpose flour
  7. 1 teaspoon baking soda
  8. 2 teaspoons cornstarch
  9. Cheesecake Filling and Fruit Topping
  10. 12 ounces cream cheese
  11. 1 and 1/2 teaspoons vanilla extract
  12. 1 and 3/4 cups powdered sugar
Instructions
  1. Spray cupcake pan with nonstick cooking spray. Preheat oven to 350 degrees.
  2. Cream butter and sugar together for 5 minutes, until light and fluffy.
  3. Add the egg and vanilla and beat until well combined.
  4. Add the dry ingredients to the wet ingredients and mix until smooth. Dough will be thick.
  5. Scoop dough balls into muffin tin with a cookie scooper. Press cookie dough into the bottom and about 1/3-1/2 way up the sides of each cupcake cup, forming a cup shape.
  6. Bake for 8-10minutes.
  7. Remove from oven and allow to cool for about 5 minutes, then remove to cooling rack to finish cooling. If the centers aren't cupped enough to add filling, use the end of a wooden spoon or the bottom of a tablespoon to press the center down a bit.
  8. Once cookies have cooled, make the cheesecake filling. Blend the cream cheese, vanilla and powdered sugar together until smooth.
  9. Pipe cheesecake filling into cookie cups.
Sweet Lemon Made http://sweetlemonmade.com/

Eats

Fruity Pebbles Cookies

Fruity Pebbles Cookies sweetlemonmade.com

Fruity Pebbles cereal in a cookie…ummm YES! When my friend Taylor sent me this pin on Pinterest I was intrigued! Some of my favorite cereals are fruity pebbles and fruit loops so naturally, I had to try them! And the best part is they are pudding cookies! I may seem a bit excited about these because pudding cookies are one of my favorite types of cookies because they are so soft and chewy.

I wasn’t sure how the cereal was going to hold up in a cookie but, surprisingly it works. Even after the cookies were baked, the cereal still had a bit of a crunchy/chewy texture that bursted with fruity flavors, which was surprising. After the first bite I was sold…these were DELICIOUS! So good I could have eaten the whole batch! These Fruity Pebbles cookies encompass the fruity flavors of the fruity pebbles cereal, creaminess of the white chocolate chips, and the soft and chewiness of a pudding cookie.

A friend of mine had a birthday coming up and I asked what he wanted for his birthday treat. He wasn’t sure and wanted a surprise so, I told him it was going to be something with fruity pebbles. He was a little leery and excited at the same time. So, I gave him the cookies and the next day I saw him I started to ask him how he liked them and before I even finished asking he was gushing about how goood they were and that he loved them! He gave me the ultimate compliment any baker or chef would love to hear when someone eats their food and loves it but, to keep it PG (haha!), let’s just say that he said “it was like a party in his mouth!” He said that they were one of the best cookies he has ever had and didn’t think that cereal would be good in a cookie.

After a testament like this, does it make you want to give them a try? And don’t they look so fun?!? Once you eat one you will want another and another! If you decide to give them a try, let me know in the comments below what you thought of them!

Fruity Pebbles Cookies sweetelmonmade.com

Fruity Pebbles Cookies
Write a review
Print
Ingredients
  1. 3/4 cup unsalted butter, room temp
  2. 1 cup granulated sugar
  3. 1 (3.4 oz) package instant vanilla pudding mix
  4. 2 eggs
  5. 1 teaspoon vanilla extract
  6. 1 teaspoon baking soda
  7. 2 1/4 cups all purpose flour
  8. 2 cups Fruity Pebbles cereal
  9. 1 cup white chocolate chips
Instructions
  1. Preheat oven to 350° F. Line cookie sheets with parchment paper and set aside.
  2. Whisk together baking soda and flour and set aside.
  3. Cream together butter and sugar.
  4. Add the pudding package(dry...don't prepare it) and beat until well blended. Add eggs and vanilla extract. Slowly add the flour and mix until just combined.
  5. Stir in Fruity Pebbles and white chocolate chips.
  6. Scoop 1” balls and place on cookie sheets.
  7. Bake for 10-12 minutes or until slightly golden brown around the edges. Let cool.
Sweet Lemon Made http://sweetlemonmade.com/
Recipe sourced from Crazy For Crust

Eats

Chocolate Peanut Butter Bars

Chocolate Peanut Butter Bars sweetlemonmade.com

These chocolate peanut butter bars are chewy, peanut buttery and chocolatey. I don’t know about you but, every time I eat one of these chocolate peanut butter bars it takes me back to elementary school when we would get them as a dessert with our school lunch…it was then that I fell in love with these chocolate peanut butter bars! I wonder, do they even serve these anymore? If not, kids these days don’t know what they are missing out on (poor kids).

These oh so delicious peanut butter bars are one of those treats that people just can’t get enough of–I think most people would agree with me when I say that you just can’t eat one. 🙂 Here’s some proof of that. I recently gave some to a friend and when I told him that I forgot to tell him to put any leftovers in the fridge, his response was “…I didn’t have any leftover, they were so good–I ate all 6 of them!”, my other friend’s husband and daughter told her she wasn’t allowed near the box of them because they wanted the rest to themselves (haha!), and the comment that made me laugh was from another friend and he said “…these are good and you know you can trust my statement coming from a guy that looks like he likes to eat (haha!)” When your friends are saying comments like these, you know they love them!

This recipe is spot on and taste as good as “the lunch ladies” peanut butter bars. This recipe is so easy to make and the best part is, it makes an entire cookie sheet! It’s a good thing because you may just want to share some and devour the rest!

Peanut Butter Bar Crust sweetlemonmade.com
Peanut Butter Bar Frosting sweetlemonmade.com
Peanut Butter Bar Assembly sweetlemonmade.com
Peanut Butter Bars Presentation sweetlemonmade.com

Chocolate Peanut Butter Bars
Write a review
Print
For the crust
  1. 1 cup unsalted butter, room temp
  2. 1 cup granulated sugar
  3. 1 cup brown sugar, firmly packed
  4. 1 teaspoon vanilla extract
  5. 2 large eggs
  6. 1 cup peanut butter + about 1 and 1/2 cups to spread on top of crust
  7. 2 cups rolled oats
  8. 2 cups all-purpose flour
  9. 1 teaspoon baking soda
  10. 1 teaspoon salt
For the frosting
  1. 1 lb. powdered sugar
  2. 3/4 cup butter, room temp
  3. 1 and 1/2 teaspoons vanilla extract
  4. 5 oz. evaporated milk
  5. 4 tablespoons cocoa powder
For the crust
  1. Prepare and grease a standard size cookie sheet with sides and set aside. Tip: use the wrappers from the butter to grease the pan.
  2. Cream together the butter and the sugars for 3-5 minutes until light and fluffy.
  3. Add vanilla, eggs, and peanut butter. Mix until combined.
  4. Add rolled oats, flour, baking soda, and salt. Mix until well combined.
  5. Spread mixture onto the cookie sheet evenly and bake at 350 degrees F for 15 minutes. The crust may come out really puffed up and soft but, it will continue to bake and it will fall as it cools. Be careful to not over bake.
  6. Once the crust is completely cooled, spread about 1 and 1/2 cups or as much as you need to cover the whole top of the crust. Pop it into the fridge while you make the frosting.
For the frosting
  1. Combine all ingredients into a bowl and mix until well incorporated and fluffy.
  2. Take the crust out of the fridge and spread the chocolate frosting all over.
  3. Place back into the fridge and let it set for 15- 20 minutes or overnight and then cut and enjoy!
Sweet Lemon Made http://sweetlemonmade.com/

Peanut Butter Bars Recipe sweetlemonmade.com

Eats

Red Velvet Sandwich Cookies

Yummy Red Velvet Cookies sweetlemonmade.com

If you love red velvet and cream cheese, you will fall in love with these delicious Red Velvet Sandwich Cookies! Can I just tell you how soft these cake cookies are? SUPER SOFT!! Cake cookies have become my new favorite type of cookie. My family, friends and coworkers who I’ve shared them with would all agree. I normally make red velvet treats in February for Valentine’s Day but, when you get a craving for red velvet there is no right or wrong time to have a red velvet treat! Am I right?! I know all you fellow red velvet lovers would agree with me!  Because what’s better than cream cheese frosting smooshed between two soft and chewy red velvet cake cookies! So, if you’ve never had a cake cookie, you’re missing out and should probably make these pronto! They are like pillows of heaven! And another plus, they are super easy to make!

Red Velvet Cookies sweetlemonmade.com

Red Velvet Sandwich Cookies with Cream Cheese Filling
Yields 10
Write a review
Print
Ingredients
  1. COOKIES
  2. 1 package Duncan Hines Red Velvet Cake Mix
  3. 2 large eggs
  4. 1/3 cup vegetable oil
  5. CREAM CHEESE FILLING
  6. 8 ounces cream cheese, room temp
  7. 5 tbsp. unsalted butter
  8. 2 - 2 1/2 cups powdered sugar
  9. 2 tsp. vanilla
For the cookies
  1. Preheat oven to 375° F. Line baking sheet with parchment paper.
  2. Combine cake mix, eggs and oil in a large bowl.
  3. Using a mini ice cream scooper, scoop out dough and roll into balls. Place on baking sheet about 2 inches apart. Tip: **It's best to bake one sheet at a time.**
  4. Bake 8-9 minutes or until edges are set. FYI--The cookies will look under baked when you pull them out. That is alright because once they cool they will be soft and chewy. **Don't over bake them. Let cookies cool for 2-3 minutes on baking sheet. Transfer to cooling rack and let them cool completely.
Cream Cheese Filling
  1. In a bowl of a stand mixer fitted with the paddle attachment beat the cream cheese and butter on medium speed until well combined and smooth, about 2-3 minutes.
  2. Mix in the vanilla extract.
  3. Gradually add in the powdered sugar until desired consistency is reached and smooth--should be thick but, not too thick.
  4. Transfer the cream cheese filing to a pastry bag fitted with a plain, round tip.
Assembling the sandwich cookies
  1. 1. Pair the cookies up by size and shape as best as possible.
  2. 2. Flip one cookie of each pair over so that the flat side is facing up.
  3. 3. Pipe frosting onto the flat sided cookie of each pair, keeping the edges clear.
  4. 4. Sandwich the cookies together so the flat sides are facing each other and press gently and evenly to help the filing reach the edges but, not spilling out.
  5. 5. To store, refrigerate in an airtight container.
Sweet Lemon Made http://sweetlemonmade.com/