Browsing Tag

Party

Eats Uncategorized

Broccoli Salad with Bacon and Poppy Seed Dressing

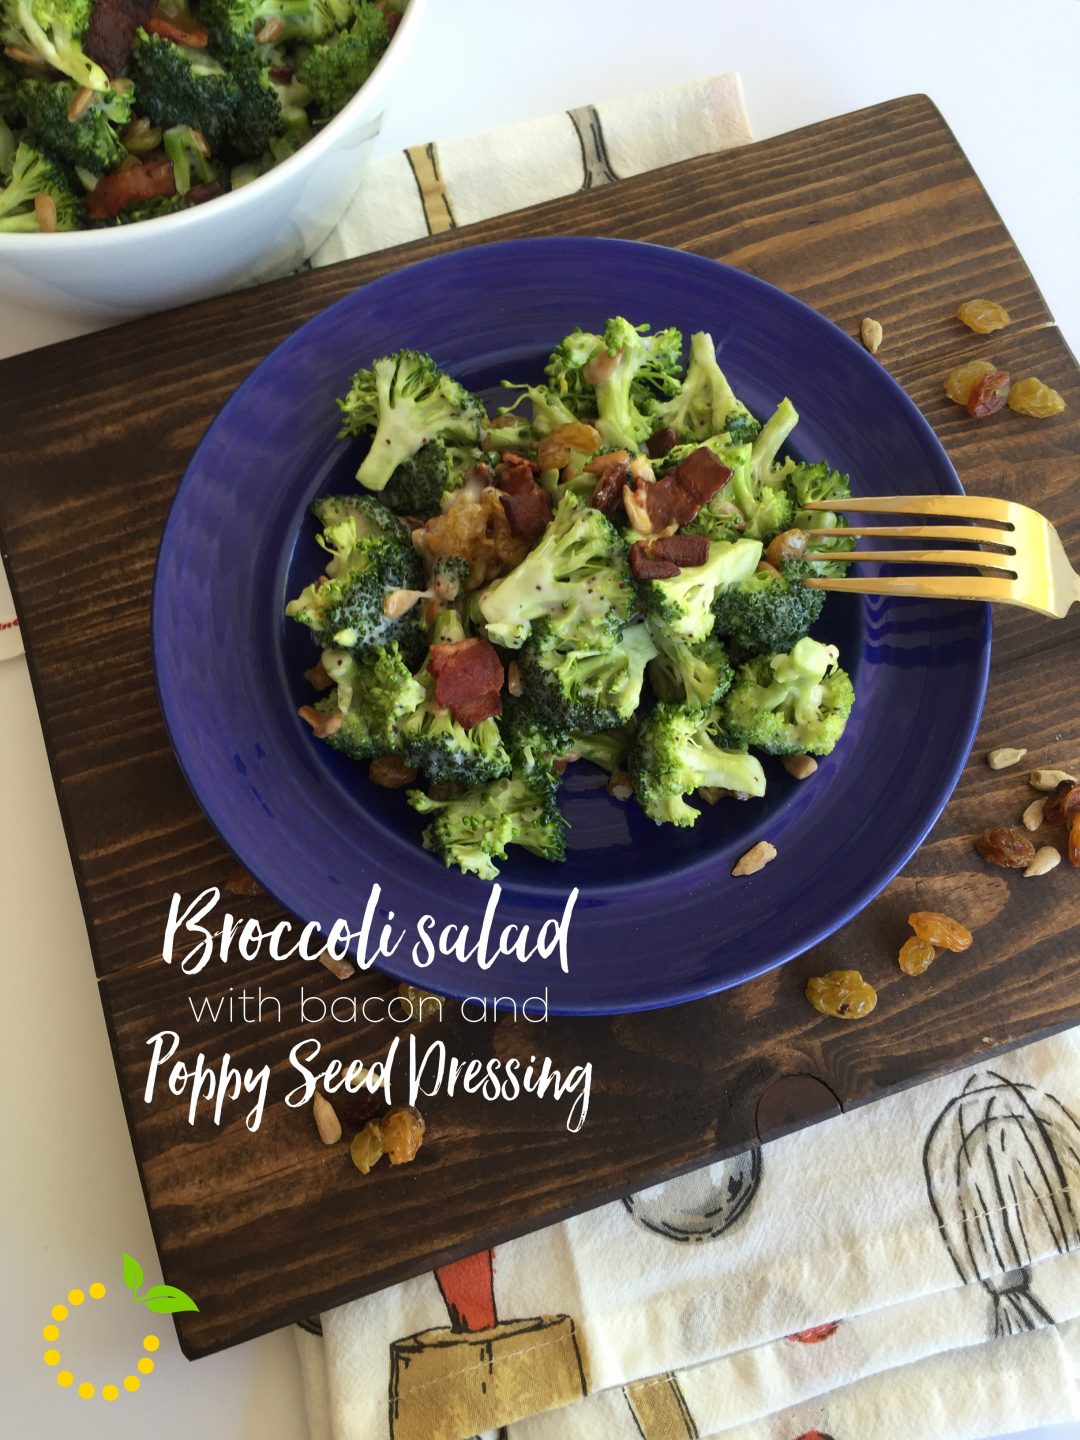
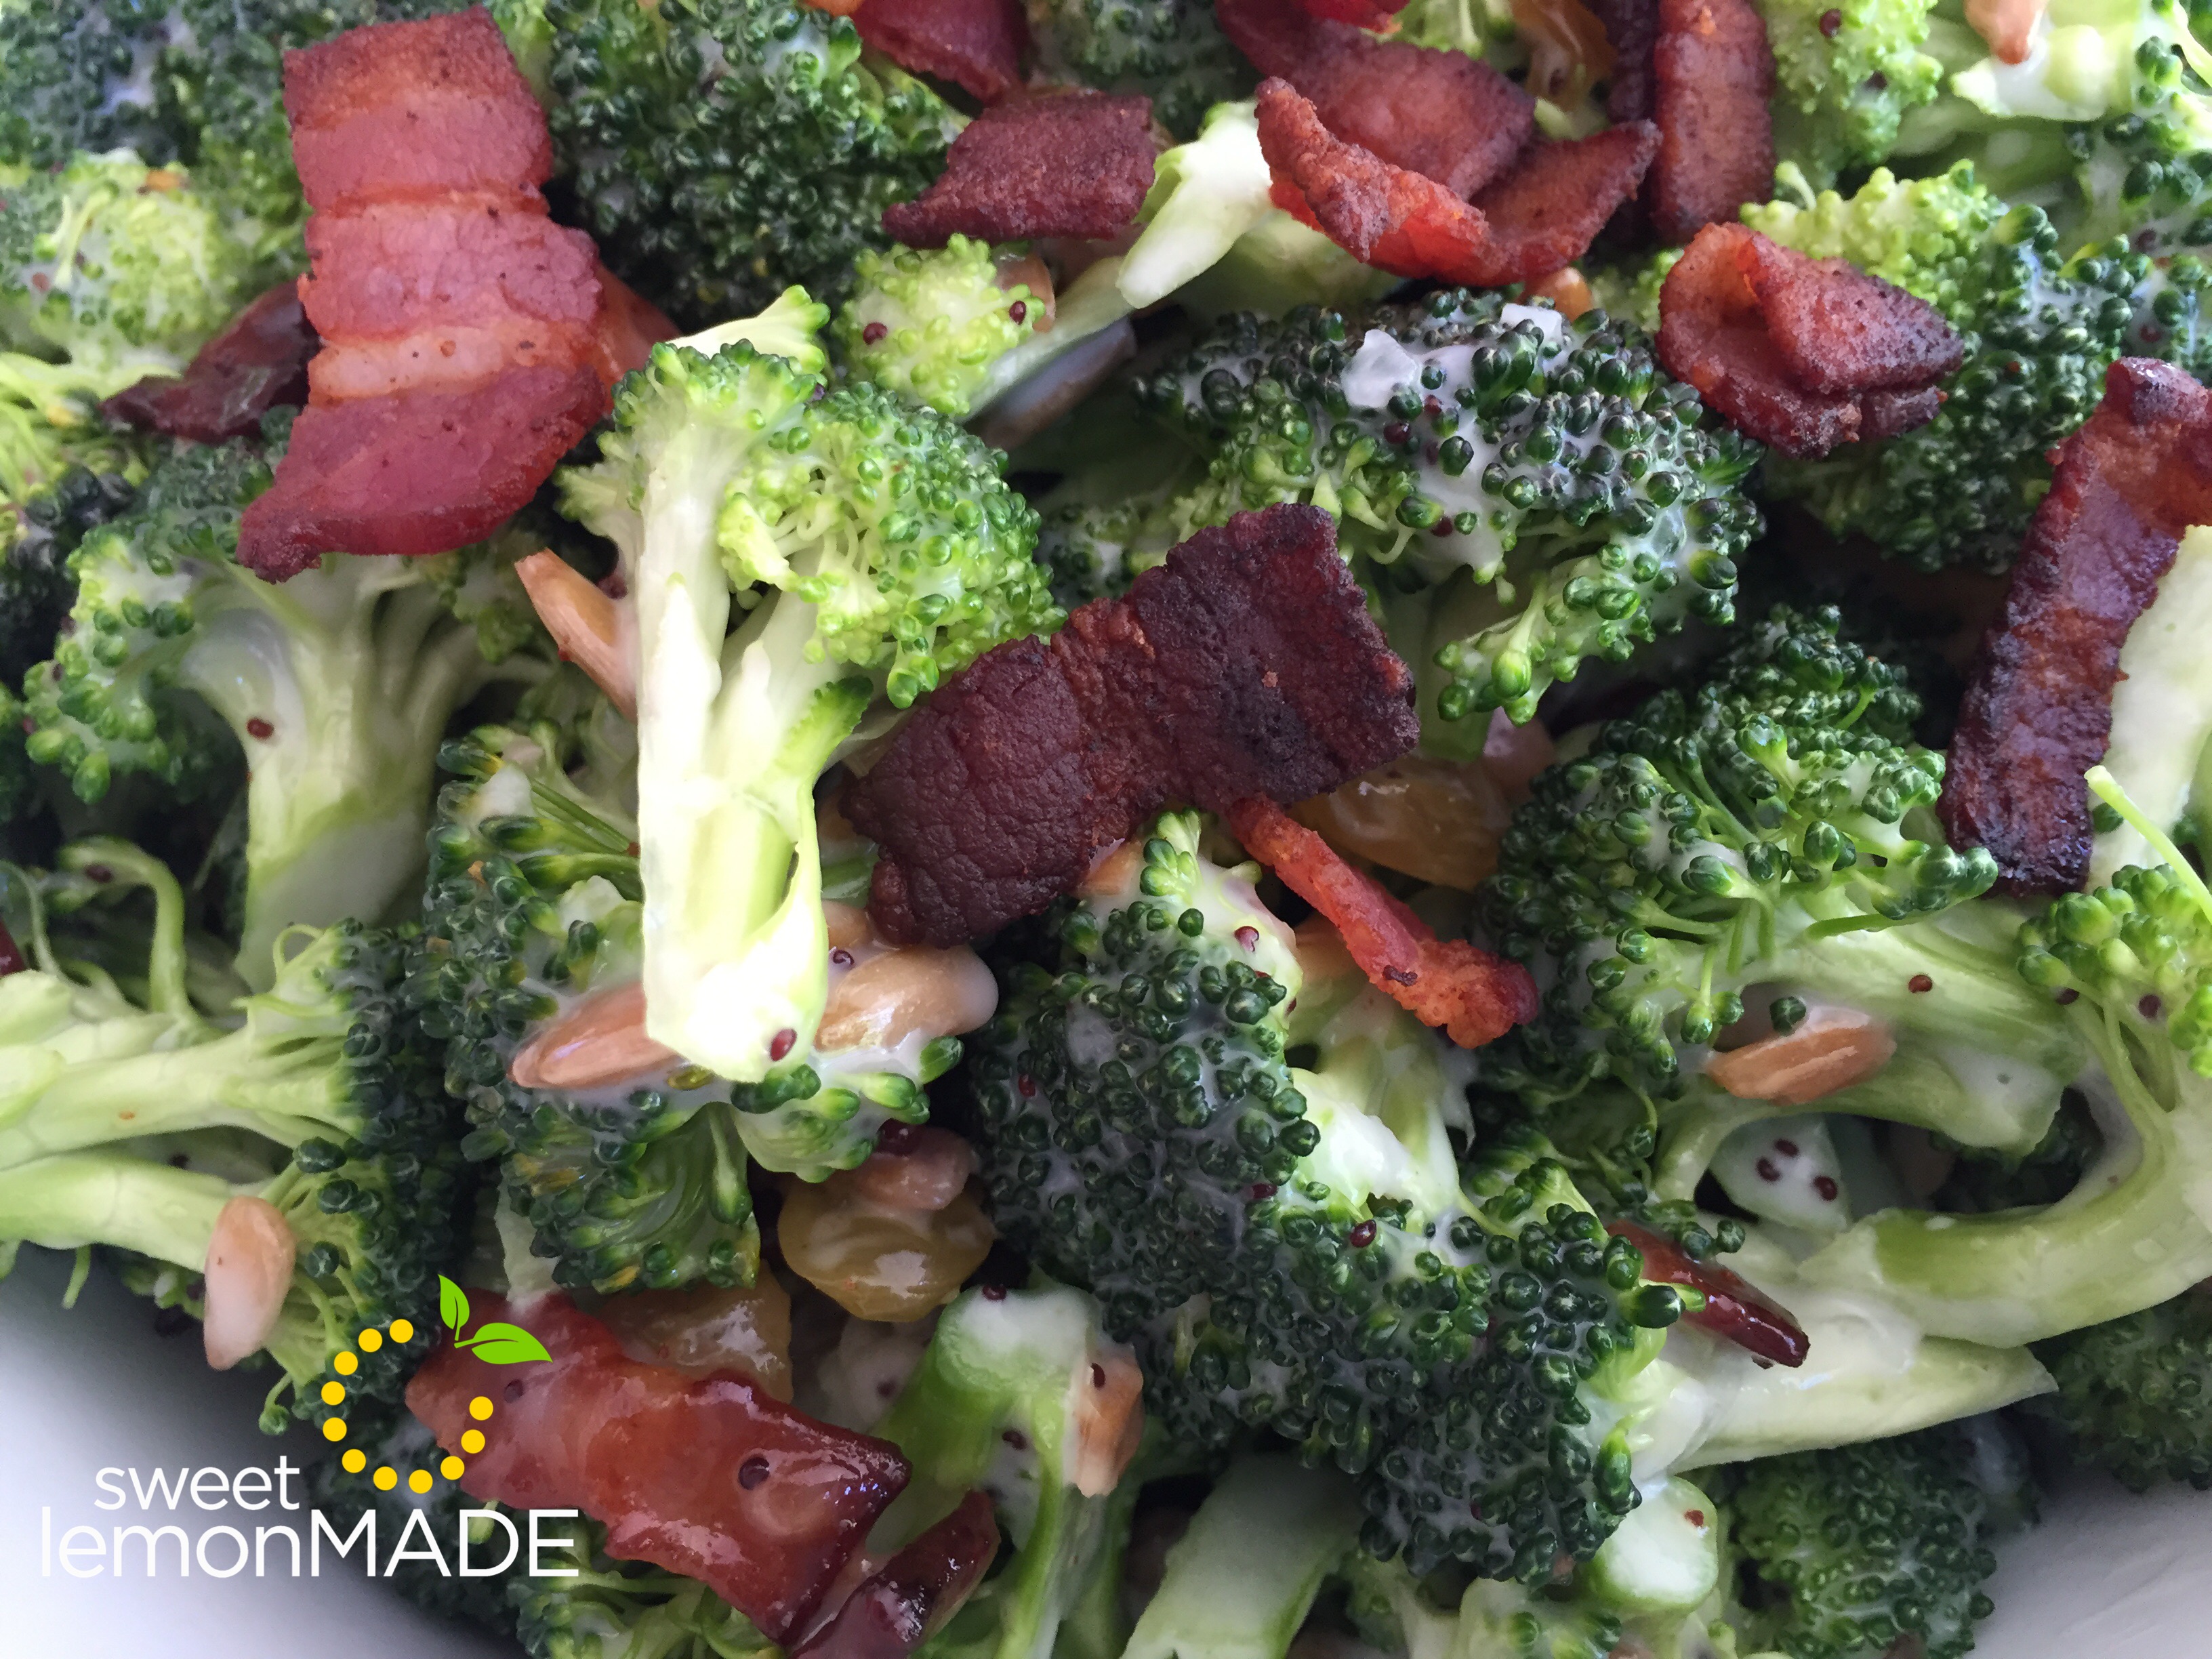
Were you invited to a BBQ and don’t know what to make or forgot you needed to bring a dish? I’ve got you covered with my go to dish I like to bring…Broccoli Salad! This salad is so simple and easy to make and it’s soooo good!! This broccoli salad is my favorite! It’s full of broccoli, crispy crumbled bacon, golden raisins, sunflower seeds, and sweet poppyseed dressing! It always seems to be one of the first dishes to get eaten up too, so that tells you how yummy it is! The only thing you have to cook is the bacon. How much easier can a recipe get? Not much easier. All you have to do with the rest of the other ingredients is pour it into a bowl and mix it all together.

IMG_1676

So hit up the grocery store and grab all the ingredients needed and a giant bowl and whip up this delicious salad! You won’t regret it! I promise. And you can get any brand of poppyseed dressing, but I love the BRIANNAS brand the best!
 

IMG_2080

IMG_2081

Broccoli Salad with Bacon and Poppy Seed Dressing
Write a review
Print
Ingredients
  1. 1 (12 ounce) bags of broccoli florets, cut into bite size pieces
  2. 1 bottle Briannas poppyseed dressing
  3. 1 (16 ounce) package of bacon, cooked and crumbled
  4. 1 and 1/2 cups of Golden Raisins
  5. 1/3 cup unshelled sunflowers seeds
Instructions
  1. Combine broccoli, golden raisins and sunflower seeds in a bowl.
  2. Pour the bottle of dressing into the salad and mix all together. Tip: I usually use the whole bottle but if you don't like as much dressing you can start off with half the bottle and then continue to add dressing until desired.
  3. Let salad chill for 1-2 hours. It might look like the salad doesn't have enough dressing when you take it out of the fridge but it is. The salad dressing marinates into the ingredients.
  4. Give the salad a stir before serving, mix in bacon leaving a bit for the top, and serve!
Sweet Lemon Made http://sweetlemonmade.com/

IMG_1847

Celebrate Sweet Picks

Baby Shower Sweet Picks

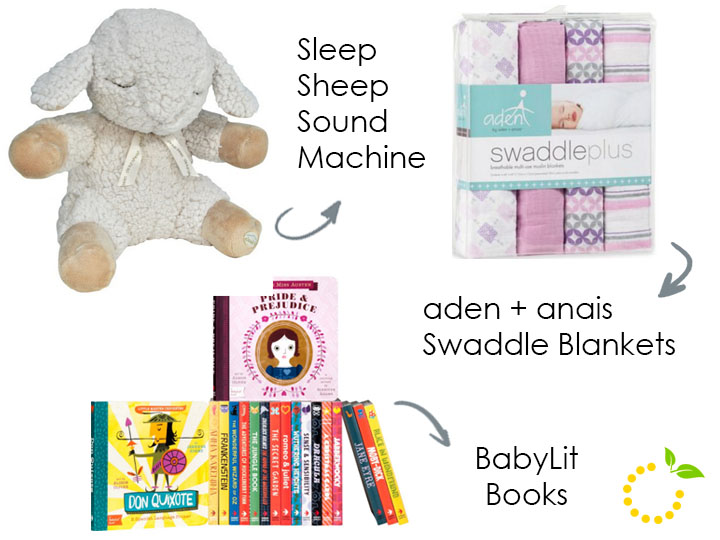
Sleep Sheep Sound Machine: Talk about counting sheep to go to sleep! This adorable Sleep Sheep was the ultimate sleep-aid for my little girl when she was still in her crib. The sound machine inside plays a variety of sounds and melodies, and even includes time options that will automatically turn off the sound. The sounds and melodies include: Mother’s Heartbeat, Ocean Waves, Twinkle Twinkle and a Classical Lullaby.  The best part about the Sleep Sheep is you can remove the sound machine and use the Sheep as a snuggly toy. And that also means it’s washable! This is the perfect gift for a brand new mom and one that I give often!
Image Source: Target

aden + anais Swaddle Blankets: Anyone who has used these swaddle blankets can tell you they are the softest and most comfy blankets you will ever find. I wish they made them for adults! Any expecting mother would be so excited to recieve this gift for their new bundle of joy. They are light-weight and breathable, so you can even use them to cover the car seat or stroller. They also come in adorable colors and patterns so you have a lot of variety to choose from.
Image Source: aden +anais

BabyLit Books: You will fall in love at first sight with these adorable children’s books! A compact, cardboard version of your favorite classic books… what’s not to love?! The cover alone is enough to make you fall head over heels for them and lure you into thinking you need every book they ever put out, whether you’ve got kids of your own or not. (I may or may not be guilty of just that.) They are perfect for story time of any age while incorporating the classic book characters we all love. They are my go-to baby gift. Go grab yourself one or two or all of them.
Image Source: BabyLit 

Celebrate

EASY DIY PAPER GARLAND

Spring is in the air and just about everyone I know is pregnant! So literally April will be the month of showers, in more ways than one. April showers bring summer babies! Haha. I love an excuse to throw a party, so naturally I’m the first to sign up to host a baby shower. So we’d thought we’d bring you along for the ride as we plan, prepare, and party. Stayed tuned all month long for all the fun details.

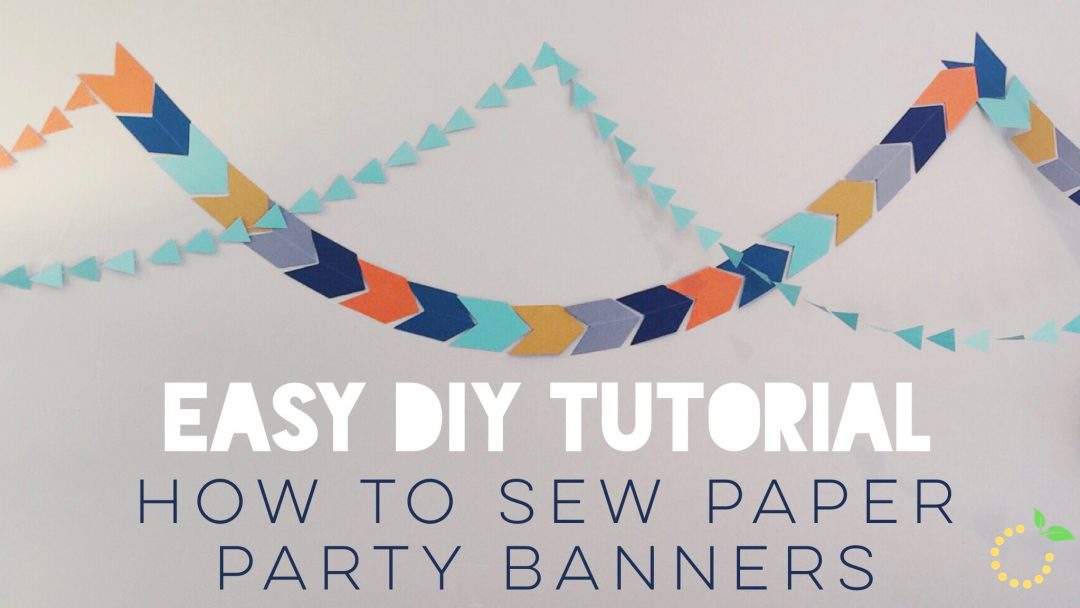
Today we are talking decor. I am a total Pinterest wannabe when it comes to party decor, I pin ALL THE THINGS. I’d like to think I operate on the values of simple and fun, but if I’m being honest half the time it ends up being over the top, time consuming, and pricey. The other half of the time the ideas never leave my brain or Pinterest board…always the best of intentions (can I get an AMEN?). So knowing that I have a couple of showers coming up I decided to get ahead of the game this time. Paper banners and garland are all the rage these days and I’d been eyeing a few up at my favorite party shops, but couldn’t bring myself to pay $10 for a 6 foot banner (that day–let’s be honest, there are plenty of days that I spend way more on way less because I’m too busy or lazy, haha). But I love the fun, whimsical look that paper banners can give. You can personalize them with letters or have a variety of shapes and colors to give texture and dimension. They are awesome. So I set out to try out making and sewing my own! I have seen and heard of people doing this, claiming “it’s so easy!” But I wasn’t really sure what to do. I figured there had to be a catch of some kind. You can’t just sew paper, can you? Well, according to the craft gods you can, and it really is easy! You don’t need a special needle or special thread. I just used what I had already in my machine and had zero problems. I was kind of amazed. Okay, so here are the details…

FullSizeRender37853 FullSizeRender

STEP ONE: Cutting the Paper
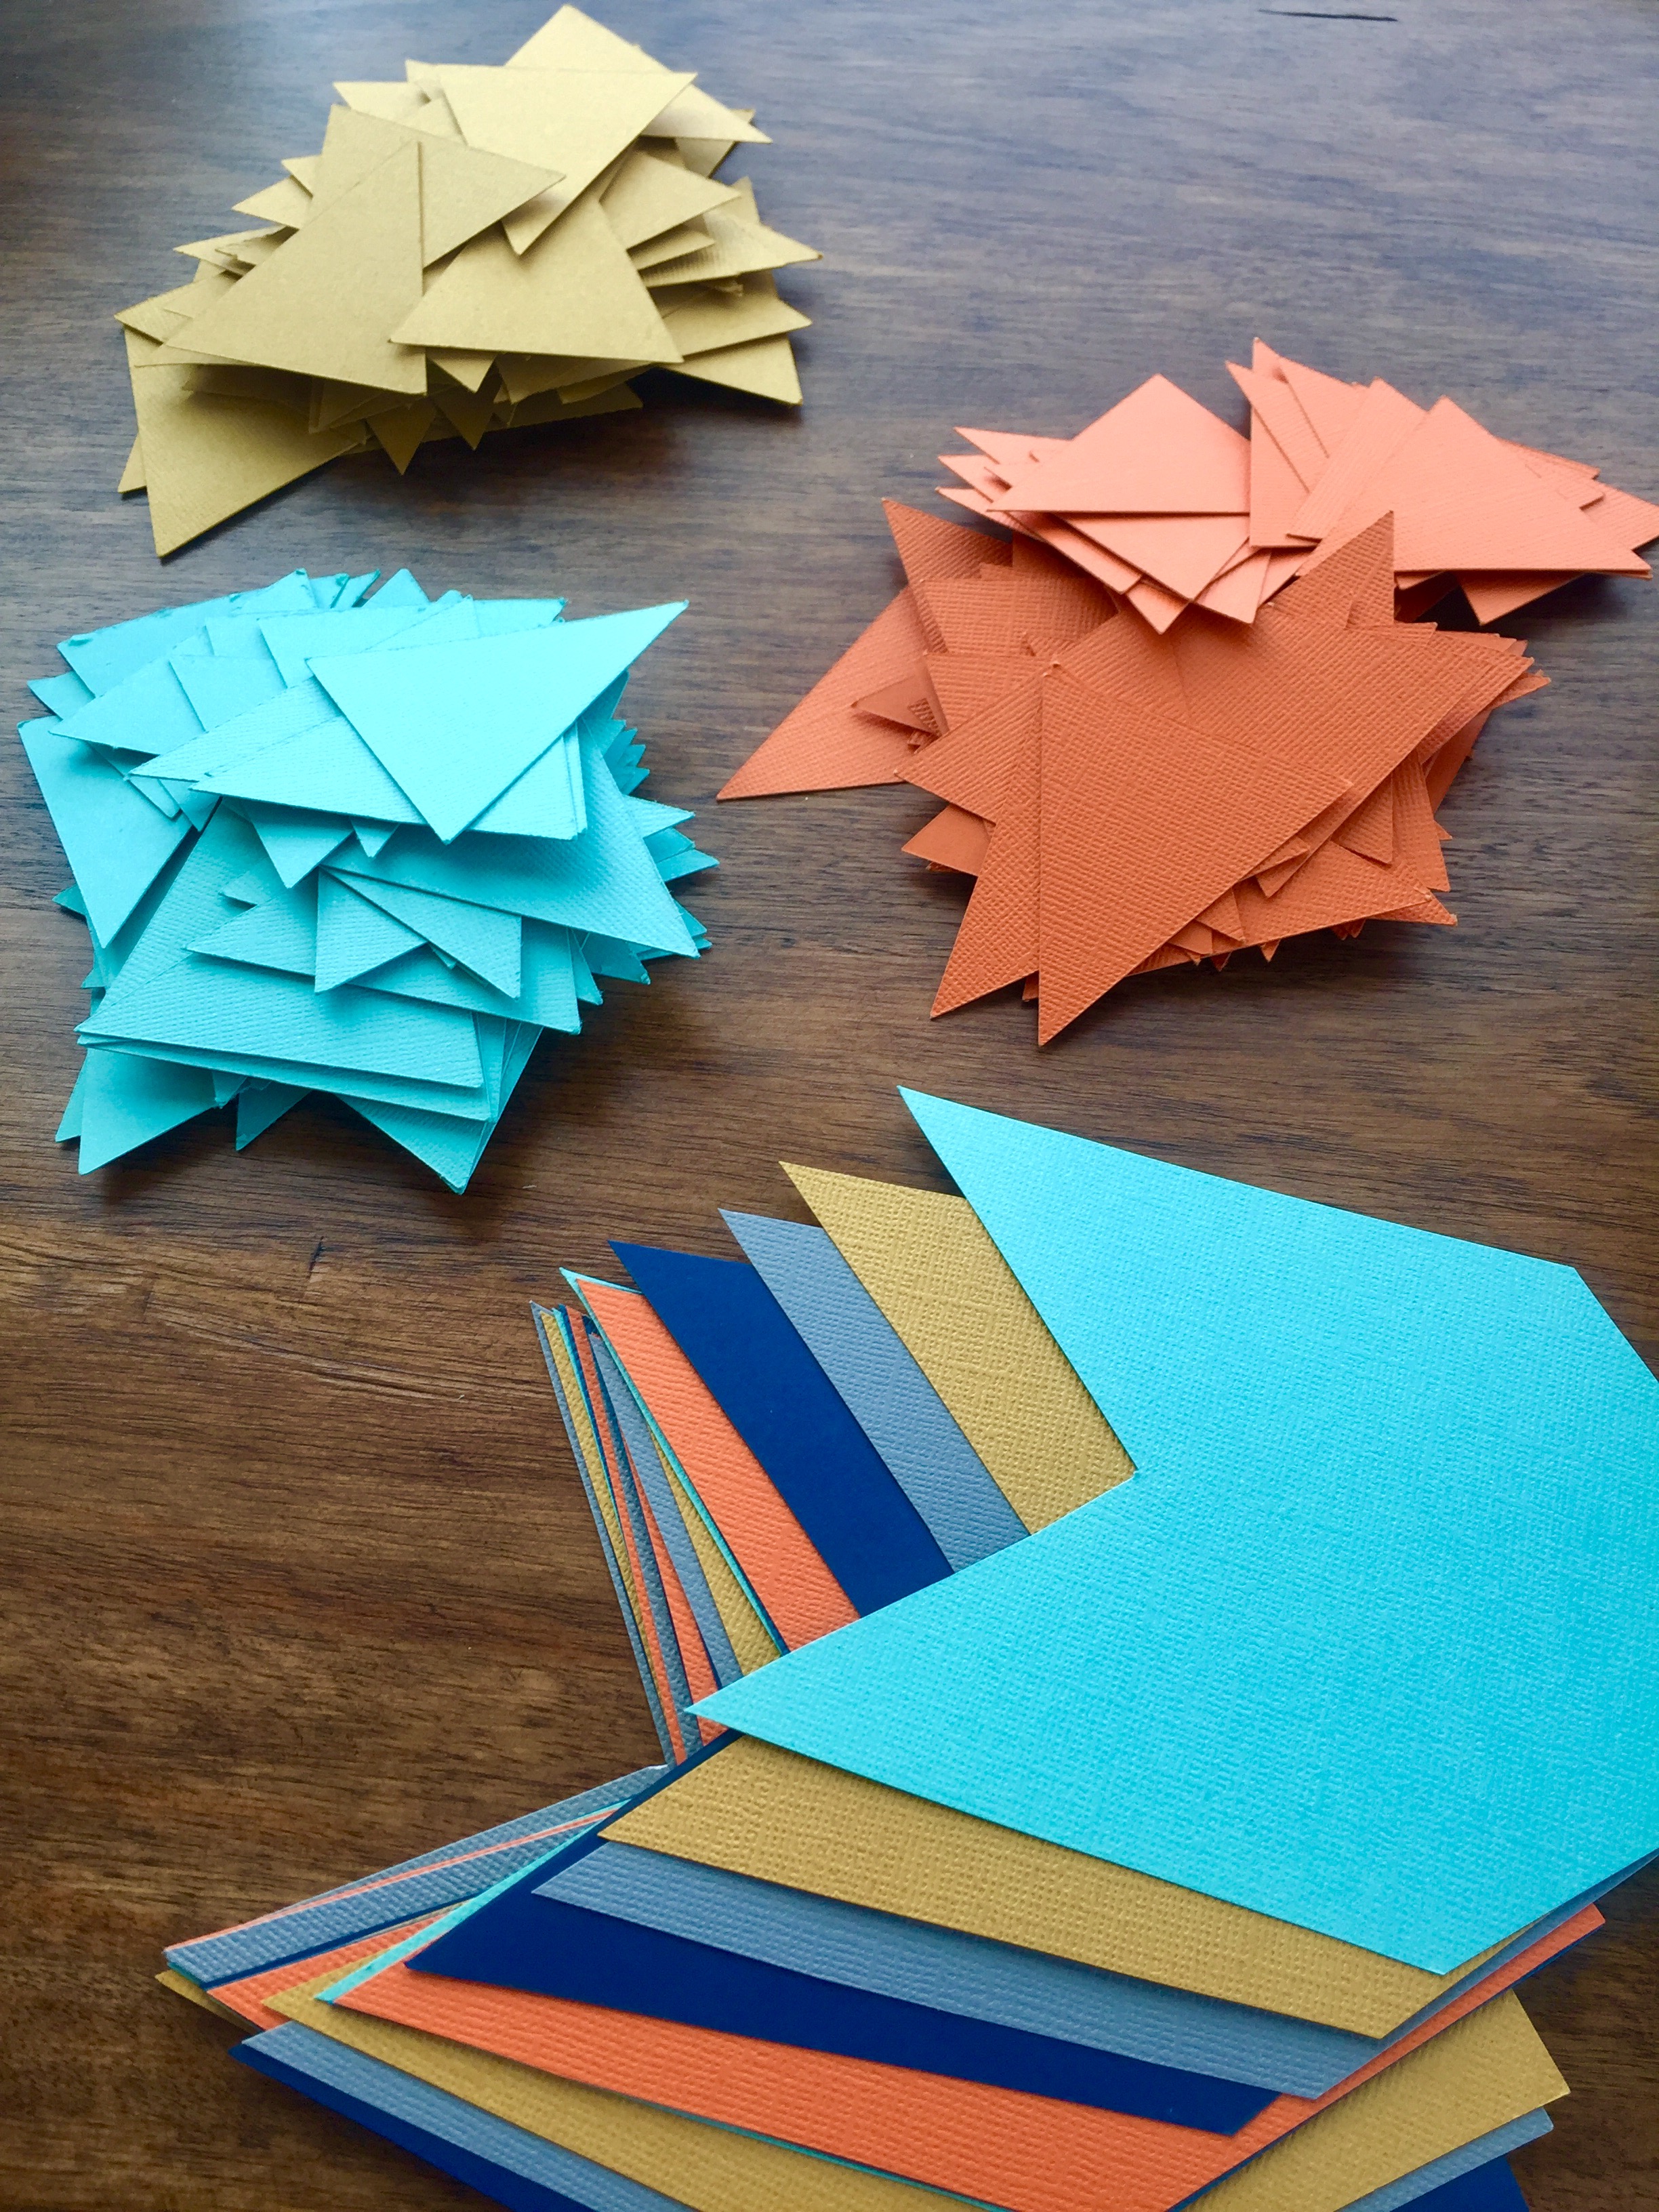
I decided that I wanted to do multiple garlands in different shapes and colors, so I searched the interwebs until I found the perfect shape. Once I found the arrow shape I wanted, I printed it on cardstock, cut it out, and then used it as a stencil to trace the shape on to the colored cardstock. After I had a page traced I used some regular old scissors and cut them out….one..by..one. This definitely the most time-consuming part of the whole project! I felt like I was doing an elementary art project. Trace and cut. Trace and cut. Searching for encouragement and validation in my seemingly endless endeavor, I texted this picture to my blogging budding and crafternoon partner in crime, Ashley, to show her my progress. Rather than responding with enthusiasm, she responded with surprise. “Are you really cutting all of those out by hand?” she asked. Confused I responded, “Yeah, how else would I do it? They don’t make hole punches that big!” Her response was filled with many tear-faced laughing emojis as she reminded me about her Silhouette Cameo Electronic Cutting Tool !! OH MY GOSH. Duh. I had totally forgotten she had one of those. I had literally spent hours tracing and cutting all of my large arrow shapes. Oh boy, if this isn’t the story of my life, I don’t know what is!! Haha.

She came over the next day and we used her fancy machine to cut out all the small triangles in no time at all. It was such a breeze I just shook my head in disbelief thinking of all the hours I had spent tracing and cutting the others the night before. So if you are going to do this, the only way for it to be simple and quick is if you have one of those fancy cutting machines!!!

STEP TWO: Sewing the Paper
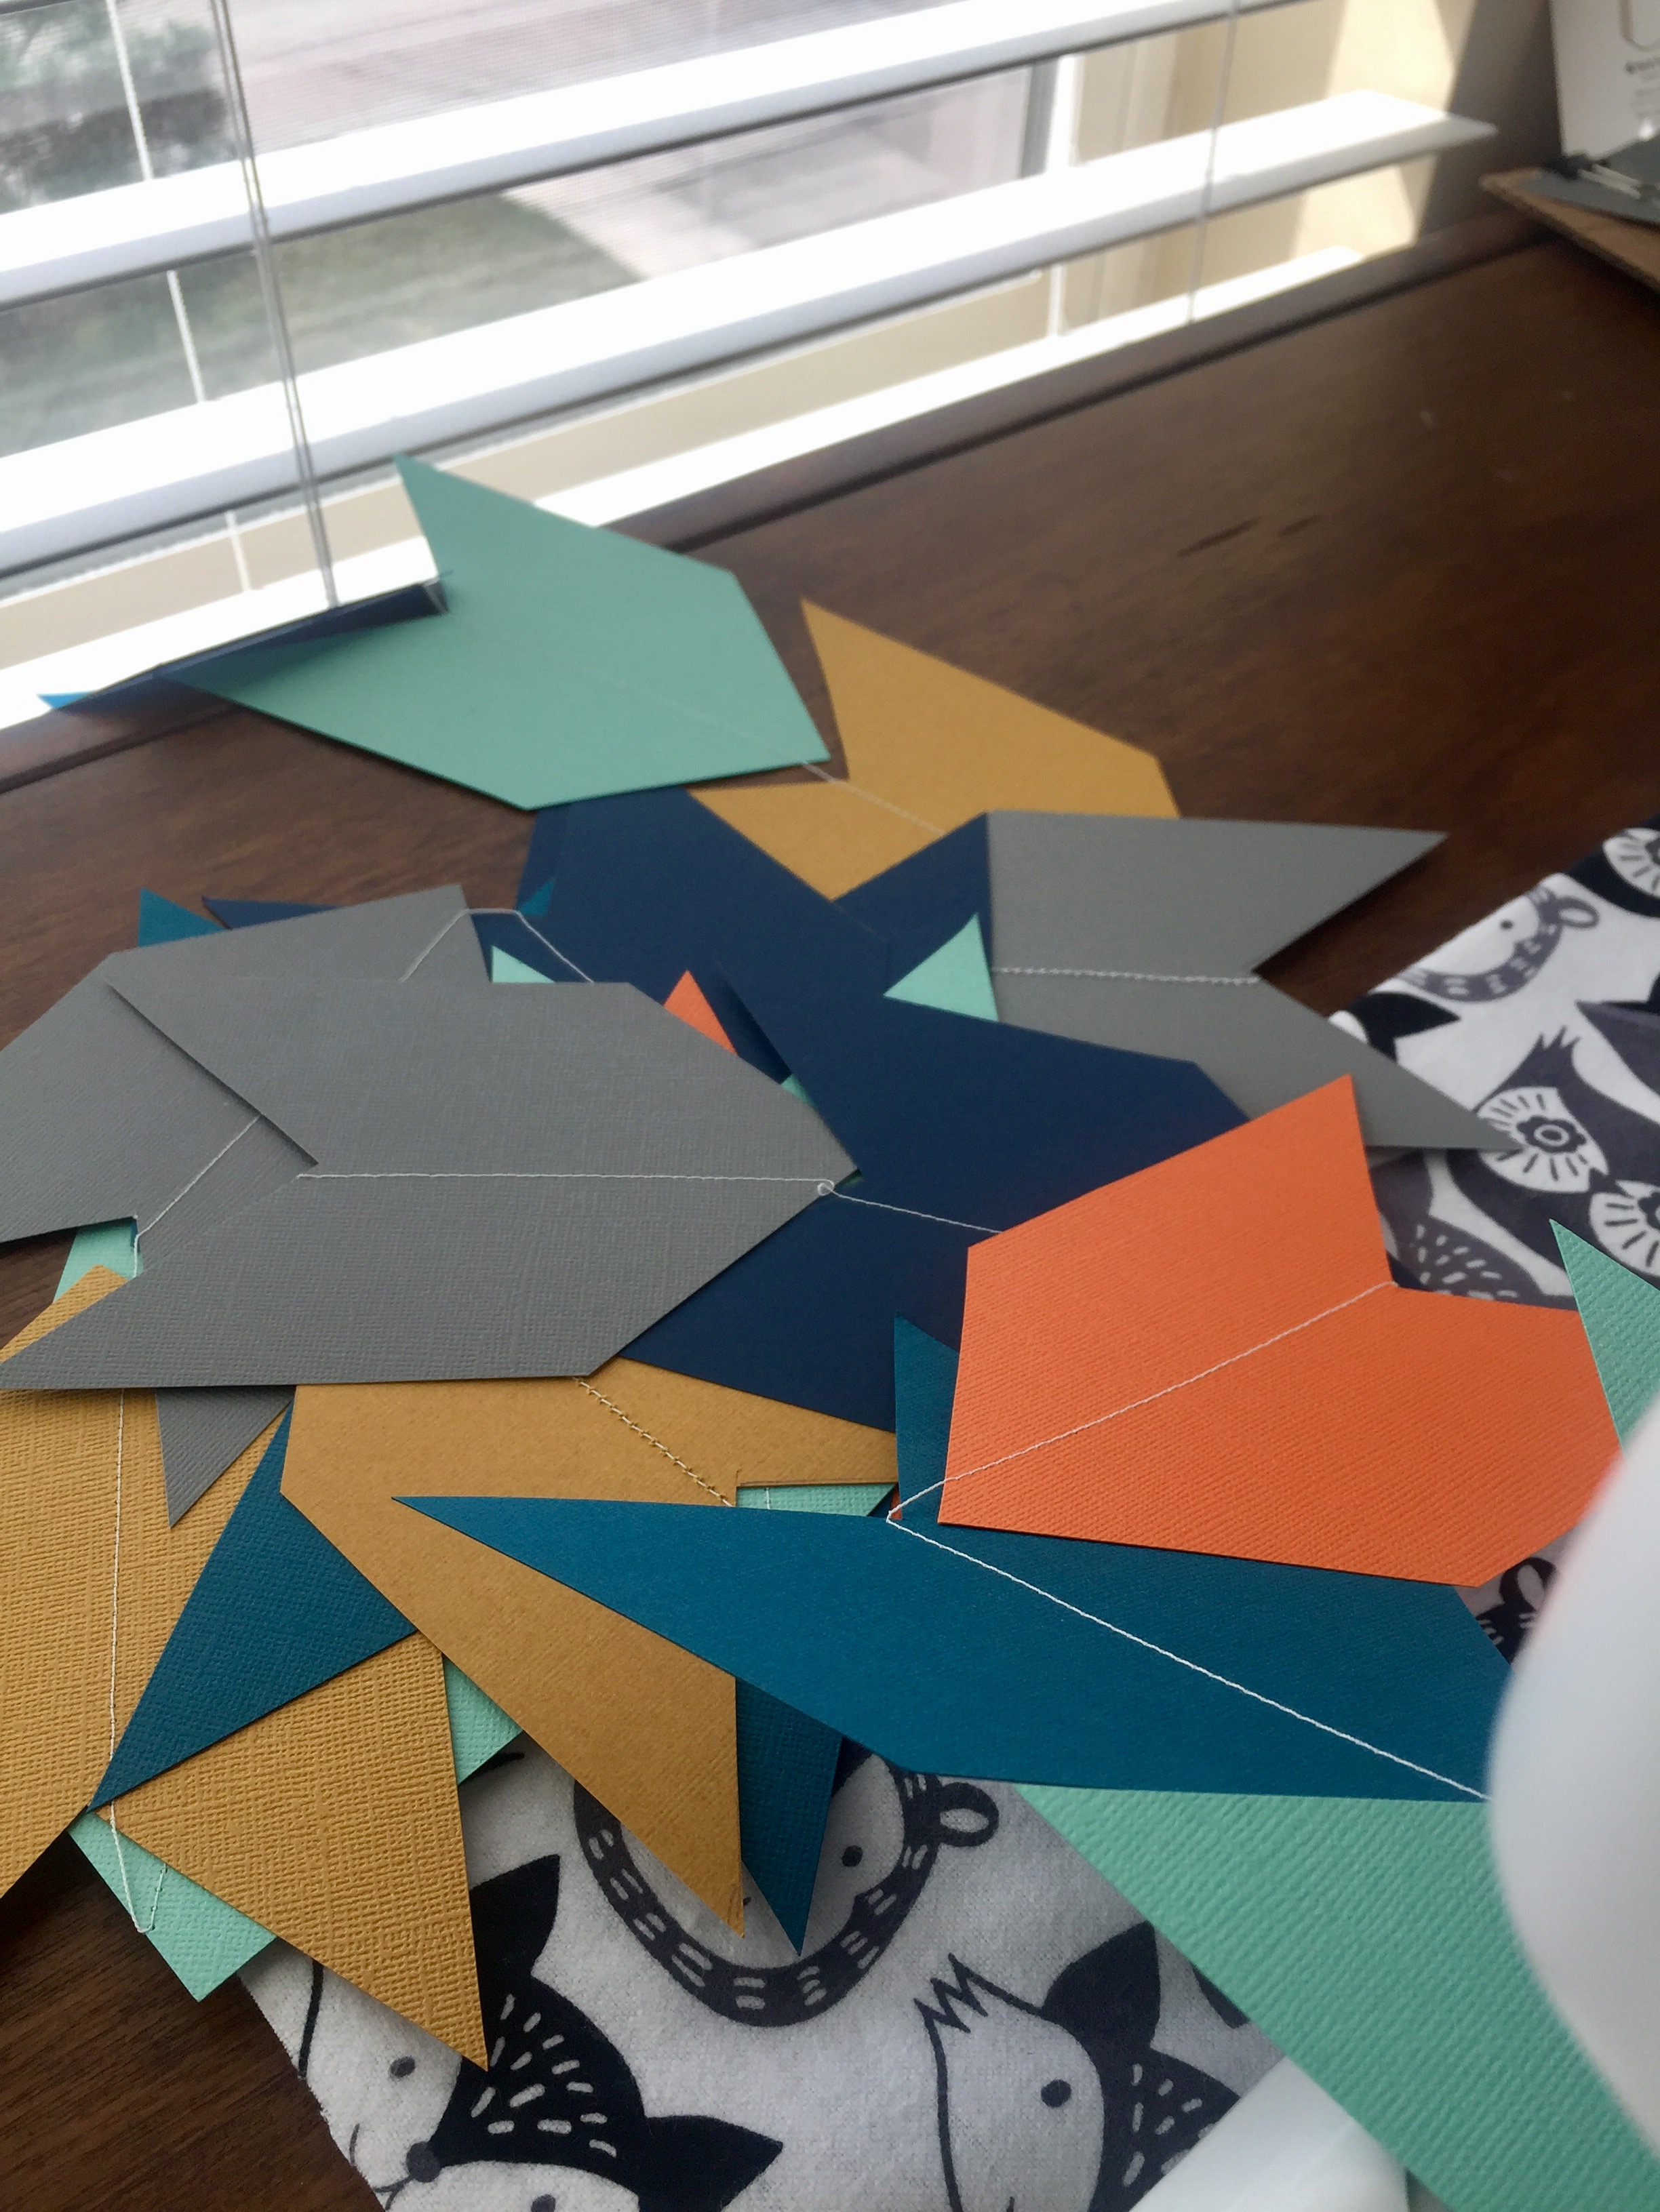
Once all your shapes are cut out, arrange them in the color pattern you want them to be sewn in (if you are using multiple colors) and make a pile. Next, make sure your sewing machine is ready to roll–full bobbin and threaded properly. For ease I picked the most basic, simple stitch. No need to adjust the tension or mess with any other fancy features–just keep it on the basic, standard settings. If your sewing machine has a speed dial be sure it is on the slowest setting. Before you put the first shape under the presser foot to sew, allow the sewing machine to sew with nothing under the presser foot (take the bobbin thread and the upper machine thread once there has been a few stiches and gently pull it back to help guide the formation of the string). You will do this so your banner has a long section of just thread at the beginning and the end of the banner. This will make hanging the banner much easier. Once you are ready to start sewing shapes, take your paper shapes and line one or two up on the sewing machine in front of the needle and presser foot. Make sure the presser foot is down and slowly begin sewing the shapes. Advance the shapes, adding new ones each time. Gently pull the shape that has been sewn and guide it behind the sewing machine. If you want your banner shapes to be more spaced out, allow the sewing machine to sew for longer without adding a shape (just letting it sew the upper thread and bobbin threads together).
Tip: when you are letting the sewing machine sew without paper, gently pull the last sewn shape (now behind the sewing machine) to keep some tension so the thread you are sewing does not tangle.

147
FullSizeRender638


STEP THREE: Storing the Banner
After sewing the banner can get tangled very easy because the thread connecting all the shapes is so thin. After I had finished sewing I cut a flap off a large cardboard box (from my many Amazon Prime purchases…I’m addicted) and began to wrap the banner around the cardboard piece. Once the banner had been wrapped I used a paper clip or binder clip to secure the ends of the banner to the cardboard so they didn’t come loose or tangle. These store easily and keep the garland tangle-free until the next party!

IMG_5542

I loved the way the triangles turned out! It was a fun look and I really liked how they all didn’t hang the same way. The variations in the angles as the hung added great texture and dimension. So if you have a party coming up and know someone with a fancy electronic Silhouette Cameo or a Cricket, this project is definitely worth your time and will save you lots of money$$$.

IMG_0555

Eats

Strawberries and Cream Muddy Buddies

Need a sweet treat for Valentine’s Day? We’ve got you covered. We made these Strawberries and Cream Muddy Buddies for our Galentine’s Day Brunch. They are easy to make and taste delicious!


Strawberries and Cream Muddy Buddies
Write a review
Print
Ingredients
  1. 6 oz white chocolate or white vanilla candy melts
  2. 6 oz red or pink candy melts
  3. 5 cups rice chex cereal, divided in 2 parts
  4. 1/2 cup strawberry cake mix
  5. 1/2 cup powdered sugar
  6. M&Ms
Instructions
  1. Put 2 1/2 cups rice chex cereal into a medium sized bowl or ziploc bag.
  2. Slowly melt white chocolate in the microwave in 30 seconds intervals.
  3. Add melted white chocolate to chex cereal and lightly stir or shake to coat evenly. Be careful to not break the chex cereal too much.
  4. Add the powdered sugar to the white chocolate covered chex cereal and lightly stir or shake to coat evenly with powdered sugar.
  5. Repeat the same process with the red candy melts and strawberry cake mix (instead of the powdered sugar).
  6. Allow to dry completely and then combine the two kinds of chex together and add Valentine's M&Ms and sprinkles.
Sweet Lemon Made http://sweetlemonmade.com/

Celebrate

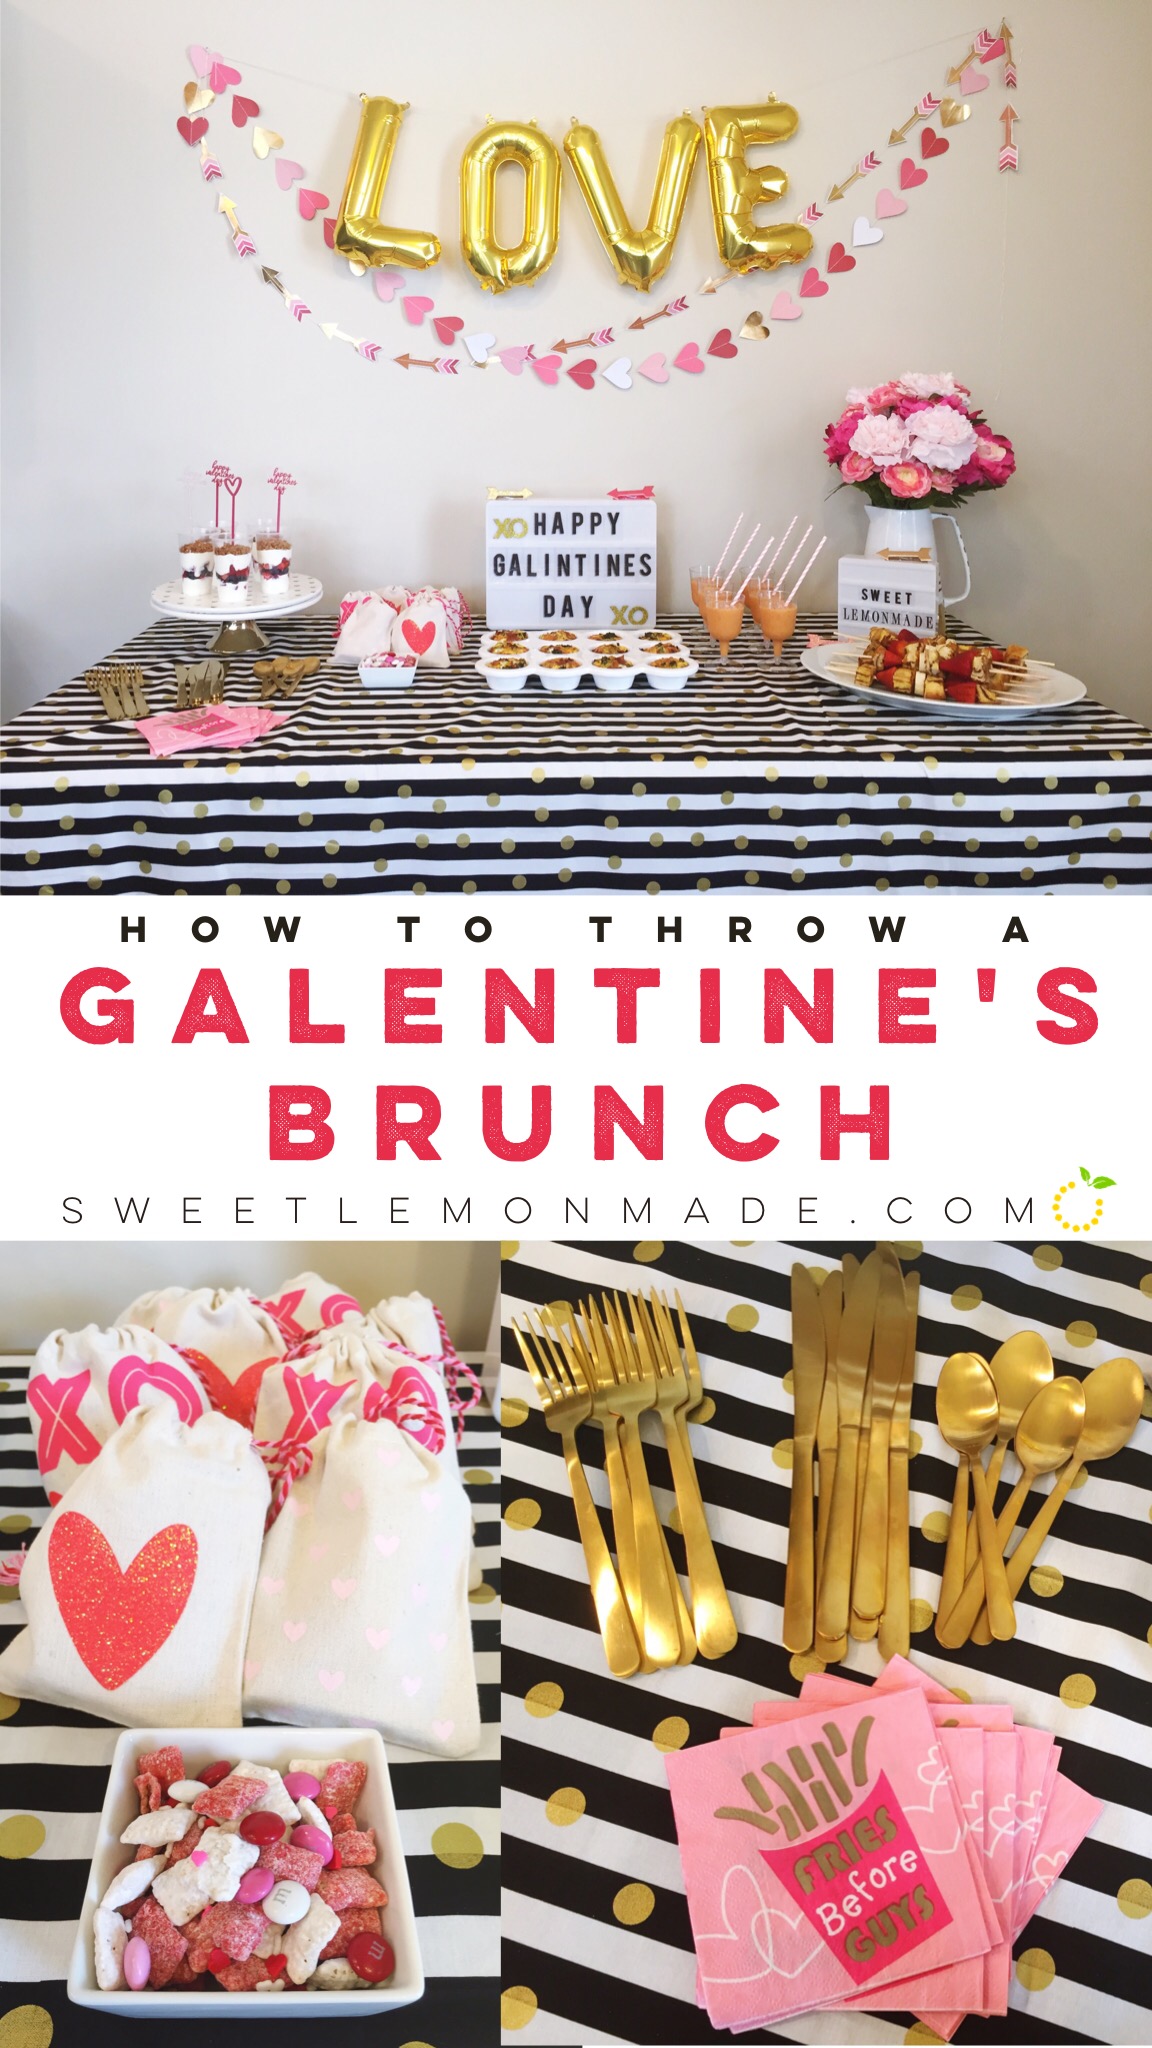
Galentine’s Brunch

Galentine's Brunch sweetlemonmade.com

Life is weird as you get older. Four months can feel like four days and it becomes harder and harder to connect with friends that you have loved for years. Good ideas and the best of intentions often fall quickly off your radar and before you know it, a year has gone by.

Well, hallelujah for the blog, because it has really motivated us to stay more connected as friends, despite our busy, different lives. And thank you Target dollar spot, for continually inspiring me with seasonal party favors.

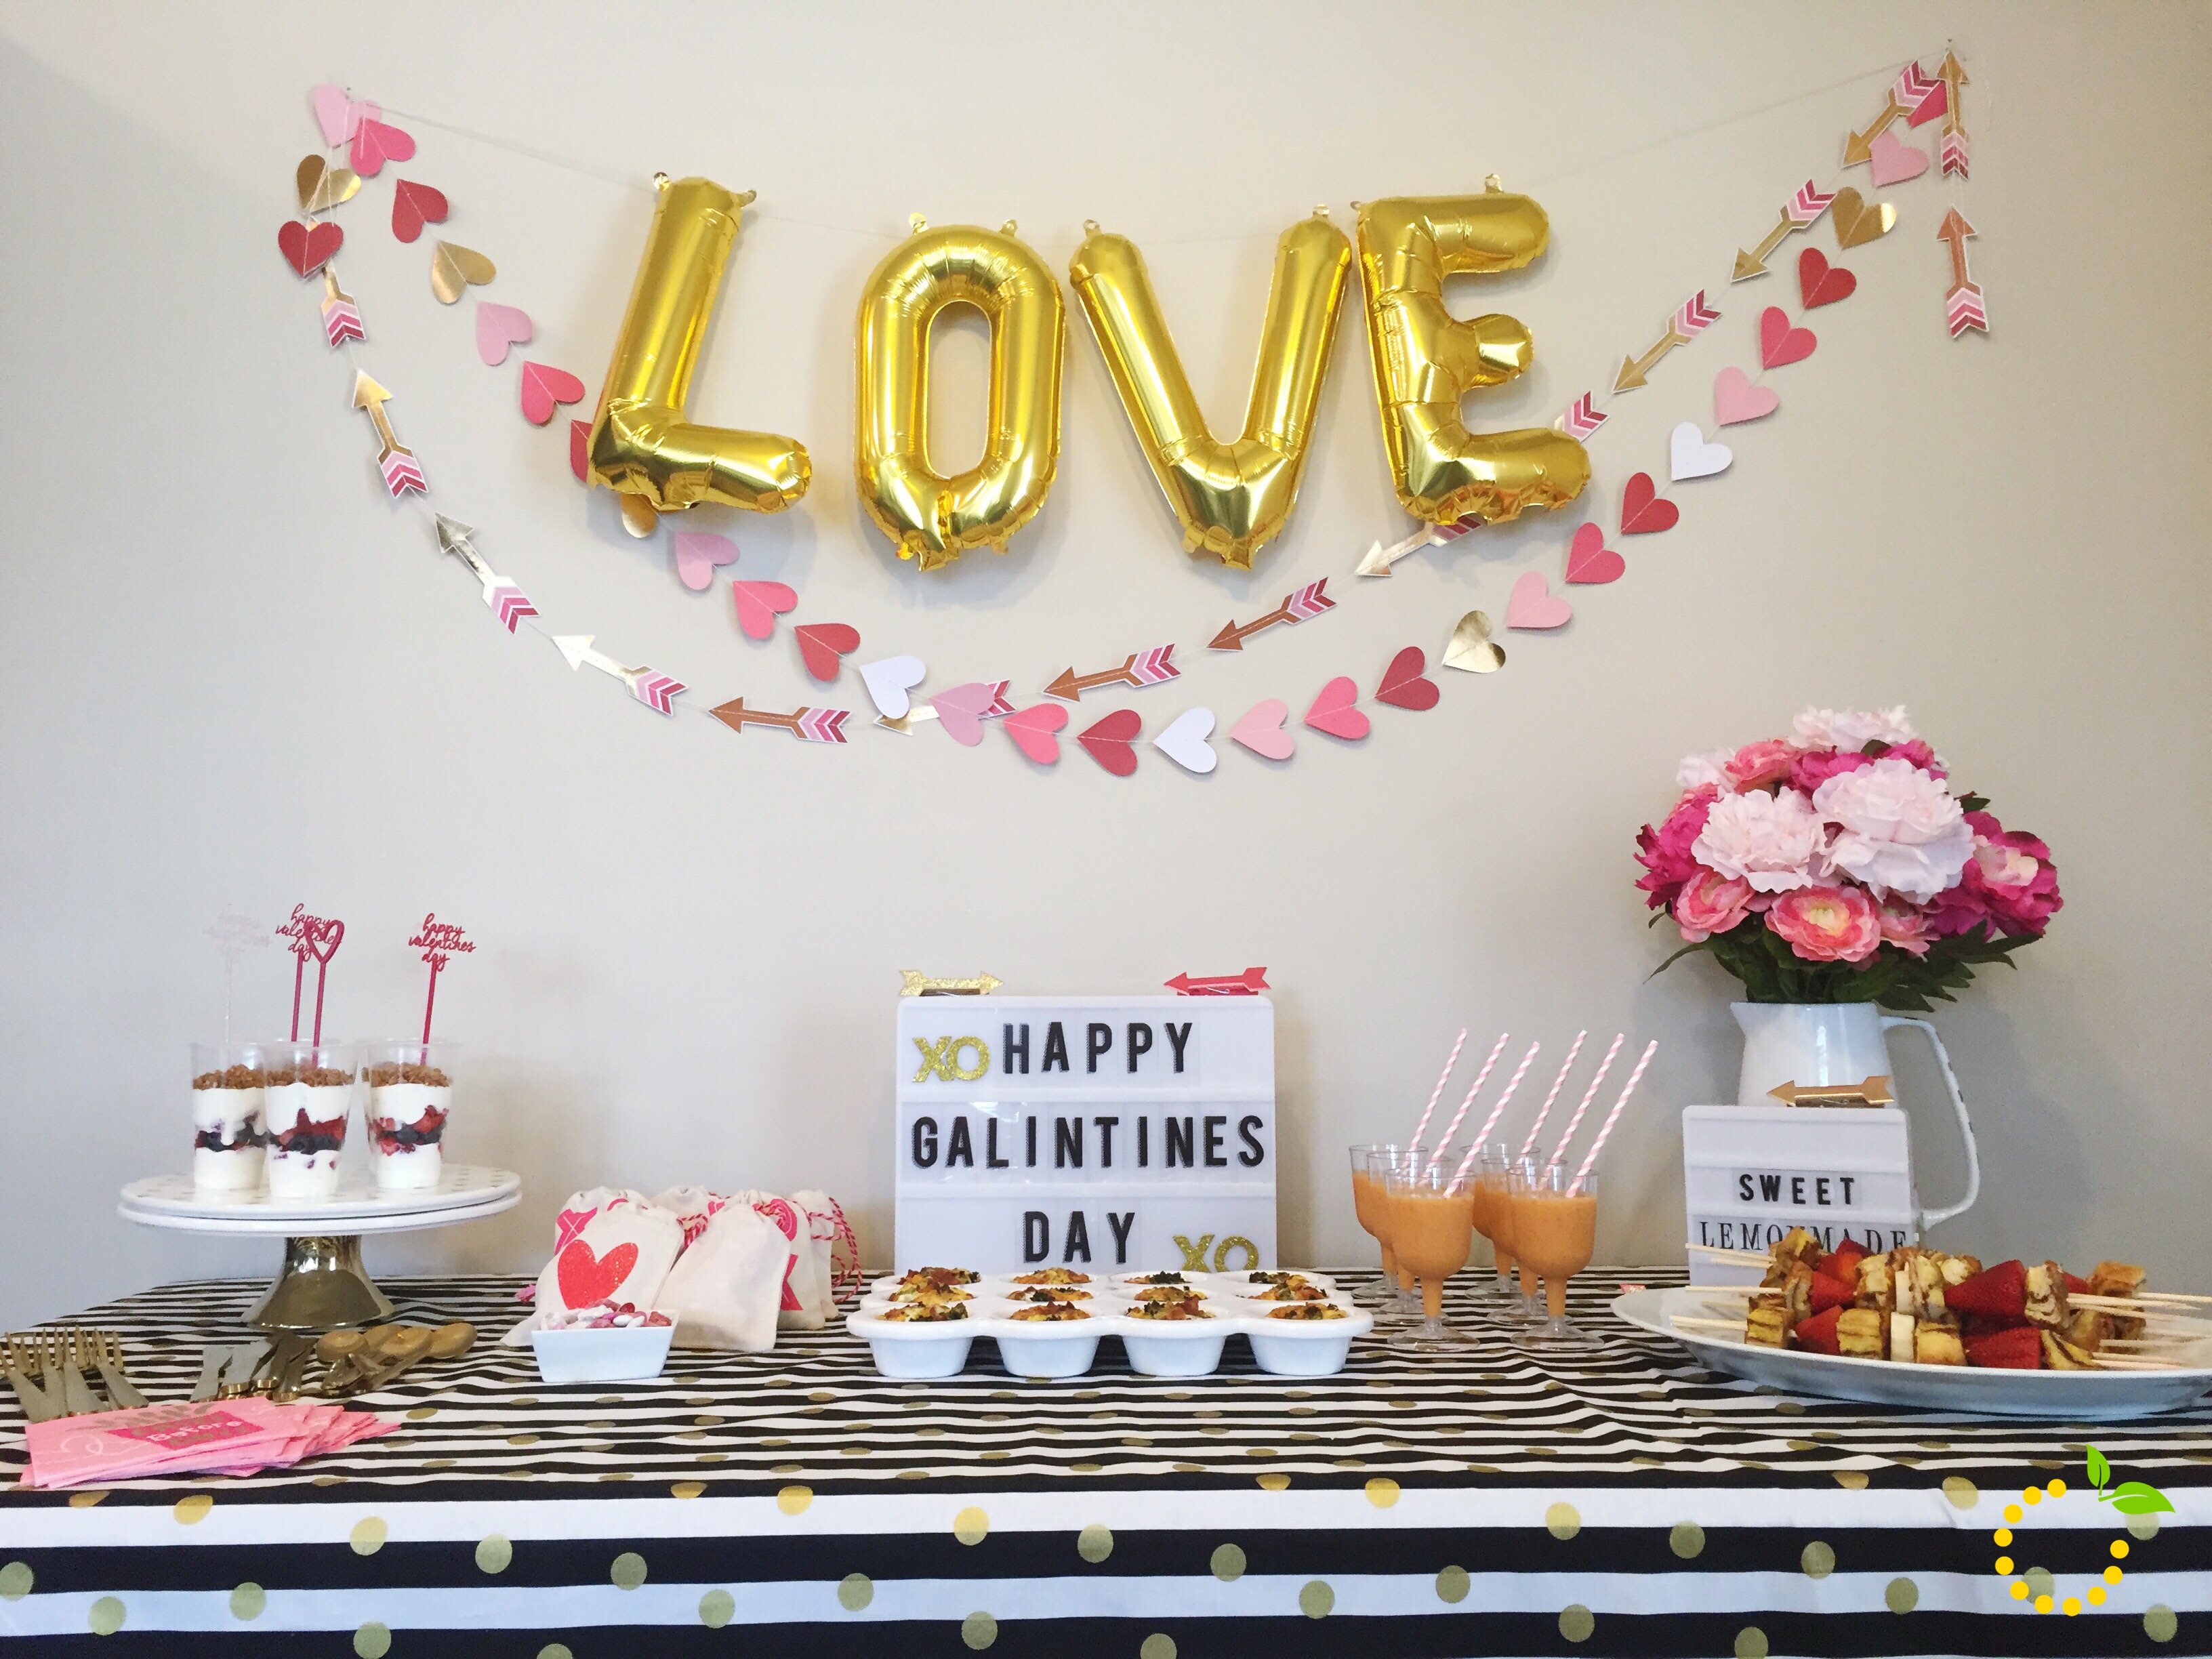
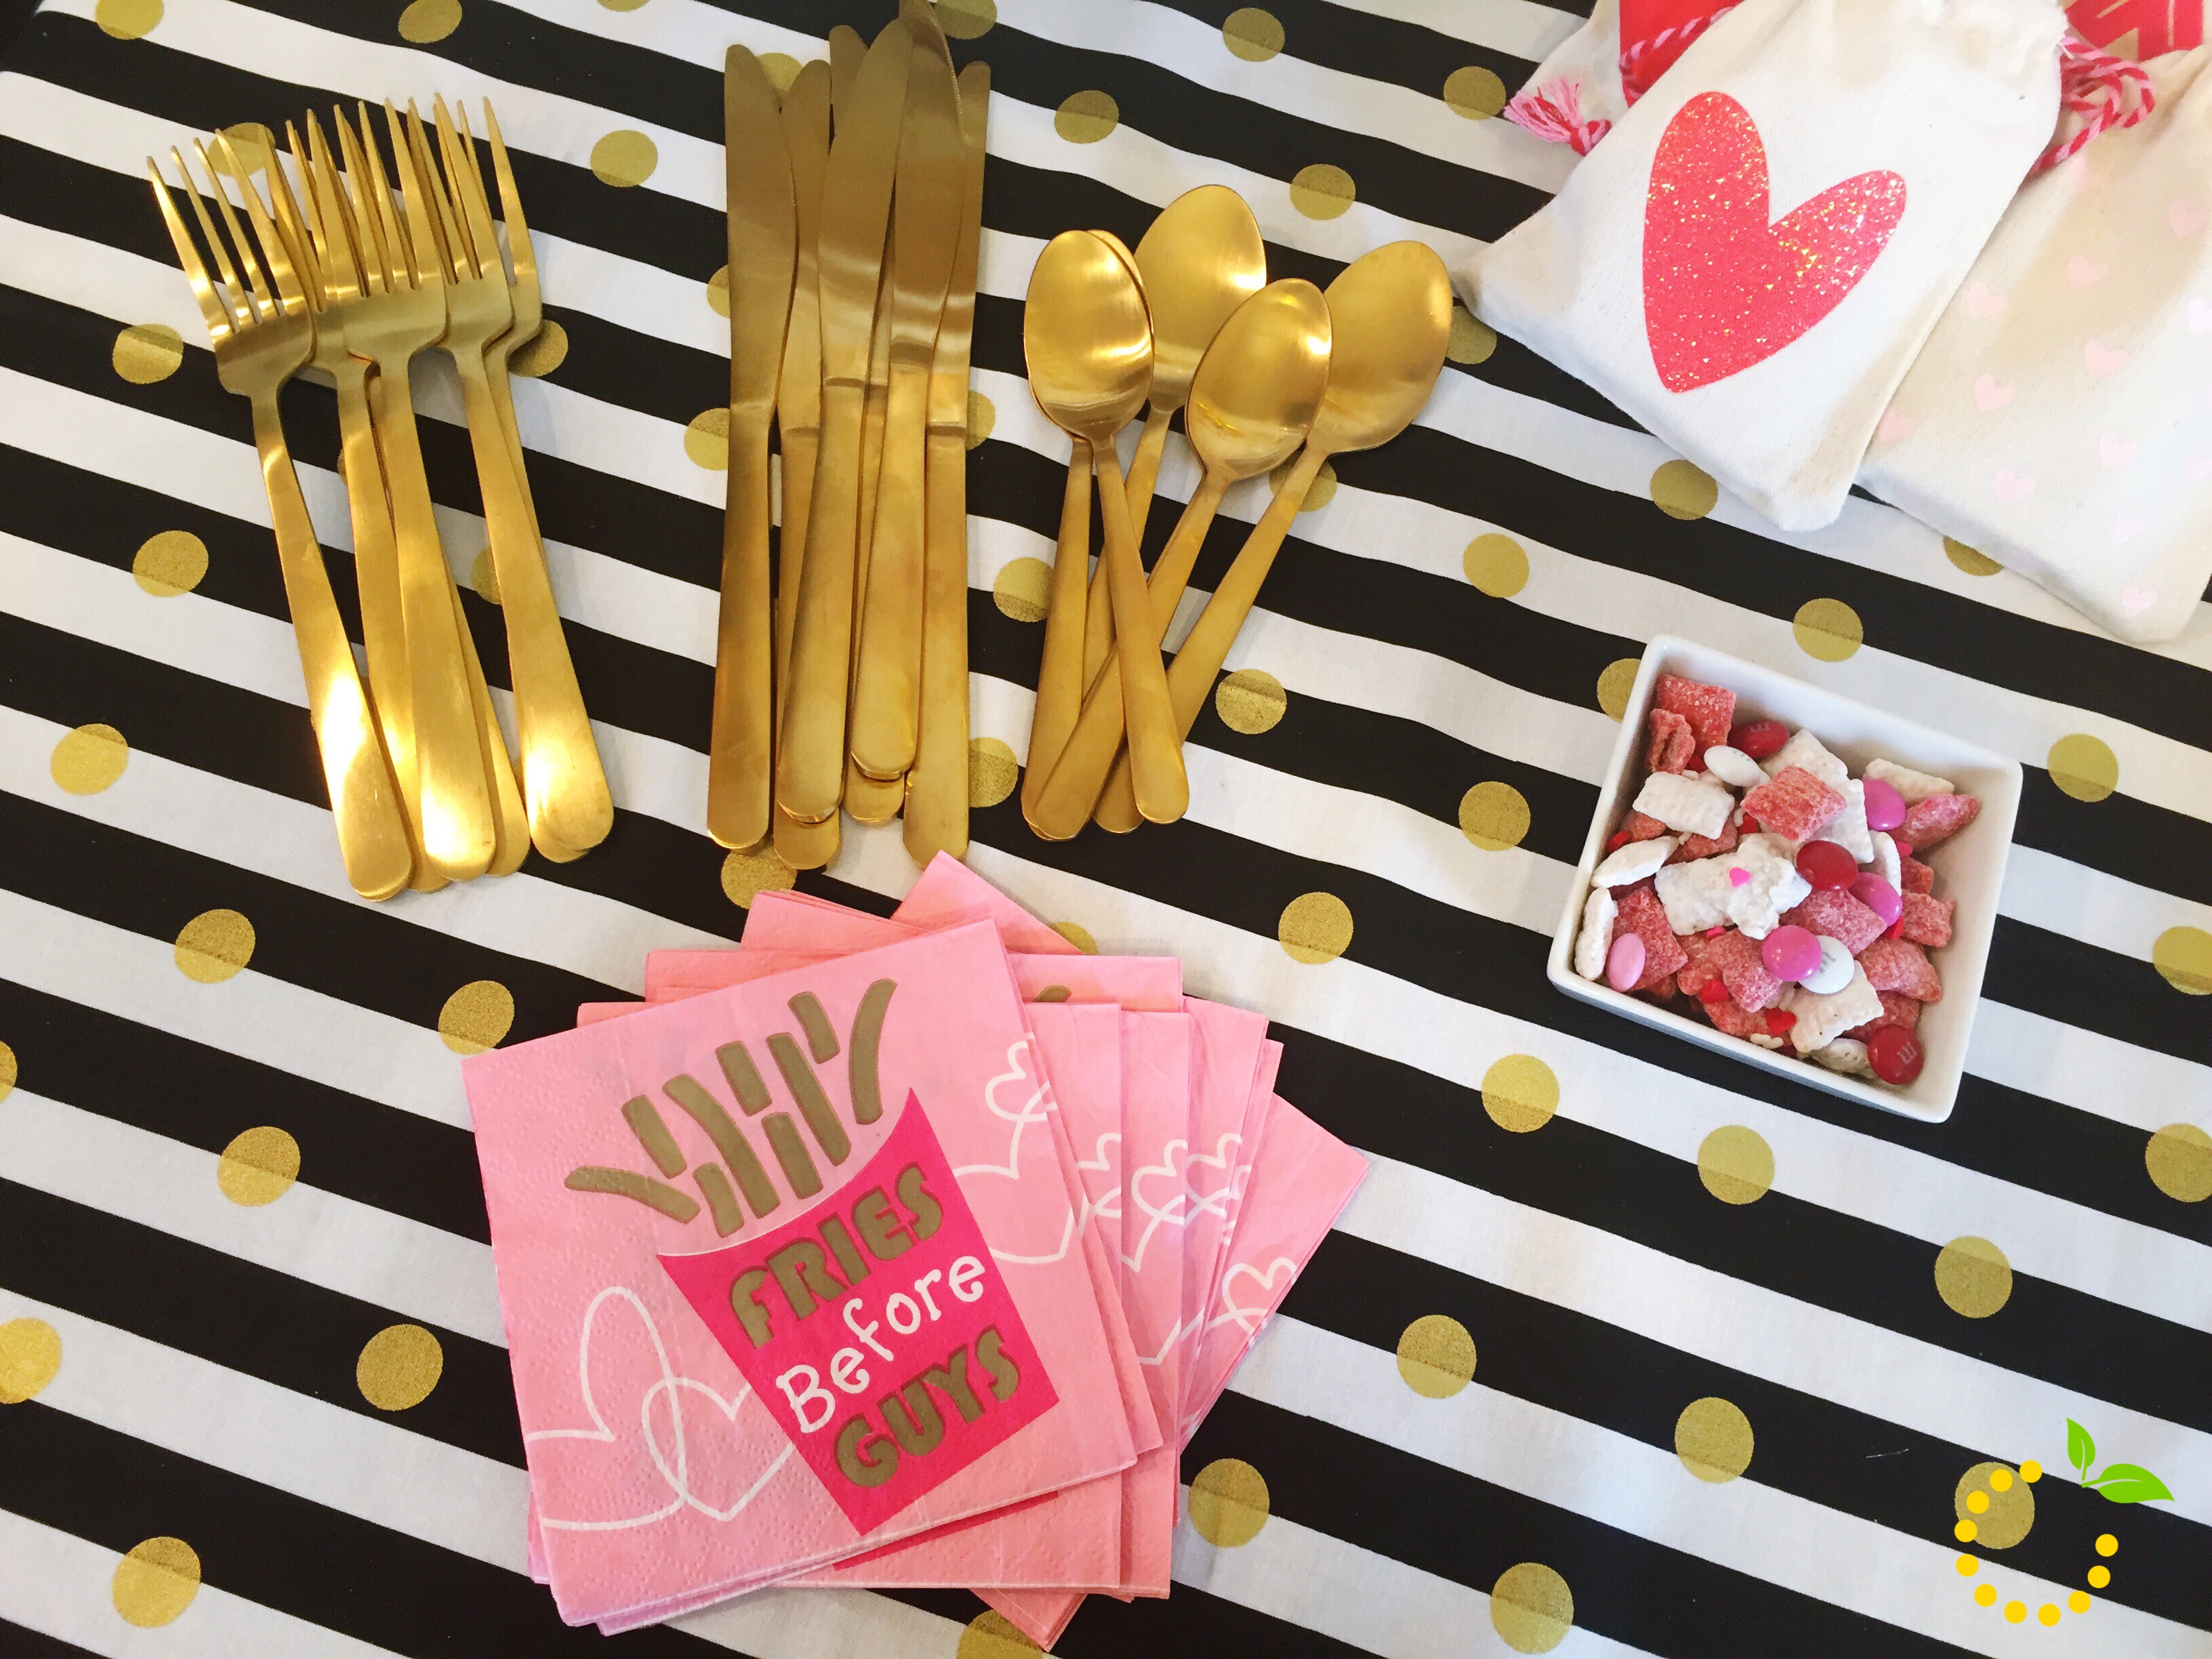
Enter Valentine’s Day, or “galentine’s” if you are celebrating with your favorite gal-pals. I mean, who doesn’t want an excuse to get together, eat great food, and talk for hours? Exactly. We all want that. So naturally, we dusted off our Pinterest boards, bought gold flatware, and invited all of our old high school pals that we rarely talk to but love spending time with.

IMG_9488

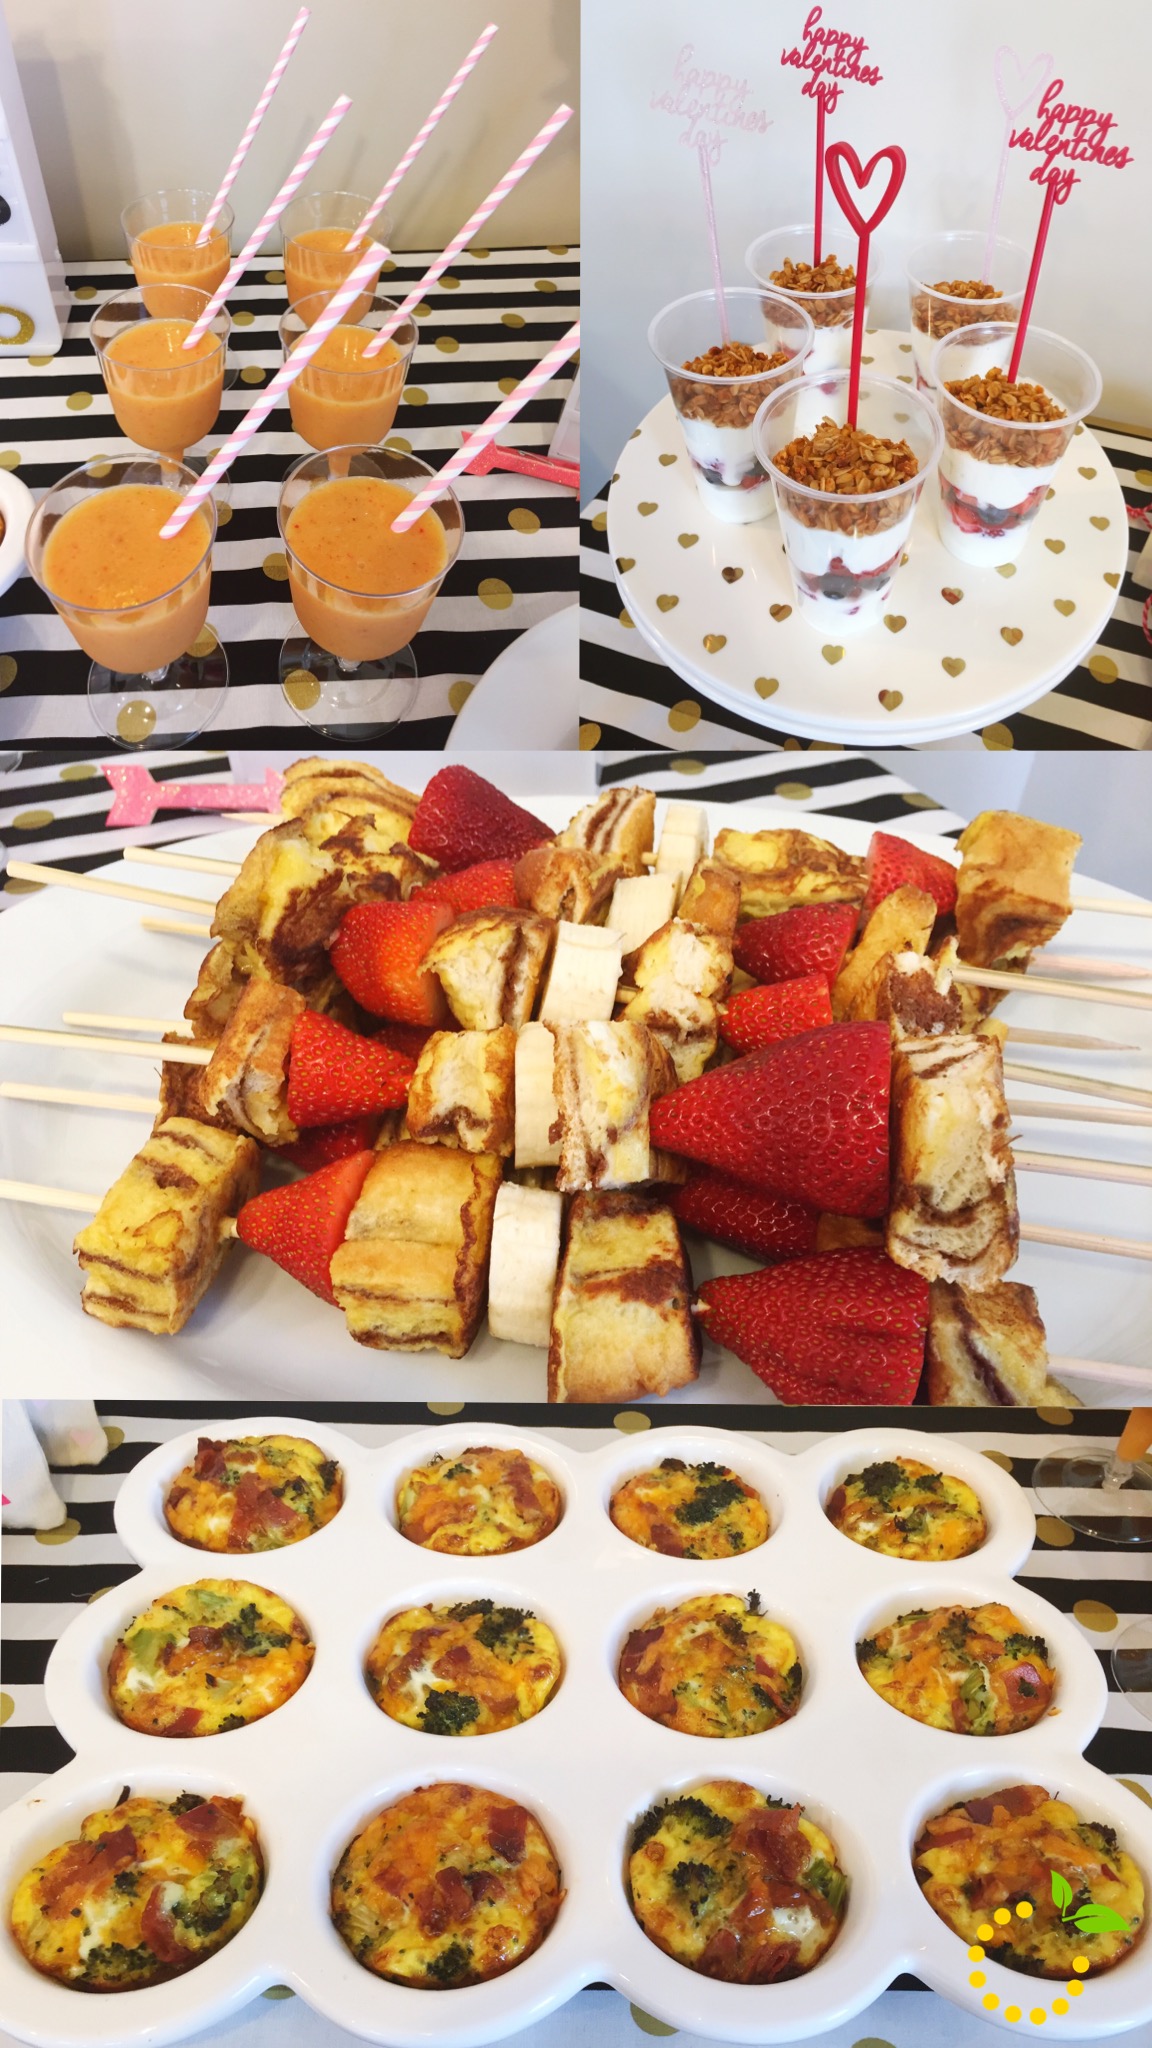
The menu was a collaborative effort full of simple and fun brunch foods. I was particularly excited about the french toast kebabs. This was literally my first pin ever on Pinterest (like years and years ago) and I was dying to finally make these babies. I adapted the Martha Stewart recipe only slightly and added almond and coconut extract to the batter to give the French toast bites a little more pizazz and they turned out great. Definitely try this fun idea for your next brunch gathering!

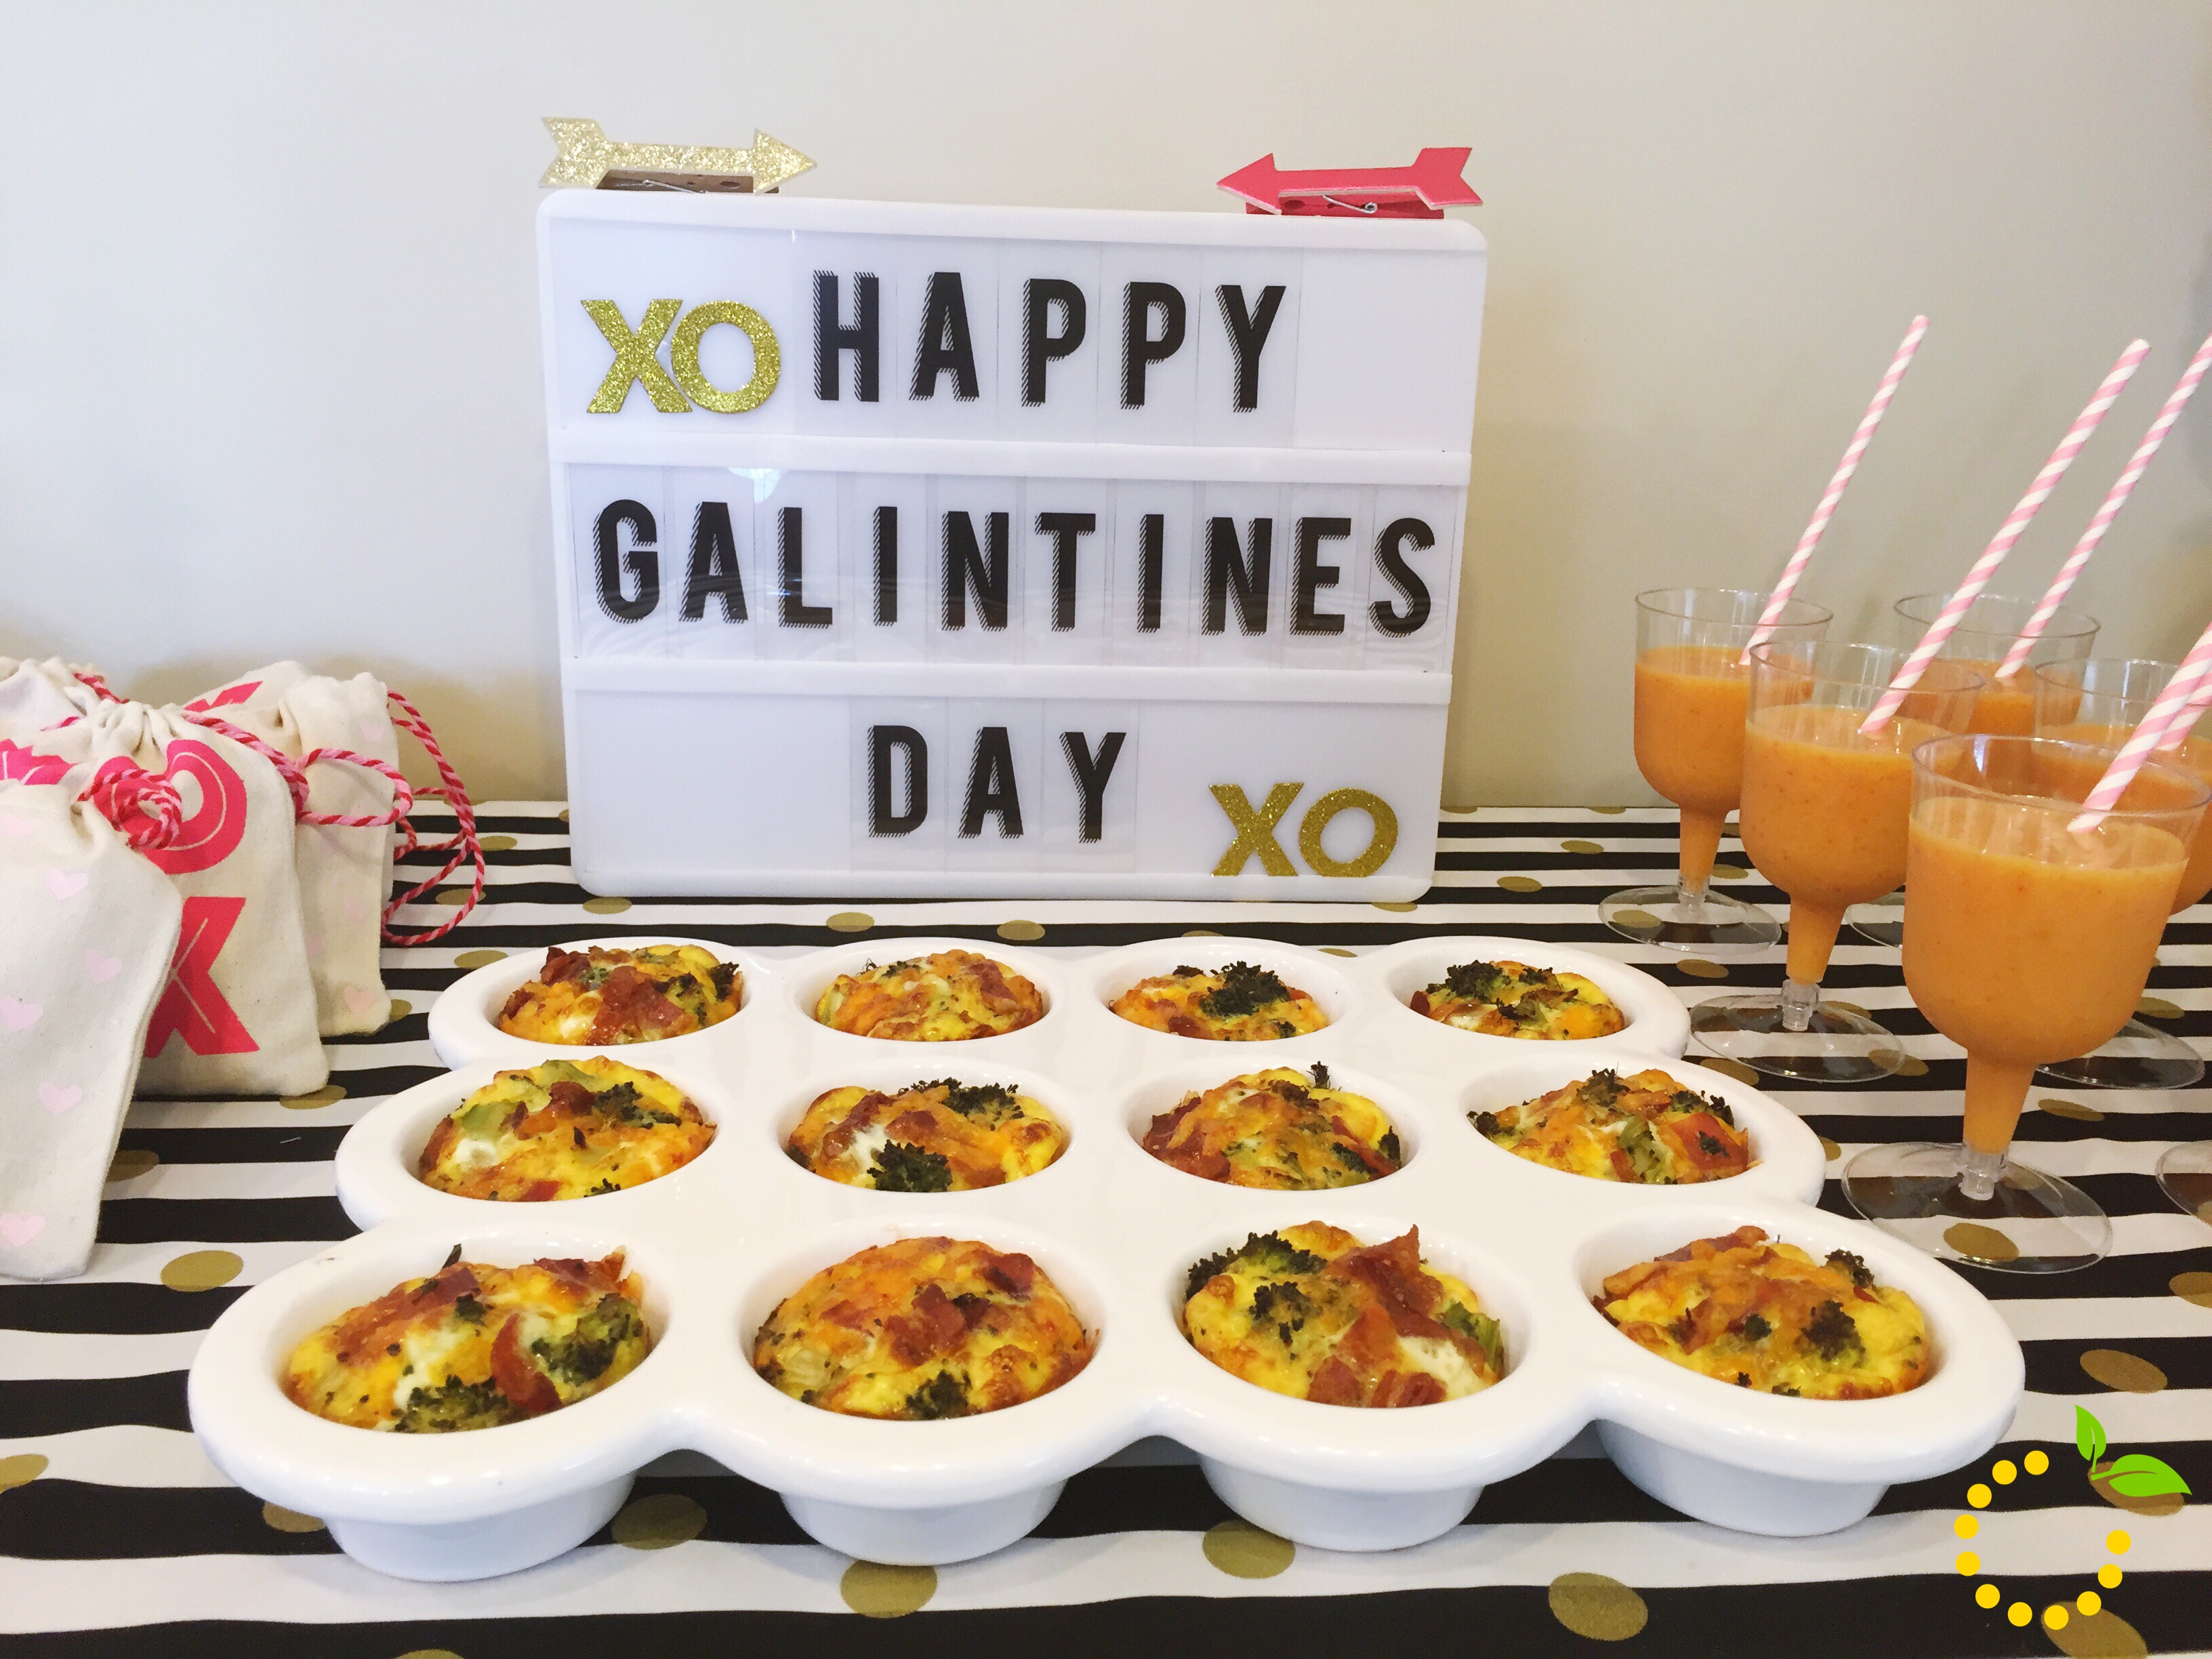
Another tasty element of the brunch was the Bacon Broccoli Frittata Ashley made. Rather than baking it in a larger pie dish she baked them in muffin tins and they were a perfect single-serving size.

Megan whipped up a classic berry and granola parfait enhanced with some dollar spot embellishments from Target and she used Noosa honey yogurt—oh man, so creamy, so good!

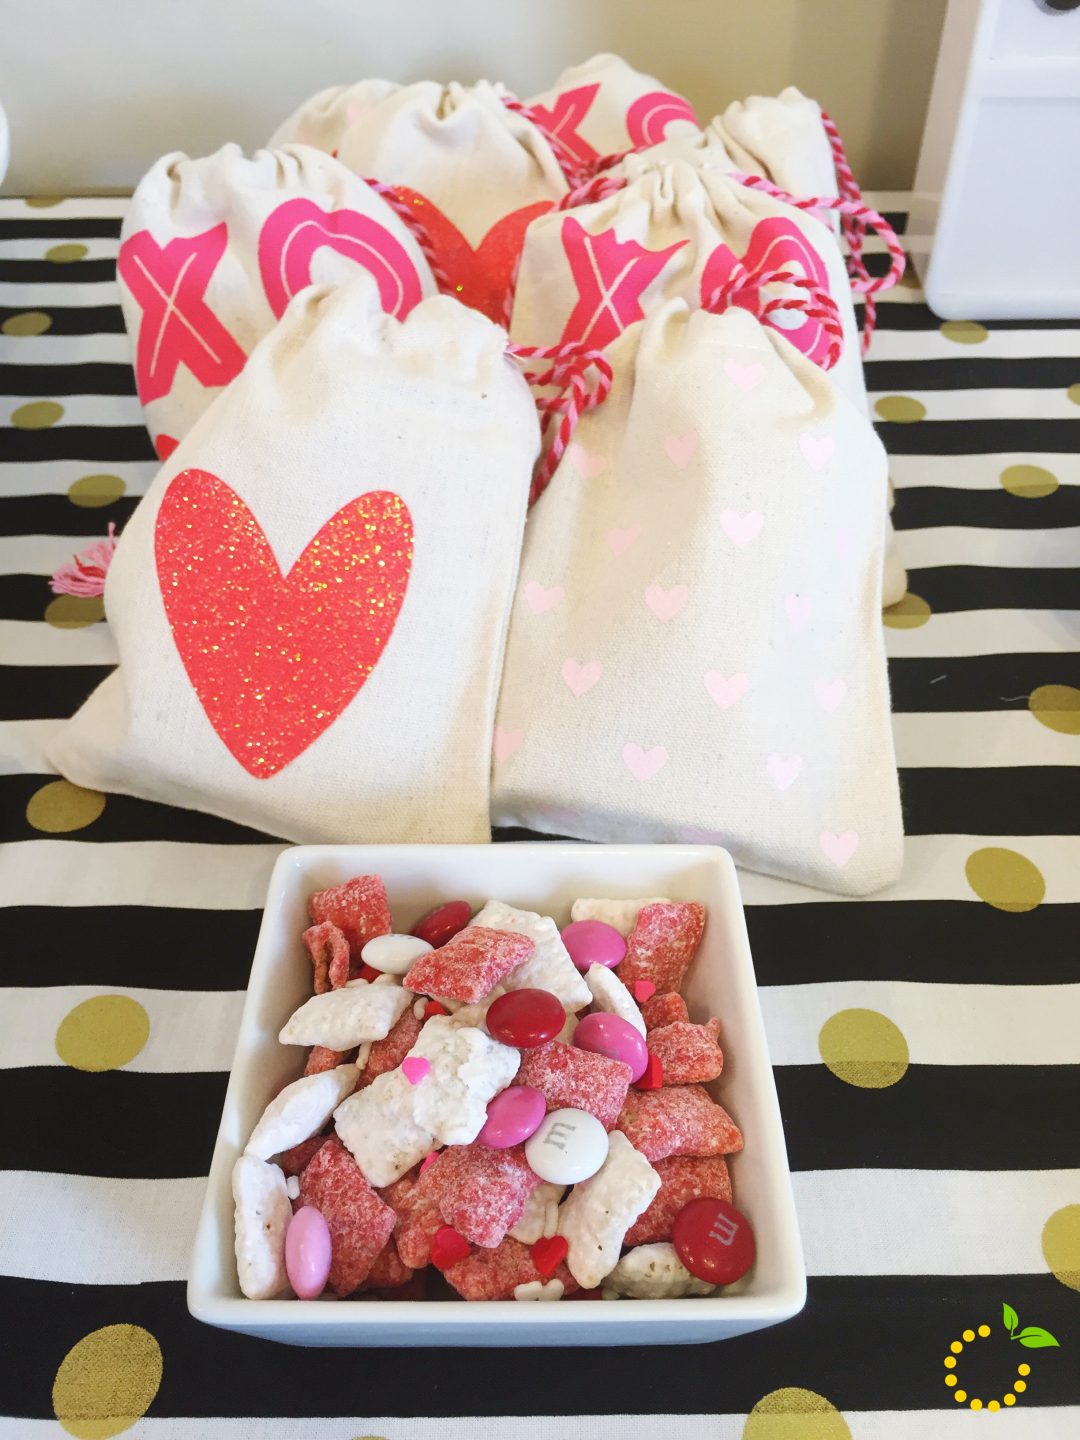
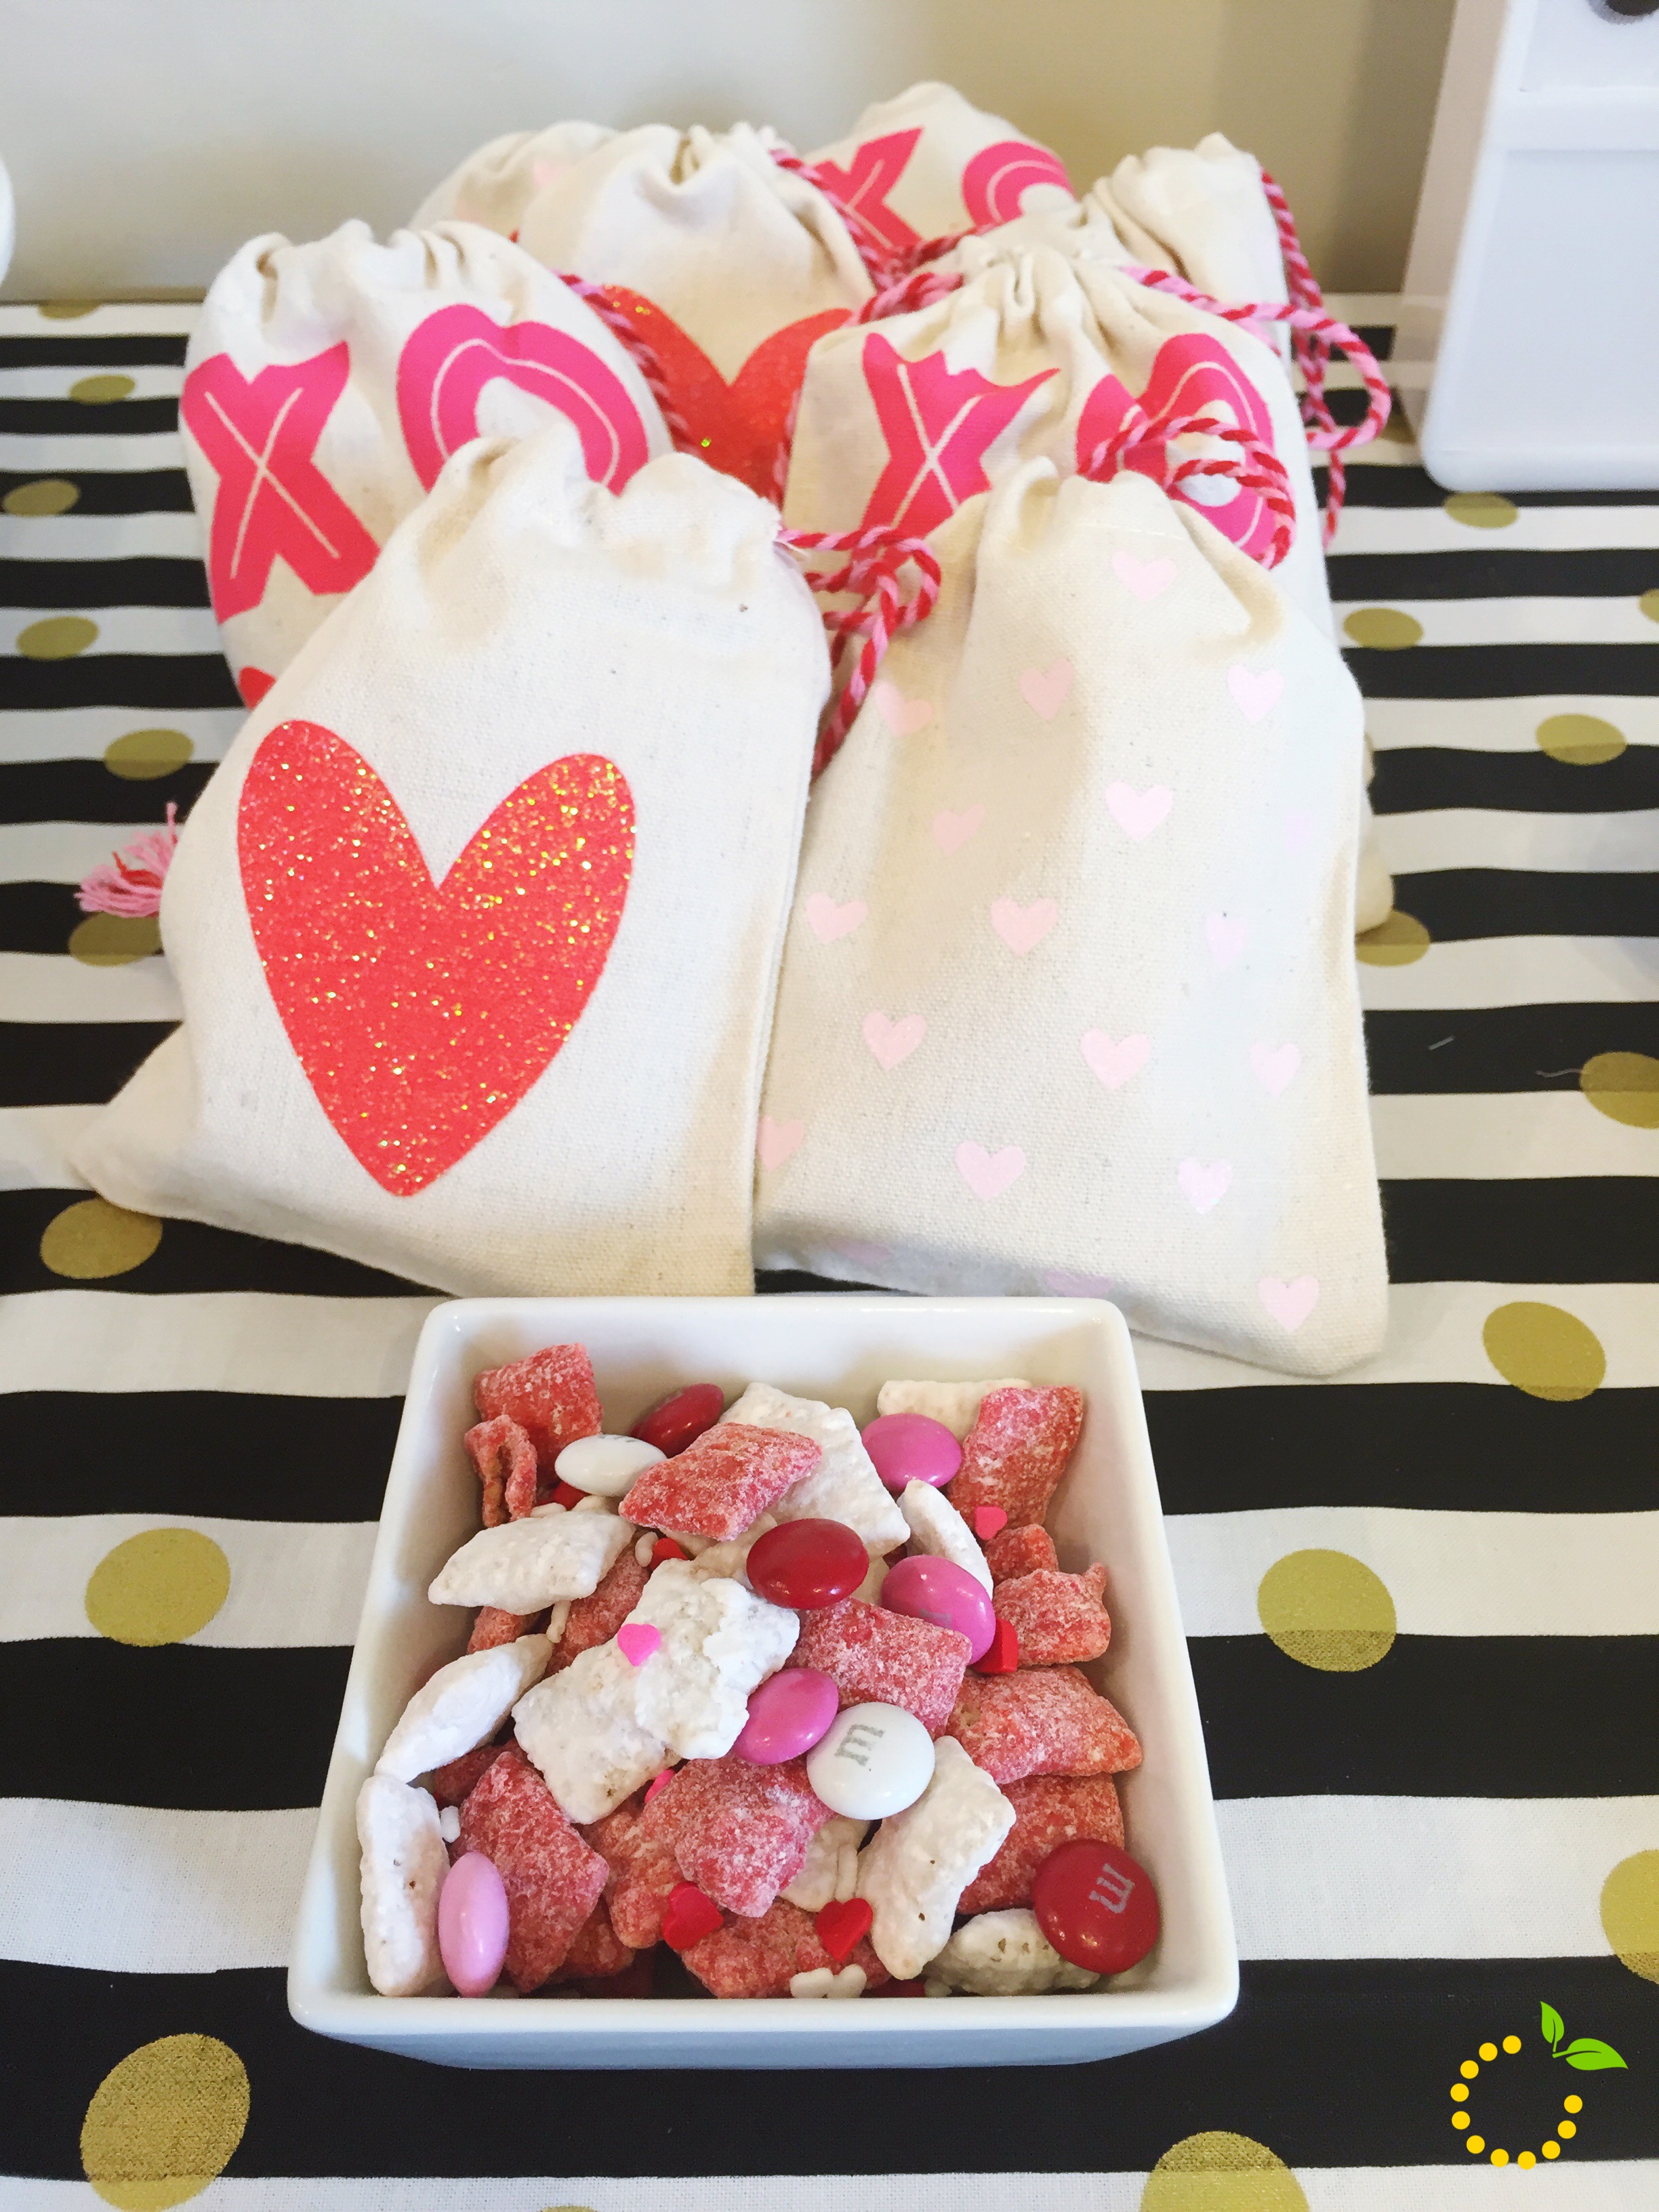
Strawberry orange smoothie rounded out the menu and Ashley made some strawberries and cream “puppy chow” or “muddy buddies”…whatever you call chex cereal doused with deliciousness..for the party favors in cute little muslin bags (ah hem, dollar spot, again).

IMG_9486 (1)

IMG_9492

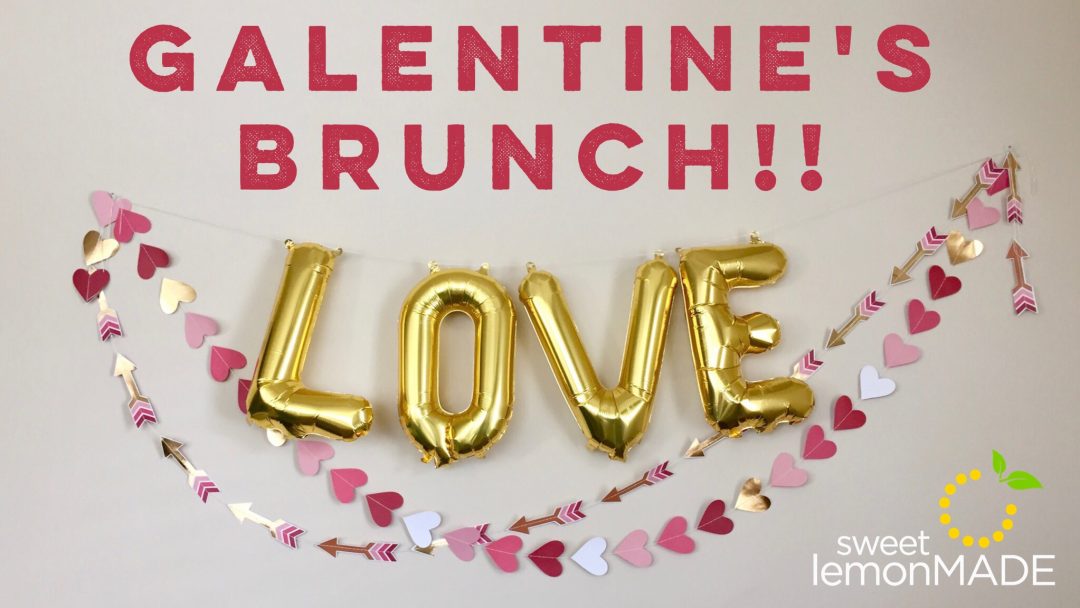
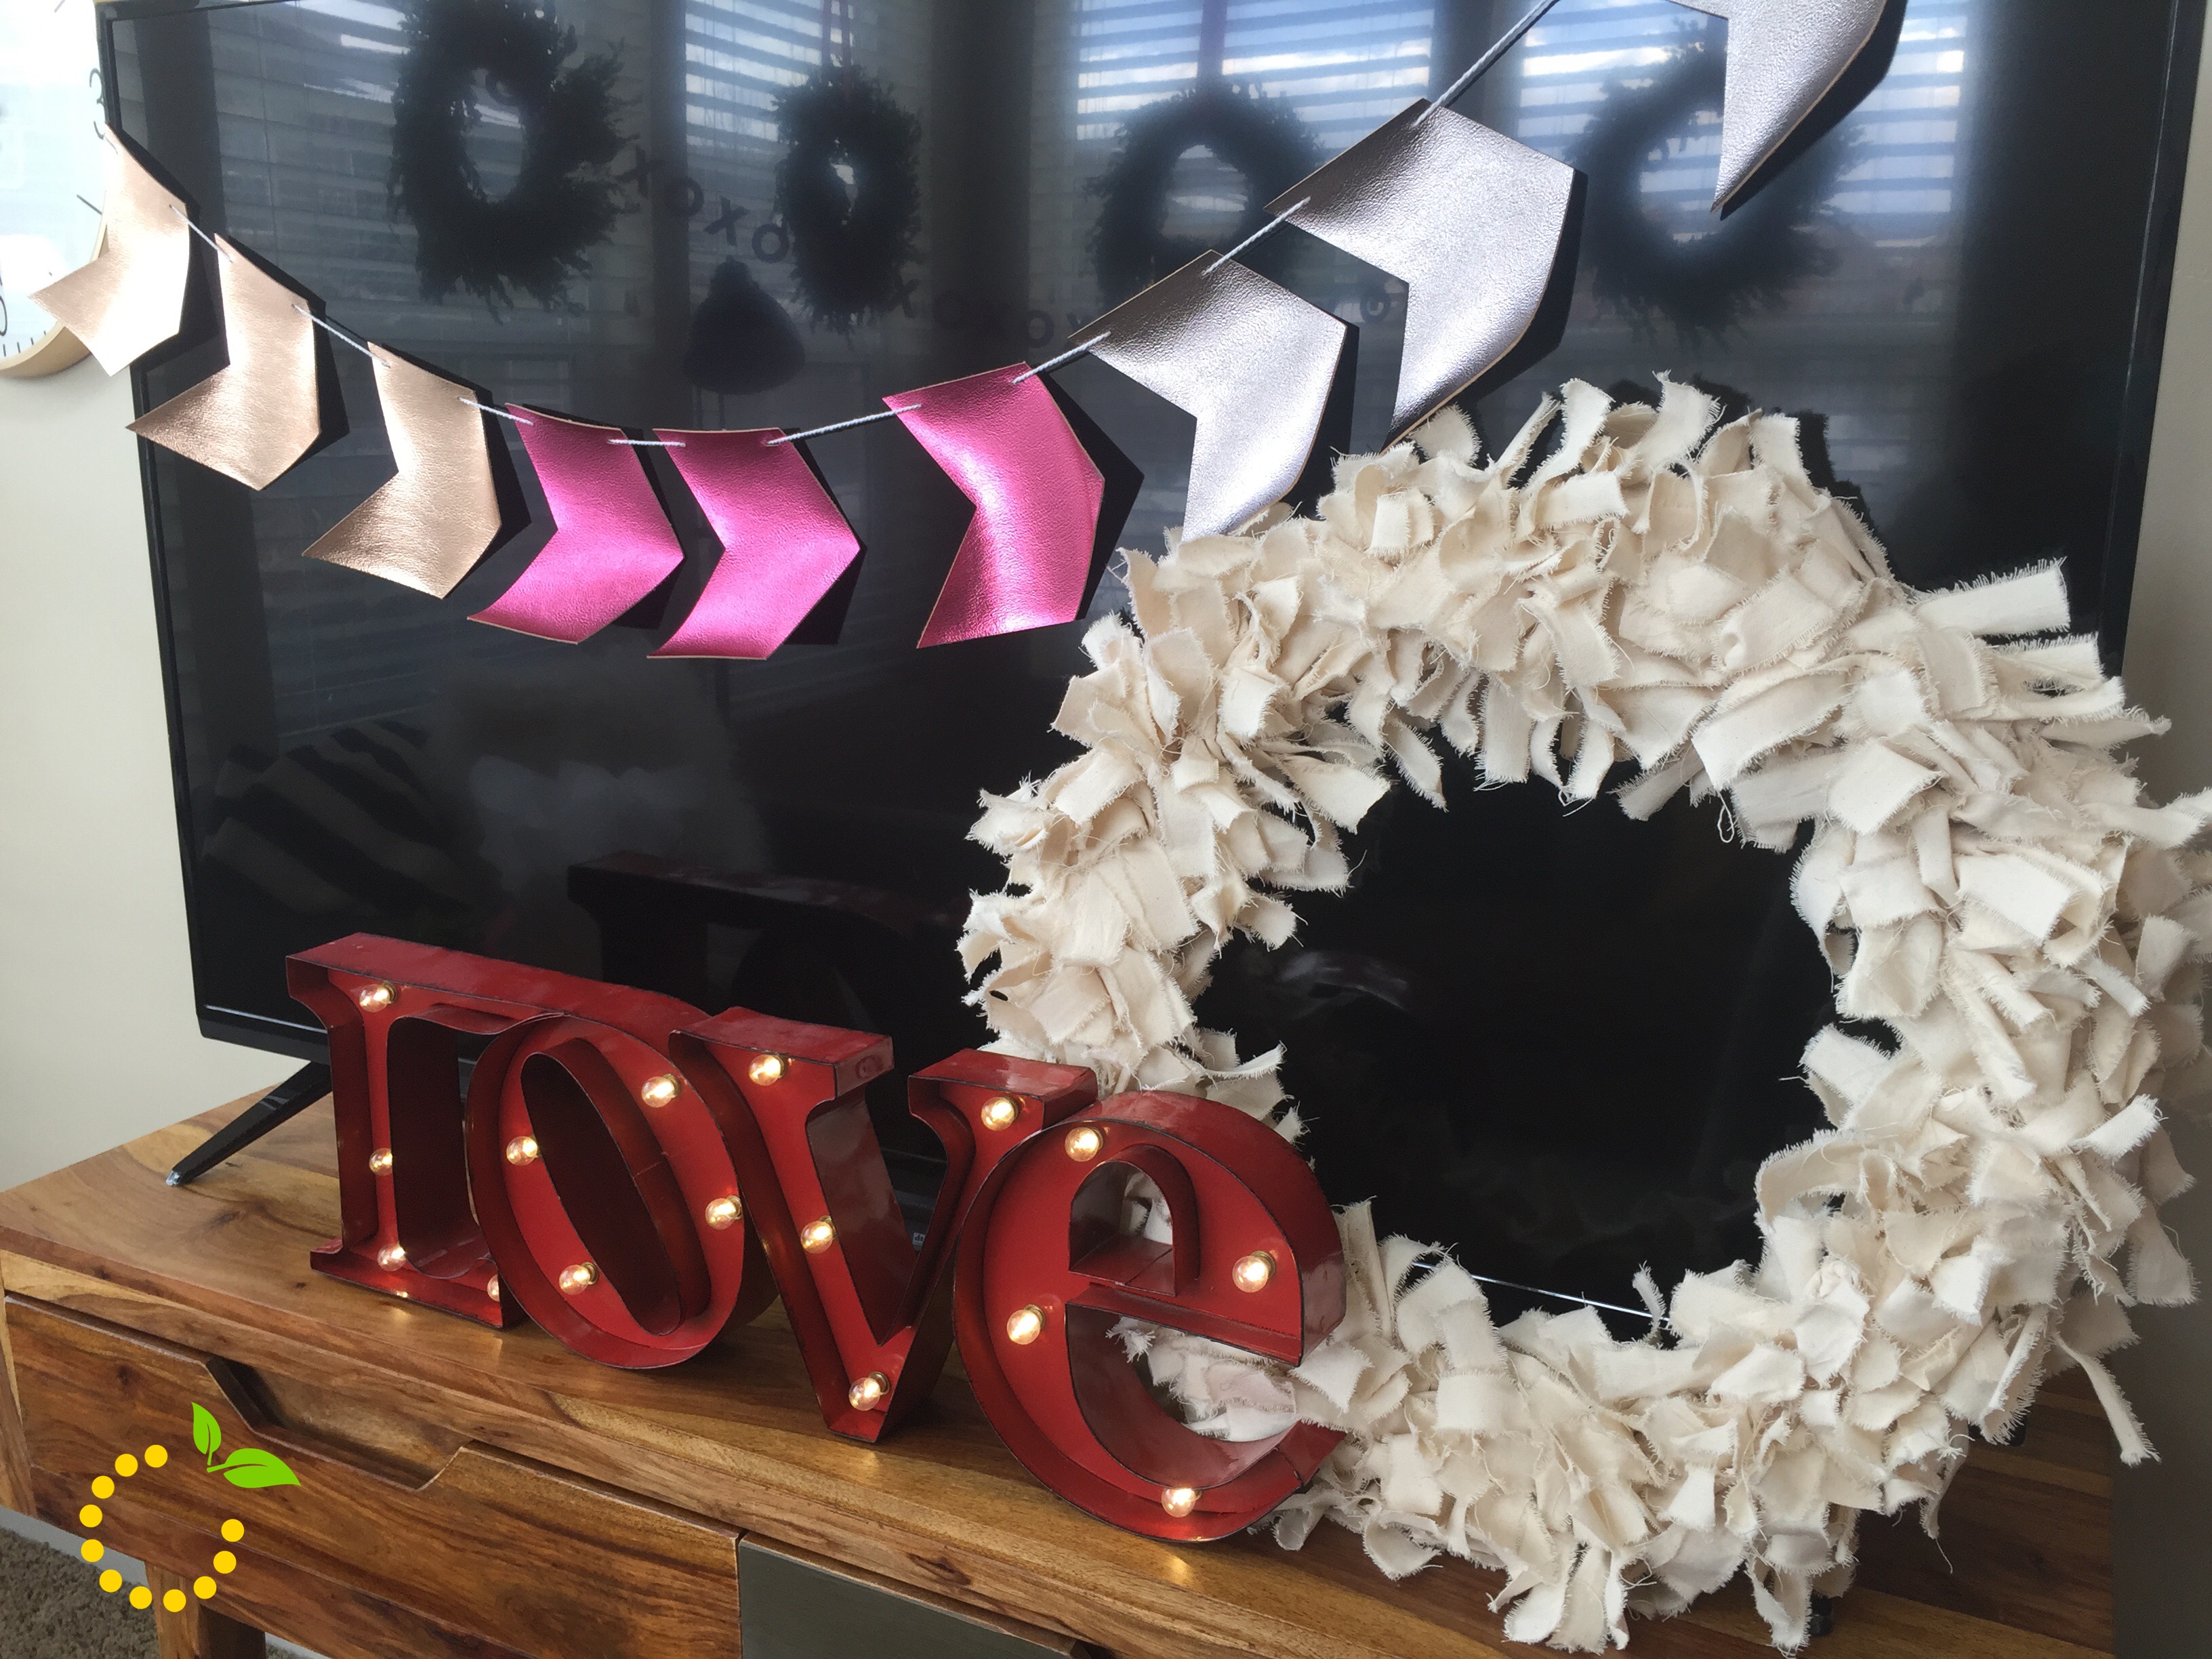
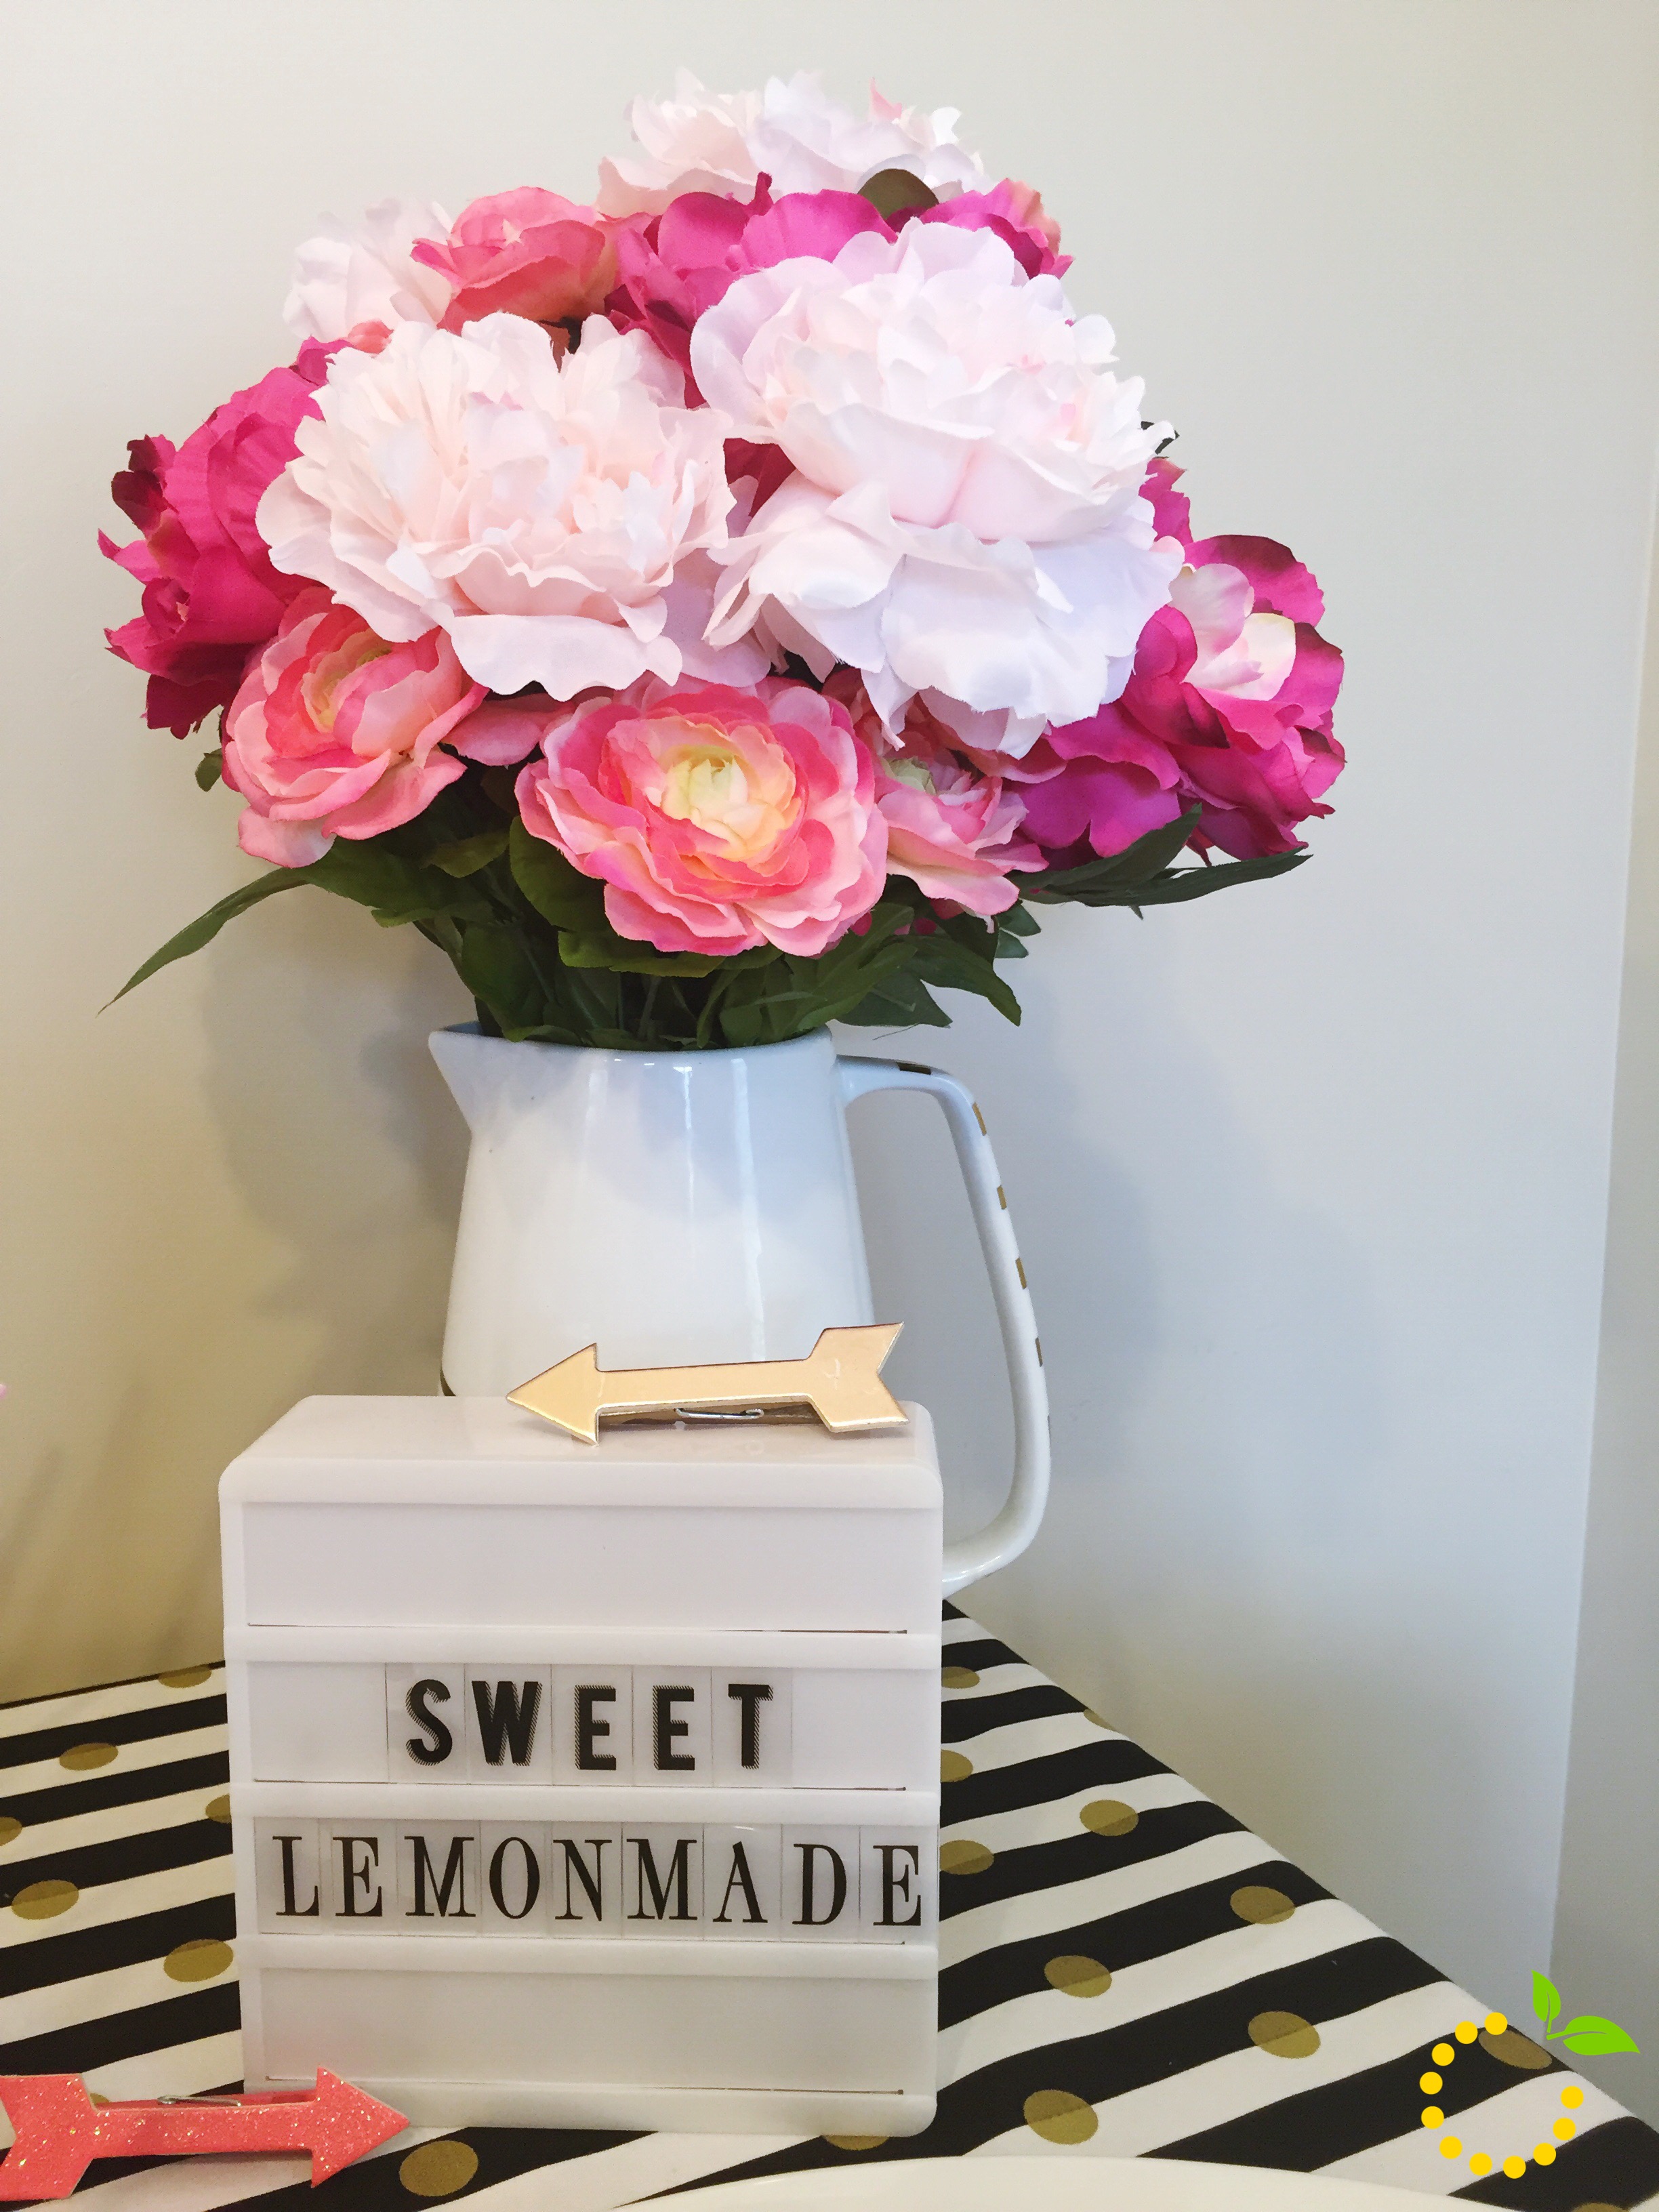
The decorations were fun and festive. Check out all the fun pieces below: 

IMG_9497

IMG_9495

IMG_9491

IMG_9489

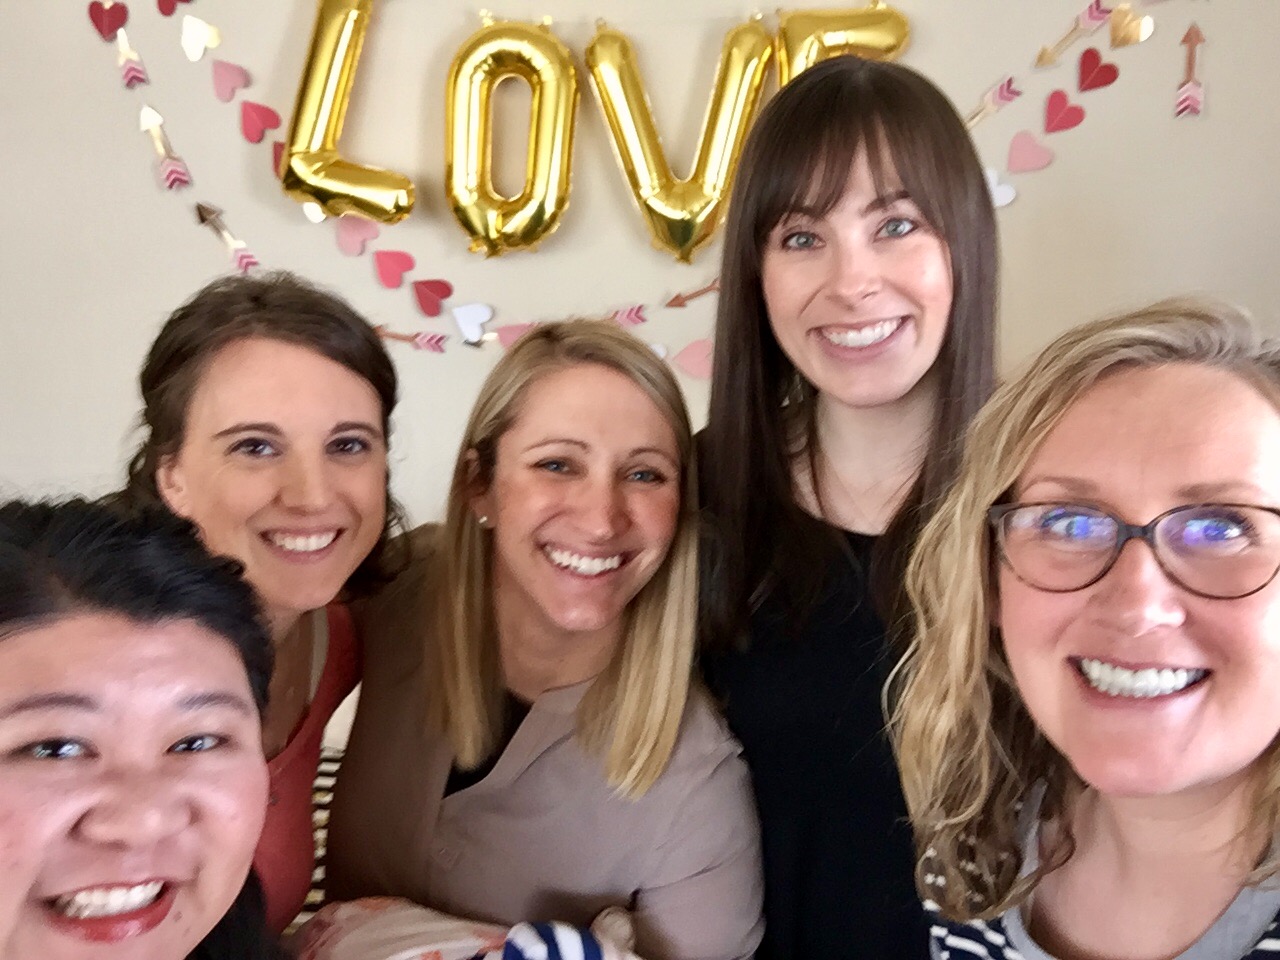
Our little “Galentine’s gathering” was awesome. We ate way more than we should have and talked way longer than we planned. It’s amazing how you can reconnect and pick right up where you left off with some friends. I love it when those moments happen. They are both fulfilling and rejuvenating. As we sat and caught up on the events of life since we had last connected, I couldn’t help but feel validated and inspired by these ladies. All of our lives have turned out far different than we planned back in high school and are personalities have grown and evolved in beautiful ways as a result. Some are married, some are mothers, some work full-time, some work at home, some watch CNN, others only watch HGTV, some are going through heartache, some just survived heartache, some love to read, some love to write, some are democrats, some are republicans.

Regardless of our differences, our bond of friendship unites us. And although our experiences have been very different from one another, every time we get together, we realize that many of our feelings are the same. There is beauty and empathy in hearing someone say, “oh my gosh, me too!” May you all reconnect with those awesome ladies in your life that make say, “me too!” And do it over bacon and carbs, obviously.

dadafdf

IMG_9499